
Master lactic fermentation temperature by implementing these proven techniques: Use a digital thermometer for precise monitoring, maintain temperatures between 60-70°F for most ferments, invest in proper insulation like double-walled vessels, employ cold fermentation for complex flavors, utilize sequential temperature staging for peak yields, and set up automated control systems for consistency. You'll also want to adjust practices seasonally, store cultures properly (32-40°F), use temperature-specific ranges for different bacteria types, and leverage thermal mass materials for stability. Discovering these temperature control secrets will transform your fermentation game from basic to artisanal.
Understanding Optimal Temperature Zones
Mastering the ideal temperature zones for lactic fermentation can make or break your fermented foods.
You'll find that different types of lactic acid bacteria (LAB) thrive within specific temperature ranges, and understanding these zones will help you achieve consistent, high-quality ferments.
If you're working with homofermentative LAB, you'll want to maintain temperatures between 86°F to 95°F (30°C to 35°C).
However, heterofermentative bacteria prefer cooler conditions, typically between 59°F to 72°F (15°C to 22°C).
Species like Leuconostoc mesenteroides show remarkable adaptability, functioning from 39°F to 86°F (3.9°C to 30°C).
Daily monitoring and adjustments help maintain the ideal range of 50-70°F for most fermentations.
You'll need to adjust your temperature control based on your specific fermentation project.
For sauerkraut and kimchi, aim for 60°F to 70°F (16°C to 21°C) to develop complex flavors.
If you're making yogurt, you'll need higher temperatures around 110°F to 115°F (43°C to 46°C).
Remember that while higher temperatures speed up fermentation, they don't always yield the best results.
You'll achieve better flavor development and more stable products by maintaining temperatures within the recommended ranges for your specific ferment.
Dynamic Temperature Control Methods
To master lactic fermentation, you'll need to implement sequential temperature staging, which allows you to adjust temperatures at specific fermentation phases for superior results.
Maintaining temperatures between 35°C to 45°C is crucial for optimal production outcomes and efficiency.
You can achieve precise control through temperature profiling equipment like digital thermostats and fermentation chambers that maintain your desired settings throughout the process.
Automated control systems take this precision even further by monitoring and adjusting temperatures in real-time, helping you maintain ideal conditions without constant manual intervention.
Sequential Temperature Staging
In light of recent advancements, sequential temperature staging has emerged as a powerful method for enhancing lactic fermentation yields. You'll find this approach particularly effective as it divides the fermentation process into multiple phases, each with its own ideal temperature setting.
To implement this method, you'll want to start with lower temperatures (33-35°C) during the initial phase to promote cell growth. Once you've established sufficient biomass, you can shift to higher temperatures (around 45°C) to maximize lactic acid synthesis. Similar to how chest freezers with controllers provide precise management in beer brewing, maintaining exact temperatures during each phase is crucial for optimal results.
For example, when working with E. coli AC-521, you should set your temperature profile to 38.1°C for the first 12 hours, followed by 36.8°C for hours 12-24, and finally 43.2°C after the 24-hour mark.
You'll need to carefully monitor and control these temperature changes, as they greatly affect kinetic parameters like μmax, Xmax, and Yp/x. While traditional PID controllers might struggle with these adjustments, you can achieve better results using advanced control algorithms or a Smith predictor.
This strategic approach can boost your lactic acid concentration by up to 53% compared to constant temperature conditions.
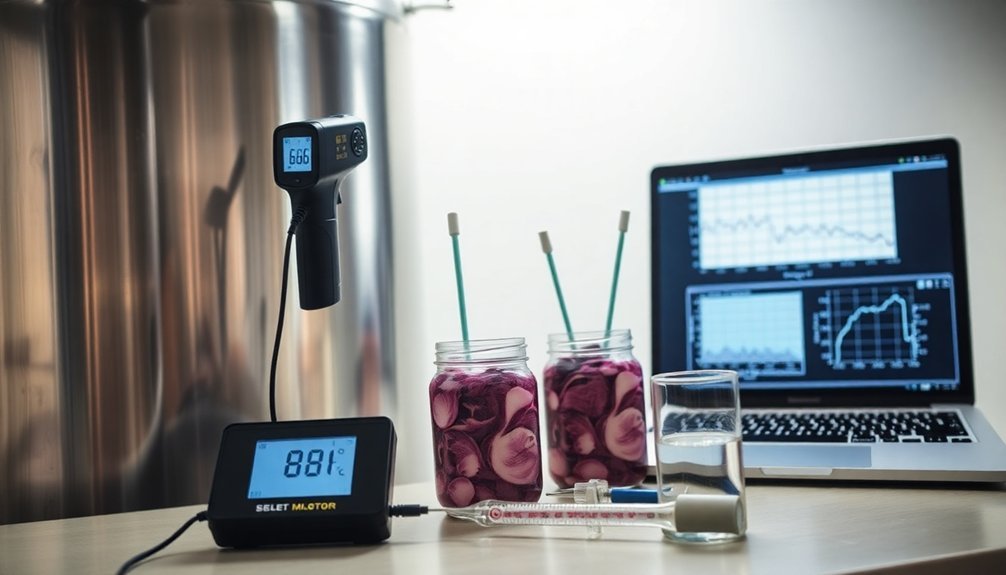
Temperature Profiling Equipment
Several critical pieces of equipment are essential for achieving precise temperature control in lactic fermentation. You'll need an iCinac wired analyzer system that enables simultaneous monitoring of temperature, pH, and ORP levels. This system, equipped with ISM® protocol digital electrodes, provides precise measurements and guarantees your fermentation conditions remain within ideal ranges.
For cooling requirements, you can use ice bath setups for smaller fermenters, while larger operations require jacketed fermentation tanks with advanced cooling systems. These systems work best when coupled with Smith predictors to compensate for cooling lag times and maintain stable temperatures. You'll also need heating elements, such as electric heating rods or steam tubes, to manage temperature increases effectively.
To maximize control precision, you should implement PID controllers enhanced with block diagram control principles. These controllers help you manage the complex biochemical reactions while adapting to process variations. For thorough monitoring, consider scaling up to a 32-channel system that allows real-time automatic configuration and detection of connected modules. This setup guarantees consistent inter-batch kinetics and compliance with ISO 26323|IDF 213 standards.
Automated Control Systems
Building upon your temperature monitoring equipment, automated control systems take fermentation management to the next level with dynamic temperature control methods.
You'll benefit from sophisticated strategies like temperature profiling, which divides your fermentation process into distinct units with constant temperatures, making control more precise and manageable.
Through dynamic enhancement, you can implement mathematically-derived temperature profiles that boost lactic acid productivity. For instance, you might run your fermentation at 38°C for 12 hours, shift to 36.8°C for the next 12 hours, and finish at 43.2°C after 24 hours.
These profiles are based on detailed kinetic parameter analysis, considering how temperature affects growth rate, substrate consumption, and product formation.
You'll find these systems particularly effective in fed-batch fermentation, where they've achieved impressive results like 90.4 g L−1 of lactic acid after 80 hours.
The automated systems continuously monitor and adjust conditions in real-time, maintaining peak temperatures while controlling external devices like peristaltic pumps and heating circulators.
This automation guarantees consistent quality between batches and reduces development timelines, making your fermentation process more efficient and reliable.
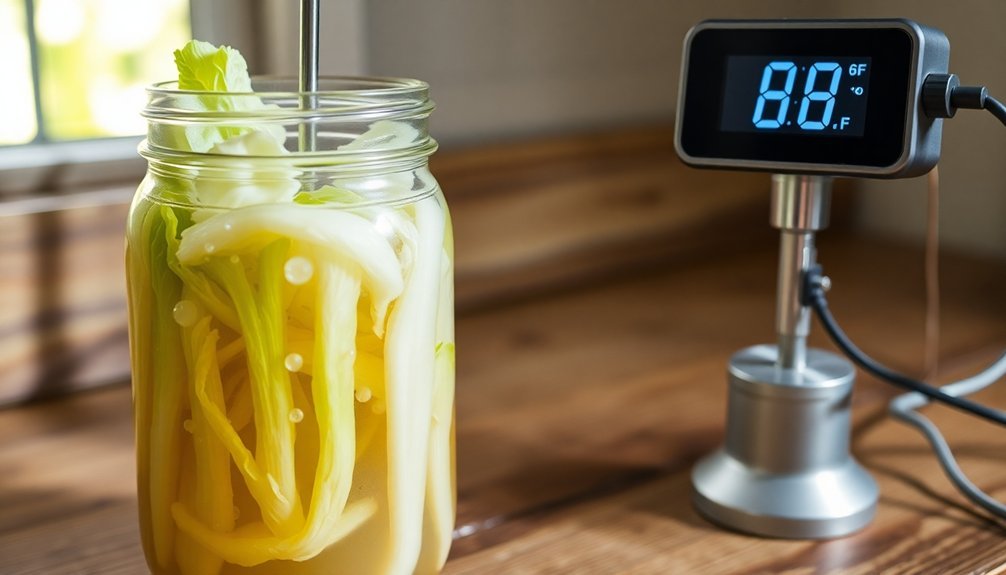
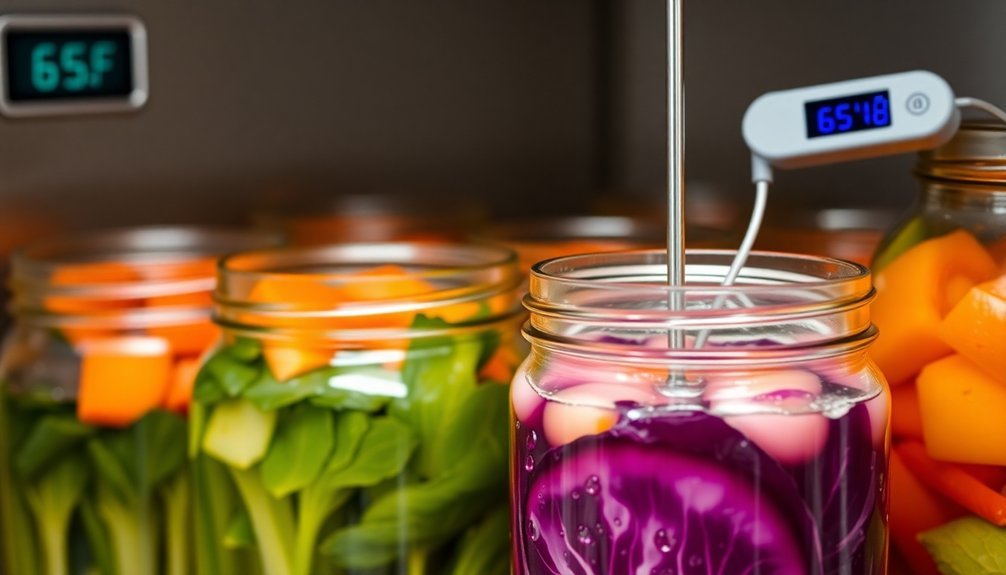
Essential Temperature Monitoring Equipment
Modern digital temperature controllers and wireless monitoring systems give you precise control over your lactic fermentation process.
You'll find wireless systems particularly useful for remote monitoring and real-time data collection across multiple fermentation tanks.
Digital controllers let you set exact temperature parameters, receive instant alerts for any deviations, and automatically adjust conditions to maintain ideal fermentation temperatures.
Digital Temperature Controllers Explained
Digital temperature controllers stand at the forefront of precise lactic fermentation monitoring, offering broad control over the fermentation environment.
You'll find these controllers equipped with both digital and analog outputs that seamlessly integrate with heating circulators and peristaltic pumps, ensuring thorough system control.
These controllers work with ISM® protocol digital electrodes to monitor critical parameters like pH, temperature, and ORP. You'll appreciate how they maintain temperature stability, particularly in yogurt fermentation where they keep conditions at 35 ± 2°C.
The systems use automatic temperature compensation through integrated Pt-100 sensors, continuously adjusting to prevent any deviations from your set parameters.
You can monitor up to 32 channels in wired versions, giving you complete oversight of multiple fermentation processes simultaneously.
The user-friendly software provides real-time configuration and automatic detection of connected modules, while the thermodynamic sensors track temperature flow without direct contact with your fermented foods.
When you need to expand your operation, these controllers easily adapt to meet your growing needs, making them ideal for both laboratory and pilot-scale operations.
Wireless Monitoring Systems
Wireless monitoring systems represent the next evolution in fermentation temperature control, offering unparalleled flexibility beyond traditional wired controllers.
You'll find these systems seamlessly integrate with your existing fermentation tanks through standard fittings while providing real-time data access across multiple devices through WiFi connectivity and cloud storage.
You're able to monitor vital parameters every 15 minutes without manual intervention, saving up to 64 labor hours annually. The system's advanced sensors deliver precise measurements with automatic temperature compensation, ensuring your fermentation stays on track despite environmental changes.
Four key benefits you'll experience with wireless monitoring:
- 24/7 remote access to fermentation data from any connected device
- Automated data collection and analysis for consistent product quality
- CIP-ready sensors that simplify maintenance routines
- Reliable operation with battery backup and offline storage capabilities
You can trust these systems in harsh environments, thanks to their durable construction using materials like stainless steel and sapphire.
They're protected by high IP ratings and designed for long-term operation, making them a reliable solution for maintaining ideal fermentation temperatures while creating detailed historical records for process improvement.
Stages of Heat Management
Managing your fermentation through its various temperature stages calls for precise control and careful timing. You'll need to begin your fermentation at the lower end of the ideal temperature range, typically around 60°F for lactic fermentation, and gradually increase it as fermentation progresses.
During the initial phase, you'll want to maintain temperatures between 60°F and 70°F to encourage proper bacterial growth. Since fermentation generates heat, you'll need to monitor the temperature closely using sensors and adjust your cooling systems accordingly. As different bacteria become dominant at various stages, you'll need to adapt your temperature management strategy.
Once active fermentation begins, you can gradually raise the temperature by 1-2°F each day. You'll find this helps optimize microbial activity while preventing off-flavors. Use temperature control systems like glycol cooling or heat exchangers to maintain stability.
If you're working with beer, you'll want to increase the temperature by 5-10°F around day 4-5.
Throughout the final stages, you must maintain consistent temperatures until fermentation completes. Don't let the temperature drop too low, as this can cause the fermentation to stall and affect your final product's quality.
Cold Temperature Techniques
While cold fermentation requires more patience, you'll find that slower processes can yield more complex flavors and better preservation outcomes.
You can precisely manage fermentation speed by using ice bath methods, placing your fermentation vessel in a larger container filled with ice water to maintain temperatures below 65°F.
For long-term projects, you'll want to take into account dedicated storage solutions like temperature-controlled chambers or cool cellars that maintain consistent conditions around 40°F.
Slow Fermentation Benefits
Cold temperature fermentation offers three distinct advantages that make it worth the extra time and patience. When you ferment at cooler temperatures, you'll get cleaner, more complex flavor profiles due to the reduced yeast activity and extended exposure to bacterial metabolites.
The slower process allows for better development of subtle flavor compounds that might otherwise be masked in rapid fermentation.
In cold fermentation, you'll notice that LAB gradually outcompetes yeast, leading to a more pronounced sour profile that many artisanal producers prefer. While this process takes longer, it often results in superior product quality.
To maximize these benefits in cold fermentation, consider these key factors:
- Maintain temperatures between 36-65°F (2-18°C) for slower, more controlled fermentation
- Expect fermentation to take weeks or even months, rather than days
- Monitor pH levels regularly, as acid production will be gradual
- Consider using less flocculent yeast strains to prevent stuck fermentation
The extended timeline also allows for better moisture control and color development in your final product, particularly important in fermented sausages and other cured goods.
While patience is essential, the enhanced flavor complexity makes cold fermentation a valuable technique.
Ice Bath Control Methods
Successfully maintaining cold fermentation temperatures requires a reliable ice bath setup.
You'll need a large picnic cooler or water cooler to house your fermenter, guaranteeing it's properly insulated to maintain consistent temperatures. Surround your fermenter with cold water and high-quality insulation wrap, or create an insulating box using styrofoam for ideal temperature control.
To manage your ice bath effectively, you'll need to add substantial ice initially, then replenish it at least twice daily. Consider using frozen water bottles as a convenient alternative to loose ice – they're easy to swap out and help maintain steady temperatures.
You can monitor the temperature using a reliable thermometer, adjusting ice levels as needed based on your ambient conditions.
For specific temperature targets, you've got several options. A standard ice and water bath will stabilize at 0°C, but you can achieve lower temperatures by adding salt.
For example, mixing calcium chloride with ice in a 1:2.5 ratio will get you to -10°C. Remember to drain and replace melted water regularly, and always stir the contents if you're cooling food products to guarantee even temperature distribution.
Low-Temperature Storage Solutions
Proper temperature control emerges as a critical factor for storing fermentation cultures and finished products. You'll need to maintain specific temperature ranges to guarantee the longevity and quality of your ferments. For starter cultures, keep your lactic acid bacteria in the refrigerator between 0°C and 4°C, while storing molds and certain bacteria in the freezer at -18°C or below.
When your fermentation starts slowing down, you can move your products to cooler storage around 13°C to continue the process at a gentler pace. This temperature reduction helps preserve culture viability while reducing unwanted acid production. For example, sauerkraut will complete its fermentation in about 6 weeks at 13°C or 12 weeks at 3°C.
To maximize your storage success, follow these essential guidelines:
- Store cultures and ferments in dark environments to protect LAB from light damage
- Use clean, sterilized containers to prevent contamination
- Maintain consistent temperatures throughout storage
- Monitor bubble activity before shifting to cold storage
Remember to keep your airlock uncovered during cold storage to allow pressure release, even when fermentation has slowed considerably.
Insulation Strategies That Work
Maintaining control over your fermentation temperature depends heavily on effective insulation techniques. You'll find that proper insulation not only helps maintain stable temperatures but also reduces the energy needed for temperature control during the fermentation process.
Start by choosing the right container setup. Double-walled fermentation vessels naturally provide better insulation than single-walled options, but you can enhance any vessel's insulation properties. Wrap your fermenter with insulating blankets or foam insulation to create an effective barrier against temperature fluctuations.
For an even more robust solution, place your fermenter in a non-functional freezer or insulated chest, which acts as an additional protective layer.
Consider incorporating thermal mass materials into your setup. Bricks or concrete blocks placed near your fermenter will absorb and release heat slowly, helping to maintain consistent temperatures.
You can also create a more controlled environment by combining insulation methods – for instance, using an insulated box with thermal mass materials inside.
Don't forget to monitor the temperature regularly with a reliable thermometer, as even the best insulation needs occasional adjustments to maintain ideal fermentation conditions.
Automated Temperature Systems
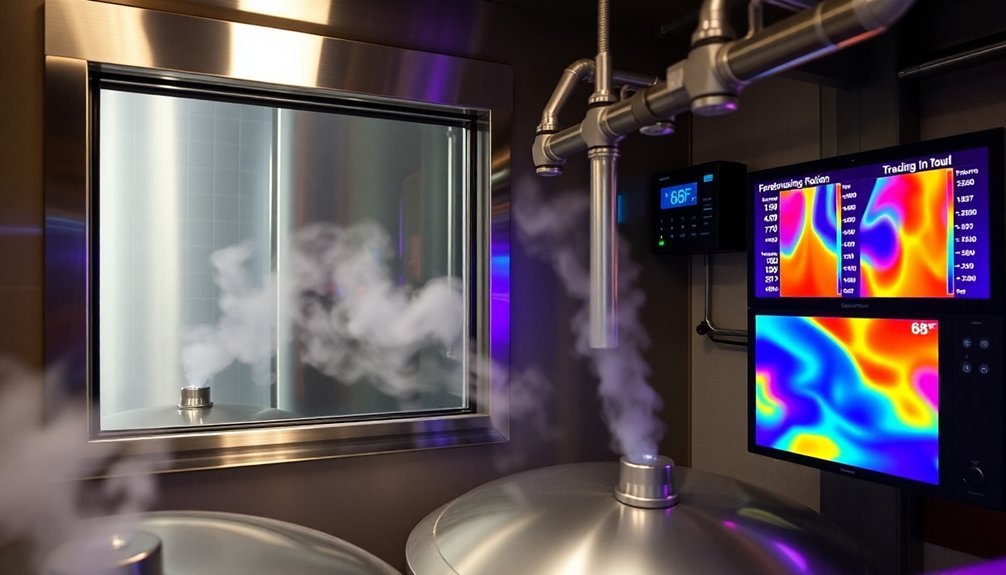
Implementing automated temperature systems revolutionizes the precision and reliability of lactic fermentation. You'll gain superior control through digital controllers and advanced sensors like thermocouples and thermistors, ensuring your fermentation stays within ideal temperature ranges.
These systems can seamlessly switch between heating and cooling modes, maintaining consistent conditions without manual intervention.
Modern automated systems offer multi-parameter control capabilities, allowing you to monitor and adjust several factors simultaneously. When setting up your system, you'll want to focus on these critical components:
- Dual-stage temperature controllers for managing both heating and cooling outputs
- Digital sensors with remote monitoring capabilities
- Circulating temperature control units with jacketed walls or internal coils
- Integrated software for real-time monitoring and automatic adjustments
You can enhance your fermentation process by incorporating advanced equipment like PRESTO Temperature Control Systems or DYNEO DD heating circulators.
These systems integrate seamlessly with bioreactors and allow for precise control over temperature differentials. They'll also help you maintain compliance with industry standards while providing the flexibility to scale your operation based on specific fermentation needs.
Temperature Troubleshooting Tips
Successful lactic fermentation depends heavily on identifying and resolving temperature-related issues quickly. If you notice your ferments aren't progressing as expected, first check if your temperature falls within the ideal 60-70°F (16-21°C) range, with 65°F (18°C) being perfect.
When your fermentation environment is too warm (above 72°F/22°C), you'll likely see pink coloration in sauerkraut and mushy vegetables. If you spot these signs, move your ferments to a cooler location immediately. Consider using a basement or temperature-controlled space to maintain proper conditions.
If your fermentation is too cold (below 58°F/14°C), you'll notice slow bacterial activity and delayed acid production. To fix this, try moving your ferments to a warmer spot in your home, or use a heating mat with a thermostat to maintain consistent temperatures.
Remember to monitor your ferments regularly and watch for warning signs like yeast growth or unusual textures. If your fermentation seems slow, don't hesitate to adjust the temperature within the ideal range.
Keep in mind that maintaining proper temperature not only promotes successful fermentation but also fosters better flavor development and longer storage life.
Seasonal Temperature Adjustments

As the seasons change, so do the challenges of lactic fermentation. You'll need to adjust your techniques to maintain optimal outcomes throughout the year.
During winter months, you'll face slower fermentation and reduced microbial activity, while summer brings rapid fermentation that requires closer monitoring.
In cold weather, you'll want to compensate for sluggish fermentation by using more starter tea and allowing longer fermentation times. Your ferments might develop more muted flavors, so consider using bolder ingredients to achieve desired taste profiles.
During warm weather, you'll need to watch your ferments more carefully, as they can quickly become over-acidic or develop unwanted yeasty flavors.
To maintain consistent results year-round, follow these key adjustments:
- Increase fermentation time by 25-50% in winter months
- Use more starter culture during cold weather to combat harmful bacteria
- Check ferments daily during summer to prevent over-fermentation
- Reduce starter culture amounts in warm weather to slow fermentation
Remember that the ideal temperature range remains 60°F to 70°F (15°C to 21°C), so you'll want to find creative ways to maintain these conditions regardless of season.
Combining Heat and Timing
Balancing heat and timing creates the foundation for successful lactic fermentation. You'll need to maintain temperatures between 60-70°F (16-21°C) for most vegetable ferments, while dairy products require warmer conditions of 20-42°C. When you're working with Spanish-style ferments, raising temperatures to 20-24°C will speed up the process.
You'll want to carefully time your heat treatments to preserve beneficial compounds. While heat can reduce carotenoids and polyphenols, it won't greatly impact your ferment's pH, acidity, or sugar content.
To optimize lactic acid production, divide your fermentation process into distinct temperature-controlled phases. This approach helps you maintain the right bacterial balance, particularly for supporting beneficial strains like Leuconostoc mesenteroides.
Watch your timing closely when temperatures rise above 70°F (21°C), as this can inhibit essential bacteria and lead to off-flavors.
You'll achieve the best results by maintaining consistent temperatures throughout fermentation, which guarantees proper acid development and helps prevent unwanted microbial growth.
Remember that proper temperature control directly affects your final product's texture, flavor profile, and shelf life.
Frequently Asked Questions
Can Lactic Fermentation Continue if Power Outages Occur During Temperature-Controlled Processes?
Yes, your lactic fermentation can continue during power outages, but you'll notice slower activity and potential quality issues. It's best to use insulated vessels and have backup power to maintain ideal temperatures.
How Does Altitude Affect Optimal Temperature Ranges for Lactic Acid Production?
At higher altitudes, you'll need to adjust your ideal temperature ranges upward by 2-5°F, since reduced air pressure and oxygen levels slow down fermentation rates and affect your lactic acid production efficiency.
What Emergency Backup Systems Work Best for Maintaining Temperature Control?
You'll want a battery backup system for your sensors and controllers, paired with insulated chambers. Don't forget swamp coolers as a reliable backup – they'll keep working during outages using simple evaporative cooling.
Does Electromagnetic Radiation From Nearby Equipment Impact Fermentation Temperature Readings?
Yes, nearby electromagnetic radiation can interfere with your temperature readings. You'll need to shield your sensors and monitoring equipment to guarantee accurate measurements and prevent false readings during your fermentation process.
How Do Different Container Materials Affect Temperature Stability During Fermentation?
You'll find stainless steel provides the best temperature stability, while oak offers natural but less precise control. Glass and plastic containers need external temperature management, as they don't maintain consistent temperatures independently.
In Summary
You've now gained extensive knowledge of temperature control in lactic fermentation. Put these techniques into practice by starting with simple ferments and gradually working your way up to more complex projects. Remember to keep detailed temperature logs, invest in reliable monitoring equipment, and don't hesitate to adjust your methods based on seasonal changes. With consistent application, you'll master the art of temperature-controlled fermentation.


Leave a Reply