
Start your ash curing process at lower temperatures (35-45°C) and gradually increase to 65-90°C for best results. You'll want to maintain consistent temperature control through sensor checks and proper air circulation. Don't let ground temperatures drop below freezing, and keep concrete above 40°F for the first 48 hours. Higher temperatures (60-80°C) boost early strength development, while extended curing at moderate temperatures (40-60°C) maximizes long-term strength. You'll need to monitor moisture levels and use protective measures like insulating blankets and breathable sealants. For best performance, guarantee proper slag content management and temperature stability. These fundamentals are just the beginning of mastering the ash curing process.
Optimal Temperature Control Methods

When managing ash curing temperatures, achieving precise control requires a systematic approach that begins with lower temperatures of 35-45°C.
You'll need to gradually increase the temperature until you reach the ideal range of 65-90°C, monitoring carefully throughout this change phase.
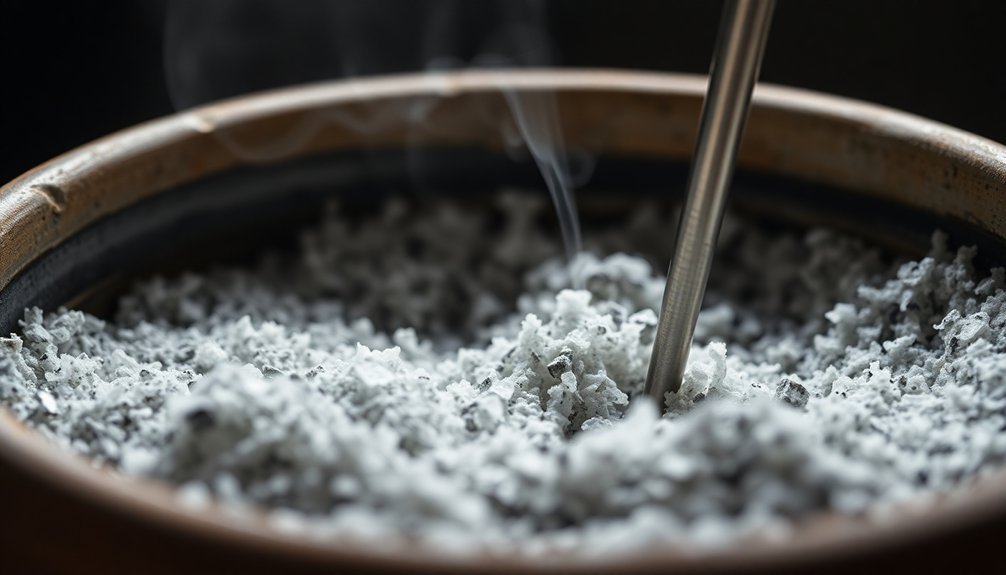
During the ignition process, you'll want to maintain a steady temperature of 550°C for three hours, with the option to increase to 600°C if needed. The dimensional stability of ash wood greatly depends on maintaining proper temperature control during this phase.
It's essential that you don't transfer the material to a desiccator until the temperature falls below 200°C but stays above 150°C.
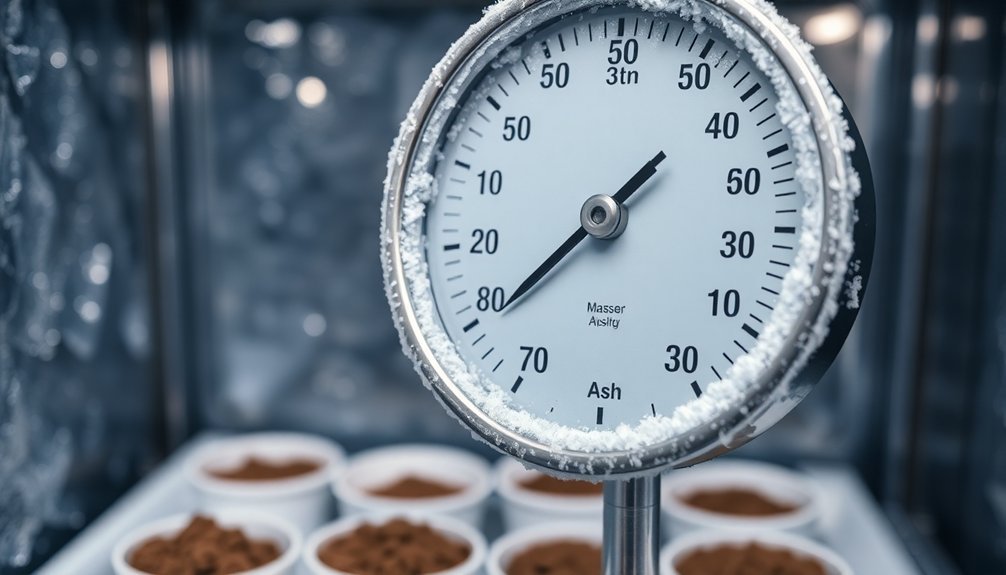
You'll need to use both sensor checks and manual monitoring to guarantee temperature consistency.
Install temperature controllers at strategic points throughout your curing chamber to maintain desired levels.
As you progress through different stages, you'll adjust these parameters accordingly.
Keep in mind that proper air circulation plays an important role in temperature control.
You should fine-tune fan placement and ventilation to prevent temperature variations within the chamber.
Don't forget to provide fresh air intervals by opening the furnace door between ignition cycles, as this facilitates proper oxidation of refractory organics.
High-Temperature Curing Benefits
The remarkable benefits of high-temperature curing extend far beyond basic strength development. You'll achieve impressive compressive strength of up to 135 MPa within just 7 days, while considerably reducing microcracks through better water retention during the curing process.
You can expect superior durability when you implement high-temperature heat treatment at 200°C. Your geopolymer concrete will maintain about 50% residual strength even after extreme alkali exposure, while the formation of crystalline minerals like albite and sillimanite enhances its long-term performance. Regular curing at 60-80 degrees Celsius for 24 hours is sufficient for most fly ash geopolymer concrete applications.
You'll also notice reduced silicon and aluminum leaching from the concrete matrix.
For practical applications, you'll find high-temperature curing particularly valuable in precast element production. You can speed up manufacturing time and quickly deploy elements like beams, girders, and railway sleepers. The process adapts well to existing factory settings, making implementation straightforward.
Your concrete's overall performance will improve with better workability and reduced water demand. When you're working with mass concrete placements, you'll benefit from decreased heat of hydration, effectively minimizing heat rise problems while maintaining structural integrity.
Cold Weather Processing Solutions
Successfully processing concrete in cold weather demands careful attention to significant temperature thresholds and specialized preparation techniques.
Similar to traditional ash curing methods, cold weather preservation requires specific timing and environmental controls.
You'll need to guarantee ground temperatures remain above freezing and maintain concrete temperatures above 40°F during the vital first 48 hours of curing.
Start by heating your materials and using specialized cold-weather mixes. You'll want to incorporate Type III Portland cement and accelerating admixtures like calcium chloride to speed up setting times.
Don't forget to monitor temperatures continuously using infrared guns to verify you're maintaining proper conditions.
Protect your concrete from freezing by using insulating blankets and leaving forms in place longer than usual.
If you're working with high-load structures, you'll need to maintain temperatures at 50°F or higher for at least 20 days.
When using heated enclosures, pump in live steam to prevent moisture loss, and remember to cool the structure gradually to avoid cracking.
Wait until all bleed water has evaporated before finishing, as cold weather extends bleeding time.
You shouldn't pour concrete when nighttime temperatures drop below freezing, and always guarantee you're using breathable sealants in extremely cold regions to allow proper moisture evaporation.
Strength Development Time Frames
Understanding three key time frames helps you track strength development in ash-cured concrete: early-age, medium-term, and long-term periods. You'll notice significant strength gains within the first 24 hours, especially under steam curing at 60-80°C. A proper 24-hour rest period before curing will enhance your compressive strength results.
In the medium term, you'll see steady increases up to 28 days, with AAM mortars reaching up to 83.6 MPa under standard conditions. If you're using heat curing, you can achieve 28-day strength in just 3 days with high-volume fly ash UHPC.
| Time Frame | Temperature | Expected Strength Development |
|---|---|---|
| 24 Hours | Standard | Up to 31.7 MPa |
| 24 Hours | 60-80°C Steam | Rapid early strength |
| 7-28 Days | 60°C | 10% increase |
| 28 Days | Standard | Up to 83.6 MPa |
| 84+ Days | Ambient | Up to 125% increase from 7 days |
For long-term development, you'll find that ambient-cured specimens continue strengthening up to 84 days, showing a 125% increase from 7-day strength. However, watch for potential strength decreases in specimens cured at 80°C due to microcracking and chemical shrinkage effects.
Slag Content Effects
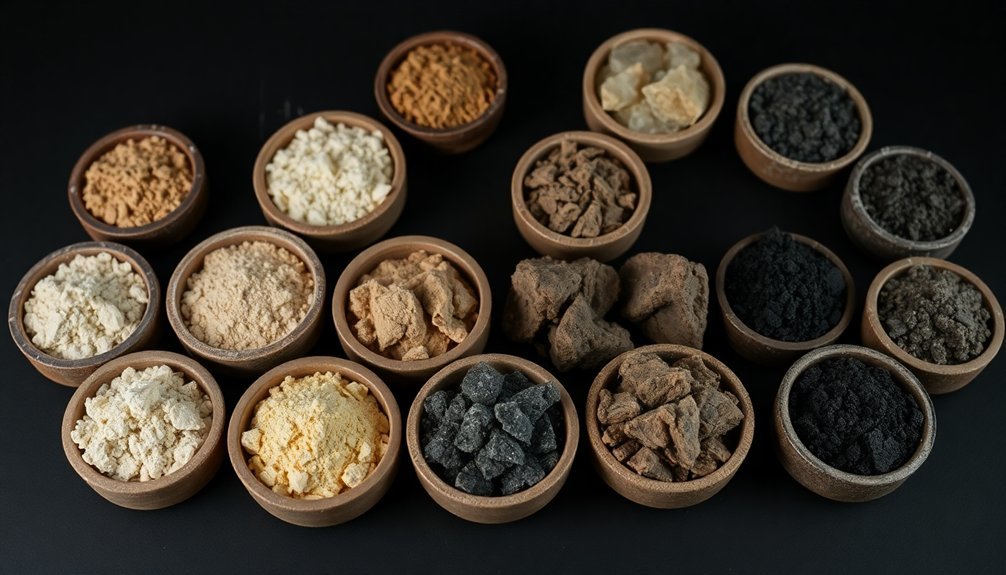
You'll find that slag content plays a vital role in determining the performance of fly ash geopolymer mortars, with higher slag percentages markedly reducing setting times from over 3000 minutes to as low as 140 minutes.
When you increase slag content up to 20%, you'll notice improved strength development through enhanced internal curing effects and the formation of beneficial C-A-S-H gels.
Your ideal results typically come from carefully controlling slag ratios, as they directly influence workability, microstructure development, and final strength characteristics.
Slag Ratios Drive Performance
Acting as an essential performance driver, slag content greatly influences the setting time and strength development of fly ash-geopolymer mortars.
You'll notice dramatic reductions in setting time as you increase slag content – adding just 5% slag can cut setting time from 3160 to 1290 minutes, while 30% slag reduces it to a mere 140 minutes.
You'll achieve better mechanical properties by optimizing your slag ratios. The slag's vitreous phase releases Al³⁺, Ca²⁺, and Si⁴⁺ ions, forming C-A-S-H gel under OH⁻ action.
This process creates a denser, more compact structure compared to N-A-S-H gel from fly ash alone. You'll also benefit from reduced porosity and increased tortuosity in the mortar.
When you're adjusting slag content, remember it affects your curing requirements. Higher slag percentages decrease the time needed to reach the 45 MPa strength requirement.
While you can cure at lower temperatures (20°C) for logarithmic strength development, higher temperatures (60-80°C) will accelerate strength maximization.
However, be cautious with heat curing at high temperatures, as it can potentially lower compressive strength, especially with high slag content.
Higher Content Increases Strength
Building upon the performance benefits of slag, increasing its content dramatically boosts the compressive strength of alkali-activated concrete (AAC).
You'll notice a significant 200% strength increase when you raise slag content from 0% to 60%. When you combine slag with fly ash in a 1:1 ratio, you can achieve an impressive 600% increase in Unconfined Compressive Strength (UCS) after 28 days of curing.
While higher slag content enhances strength, you'll need to manage its impact on workability. The material sets faster with increased slag content, which can affect your construction timeline and placement methods.
The trade-off comes with improved microstructure, as slag promotes the formation of sodium-aluminate-silicate-hydrate gel and creates a more homogeneous structure.
- Strength Indicators:
- Achieves 2.5 MPa UCS at 28 days with partial fly ash replacement
- Shows finer pore size distribution compared to Portland cement
- Develops more uniform and dense microstructure
You'll also benefit from enhanced durability, as slag-based AAC demonstrates superior resistance to chemical damage, particularly in acidic environments.
Higher curing humidity helps maintain these strength properties over time.
Ms Value Temperature Relationships
You'll find that lower Ms values speed up reaction kinetics and lead to faster strength development in the first 24 hours.
When working with an Ms value of 1.5, you can achieve enhanced reaction rates by increasing the curing temperature.
While higher Ms values around 2.0 make temperature adjustments less effective, you can optimize strength by matching lower Ms values with elevated curing temperatures, though this may result in reduced overall compressive strength.
Lower Ms Accelerates Reactions
Understanding how lower Ms values affect reaction kinetics is vital for achieving ideal ash curing results. When you're working with lower Ms values, you'll notice accelerated reaction rates during the first 24 hours, which helps achieve required compressive strength more quickly.
This acceleration becomes even more pronounced when you're using higher slag contents in your mixture.
At Ms = 1.5, you'll find that increasing the curing temperature enhances the reaction kinetics considerably. While lower Ms values lead to faster setting times, keep in mind that this might result in slightly lower compressive strengths.
However, this trade-off is often worth considering, especially in cold-weather conditions where achieving proper strength development can be challenging.
- Lower Ms values create faster reaction speeds in the first 24 hours
- Higher slag content amplifies the acceleration effect of lower Ms values
- Ideal temperature interaction occurs at Ms = 1.5, showing enhanced kinetics as temperature rises
When working with geopolymers, you'll need to balance these factors carefully. The relationship between Ms value and temperature is particularly essential for improving your curing process, and you'll find that lower Ms values often allow for more flexibility in curing temperatures without compromising strength requirements.
Ms Affects Optimal Temperature
The relationship between Ms value and curing temperature creates specific ideal combinations for successful ash curing. You'll find that lower Ms values allow you to cure at higher temperatures, though you'll need to accept reduced compressive strengths as a trade-off.
For best results with Ms values between 1.9 and 1.0, you should stick to lower curing temperatures.
When you're working with an Ms value of 2.0, avoid high temperatures as they can prevent your geopolymer mortars from reaching required 28-day strength. If you're dealing with Ms = 0.89, you can achieve maximum 28-day strength of 27 MPa at 75°C.
You'll notice that curing at 20°C and 40°C produces slower reactions, while 60°C accelerates the process regardless of Ms value.
Don't exceed 65°C in your curing process, as this is typically the maximum beneficial temperature across all Ms values.
If you're working in cold conditions, you'll experience delayed setting times, but you can still achieve equivalent 28-day strengths to ambient temperature curing.
Remember that decreasing both curing temperature and Ms value will increase your rate of strength development.
Ms-Temperature Strength Correlation
Different combinations of Ms values and curing temperatures create distinct strength development patterns in ash-based geopolymers.
You'll find that lower Ms values generally produce higher compressive strengths, except during the first 24 hours of curing. When you're working with lower slag contents, the impact of Ms value becomes even more pronounced, and you'll need to adjust your curing temperatures accordingly.
Temperature plays an essential role in strength development, but it's not as simple as "hotter is better." While higher temperatures speed up initial setting and can achieve maximum strength within 24 hours, they might reduce your 28-day compressive strength.
You'll get best results by matching your Ms value to the right curing temperature range.
- At Ms = 1.5: Higher curing temperatures consistently enhance reaction kinetics and strength development
- At 60°C: You'll meet minimum 28-day strength requirements regardless of Ms value or slag content
- At cold temperatures: Setting time increases, but final strength matches ambient curing if you're patient
Early Stage Curing Protocols

Successful ash curing begins with carefully planned early-stage protocols that establish the foundation for ideal results. You'll need to verify your project meets all building codes while maintaining strict temperature control between 50°F and 90°F for ideal curing conditions.
Start by developing a thorough monitoring system. You'll want to use maturity meters to track temperature-strength relationships and conduct regular inspections for any surface defects or uneven curing patterns. Document all observations meticulously, as this data will prove invaluable for quality assurance.
Moisture management is critical during early stages. Apply appropriate curing compounds or membranes to prevent moisture loss, and consider using damp burlap covers to maintain consistent humidity levels. Don't oversaturate the surface, as this can compromise the curing process.
Set up environmental controls before beginning. You'll need proper heating or cooling systems to maintain steady temperatures, along with insulation materials to protect against extreme fluctuations.
Remember to verify your equipment and resources beforehand, confirming you've got everything needed for the specific concrete mix design you're working with. Regular strength testing throughout the process will help confirm you're achieving the desired results.
Ambient Temperature Processing Guidelines
Following proper early-stage protocols, ambient temperature processing requires careful attention to specimen preparation and curing conditions.
You'll need to maintain specimens at 23 ± 2°C (73 ± 3°F) while ensuring they're covered with an impermeable sheet to prevent moisture loss. This process helps develop initial strength and minimizes microcracks before any elevated temperature curing might be applied.
For ideal results in ambient temperature processing, you'll want to focus on these key aspects:
- Rest time of 24 hours before curing – this allows proper formation of aluminosilicate gel and prevents cracking from sudden moisture loss.
- Proper specimen preparation using standard proctor-sized samples, with six specimens for each activator-fly ash combination.
- Specific curing conditions based on activator type – use 37.8°C for lime/kiln dust activators, but maintain 22.8°C for portland cement activators.
You can expect strength development to increase by approximately 125% between 7 and 84 days under ambient curing conditions.
The most significant strength gains occur within the first 28 days, though you'll continue to see slower improvements over extended periods up to 624 days.
Temperature Range Considerations
When selecting ideal curing temperatures for ash, you'll need to work within specific ranges that maximize strength development while avoiding structural issues. The best range falls between 40-60°C, with 60°C enabling you to achieve near-maximum compressive strength within 24 hours.
You'll find that temperatures above 60°C can boost early strength, but don't push beyond 80°C as the benefits diminish. If you're working with temperatures below 40°C, expect slower reaction rates and delayed strength development, particularly under 20°C where reactions won't accelerate until after a week.
Keep in mind that 65°C serves as your critical upper limit – there's no notable strength gain beyond this point, regardless of your Ms value or slag content.
While higher temperatures (60-80°C) speed up early strength development, they won't necessarily improve your long-term strength compared to lower temperature curing.
You'll want to take into account your specific needs when choosing a curing temperature. If you're prioritizing early strength, aim for 60°C. For balanced durability properties, including water absorption and void ratio, stay within the 40-60°C range.
Remember that curing times typically shouldn't exceed 48 hours, as extended periods won't notably enhance geopolymerization.
Long-Term Strength Maximization
Maximizing strength over the long term depends heavily on getting your component ratios right from the start. You'll want to aim for a 35/65 fly ash to GGBFS ratio, which can help you achieve impressive compressive strengths of around 70 MPa at 28 days. The higher GGBFS content will boost your bulk density while reducing porosity.
For ideal activation, you'll need to carefully manage your sodium metasilicate content. When used properly, it can help you reach compressive strengths of up to 80 MPa at 91 days. This activator is vital for promoting NASH gel formation, which greatly contributes to late-stage strength development.
- Extend your curing time to 91 days whenever possible – you'll see continued strength development through increased CASH gel formation.
- Combine fly ash with silica to prevent strength retrogression, especially important for oil well cements.
- Maintain stable curing conditions to guarantee proper hydration product development and consistent pore size distribution.
Remember that while fly ash might affect your early strength, it won't greatly impact your long-term strength when properly combined with other components. Focus on achieving stable microstructure development through extended curing periods.
Frequently Asked Questions
How Does Humidity Affect the Curing Temperature Requirements for Ash-Based Materials?
You'll need higher curing temperatures when humidity's elevated, as moisture slows down reactions. At 60%+ humidity, you should increase temperatures by 5-10°F to maintain proper curing rates in ash-based materials.
Can Different Types of Fly Ash Require Different Optimal Curing Temperatures?
Yes, you'll need different curing temperatures for Class F and Class C fly ash. While Class C performs well at standard temperatures, Class F often requires higher temperatures (80-100°C) to achieve ideal reaction rates.
What Safety Precautions Are Needed When Curing Ash at High Temperatures?
You'll need proper PPE including respirators and heat-resistant gloves. Guarantee good ventilation, avoid confined spaces, and keep fire extinguishers nearby. Don't generate dust clouds, and maintain emergency shower access during high-temperature curing.
Does the Particle Size of Fly Ash Influence the Optimal Curing Temperature?
Yes, your fly ash's particle size affects ideal curing temperature. You'll need higher temperatures for larger particles, while finer particles react well at moderate temperatures (around 20°C) and produce better strength development.
How Do Chemical Admixtures Affect Temperature Requirements During the Curing Process?
You'll find chemical admixtures directly impact curing temperatures. They can either increase or lower temperature requirements, helping you maintain ideal conditions. Accelerators raise needed temperatures, while retarders let you cure at lower temperatures.
In Summary
You'll achieve the best results with fly ash concrete by maintaining strict temperature control throughout the curing process. Whether you're working in cold or hot conditions, following proper curing protocols and monitoring temperature ranges will greatly influence your concrete's final strength. Don't overlook the importance of early-stage care – it's essential for long-term durability. Remember, your curing strategy must adapt to both ambient conditions and slag content.


Leave a Reply