You'll find three simple ways to start fermenting vegetables at home. First, try dry salting by sprinkling salt directly onto shredded vegetables like cabbage and massaging until they release their natural juices. Second, use the submersion method by making a salt-water brine and pouring it over whole vegetables like cucumbers in a jar. Third, create mixed vegetable ferments by combining various chopped vegetables with salt and seasonings in a single batch. Each method requires basic kitchen tools, proper salt ratios, and a cool spot away from direct sunlight. Discover which technique matches your fermenting goals and preferred vegetables.
Dry Salting Vegetables

Through a simple yet effective process, dry salting draws out natural moisture from vegetables to create their own fermentation brine. You'll find this method works best with high-moisture vegetables like cabbage, though it's also suitable for shredded carrots, radishes, and cucumbers. Even sliced peppers and onions can benefit from this technique. This method uses approximately 2% salt by weight for optimal fermentation.
To begin, you'll need to chop or shred your vegetables to increase their surface area, which speeds up the water release process.
Once prepared, sprinkle salt directly onto your vegetables and mix thoroughly. You'll need to knead the mixture to help release the natural juices that will form your brine.
Pack your salted vegetables into a clean jar, pressing down firmly with each layer to eliminate air bubbles. You'll need to use a tamper to guarantee they're packed tightly, leaving about an inch of headspace at the top.
Add a weight to keep the vegetables submerged in their own juices. If you find they're too dry, you can add some dechlorinated water.
Seal your jar with a fermentation attachment and let it ferment at room temperature for 5-7 days.
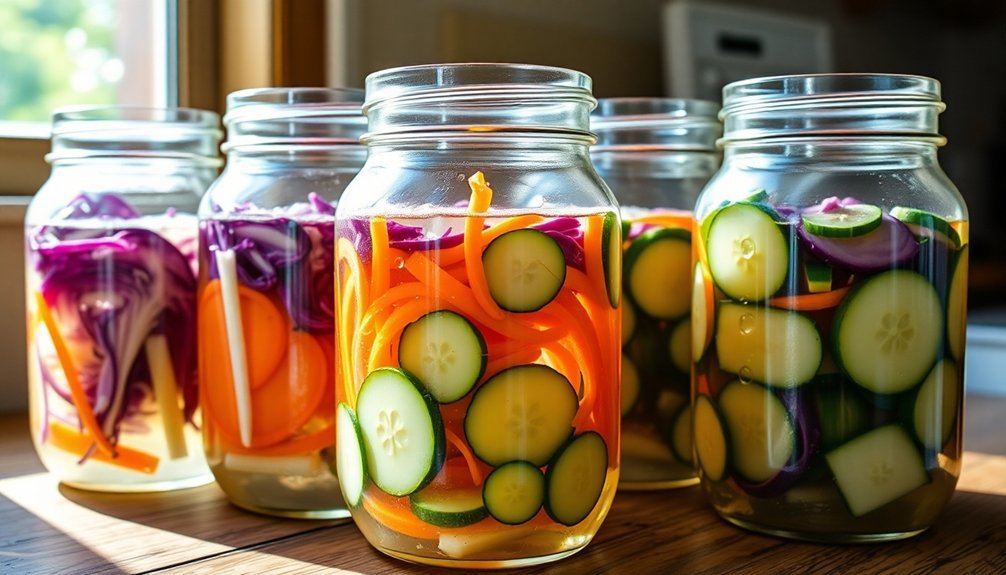
Making Simple Vegetable Brine
Creating a successful vegetable ferment starts with a properly balanced brine solution. You'll need to mix 2 tablespoons of kosher or sea salt (without anti-caking agents) with 4 cups of filtered water. Don't use tap water, as the chlorine can interfere with fermentation. Chopped vegetables will ferment faster than whole pieces.
For extra flavor, you can add whole spices like cumin seeds, peppercorns, or garlic cloves to your brine.
When making your brine, follow these essential steps:
- Dissolve your salt completely in room-temperature water by stirring vigorously.
- Pack your cleaned vegetables tightly in a glass jar, leaving 1 inch of headspace.
- Pour the brine over your vegetables until they're fully submerged, maintaining ½ inch of space above the brine.
You'll need to keep your vegetables submerged using fermentation weights or springs. Cover your jar with an airlock lid or valved lid to allow gases to escape while preventing excess air from entering. If you're using regular lids, you'll need to "burp" them daily.
Keep your fermenting vegetables at 60-75°F, away from direct sunlight, for 3-6 days before tasting.
Mixed Vegetable Fermentation Method
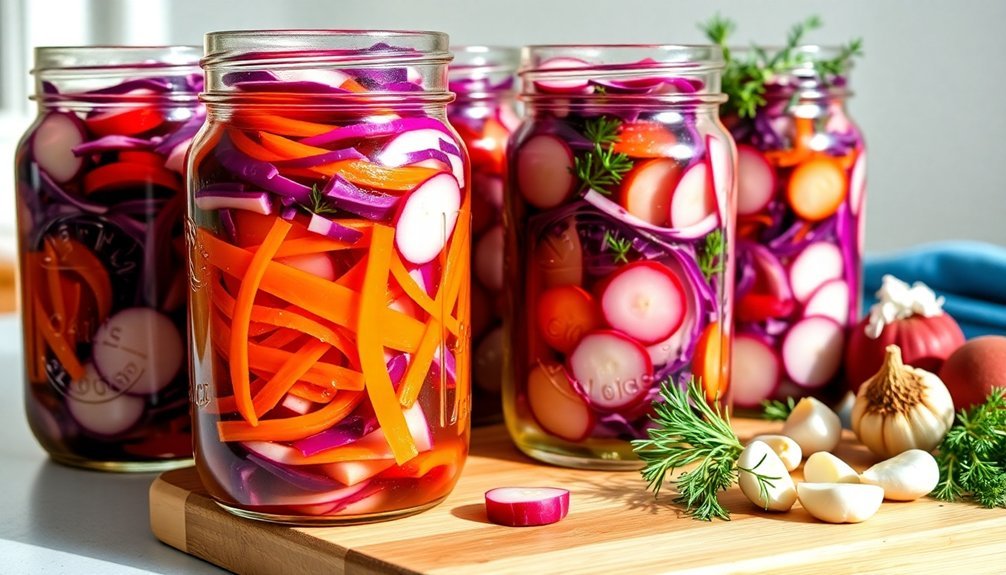
When you're ready to venture beyond basic ferments, mixed vegetable fermentation offers endless creative possibilities. You'll want to select a variety of vegetables like cabbage, radish, cauliflower, and turnip, while using beets and carrots sparingly.
Add fresh ginger, garlic, or hot peppers for extra flavor, along with dry herbs such as caraway or oregano. Distilled or filtered water works best for preparing your brine solution.
Chop or grate your vegetables according to preference, then thoroughly mix them with salt until they release their natural juices.
Pack this mixture into a clean fermentation crock or glass container, leaving about ¼ space at the top. You'll need to keep the vegetables submerged under the brine using weights or a brine-filled plastic bag.
Watch for bubbles around the edge after three days – that's your sign that fermentation is active. The process typically takes 2-4 weeks to complete, and you'll know it's done when the bubbling stops.
Transfer your fermented vegetables to clean, sealed containers and store them in the refrigerator, where they'll keep for up to six months. Remember to check regularly for any signs of mold or contamination.
Frequently Asked Questions
How Long Can Fermented Vegetables Last in the Refrigerator?
Your fermented vegetables can last 3-12 months in the fridge when stored properly. They'll keep best between 32-50°F, but you'll want to eat them within 3-6 months for ideal taste and texture.
What Signs Indicate That Fermented Vegetables Have Gone Bad?
You'll know your fermented vegetables have gone bad if you spot mold, detect rotten smells, notice slimy textures, see unusual color changes, or taste unexpectedly sour or bitter flavors. Trust your senses when checking.
Can I Reuse the Brine From Previous Fermentations?
Yes, you can reuse fermentation brine! Add it to new vegetables to kickstart fermentation faster. It's rich in beneficial bacteria and can be stored in your fridge for up to six months.
Why Do My Fermented Vegetables Taste Too Sour or Too Salty?
If your ferments are too sour, you've likely fermented them too long. If they're too salty, you've added too much salt initially. You can adjust by shortening fermentation time or reducing salt next batch.
Can I Use Tap Water for Making Fermentation Brine?
Don't use tap water directly for fermentation brine. Its chlorine and chloramine kill good bacteria. You'll need to filter it, let it sit for 30 minutes, or boil it first before using.
In Summary
You've now learned three straightforward methods to ferment vegetables – dry salting, brine fermentation, and mixed vegetable fermentation. Whether you're starting with basic cabbage or experimenting with mixed vegetables, you'll find these techniques simple to master. Don't be afraid to try different combinations and seasonings as you become more confident. Soon you'll have your own collection of probiotic-rich, tangy fermented vegetables to enjoy.


Leave a Reply