
A vertical herb drying rack offers the perfect solution to maximize your kitchen's drying capacity while preserving valuable counter space. You'll love how it allows you to dry multiple herb batches simultaneously using durable polyester mesh and stainless steel materials that guarantee proper air circulation and prevent mold. Simply mount it on unused wall space or over a door, then hang your freshly harvested herbs in small bundles of 5-8 stems. The waterproof, dust-proof fabric with secure zippers protects your herbs throughout the drying process. These space-efficient racks can help you save hundreds on store-bought dried herbs, and there's much more to discover about maximizing your herb preservation potential.
Benefits of Vertical Drying
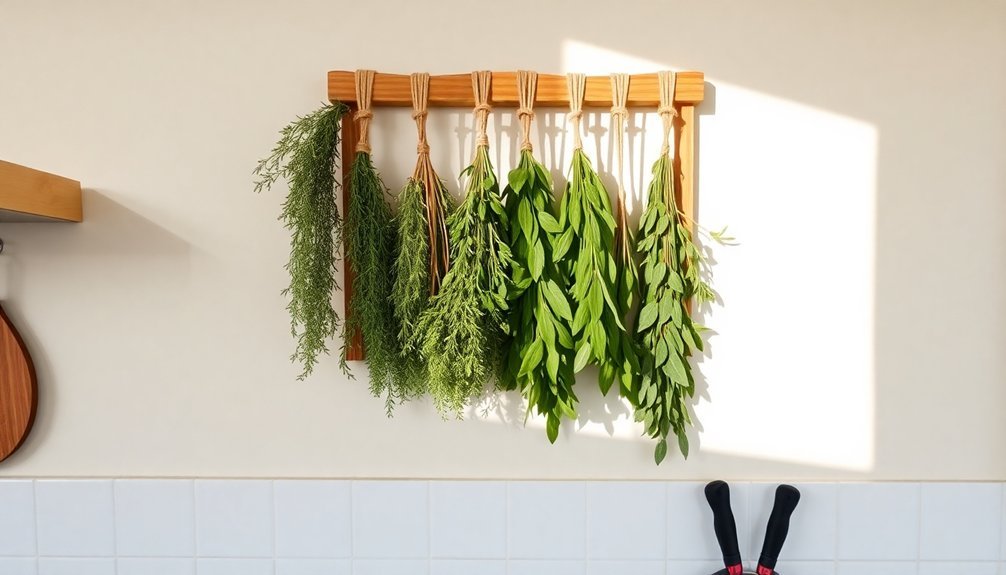
Several practical advantages make vertical drying an excellent choice for preserving herbs. When you utilize vertical space, you'll maximize your kitchen's drying capacity while keeping valuable counter space free. This method lets you dry multiple batches of herbs simultaneously, making the most of limited areas without compromising efficiency.
You'll find that vertical drying systems are incredibly adaptable to your available space. Whether you're working with a small apartment kitchen or a spacious pantry, you can customize the height and width of your drying setup using simple materials like cheesecloth or screens. Using repurposed embroidery hoops can provide an affordable and effective drying solution. By incorporating overhead racks or clotheslines, you'll transform unused ceiling space into productive drying zones.
The vertical arrangement offers superior air circulation, which is essential for properly preserving your herbs. As air flows freely around each layer, you'll achieve faster drying times and reduce the risk of mold development.
You won't need electricity to maintain this natural drying process, and your herbs will retain their essential oils and flavors better. If you're drying indoors, you can enhance airflow by positioning a fan nearby to guarantee even drying across all layers.
Choosing the Right Location
Once you've planned your vertical drying setup, selecting an ideal location will determine your herbs' drying success. You'll want to find a cool, dry spot away from direct sunlight to preserve your herbs' flavor and color. The perfect location should have good air circulation while staying clear of moisture sources like sinks and stoves. An over-the-door installation can be a perfect solution for renters who can't make permanent modifications.
Consider these critical placement factors for excellent results:
- Mount your rack on unused wall space or behind a door, ensuring it doesn't interfere with kitchen traffic.
- Choose a spot that's easily accessible for monitoring and harvesting.
- Select an area away from strong-smelling foods and cooking zones to prevent flavor contamination.
Your drying rack's location should integrate seamlessly with your kitchen's workflow while maintaining both function and style. Make sure the mounting area can support the rack's weight and allows for proper ventilation.
If you're working with limited space, utilize vertical storage solutions that maximize efficiency without compromising on accessibility. Keep the area clean and free from dust, and consider adding protective elements if needed.
Essential Design Features
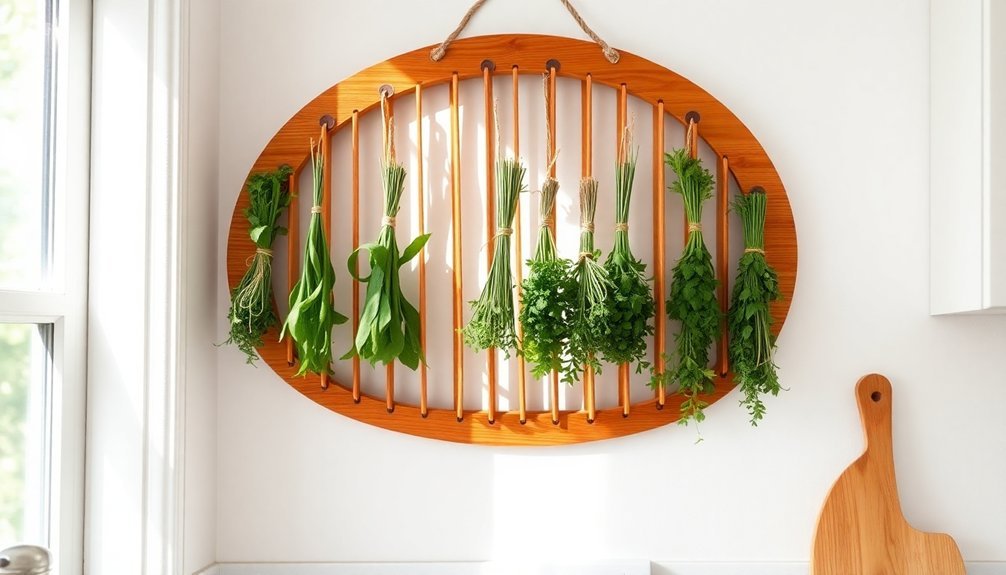
Successful herb drying racks incorporate key design features that guarantee ideal preservation of your harvest. A high-quality rack will feature durable polyester mesh and stainless steel construction, assuring it maintains its shape and functionality over time. With a 24-inch diameter, this rack provides ample space for organizing multiple layers of herbs.
The mesh design is vital, as it promotes optimal air circulation while preventing mold and mildew formation. You'll want to look for a rack with waterproof and dust-proof fabric on top to protect your drying herbs from external contaminants.
Rugged zippers are fundamental for securing your plant material and keeping unwanted visitors at bay. The rack's cylindrical shape, combined with its layered compartments, assures consistent airflow around all items, promoting faster and more uniform drying.
For maximum convenience, choose a rack with a foldable design that comes with a storage bag. You'll appreciate the ability to quickly set up and break down the rack as needed.
The balanced chamber height of 7.8 inches enhances drying speed while keeping operation simple. Look for customizable features like "Hook & Loop" combinations and "S" hooks that let you adjust the configuration to fit your specific space requirements.
Installation and Setup Steps
Getting your herb drying rack up and running starts with finding the perfect spot in your kitchen that offers good air circulation and easy access.
You'll need basic tools like a measuring tape, level, and appropriate mounting hardware to guarantee a secure installation that can support the weight of your herbs.
Once you've marked your mounting points and installed the hardware properly, you can set up your rack with the necessary components like baskets, dowels, or slats to create an efficient drying system.
Choosing Perfect Mounting Location
Setting up your herb drying rack starts with pinpointing the perfect mounting location in your kitchen. You'll want to carefully measure your wall space and find the center point for a balanced installation. Consider selecting a spot that's both functional and visually appealing, while guaranteeing it's free from obstacles like electrical outlets or switches that could interfere with the rack's placement.
When choosing your mounting location, focus on these critical factors:
- Adequate clearance for herb bundles to hang freely without touching walls or cabinets
- Proper ventilation to guarantee herbs dry effectively and prevent moisture buildup
- Easy accessibility for hanging and retrieving dried herbs
You'll need to account for the overall dimensions of your rack and the space required between dowels or hooks – typically 14 inches for comfortable herb bundle spacing.
Keep the rack at a practical height that allows you to work with your herbs without straining. If you're planning multiple rows or columns, guarantee the configuration maximizes your available space while maintaining accessibility.
Remember to position the rack away from direct sunlight and heat sources to preserve the quality of your drying herbs.
Tools and Assembly Guide
With your mounting location selected, the next step is gathering the right tools and following a proper assembly sequence for your herb drying rack. You'll need wood pieces (2x2s and 1x2s), metal mesh wire or embroidery hoops, screws or nails, wood glue, a drill with bits, and rope for hanging.
Start by constructing the frame using 2x2s to form a sturdy rectangle. Drill evenly spaced holes along the frame's sides, then insert and secure 1×2 slats using screws or dowels. Add wood glue to the joints for extra stability.
For the drying surface, you can either attach metal mesh wire across the frame or use embroidery hoops fitted with cheesecloth.
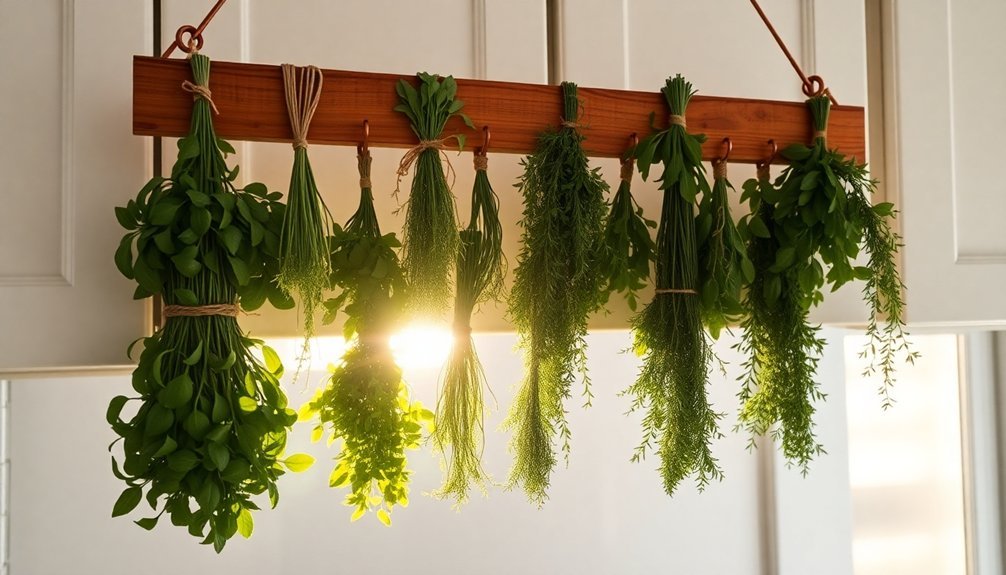
Once you've completed the basic structure, it's time to install your rack. If you're hanging it from the ceiling, secure strong hooks into ceiling joists and suspend the rack using rope or wire. Make sure it's perfectly level.
For countertop use, attach foldable legs or supports. Test the rack's stability by gently pressing down on various points. You're now ready to start drying your herbs with proper air circulation around each bundle.
Proper Herb Preparation Methods
Before placing herbs on your drying rack, you'll need to trim away any damaged, discolored, or wilted leaves to guarantee ideal drying results.
You should gently wash and thoroughly pat dry your herbs, as excess moisture can lead to mold growth during the drying process.
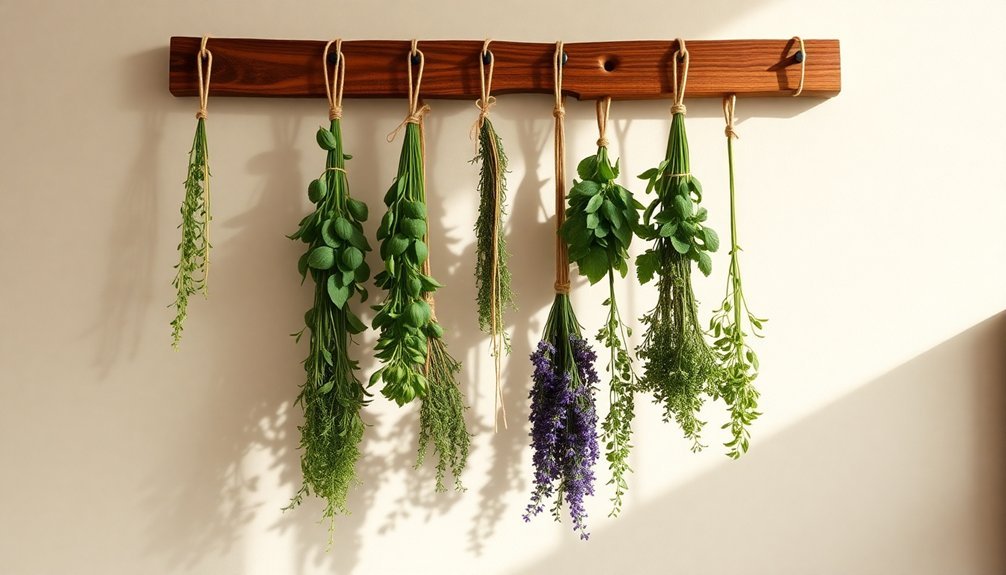
Bundle your herbs into small groups of 5-8 stems, keeping the bundles loose enough to allow proper air circulation while drying.
Trimming Before Drying
Proper trimming makes all the difference when preparing herbs for drying. You'll want to start by using sharp scissors or pruning shears to cut the stems just above a leaf node, which encourages bushier growth for future harvests.
It's best to harvest in the morning after the dew has dried, as this is when the herbs' essential oil content is at its peak.
Before placing your herbs on the drying rack, you'll need to:
- Strip leaves from stalks for herbs like sage, rosemary, thyme, and parsley
- Remove any yellow, brown, or diseased leaves
- Check thoroughly for pests and discard affected parts
Don't harvest more than one-third of the plant at once, as this allows for proper regeneration.
If you've collected herbs that need washing, give them a gentle rinse and pat them completely dry before proceeding with the drying process.
Confirm you're working in a clean environment to prevent contamination.
Remember to lay out your prepared herbs in a single layer on your drying rack, avoiding any overlap that could lead to uneven drying or potential molding.
Optimal Bundle Size
Creating the right bundle size is essential for successfully drying your herbs. You'll want to keep your bundles between ½ to 1.5 inches in diameter, adjusting based on the plant's moisture content. If you're working with herbs that contain more moisture, make thinner bundles to prevent mold growth. For drier herbs, you can create slightly larger bundles, but don't exceed the recommended diameter.
Secure your bundles tightly using rubber bands or twist-ties. Since herbs will shrink as they dry, it's important to use fasteners that can maintain their grip or be adjusted. Rubber bands naturally contract as the stems shrink, while twist-ties can be tightened manually during the drying process.
To guarantee proper drying, you'll need to hang your bundles upside down in a well-ventilated area. Keep them separated so air can circulate freely around each bundle. Cover them with brown paper bags to protect against dust and catch any falling leaves.
With proper air circulation, your herbs should dry within a week, though this may vary depending on humidity levels. Remember, smaller bundles dry more quickly and efficiently than larger ones.
Maximizing Storage Efficiency
Smart storage solutions are essential for any herb drying setup, and your kitchen offers numerous opportunities to maximize space efficiency. You'll find that vertical space is often underutilized, making it perfect for installing herb drying racks. By mounting hooks or wall shelving systems, you can create dedicated areas for your drying herbs while keeping them safely away from your food preparation zones.
To optimize your storage strategy, consider these space-maximizing techniques:
- Install a commercial grid wall system with adjustable hooks to accommodate varying bundle sizes
- Utilize empty wall spaces with DIY solutions combining peg racks and curtain ring clips
- Mount fold-away racks that you can collapse when not in use
Don't forget to make the most of your existing cabinet space by adding wire racks or shelves that can double your storage capacity.
If you're tight on counter space, implement pull-out shelving systems at ergonomic heights for easy access to your dried herbs.
Remember to incorporate proper ventilation in your storage solutions to maintain herb quality and prevent moisture buildup, which could compromise your carefully dried herbs.
Seasonal Usage Tips
As the seasons change throughout the year, your herb drying methods should adapt to maintain ideal results. You'll want to harvest your herbs just before their flowers open, gathering them in the early morning after the dew evaporates. Remember to handle the leaves gently to prevent bruising, and always rinse them in cool water before drying.
During humid summer months, you'll find better success using a dehydrator set to 125°F, while delicate herbs like basil and mint require extra attention to preserve their flavor. Here's a quick reference guide for seasonal drying methods:
| Season | Best Method | Key Tips |
|---|---|---|
| Summer | Dehydrator | Avoid sun drying; use controlled heat |
| Spring/Fall | Air Drying | Separate leaves for better airflow |
| High Humidity | Oven/Microwave | Use lowest heat setting possible |
Once your herbs are dried, store them in airtight containers in a cool, dark place. Don't forget to label each container with the herb type and drying date. Check your stored herbs periodically for moisture to prevent spoilage, and avoid crushing them when storing to maintain their quality longer.
Frequently Asked Questions
How Long Does It Take for Different Types of Herbs to Dry Completely?
You'll find drying times vary widely: 1-4 hours in dehydrators, a week for air drying, and overnight in ovens. Small leaves like thyme dry fastest, while woody herbs can take up to 18 hours.
Can I Dry Both Fresh and Store-Bought Herbs in the Same Rack?
Yes, you can dry both fresh and store-bought herbs together on the same rack. Just make sure they're all clean and completely dry before hanging them to prevent any mold growth during the drying process.
What's the Ideal Humidity Level for Indoor Herb Drying?
You'll want to maintain a relative humidity between 45-55% when drying herbs indoors. If you're drying cannabis, it's especially essential to stay within this range to prevent mold and preserve potency.
Should I Sanitize the Drying Rack Between Different Batches of Herbs?
Yes, you'll want to sanitize your drying rack between batches to prevent cross-contamination, eliminate bacteria, and maintain herb quality. Use hot soapy water, rinse thoroughly, and make certain it's completely dry before reuse.
Can Strong-Smelling Herbs Affect the Taste of Other Herbs Nearby?
Yes, strong-smelling herbs' volatile compounds can affect nearby herbs' flavors. You'll want to separate potent herbs like rosemary and basil from delicate ones to prevent their essential oils from altering other herbs' taste profiles.
In Summary
You'll find this vertical herb drying rack transforms your kitchen into an efficient drying station while saving valuable counter space. By following proper preparation methods and rotating your herbs seasonally, you've created a practical system that delivers fresh-dried herbs year-round. Keep monitoring air circulation and humidity levels to guarantee ideal drying conditions. Your investment in this space-saving solution will enhance both your cooking and kitchen organization.


Leave a Reply