
To safely store oils and vegetables at home, you'll need dark glass bottles or food-grade containers with proper sealing mechanisms to prevent contamination. Keep oils between 55-60°F in a cool, dark place away from heat sources and sunlight to maintain freshness. Use waterproof labels to track dates and contents, and regularly inspect for signs of degradation like rancid smells or color changes. For vegetables, maintain specific temperature ranges (32-55°F) and humidity levels (85-95%) based on the type. Don't forget to use designated pumps and catch trays for handling. The journey to mastering home preservation involves many more essential techniques and safeguards.
Essential Oil Storage Equipment
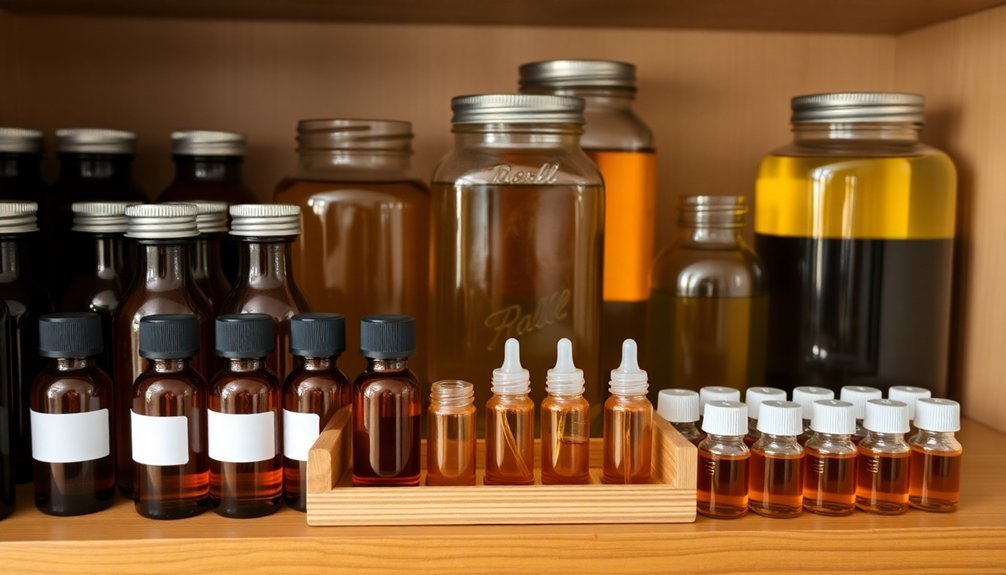
Four key types of equipment are essential for storing your oils safely: dark glass bottles, storage boxes, labeling supplies, and environmental protection tools.
You'll need amber or cobalt blue glass bottles that protect your oils from damaging UV rays and light exposure. These bottles should come in various sizes, typically 5ml and 10ml, with secure seals to prevent leakage and contamination. Consider using pegboard displays to maximize your storage space while keeping bottles easily accessible.
For organization, you'll want storage boxes with individual compartments that keep your bottles upright and prevent spills. Look for boxes with locks or latches to secure the contents, especially if you have children or pets in your home.
You can create custom organizers using thrift store finds and foam inserts if you prefer a DIY approach.
Your labeling supplies should include waterproof labels where you'll write the oil's name, date opened, and Latin name for reference. Consider categorizing your oils by type or frequency of use, and implement a first-in, first-out system to manage shelf life.
Don't forget to include environmental protection tools like thermometers to monitor storage temperatures and moisture indicators to guarantee your oils remain in peak condition.
Selecting Fresh Vegetables
Your senses are your best tools for selecting fresh vegetables at the market or grocery store. Use your eyes to check for firmness and bright, vibrant colors that signal high nutritional value. Trust your nose – more fragrant produce typically offers better flavor. When you touch vegetables, they should feel firm without soft spots, and heavier produce often indicates freshness. The USDA recommends five daily servings of fruits and vegetables for optimal nutrition.
For specific vegetables, look for pale green broccoli with compact clusters and tender stems. Choose cauliflower with off-white heads free from yellowing or browning. Bell peppers should have a firm, consistent surface without split stems.
When selecting root vegetables like carrots and parsnips, pick ones that are smooth, clean, and well-shaped. Don't forget to inspect beets for smooth skin, leaving them whole with 2 inches of stem intact. For onions, seek out firm, well-shaped ones with dry skins. Fresh corn should have pale green husks with moist, plump kernels.
When you get your vegetables home, store most of them in the refrigerator to maintain freshness. Remember to clean them thoroughly before storage and remove outer leaves or woody stems when necessary.
Temperature Control Guidelines
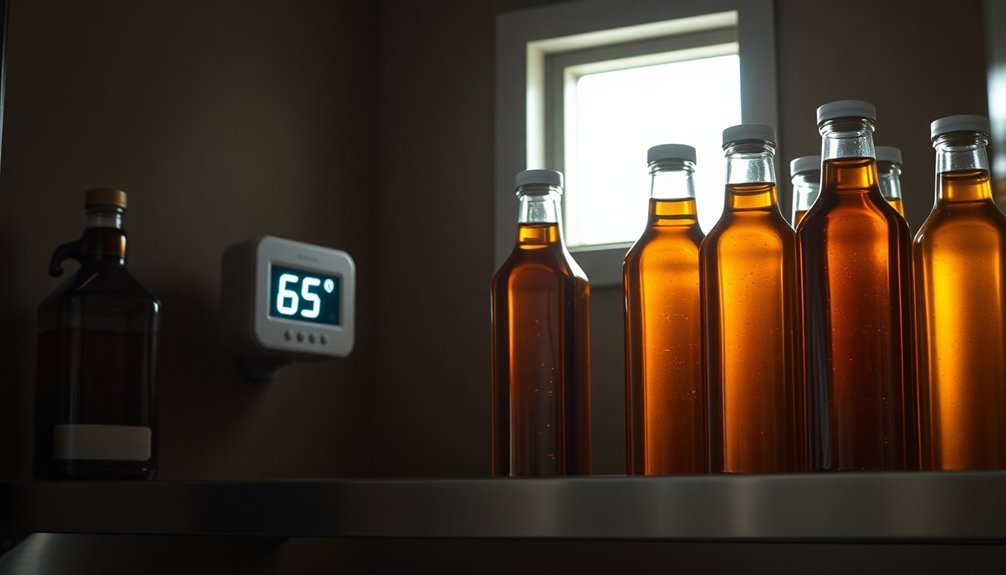
Proper temperature control is essential for maintaining oil quality and safety during storage. You'll want to keep your cooking oils between 55-60°F for ideal performance, though room temperature around 70°F is acceptable. Be sure to store oils away from heat sources, as warmth can greatly reduce their freshness. Animal-derived fats are more sensitive to temperature changes due to their higher saturation levels.
If you're storing oils with added ingredients like herbs or vegetables, you'll need to be extra cautious. These mixtures require careful temperature control to prevent bacterial growth, especially C. botulinum. Don't keep them refrigerated for more than 4 days before using, discarding, or freezing them.
While refrigeration slows bacterial growth, your home refrigerator mightn't be cold enough for long-term safety.
You shouldn't worry too much about freezing your vegetable oils unless they've very low melting points. Different oils freeze at various temperatures – canola oil at -10°C and soybean oil at -16°C.
Instead, focus on keeping your oils in a cool, dark place using sealed containers. Remember to store them away from light and ethylene-producing fruits, and always label your containers with preparation and storage dates.
Proper Container Selection
Selecting the right container for oil storage plays an essential role in maintaining quality and safety. You'll find that containers made from recycled polypropylene or high-density polyethylene offer excellent protection against UV rays, chemicals, and harsh weather conditions.
For home use, look for watertight containers with silicone gaskets and secure closing systems to prevent accidental spills.
When choosing your storage solution, consider these critical features:
- Food-grade materials to guarantee oil safety and quality
- Ergonomic design for easy handling and pouring
- Level indicators to monitor oil quantity
Your storage needs will determine the ideal container size. For domestic use, a 3-litre container like the UrbaOIL provides sufficient capacity while saving space. If you're storing larger quantities, medium-capacity metal drums (35-50 gallons) can fit under sinks.
Remember that your container should be lockable to prevent unauthorized access and theft, particularly for outdoor storage.
Make certain your chosen container complies with local regulations and FOG standards. Look for safety symbols and proper labeling that identify the waste type, especially if you're storing used oil for disposal.
Preventing Contamination Risks
Maintaining control over contamination risks starts with a structured approach to oil storage. You'll need to keep your storage areas pristine and implement proper handling procedures to prevent your oil from becoming compromised. Don't forget to store used cooking oil containers under shelter or inside closed secondary containment, and always keep lids tightly sealed except during use.
| Contamination Risk | Prevention Method | Why It Matters |
|---|---|---|
| Environmental Exposure | Store away from sunlight and heat | Prevents oil degradation and spoilage |
| Moisture | Maintain dry storage conditions | Reduces risk of bacterial growth |
| Storm Drain Contact | Use secondary containment | Prevents water pollution |
| Cross-Contamination | Clean spills immediately | Maintains food safety standards |
When storing herbs or vegetables in oil, you'll need to keep them refrigerated and use them within four days to prevent botulism. Don't forget to check your storage containers weekly for damage or leaks. You should also maintain spill kits nearby and guarantee they're fully stocked. Remember to label everything clearly and organize by date, guaranteeing you're using the oldest oil first to maintain quality control throughout your storage system.
Oil and Vegetable Combinations
Safe vegetable and oil combinations require careful attention to preparation methods and timing. You'll need to cook your vegetables before adding them to oil, as raw ingredients can harbor dangerous bacteria. For ideal safety, use a 2:1 ratio of olive oil to vinegar when creating marinades, ensuring proper acidification.
When combining vegetables with oil, you have several preparation options. You can slow-roast, grill, or steam your vegetables before storage. If you're using dried vegetables or herbs, you can safely store them in oil at room temperature.
However, fresh ingredients require different handling:
- Remove raw garlic, herbs, and vegetables immediately after flavoring oil
- Store fresh vegetable-oil mixtures in the refrigerator for no more than 4 days
- Label containers with preparation and use-by dates
You can enhance your oil combinations with acidic ingredients like lemon zest, preserved lemons, or various vinegars. These additions not only improve flavor but also help maintain safety.
For long-term storage, freeze your mixtures, as home refrigerators often aren't cold enough to prevent bacterial growth over extended periods. Remember, improperly stored combinations can lead to botulism, so always prioritize safety over convenience.
Best Storage Practices

You'll want to keep your cooking oils in dark glass bottles or metal tins rather than plastic containers to maintain their quality.
It's crucial to store your oils at temperatures between 55-70 degrees Fahrenheit in a cool, dark place away from heat sources like stoves and ovens.
To extend shelf life, transfer oils to smaller containers that minimize headspace, but only when necessary since each transfer can introduce damaging oxygen.
Container Selection Tips
Selecting the right container for oil storage can make a significant difference in safety and efficiency. When choosing storage containers, you'll want to focus on those made from recycled polypropylene or high-density polyethylene, as they offer superior resistance to UV rays and chemical agents.
Look for containers with watertight lids featuring silicone gaskets and secure closing systems to prevent any accidental spills.
Consider containers that incorporate these essential features for ideal safety and convenience:
- Built-in filtering grids and perforated tops to catch debris before it enters the storage area
- Level indicators to monitor oil quantities easily
- Padlockable closures for enhanced security, especially in shared spaces
Your chosen container should be stackable to maximize storage space while remaining easily accessible for oil disposal and extraction.
Don't forget to check for proper labeling options – whether it's through in-mould labeling or adhesive labels – to clearly identify the stored contents.
If you're planning outdoor storage, verify the container is specifically rated for exterior use and includes protective features against severe weather conditions.
Temperature Control Methods
The proper control of temperature plays an essential role in maintaining oil quality and extending shelf life. You'll want to store your vegetable oils between 55 and 60 degrees Fahrenheit for peak performance. This temperature range helps prevent rapid degradation and maintains the oil's quality characteristics.
Keep your oils away from heat sources like stoves and ovens, as heat accelerates chemical reactions that lead to rancidity. While room temperature storage (around 70°F) is acceptable, it's not ideal for long-term preservation. Instead, find a cool, dark place in your kitchen or pantry that maintains a consistent temperature below 70°F.
Different oils have specific temperature requirements during storage. Palm oil needs 32°C to 40°C, palm olein requires 25°C to 30°C, and tallow should be kept between 44°C and 49°C.
Extra virgin olive oil is particularly sensitive to temperature fluctuations, so maintain it strictly between 55 and 60°F. If you're storing oil mixtures with herbs or vegetables, you'll need to refrigerate them and use them within four days, or freeze them for longer storage periods.
Quality Control Methods
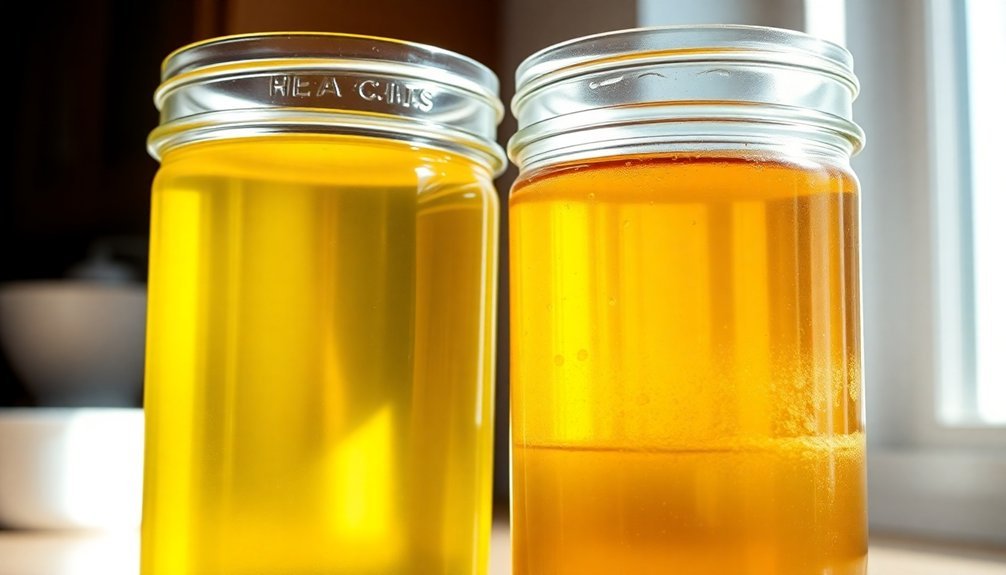
You'll want to check your oils regularly for signs of spoilage through simple visual inspections, looking for changes in color, cloudiness, or floating particles.
To test for rancidity, take a small amount of oil and smell it – if you detect any odd, paint-like, or bitter odors, it's likely gone bad.
You can also place a drop on white paper to check for clarity and color uniformity, which helps identify potential quality issues.
Visual Inspection Techniques
Regular visual inspection serves as an important first line of defense in maintaining oil quality and safety. You'll need to carefully examine the oil's appearance, checking for color changes, clarity, and any visible particles or contaminants. It's vital to compare your oil's color against standard charts to identify potential quality issues early.
When conducting inspections, you'll want to pay close attention to your storage containers. Make sure they're:
- Free from damage, leaks, or signs of corrosion
- Properly sealed and specifically designed for oil storage
- Clean and free of any external contaminants
Your storage environment plays a significant role in maintaining oil quality. You should store your oils in cool, dry places away from direct sunlight, ideally in dark buildings where temperatures stay between 4-6°C for certain oil types.
Don't forget to wear appropriate personal protective equipment during inspections and document your findings thoroughly, including photographs when necessary. By following proper safety protocols and maintaining consistent inspection procedures, you'll guarantee your stored oils remain in peak condition while complying with safety standards and regulations.
Testing For Rancidity
Multiple testing methods exist to determine oil rancidity and guarantee quality control during storage. You'll find both chemical and instrumental approaches that can help you assess your oil's condition.
The most common chemical tests include the Peroxide Value test, which measures primary oxidation, and the Anisidine Value test, which detects secondary oxidation through aldehyde levels.
For a more thorough analysis, you can use the TBARS assay, particularly effective for low-fat samples, or the Free Fatty Acid test to check for oil degradation.
If you're looking for advanced testing methods, gas chromatography detects volatile compounds that indicate rancidity, while Near-Infrared spectroscopy can predict various parameters without sample preparation.
You'll want to pay attention to specific indicators like oleic acid content and antioxidant levels, as these directly impact oil stability. Water content is another important factor you should monitor, as it affects oil quality.
For the most reliable results, proper sample preparation is essential. This includes dissolving samples correctly for peroxide value tests and using appropriate extraction methods for lipid analysis when necessary.
Signs of Oil Degradation
Awareness of oil degradation signs helps prevent the use of spoiled cooking oils in your kitchen. When oils deteriorate, they'll show multiple warning signals that you shouldn't ignore. Your senses are the best tools to detect these changes, as spoiled oils often develop distinct characteristics that make them unsuitable for cooking.
You'll notice several key indicators when your oil has gone bad. The smell might turn rancid, sour, or musty, sometimes even resembling nail polish remover. The appearance can shift dramatically from its original state, and you might spot changes in color or texture. If you're unsure, trust your taste buds – a sharp, bitter flavor is a clear sign of degradation.
Common factors that speed up oil degradation include:
- Exposure to oxygen through open containers
- High temperatures during storage
- Direct sunlight contact
Watch for physical changes like cloudiness, unusual thickness, or a slimy texture. When your oil starts showing dark brown coloring or becomes dirty-looking, it's time to discard it.
Remember that even if the expiration date hasn't passed, improper storage can cause oils to spoil prematurely.
Extending Preservation Shelf Life
To maximize your oil's shelf life, you'll need to maintain consistent, cool temperatures away from heat sources and direct sunlight.
Your choice of container matters considerably – opt for dark or tinted bottles with minimal headspace and airtight seals to prevent oxidation.
When you're storing larger quantities, consider transferring the oil into multiple smaller containers to minimize oxygen exposure during regular use.
Temperature-Controlled Storage Methods
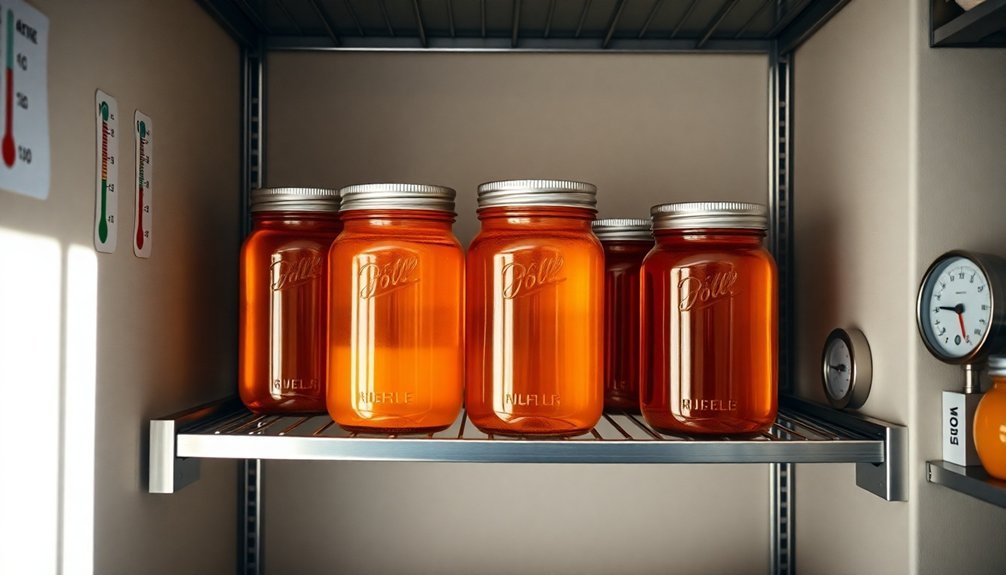
Maintaining proper temperature control stands as a critical factor in preserving vegetables and extending their shelf life. You'll need to keep most vegetables between 32°F and 55°F, with specific requirements varying by type. For instance, you'll want to store onions and garlic at cooler temperatures (32°F – 40°F), while potatoes thrive at slightly higher temperatures (38°F – 40°F).
To maximize preservation, you'll need to pair temperature control with proper humidity management. Different vegetables require specific humidity levels:
- Potatoes and winter squash need 85-90% humidity
- Brussels sprouts and cauliflower require 90-95% humidity
- Onions and garlic perform best at 60-75% humidity
Modern cooling systems can help you achieve these precise conditions. You can utilize tunnel cooling methods that employ chilled air or water to rapidly lower vegetable temperatures. These systems use energy-efficient fans and adjustable controls to maintain uniform cooling throughout storage.
For home storage, your refrigerator should maintain temperatures between 33°F and 40°F. If you're looking to extend shelf life further, consider using modified-atmosphere packaging or active packaging solutions that control oxygen and moisture levels.
Airtight Container Selection Tips
Beyond temperature control, selecting the right airtight containers plays a key role in preserving your produce.
You'll want to look for containers equipped with FreshVent technology and adjustable vents that regulate airflow while keeping harmful moisture at bay. Choose containers with elevated bases and drainage systems to prevent your produce from sitting in collected moisture.
When selecting containers, opt for those with carbon filters and ethylene absorbers like BluApple technology. These features actively combat bacteria growth and manage ethylene gas levels, which can greatly extend your food's shelf life.
Look for stackable designs with clear walls that'll help you maximize fridge space while allowing easy visual inspection of your stored items.
Make sure your chosen containers include antimicrobial features, either through specialized films, coatings, or sachets.
You'll benefit from containers that offer versatile usage options and customizable settings for different types of produce. Consider options with mesh inserts that provide proper aeration while maintaining airtight conditions.
For easy maintenance, select dishwasher-safe materials that won't wear down with regular cleaning, ensuring your containers remain effective for long-term storage.
Common Storage Mistakes
Proper oil storage poses several challenges for home cooks, and many people unknowingly make mistakes that can compromise their cooking oils' quality and safety.
One of the most common errors is storing oils near heat sources like stoves, gas burners, or radiators, which accelerates oxidation and produces harmful free radicals.
You'll also want to avoid these critical storage mistakes that can degrade your oils:
- Transferring oils to decorative pourers or special containers that allow oxygen exposure
- Keeping oils in clear bottles or on countertops exposed to light
- Using plastic containers for long-term storage, which can lead to chemical leaching
Don't underestimate the importance of proper sealing and monitoring.
When you don't tightly seal oil containers, oxygen interacts with the oil, leading to oxidation. It's crucial to label your containers with opening dates and avoid buying more oil than you can use within 1-2 months.
Keep in mind that storing oils in iron or copper containers can cause dangerous interactions, while improper storage conditions can lead to bacterial growth, especially in oils containing herbs or vegetables.
Safe Handling Procedures
With safe oil handling, you'll need more than just the right storage location to protect your oils and yourself. Always wear appropriate protective equipment, including gloves and safety goggles, when handling oils to prevent skin and eye contact. Before transferring oils, inspect containers for damage and verify they're properly sealed to prevent leaks.
| Safety Measure | Action Required |
|---|---|
| Transfer Equipment | Use designated pumps and equipment to prevent spills |
| Spill Prevention | Place catch trays under containers during transfers |
| Emergency Response | Keep foam or dry powder extinguishers nearby |
When transferring oils to new containers, make certain they're thoroughly cleaned, dried, and properly coated. Label each container with the receipt date and oil type for easy identification. If you're using non-corrosive base oils, non-stainless steel containers are suitable options.
In case of accidents, act quickly. Clean spills immediately using appropriate absorbents and dispose of waste according to local regulations. If oil is swallowed or enters airways, seek medical attention right away. During emergencies involving fire, remember that while base oils aren't flammable at room temperature, they can ignite at their flash point. Use proper fire extinguishing methods and wear protective masks if corrosive gases form.
Frequently Asked Questions
Can I Reuse Oil That Was Previously Used for Deep-Frying Vegetables?
You can reuse oil used for deep-frying vegetables up to three times if you strain it properly and store it correctly. Just make sure it hasn't darkened, become smoky, or developed a rancid smell.
How Long Can Homemade Herb-Infused Oils Safely Last at Room Temperature?
You'll need to store dried herb-infused oils in dark bottles at room temperature for up to 1 year. However, if you've used fresh herbs, don't store at room temperature – refrigerate and use within 4 days.
Should Different Types of Preserved Vegetables Be Stored Separately?
Yes, you'll need to store different preserved vegetables separately to prevent cross-contamination, maintain proper temperature and humidity levels, and avoid ethylene gas exposure that can speed up spoilage between different types.
What Happens if Power Fails While Storing Temperature-Sensitive Preserved Oils?
During a power failure, you'll need to act quickly. Move your oils to a cooler spot, use ice packs, and keep containers sealed. Monitor for signs of spoilage and consider backup power options.
Can I Mix Different Types of Oils When Preserving Vegetables?
You shouldn't mix different oils when preserving vegetables. It can compromise the stability and flavor of your preserved goods since each oil has unique characteristics, storage requirements, and distinct taste profiles.
In Summary
You'll get the most out of your vegetable oil preservation efforts by following proper storage guidelines and staying vigilant about safety. Keep your oils in appropriate containers, monitor temperatures carefully, and check regularly for signs of spoilage. Don't ignore proper handling procedures or skip safety steps – they're essential for success. When you maintain these practices consistently, you'll enjoy fresh, safe oils for months to come.


Leave a Reply