Five traditional methods help you preserve winter vegetables through fermentation. You'll find the basic salt brine method works well for most vegetables, using a 2-3% salt solution. Japanese nukazuke uses rice bran and salt to create a living fermentation bed. Root cellar crock fermentation relies on stoneware crocks with water-sealed lids for long-term preservation. Korean kimchi-style fermentation combines vegetables with spicy seasonings and careful temperature control. Quick pickling offers a faster alternative, though it doesn't provide the same probiotic benefits. Each method brings its own unique flavors and techniques to your winter preservation journey.
Winter Fermenting Essentials
Throughout the winter months, fermenting vegetables requires careful attention to essential preparation and environmental factors. You'll need to begin by properly preparing your vegetables – remove thick peels and cut them into uniform pieces to guarantee even fermentation. A 2% salt ratio should be used based on the total vegetable weight to create an ideal fermentation environment.
Before starting, lightly rinse your produce in filtered water and guarantee all your equipment is thoroughly clean.
Creating the right environment is vital for successful fermentation. You'll want to establish an anaerobic setting by completely submerging your vegetables in brine and weighing them down. If you're using tap water, let it sit overnight to remove chlorine, which can inhibit the fermentation process.
Keep in mind that temperature affects fermentation speed – warmer conditions accelerate the process, while cooler temperatures slow it down.
When setting up your ferment, you'll need to allow for proper gas exchange by loosely covering your jars with lids or clean towels. Don't forget to taste your ferment regularly to monitor its progress.
Once you're satisfied with the flavor, transfer your fermented vegetables to the refrigerator, where the cooler temperature will help preserve them and slow down fermentation.
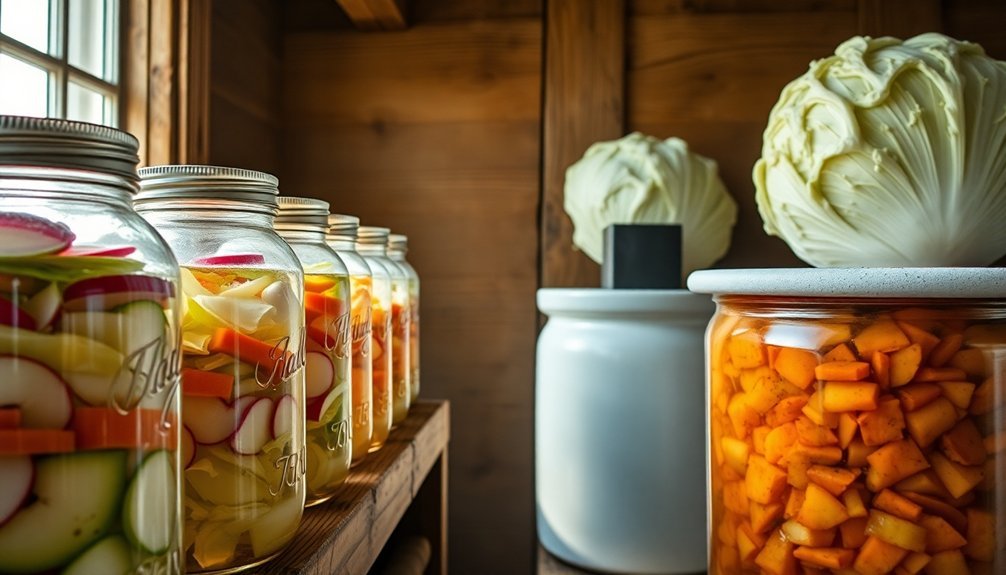
Basic Salt Brine Method
To create an effective salt brine, you'll need to mix 2 tablespoons of salt per quart of water, ensuring the solution is properly cooled before use. Non-iodized sea salt works best for fermentation due to its beneficial nutrients.
When preparing your vegetables, cut them into uniform sizes and pack them tightly into your fermentation vessel, making sure to massage any shredded varieties to release their natural juices.
You must keep your vegetables completely submerged beneath the brine using a weight or small jar, which maintains the essential anaerobic environment needed for successful fermentation.
Salt-to-Water Ratio Basics
The salt-to-water ratio forms the foundation of successful vegetable fermentation.
You'll need to choose between a 1-2% ratio for faster fermentation of softer vegetables, or a 3-4% ratio for crunchier results and better mold resistance. For most winter vegetables, a 2% salt ratio works perfectly, which means you'll need about 20g of salt (4 teaspoons) per liter of water. Using natural unprocessed salt is crucial for optimal fermentation results.
- 1-2% salt ratio works best for naturally juicy vegetables and speeds up fermentation
- 3-4% salt ratio helps maintain crunchiness in cucumbers and squash
- 10% salt ratio is necessary for specific foods like olives and umeboshi plums
You can calculate your salt needs using either volume-based or weight-based methods. For volume-based, simply measure your jar's capacity and add the corresponding amount of salt.
For weight-based calculations, weigh your vegetables and water together, then multiply by 2.5% for ideal results.
Remember to keep your vegetables fully submerged in the brine and use weights if needed. If you're using tap water, let it sit overnight to dissipate any chlorine that could interfere with fermentation.
Proper Vegetable Preparation Steps
Successful vegetable fermentation begins with three essential preparation steps: selecting fresh produce, cutting uniformly, and creating the proper brine solution.
When selecting your vegetables, carefully inspect them and remove any spots showing signs of rot. A consistent temperature between 50-65˚F is ideal for fermenting winter vegetables.
You'll want to cut or shred your vegetables into uniform sizes, which guarantees even fermentation throughout. If you're using the dry salting method, finely chop or grate your vegetables to help release their natural water content.
For your brine solution, you'll need 1-2 tablespoons of additive-free salt per quart of filtered or distilled water. Remember, cloudy brine often results from salt containing anti-caking agents, so choose your salt carefully. If you're working with naturally water-rich vegetables, you can skip the brine and use the dry salting method instead.
Once you've prepared your vegetables and brine, pack the vegetables tightly into your container along with any herbs or spices. Pour the brine over until all vegetables are completely submerged.
You'll need to weigh down the vegetables to keep them under the brine – a small glass works well for this purpose.
Cover the container loosely to allow gases to escape while keeping dust and insects out.
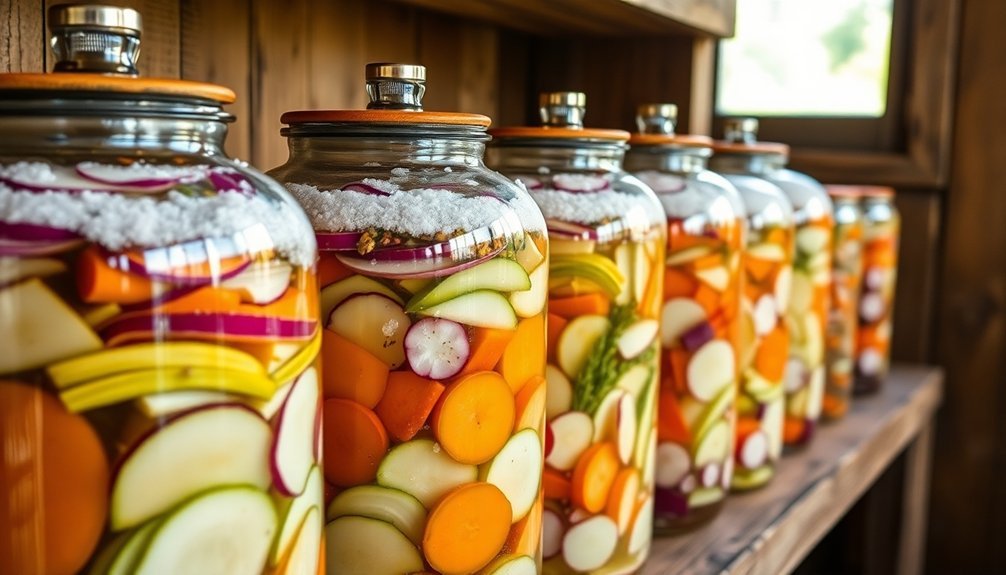
Maintaining Anaerobic Environment
Once your vegetables are properly prepared, maintaining an oxygen-free environment becomes your next priority for successful fermentation. The ideal temperature range should be between 64-75°F for optimal results.
You'll need to create a salt brine by combining 2 tablespoons of salt for every 4 cups of filtered water. Make sure you're using kosher or sea salt without additives, as these can interfere with the fermentation process.
- Guarantee your vegetables stay completely submerged in the brine by using weights or springs.
- Leave 1/2 inch of headspace above the brine for gas release.
- Use airlock or valved lids to allow CO2 escape while preventing oxygen entry.
Pack your prepared vegetables and seasonings into clean jars, leaving about an inch of space at the top. Pour your brine over the vegetables until they're fully covered. Don't worry about the bubbling you'll see – that's just the fermentation process at work.
Store your jars at room temperature, away from direct sunlight, for at least 3-6 days. You can taste-test your vegetables periodically to monitor their progress. Once they've reached your desired level of tanginess, move them to the refrigerator for storage.
Japanese Nukazuke Fermentation
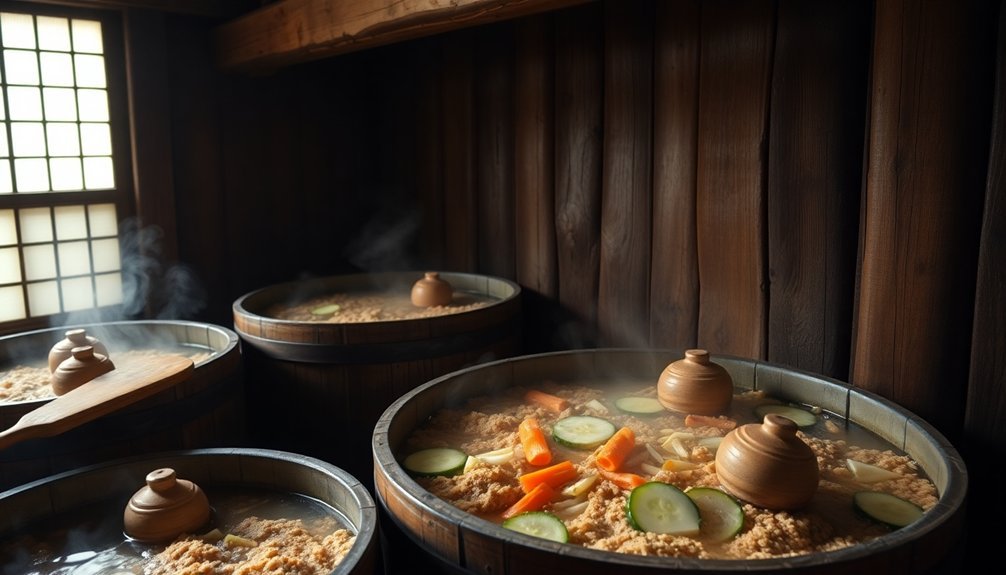
Rooted in Japanese culinary tradition, nukazuke fermentation brings out complex flavors from winter vegetables using a unique bed of rice bran, salt, and water called nukadoko.
You'll need to start with the right proportions: mix 800g of rice bran with 105g of salt (13% ratio) and 800ml of water until it reaches a wet, clumping consistency. The mixture is best stored in an enamel-coated container to prevent unwanted odor absorption.
To begin fermentation, you'll need to prepare your container and add starter vegetables like cabbage leaves or daikon slices. Make sure you're burying the vegetables completely in the nukadoko while maintaining proper air flow with a loose cover.
You'll need to turn the mixture daily to prevent over-fermentation and discard any excess liquid that forms.
The fermentation process relies on beneficial lactobacilli bacteria, which you can cultivate from vegetable skins or established nuka samples. You can enhance your nukadoko's flavor by adding ingredients like dried kelp, shiitake mushrooms, garlic, or ginger.
While quick pickling takes just a day, longer fermentation develops richer flavors. Remember to regularly add vegetable scraps to maintain the bacterial culture and monitor the mixture for a fresh, slightly sour smell.
Root Cellar Crock Fermentation
Traditional crock fermentation's core principles rely on a simple combination of salt, vegetables, and time in an oxygen-free environment. You'll need a proper stoneware crock with a water-sealed lid to create the perfect fermentation vessel.
When preparing your winter vegetables, remove thick peels, cut them into manageable pieces, and mix them with 2% salt by weight. Start by washing all equipment thoroughly in warm soapy water to ensure a clean fermentation environment.
Key success factors for root cellar fermentation:
- Maintain a consistent temperature between 64-68°F for ideal fermentation timing
- Keep vegetables fully submerged under brine using weights to prevent spoilage
- Remove surface scum weekly and clean the crock's rim regularly
You'll know your fermentation is progressing well when you hear the crock "burping" as gases escape through the airlock.
The process can take 2-6 weeks, depending on your cellar's temperature. Once bubbling stops and you're satisfied with the sourness, transfer your fermented vegetables to cold storage at 38°F.
You can store your fermented vegetables for several months, and you'll notice their flavors continue to develop and improve over time.
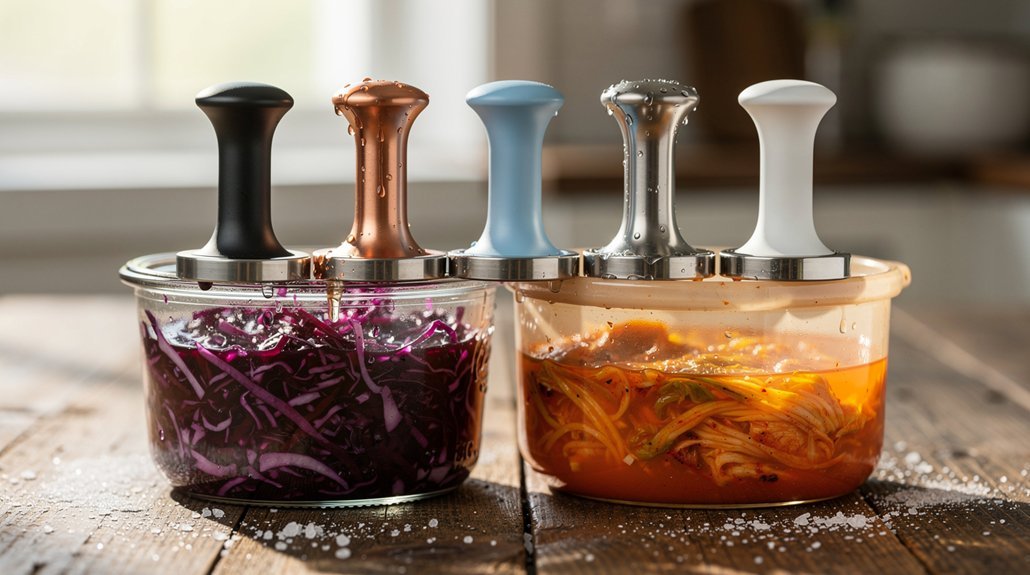
Korean Kimchi Style Preservation

Through centuries of culinary evolution, Korean kimchi-style preservation has become one of the most dynamic fermentation methods for winter vegetables.
Using coarse, non-iodized salt is essential for proper fermentation and preservation of your winter vegetables. You'll start by brining your vegetables to draw out excess water, which helps with preservation and allows seasonings to penetrate more effectively.
Once cleaned thoroughly, you'll mix your vegetables with traditional seasonings like Korean red pepper powder, garlic, and ginger.
When packing your kimchi, fill containers to about two-thirds capacity, leaving room for fermentation gases while minimizing air exposure. You'll want to seal the containers tightly and place them on plates to catch any overflow.
The fermentation process typically takes 1-2 days at room temperature or 3-4 days in the refrigerator, with 68°F being the ideal temperature.
During fermentation, naturally present bacteria produce lactic acid and carbon dioxide, creating that distinctive tangy flavor. You'll need to monitor the process regularly, as the best pH is around 4.2.
Once your kimchi reaches your desired taste, store it in the refrigerator and consume it within a week for the best quality.
Remember to maintain proper sanitation throughout the process to guarantee safe fermentation.
Seasonal Cold Storage Techniques
Successful cold storage hinges on maintaining precise temperature and humidity levels for different winter vegetables. You'll need to keep root vegetables and brassicas at 0ºC (32ºF) with 90-95% humidity, while potatoes prefer slightly warmer temperatures of 3-5ºC (38-40ºF) and winter squash needs 10-13ºC (50-55ºF).
Root vegetables like beets, carrots, and rutabaga can last up to 20 weeks when you trim their tops to 2 cm and store them in perforated plastic bags.
Brassicas such as cabbage and cauliflower need their outer leaves intact and can store for 3-16 weeks depending on the variety.
Winter squash requires curing before storage and can last up to 26 weeks when kept with 3-5 cm of stem intact.
To maximize storage life, you'll need proper ventilation while avoiding freezing temperatures. Store root vegetables and brassicas in perforated plastic bags or pails to maintain high humidity.
For potatoes, use perforated bags if they're dry, and place winter squash directly on shelves.
Don't forget to check your stored vegetables regularly for signs of spoilage, ensuring you catch any issues before they spread to other produce.
Frequently Asked Questions
Can I Reuse the Brine From a Previous Batch of Fermented Vegetables?
Yes, you can reuse brine from your previous ferments as a starter culture. It'll speed up fermentation and add beneficial bacteria. Use 1/4 cup per batch, but make sure it's still fresh-smelling and mold-free.
How Do I Prevent Kahm Yeast From Forming on My Fermented Vegetables?
Keep your ferments below 68°F, minimize oxygen exposure by filling jars to the top, and use weights to keep vegetables submerged. Adding an olive oil layer helps, but don't use it with garlic-containing ferments.
Why Did My Fermented Vegetables Turn Mushy Instead of Staying Crisp?
Your fermented vegetables likely turned mushy because you've either over-fermented them, used too little salt, didn't keep them fully submerged, or stored them at too high temperatures. Check these factors next time.
Will Fermenting Vegetables Affect Their Vitamin and Mineral Content?
Yes, fermentation will boost your vegetables' vitamin content, especially B vitamins and vitamin K. You'll also get better mineral absorption since fermentation breaks down anti-nutrients that typically block mineral uptake in raw vegetables.
Can I Mix Vegetables That Have Different Fermentation Completion Times?
You can mix vegetables with different fermentation times, but you'll need to add faster-fermenting veggies later in the process. Alternatively, you can remove quicker-fermenting vegetables once they're done to your taste.
In Summary
You've now got the knowledge to preserve winter vegetables using time-tested fermentation methods. Whether you're starting with a simple salt brine or diving into nukazuke and kimchi techniques, you'll find these traditional practices help maintain your harvest through the cold months. Keep experimenting with different vegetables and methods – you'll develop your own favorite ferments while carrying on centuries-old preservation traditions.

Leave a Reply