
You must clean your canning lids before use to remove harmful contaminants like dust, debris, and microorganisms that accumulate during manufacturing and storage. Even new lids can harbor these unwanted elements that could compromise your preserved foods' safety and quality. Proper cleaning with warm, soapy water helps guarantee a strong seal and prevents potential foodborne illness. While it's tempting to skip this step, taking time to clean your lids properly will protect your hard work and keep your preserved foods safe to eat. There's more to successful canning than meets the eye when it comes to lid preparation.
Understanding Lid Cleaning Basics

Safety in home canning starts with properly cleaned lids. When you're preparing for your canning project, you'll need to understand that clean lids are essential for preventing contamination and guaranteeing your preserved foods remain safe to eat.
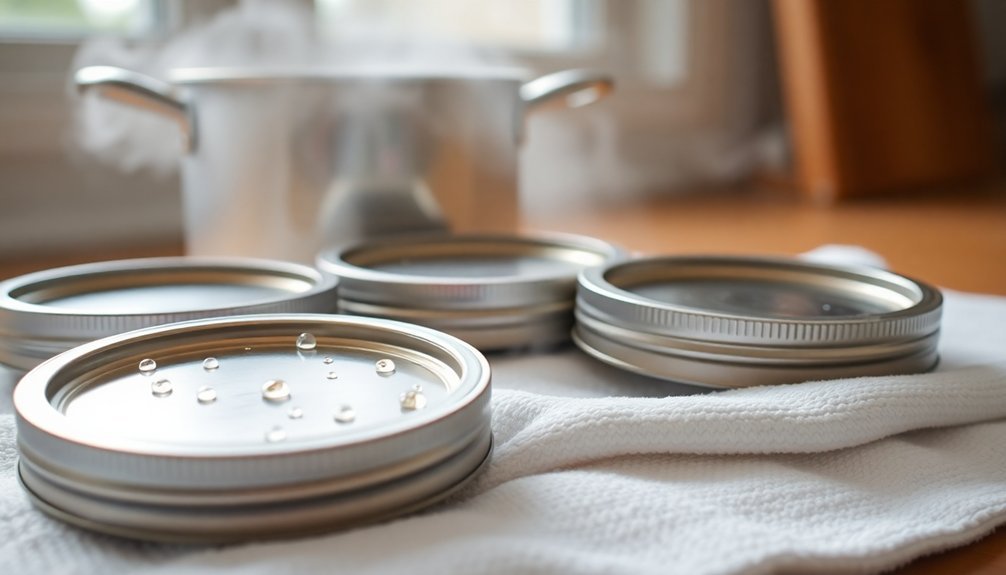
Even new lids straight from the box require cleaning before use, as they may have gathered dust or debris during manufacturing and storage. The best approach is to simmer lids for 10 minutes in hot water for optimal cleaning results.
You'll want to wash your lids in hot, soapy water, making sure to handle them gently to protect their sealing compound. While it was once common practice to boil lids before use, manufacturers now advise against this as it can damage the sealing rings and lead to failed seals.
Instead, you'll achieve better results by simply washing them thoroughly and rinsing with hot water.
As you clean your lids, avoid using any abrasive materials or harsh cleansers that could scratch or damage the surface. These scratches can interfere with proper sealing and compromise food safety.
After cleaning, dry your lids completely before use, as any remaining moisture can prevent a proper seal from forming.
Contamination Risks During Storage
Storage conditions pose significant risks to your canning lids, even when they appear safely packaged. During storage and transport, your lids can accumulate dust, debris, and microscopic contaminants that aren't visible to the naked eye.
These particles can include dangerous microorganisms and even tiny glass shards that could compromise the safety of your preserved foods. Single time usage of new lids ensures optimal safety standards.
You'll need to be particularly mindful of microbial contamination risks. Your packaged lids can harbor bacteria and mold during their journey from factory to your kitchen. Without proper cleaning, these microorganisms can contaminate your food during the canning process, potentially leading to spoilage and foodborne illness.
The storage environment itself presents additional challenges. Your lids may be exposed to pest and rodent droppings, which can introduce harmful pathogens.
Temperature and humidity fluctuations can also affect the sealing compound's effectiveness, potentially compromising your jars' ability to seal properly. That's why you should store your unused lids in a cool, dry place and always inspect them before use.
To protect your preserved foods, you'll need to clean your lids thoroughly before use, regardless of how new or well-packaged they appear to be.
Proper Cleaning Supplies

You'll need basic dish soap mixed with warm water as your primary cleaning solution for canning lids, avoiding harsh detergents that could damage the sealing compound.
The water temperature should reach a comfortable warm level for washing but shouldn't exceed simmering temperature (180°F) during the sterilization process.
Using a clean, dry towel to thoroughly dry your canning lids after washing will help maintain their quality.
Keep your cleaning supplies simple and focused on gentle but thorough cleaning, using a combination of dish soap for washing and clear water for rinsing.
Basic Soap Solutions Needed
Proper cleaning supplies are important for preparing canning lids before use. You'll need a mild detergent that's free from harsh chemicals to guarantee your canned foods aren't affected by residual cleaning agents.
It's essential to use hot water with your detergent, as this combination helps remove any debris or residue effectively from the lids.
For the best cleaning results, you'll want to use a flat, round brush that can reach all areas of the lid surface. When you're cleaning, pay special attention to the sealing compound and the lid's grooves.
Remember, any leftover detergent can affect both the flavor and color of your preserved foods, so thorough rinsing is crucial.
Don't skip the rinsing step – it's one of the most important parts of the cleaning process. You'll need to rinse the lids multiple times under running water to guarantee all soap residue is completely removed.
If you're uncertain whether you've rinsed enough, give the lids an extra rinse. It's better to be thorough than risk contaminating your preserved foods with soap that could compromise their taste and safety.
Hot Water Temperature Guide
Temperature precision plays an essential role when cleaning canning lids with hot water. You'll need to be mindful of specific temperature ranges to guarantee proper cleaning without compromising the lid's sealing ability. If you're choosing to heat your lids, keep the water temperature at or below 180°F (80°C), maintaining a gentle simmer rather than a full boil.
You don't actually need to preheat your lids anymore, as current guidelines from manufacturers like Ball and Bernardin have updated their recommendations. You can now use your lids at room temperature after a thorough hot water rinse. This change simplifies the process while maintaining safety standards.
Be careful not to overheat your lids, as excessive temperatures can damage the sealing compound and cause the lids to buckle during processing. You'll want to maintain consistency between your lid temperature and your chosen processing method to prevent thermal shock.
Remember that proper temperature control during cleaning and preparation helps guarantee successful sealing and safe food preservation. When in doubt, follow the manufacturer's current guidelines, which emphasize gentler temperature treatments than older canning practices required.
Avoiding Common Cleaning Mistakes
You'll want to avoid harsh scrubbing of canning lids, as this can damage the rubber sealing compound and lead to seal failure.
Keep your soap use moderate when washing lids to prevent residue buildup that could interfere with proper sealing.
Using water that's too hot can prematurely soften the sealing compound, so stick to warm water unless your manufacturer specifically recommends otherwise.
Harsh Scrubbing Damages Seals
When cleaning canning lids, harsh scrubbing can spell disaster for your preservation efforts. The damage you cause by using abrasive materials or applying too much force can compromise the lid's ability to create a proper seal, putting your preserved foods at risk.
You'll want to avoid any abrasive cleaners or scrubbing tools that might scratch the lids and bands. These scratches can damage the protective coatings and the critical sealing compound that guarantees an airtight seal. If you damage the sealant through harsh cleaning, you won't achieve the necessary seal for safe food preservation.
Instead of aggressive scrubbing, clean your lids and bands with hot, soapy water using only soft cloths or sponges.
You'll need to inspect each lid carefully before use, looking for signs of physical damage like dents or scratches. If you notice any imperfections in the sealing compound or see that it's incomplete, don't use those lids.
Remember to rinse your lids and bands thoroughly with hot water after washing, and dry them completely before use.
Too Much Soap Residue
Many home canners overlook the vital issue of soap residue when cleaning their canning supplies. If you're not thorough in rinsing your lids and jars, leftover detergent can compromise both the safety and quality of your preserved foods. Even small amounts of soap residue can affect the taste of your food and potentially contaminate your entire batch.
You'll want to pay special attention to the rims and threads of your jars, as any soap residue in these areas can prevent proper sealing. When cleaning, use mild detergent or baking soda and rinse thoroughly with hot water until all traces of cleaning agents are gone. For stubborn stains, you can make a paste with baking soda, but be sure to rinse extensively afterward.
After cleaning, it's essential to handle your supplies properly. Use sanitized tongs or a jar lifter to move your jars, and place them on a clean surface to dry. You can either air dry them or run them through your dishwasher's sanitizing cycle.
Incorrect Water Temperature
Getting the water temperature right is vital when cleaning canning lids and rings. You'll want to avoid boiling water, as it can damage the rubber sealing rings and compromise the lid's sealing compound. Instead, use simmering water at around 180°F (82°C) for 10 minutes to clean your lids and rings effectively.
When you're preparing your lids, don't make the mistake of preheating them in hot water, as this can reduce the vacuum seal and lead to buckle failures during pressure canning. You'll achieve better results by keeping your lids at room temperature until you're ready to use them.
The USDA doesn't recommend heating lids in an oven, so avoid this practice entirely.
To guarantee proper sealing, you'll need to clean the jar's rim thoroughly before applying the lid. The sealing compound needs to soften naturally during processing to create an indentation that forms a vacuum seal.
Remember to use new metal disks each time you can, as this guarantees the sealant can properly form that vital vacuum seal. You can use the same water that was used to boil the jars once it's cooled to a simmer.
Hot Water Preparation Methods
Proper hot water preparation guarantees your canning jars and supplies are ready for safe food preservation.
You'll need to start by washing all your jars, lids, and bands in hot, soapy water, making sure to rinse them thoroughly afterward. Let them drain to remove excess water before moving forward with the preparation process.
For your jars, you'll want to place them in a water-filled canner and bring the water to a simmer over medium heat. Keep them submerged until you're ready to fill them, and use proper canning tongs for safe removal.
Today's canning guidelines have simplified the lid preparation process – you don't need to pre-heat them anymore. Simply keep your lids at room temperature after cleaning them.
When you're handling the lids and bands, remember that boiling isn't necessary and can actually damage the rubber sealing rings. If you choose to warm the lids, don't heat them beyond a slight simmer.
Keep your screw bands at room temperature, ensuring they're clean and dry before use. This modern approach to lid preparation is just as effective as older methods while being more straightforward and time-efficient.
Sealing Compound Protection
Protection of your canning lids' sealing compound is essential for safe food preservation. The compound creates an airtight seal that keeps microorganisms out and guarantees your food stays fresh. You'll need to handle the sealing compound with care, as it's designed for single use and can't be reused.
To maintain the compound's integrity, you must avoid exposing it to extreme heat. Don't boil your lids, as this can damage the rubber sealing rings. Instead, follow the manufacturer's guidelines and use a gentle simmer when preparing them for use.
| Compound Care | What to Do | What to Avoid |
|---|---|---|
| Temperature | Simmer gently | Boiling water |
| Storage | Clean, dry place | Humid environments |
| Shelf Life | Use within 5 years | Using expired lids |
| Installation | Clean jar rims | Food particles on rim |
When applying lids, guarantee the jar's rim is completely clean and free from food particles. Wipe the rim with a damp paper towel before placing the lid with its gasket facing down. Remember to tighten the bands just to fingertip-tight, allowing proper venting during processing. Store unused lids in a clean, dry place and use them within five years of manufacture for best results.
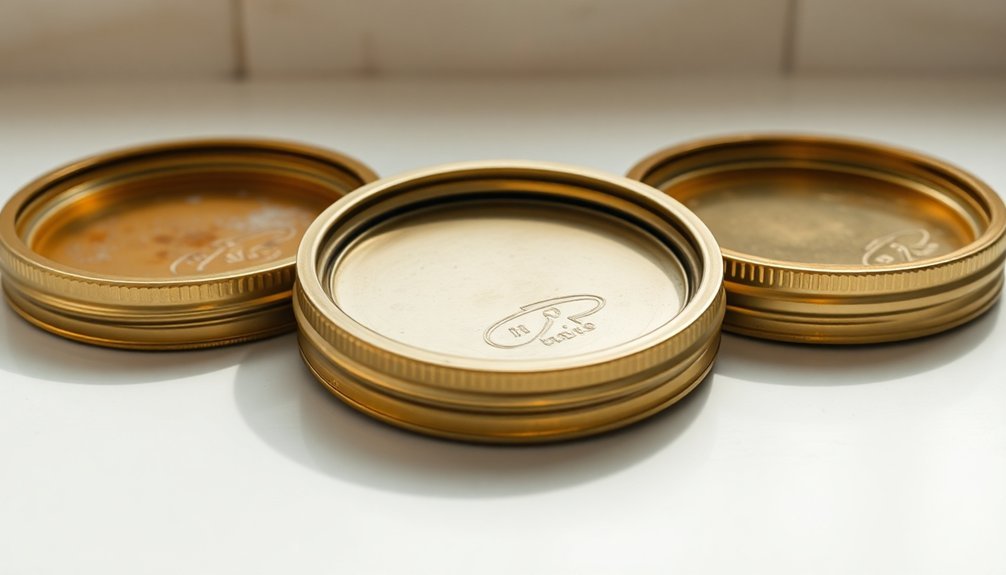
Lid Inspection Steps
You'll need to carefully examine each canning lid for dents, scratches, or other visible damage that could compromise its effectiveness.
Check the sealing compound around the lid's edge to verify it's complete and properly formed without any gaps or inconsistencies.
If you spot any imperfections in either the lid's surface or sealing ring, set those lids aside and don't use them for canning.
Visual Damage Assessment
The safety of your preserved foods hinges on a thorough inspection of canning lids before use. You'll need to carefully examine each lid for any visible damage that could compromise its sealing ability.
Start by checking for dents or irregularities on the lid's surface, as these imperfections can prevent an airtight seal from forming.
Next, you'll want to examine the lid's sealing components, particularly the gasket and sealing ring. These critical elements must be completely intact and free from defects.
Look for:
- Scratches on the lid's surface that could damage the sealing gasket or allow air penetration
- Gaps or defects in the sealing gasket that might prevent a proper vacuum seal
- Signs of wear, narrowing, or cracks in the sealing ring that could lead to seal failure
Don't take chances with damaged lids – they should be immediately discarded.
Remember that even minor imperfections can compromise your food's safety. Using new lids for each canning session is the best practice, as they provide ideal sealing conditions and guarantee your preserved foods remain safe for consumption.
When in doubt about a lid's condition, it's always better to replace it.
Seal Integrity Check
After evaluating your canning lids for physical damage, proper seal testing becomes your next key focus.
You'll need to wait 12 to 24 hours for the jars to cool completely at room temperature before testing the seals. During this cooling period, don't tighten the screw bands, as this can interfere with the vacuum seal formation.
Once cooled, you can verify the seal integrity using three reliable methods.
First, press the center of the lid with your finger – a properly sealed lid won't flex up and down but will feel solid and concave.
Next, perform the spoon tap test by tapping the lid's center with a metal spoon. Listen for a clear, high-pitched ring, which indicates a good seal, while a dull sound suggests seal failure.
For the final check, remove the screw bands and examine the lid at eye level. You'll want to see a slight downward curve in the center, indicating proper vacuum formation.
If you notice any flat or bulging lids, the seal isn't secure. You can also test the seal by carefully lifting the jar by its lid – a properly sealed lid should stay firmly in place.
Manufacturer Guidelines Matter
Following proper manufacturer guidelines proves vital when preparing canning lids for use, as each brand may have specific requirements for ideal performance.
You'll find that companies like Jarden now suggest that heating lids isn't necessary for achieving a proper seal, while others may still recommend placing them in simmering water. It's important to stay current with manufacturer instructions, as recommendations can change over time.
When working with canning lids, you'll want to pay attention to these key manufacturer guidelines:
- Keep your storage temperatures between 50°F and 70°F to maintain the lid's integrity and sealing compound quality
- Don't boil metal lids, as this can damage the rubber sealing rings and compromise their effectiveness
- Adjust your processing times based on your altitude, following the specific recommendations from your lid manufacturer
Remember to consult resources like the National Center for Home Food Preservation for up-to-date guidelines.
You should always inspect your lids before use, checking for dents, scratches, or damage to the sealing compound. If you're unsure about a manufacturer's current recommendations, contact them directly or visit their website for the most recent instructions.
Safe Temperature Ranges

Understanding temperature ranges builds directly upon manufacturer guidelines when preparing canning lids and jars for safe food preservation. You'll want to avoid boiling your lids, as excessive heat can damage the sealing compound. Instead, wash them in hot, soapy water and dry thoroughly. While older guidelines suggested heating lids in simmering water, modern lids seal effectively at room temperature.
| Temperature Range | Application | Purpose |
|---|---|---|
| Up to 180°F/80°C | Lid preparation | Optional warming without damaging seal |
| 212°F/100°C | Jar sterilization | Kill microorganisms (10+ minutes) |
| 240-250°F | Pressure canning | Destroy botulinum spores |
Your jars require proper sterilization, achieved through boiling for 10 minutes at sea level, adding an extra minute per 1,000 feet elevation. If you're processing foods for less than 10 minutes, you must pre-sterilize jars. For low-acid foods, you'll need pressure canning at temperatures between 240-250°F to eliminate botulinum spores. Once processed, store your canned goods in a cool, dry place below 95°F, ideally between 50-70°F, to maintain food quality and seal integrity.
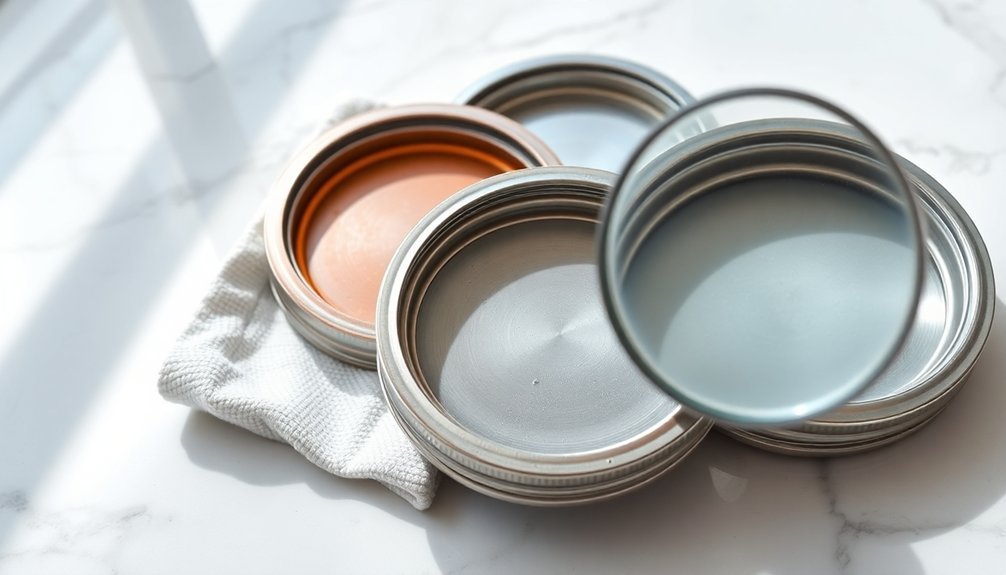
Drying and Storage Techniques
Proper drying and storage techniques stand out among the most critical aspects of successful canning. After you've cleaned your lids, you'll need to guarantee they're completely dry before use, as moisture can compromise the seal and lead to contamination. You can lay your lids on a clean, dry cloth and allow them to air dry naturally, or use a lint-free towel to pat them dry carefully.
For temporary storage before use, keep your cleaned lids in a clean, dry container or on a fresh paper towel. Here's what you'll need to focus on:
- Place your dried lids on a clean, flat surface away from any potential contaminants.
- Store them in a single layer to prevent scratching or damage to the sealing compound.
- Keep them covered with a clean cloth to protect from dust and debris.
When you're ready to use the lids, handle them by the outer edges to avoid touching the sealing compound.
If you're planning long-term storage of unused lids, keep them in their original packaging in a cool, dry place. Remember that proper storage isn't just about cleanliness—it's about maintaining the integrity of the sealing compound to guarantee successful preservation of your canned goods.
Food Safety Considerations
Food safety must be your top priority when cleaning canning lids, as even small oversights can lead to dangerous contamination.
You'll need to understand that improperly cleaned lids can introduce harmful bacteria into your preserved foods, potentially causing foodborne illnesses and spoilage.
When you're following safety protocols, make sure you're adhering to USDA guidelines, especially for water-bath canning processes under 10 minutes.
You'll want to simmer your lids in clean, fresh water for about 10 minutes to soften the sealant and eliminate contaminants.
Don't use boiling water, as it can damage the lid's protective coating and compromise the seal.
You should always wash your lids in hot, soapy water before simmering, but avoid using abrasive materials that could scratch or damage the lid's surface.
Remember to handle the lids carefully, avoiding contact with the sealing compound to prevent oils from your skin interfering with proper sealing.
If you don't follow these safety measures, you're risking seal failure, reduced shelf life, and inconsistent preservation results that could make your canned foods unsafe to consume.
Seal Quality Essentials
When achieving a reliable seal on your canning jars, every detail of preparation matters. The sealing surface must be impeccably clean and free from any food particles that could compromise the seal.
You'll need to carefully wipe the jar rims and threads with a dampened paper towel before applying the lids, ensuring there's nothing between the glass and the sealing compound.
The quality of your sealing equipment is equally important. Before use, inspect your lids for:
- Dents or scratches that could prevent proper sealing
- Complete and intact sealing compound
- Even distribution of the sealing material
It's essential to handle the lids correctly during preparation. You'll want to simmer them in water (never boil) to soften the sealing compound, and use a magnetic lifter to place them precisely on your jars.
When applying the bands, screw them to fingertip tightness only – over-tightening can actually prevent proper sealing. Remember that new lids are always your best choice for ideal sealing results, as reused lids may fail to form an airtight seal.
The final seal quality depends on proper processing in your water bath canner, followed by the recommended cooling period.
Long-Term Storage Success
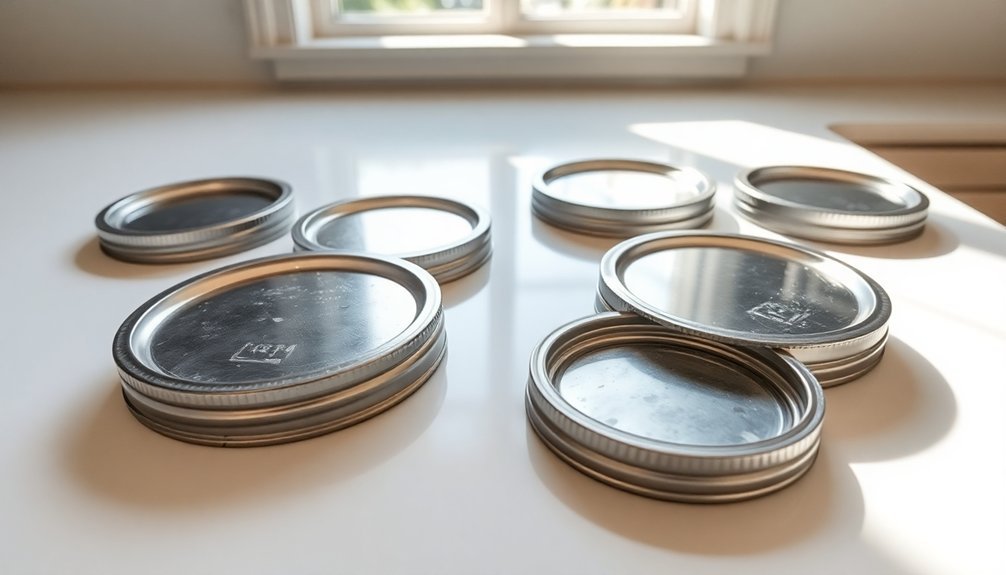
A successful long-term storage strategy builds upon your careful lid preparation and sealing techniques. When you're storing your canning supplies, you'll want to keep your clean lids in a dry, organized container where they won't collect dust or debris. This organization helps you maintain efficiency during your next canning session and guarantees your lids stay in pristine condition.
Remember that regular canning lids aren't designed for multiple uses, so you'll need to replace them after each canning session. While the metal rings can be reused, they must be thoroughly cleaned and dried after each use.
If you're considering reusable canning lids, be aware that they may have higher failure rates than traditional single-use options.
To maintain your canning supplies between seasons, store your jars with loosely fitted lids and rings in a cool, dry environment. You'll want to inspect your inventory regularly and restock as needed, especially before the next canning season begins.
Frequently Asked Questions
Can I Reuse Canning Lids That Have Been Previously Used?
No, you shouldn't reuse canning lids. The sealing compound wears out after one use, which compromises food safety. Instead, always use new lids for canning or invest in specific reusable alternatives like Tattler lids.
How Long Can Unused Canning Lids Be Stored Before They Expire?
You can store unused canning lids for up to 5 years in a cool, dry place. Always check them for deterioration before use, as the sealing compound will degrade over time.
Should Canning Lids Be Sterilized in Addition to Being Cleaned?
No, you don't need to sterilize canning lids – it can actually damage the sealing compound. Just wash them in hot, soapy water and rinse well. Modern guidelines confirm that cleaning alone is sufficient for safe canning.
Do Different Types of Food Require Different Lid Preparation Methods?
No, you'll use the same lid preparation methods for all food types. While different foods require different processing methods (water bath vs. pressure canning), you'll still prepare lids identically by heating them until use.
Can I Use Commercial Jar Lids for Home Canning Purposes?
You shouldn't use commercial jar lids for home canning as they're not designed for the process. They won't fit properly or seal reliably, which can lead to food spoilage and safety risks.
In Summary
You'll guarantee a safer canning process by always cleaning your lids before use. Don't skip this vital step, as it removes dust, debris, and potential contaminants that could affect your seal quality and food safety. Make it a habit to clean and inspect each lid, and you'll have better success with your home canning projects and longer-lasting preserved foods.


Leave a Reply