To create perfect home-canned fruit, you'll need to focus on three critical steps. First, select ripe, unblemished fruits at their peak season and wash them thoroughly before removing any pits, stems, or peels. Next, choose your canning liquid wisely – whether it's water, fruit juice, or syrup – making sure it complements your fruit's natural sweetness while meeting your dietary needs. Finally, process your filled jars in a proper water bath or steam canner, adjusting times for elevation, and store the sealed results in a cool, dry place. These fundamentals will set you up for safe and delicious preservation success.
Selecting and Preparing Fresh Fruit

Successfully canning fruit starts with choosing the right produce. You'll want to select fruits that are ripe, mature, and at their peak season for the best flavor and texture. When shopping, look for fruits free of blemishes, bruises, and diseases, with uniform color and strong characteristic smells. Most fruits should be fully ripe but still firm, except for pineapples which need to be completely ripe.
Once you've selected your fruit, proper preparation is vital. Start by washing all fruits thoroughly to remove dirt and debris. You'll need to peel, stem, and remove seeds or pits as required for your specific fruit type. For berries, use scissors to snip off heads and tails if necessary. Using ascorbic acid solution will help prevent fruit discoloration during the canning process.
After preparation, measure your fruit into a large saucepan and add hot water as needed. For hot packing, heat your fruit in boiling water for 30 seconds, particularly when working with berries.
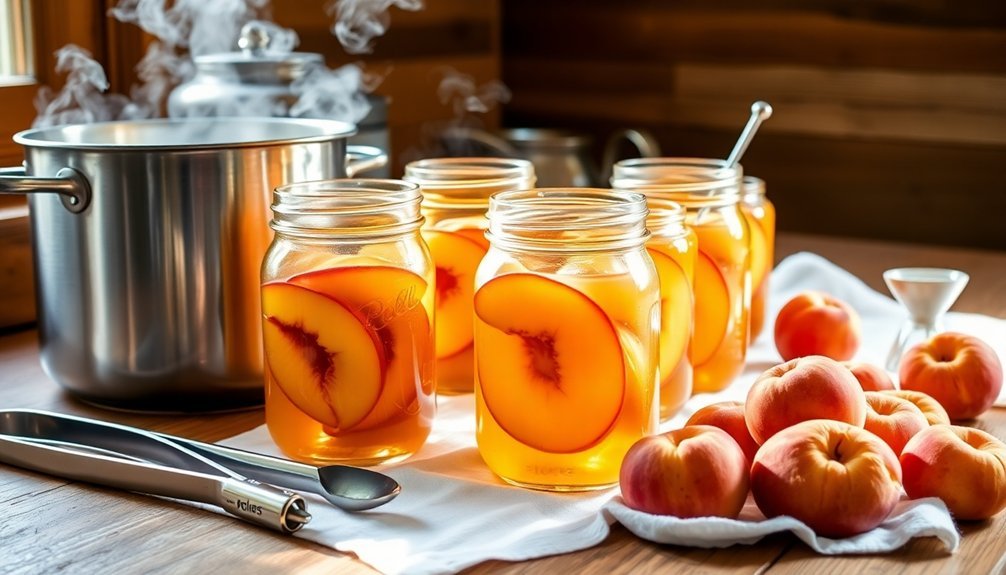
As you pack the heated fruit into jars, cover it with hot juice, syrup, or water, maintaining the recommended headspace – typically 1/2 or 1/4 inch. Remember to remove air bubbles and wipe jar rims with a dampened clean paper towel before sealing.
Mastering the Canning Liquid
After preparing your fruit, selecting the right canning liquid becomes your next key decision. You'll need to choose between water, fruit juice, or syrup based on your dietary needs and flavor preferences. Water's the simplest option, perfect if you're watching your sugar intake, though it may cause slight color changes in your fruit. Following approved canning recipes is crucial for ensuring food safety and optimal preservation results.
| Liquid Type | Best For | Sugar Level | Key Benefit |
|---|---|---|---|
| Water | Daily use | None | Health-conscious |
| White grape juice | All fruits | Moderate | Neutral taste |
| Apple/Pineapple juice | Mixed fruits | Moderate | Added flavor |
| Sugar syrup | Special preserves | Adjustable | Better texture |
If you're using juice, white grape juice won't alter your fruit's natural flavor, while apple or pineapple juice can add interesting taste dimensions. You can dilute any juice with water to reduce sugar content while maintaining flavor.
For syrup-based canning, you'll need to match the concentration to your fruit's natural sweetness. Heat your chosen liquid before adding it to the jars, whether you're using the raw pack or hot pack method. In raw packing, pour hot liquid over fresh fruit; for hot packing, cook your fruit in the liquid first, then transfer both to jars.
Processing and Storage Safety

The safety of your home-canned fruit depends on proper processing and storage techniques. For high-acid fruits, you'll need to use either a boiling water bath or atmospheric steam canner. Always adjust your processing time based on your elevation to guarantee the fruit reaches the proper temperature for safe preservation. Consulting your local County Extension Service can provide specific guidelines for your area.
Before you begin, inspect your equipment carefully. Make sure your canner is in good working condition and has UL approval. Check the rubber gasket for flexibility, and confirm all openings are clean and clear of debris.
Here's what you need to focus on for successful processing:
- Select fresh, firm fruits and process them quickly after harvest to maintain quality
- Pack fruits according to method – tightly for raw packing, loosely for hot packing
- Process using research-based recipes from reliable sources like the USDA
- Monitor jars for proper sealing within 24 hours of processing
Store your sealed jars in a cool, dry place where they'll keep for at least a year. If you find any unsealed jars, refrigerate or reprocess them immediately.
Don't take shortcuts with recommended procedures, and always discard suspicious-looking jars to prevent foodborne illness.
Frequently Asked Questions
How Long Will Home-Canned Fruit Remain Safe to Eat?
You'll find your home-canned fruit stays safe for 1-2 years when properly stored at 50-70°F. Though it's best eaten within a year, it'll remain safe longer if you've followed correct canning procedures.
Can I Reuse Canning Lids From Previous Batches?
You shouldn't reuse canning lids as they're designed for single use only. The sealing compound won't provide a reliable seal on second use, putting your food's safety at risk. Use fresh lids instead.
What Causes Fruit to Float to the Top of Jars?
Your fruit floats when it's overripe, packed too loosely, or processed in heavy syrup. You'll also see floating if you don't remove air bubbles or use raw-pack methods instead of hot-pack.
Should I Sterilize Jars Before Canning if They're Dishwasher-Clean?
If your recipe's processing time is under 10 minutes, you'll need to sterilize even dishwasher-clean jars. For recipes with 10+ minutes processing time, your dishwasher-cleaned jars are fine without extra sterilization.
Why Did My Canned Fruit Change Color During Storage?
Your fruit's color likely changed due to light exposure, improper storage temperature, or enzymatic activity. You'll prevent this by storing jars in a cool, dark place and using ascorbic acid during processing.
In Summary
Now you've mastered the key steps for canning fruit at home, you'll be able to preserve summer's bounty all year long. Remember to choose ripe, unblemished fruit, prepare a proper syrup solution, and follow safe processing times religiously. Don't skip any safety steps – they're essential for preventing spoilage and foodborne illness. With practice, you'll become confident in creating delicious, shelf-stable fruit preserves.


Leave a Reply