
You'll discover time-tested Amish preserving traditions that turn ordinary mason jars into vessels of flavor magic. These methods blend simplicity with practicality, using natural ingredients like honey, salt, and wood ash to enhance both taste and storage life. You'll need basic tools like jar lifters, funnels, and bubble tools, plus a clean workspace organized for efficient flow. Start with peak-season produce from local sources, and follow the seasonal calendar to capture nature's bounty at its best. The Amish community's generations of wisdom holds the key to revealing preservation secrets you won't want to miss.
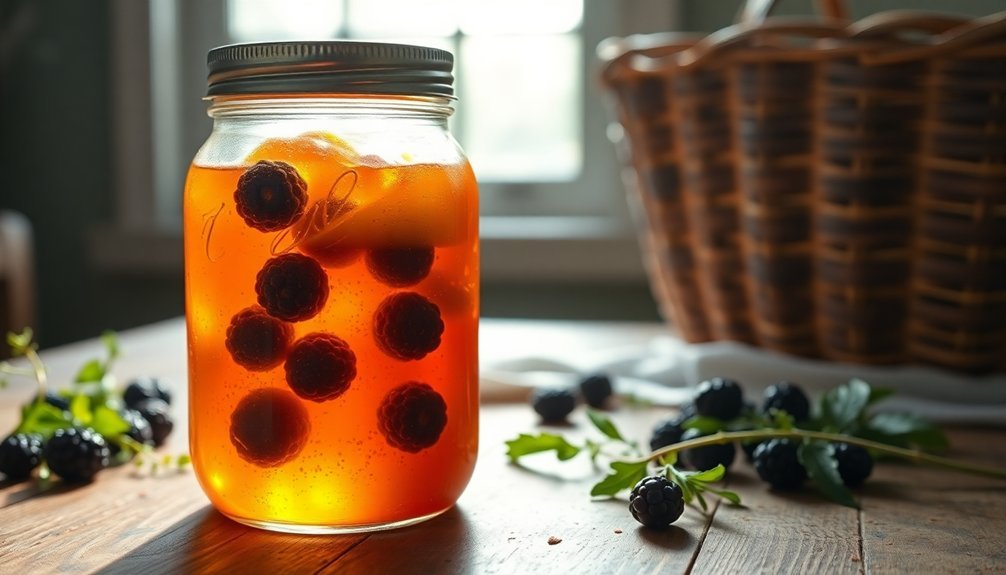
The Heritage of Mason Jars
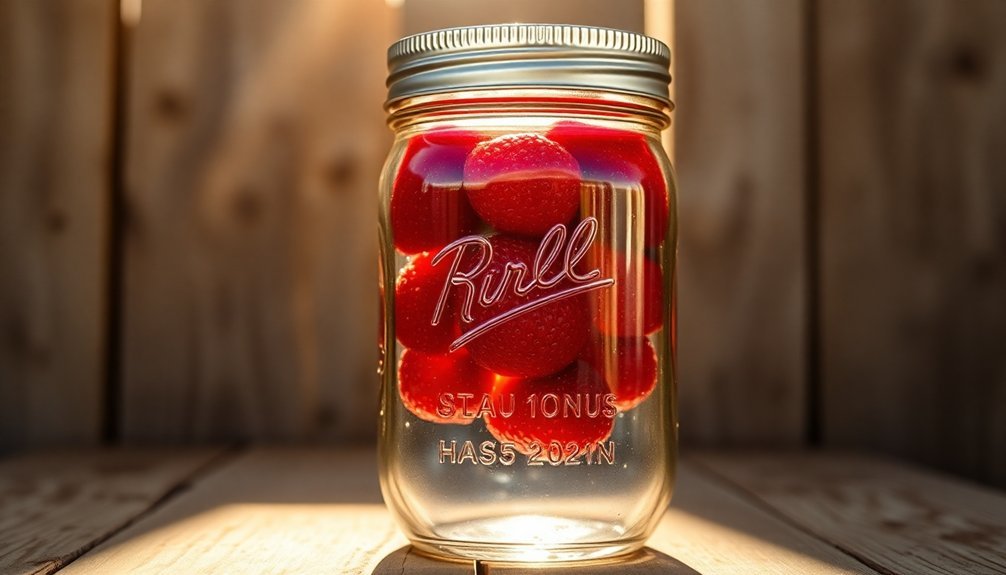
Standing as a tribute to American ingenuity, the Mason jar revolutionized food preservation when John Landis Mason patented his "Improvement In Screw-Neck Bottles" in 1858. His groundbreaking design featured a screw-on cap with a rubber seal that created an airtight closure, making home canning reliable and accessible to everyone.
Though Mason sold his patents to the Sheet Metal Screw Company in 1859, his invention's impact would last generations. The original jars used zinc screw-on caps with milk-glass liners to ensure a proper seal.
You'll find the evolution of Mason jars fascinating, as they transformed from mouth-blown vessels with ground lips to machine-made containers by 1909. The Ball Corporation began manufacturing these jars in 1884, while Alexander Kerr enhanced the design with improved sealing mechanisms in 1903 and 1915.
These humble glass containers changed how you'd preserve food, offering an alternative to traditional methods like smoking and salting. They became particularly essential during World War II when home canning surged due to food rationing.
Even today, you'll see Mason jars at county fairs, where proud canners display their preserved goods for judging, and they remain a popular choice for home preserving and creative DIY projects.
Essential Tools for Preserving
Before diving into Amish food preservation, you'll need to gather the right tools for success. The foundation of your preserving journey starts with proper canning vessels, including Mason jars, a water bath canner, and a pressure canner for low-acid foods. You'll also need a reliable canning rack to keep jars from touching the bottom of your pot. High-quality ingredients are crucial since canning cannot improve food quality beyond its original state.
| Essential Tools | Purpose | Safety Note |
|---|---|---|
| Jar Lifter | Removes hot jars | Never use regular tongs |
| Canning Funnel | Prevents spills | Must be wide-mouth |
| Bubble Tool | Removes air pockets | Check headspace accuracy |
| Magnetic Wand | Retrieves lids safely | Keep lids sterile |
| Heavy-Bottom Pot | Even heat distribution | Non-reactive material only |
For safe and efficient preserving, you'll want handling tools like jar lifters and canning tongs to protect your hands from hot surfaces. Don't forget measuring equipment – accurate scales, liquid measuring cups, and measuring spoons guarantee your recipes turn out consistently. Keep new canning lids, rings, pectin, and pickling spices on hand. Remember to label your finished jars with contents and dates. Using proper tools isn't just about convenience – it's about making certain your preserved foods are safe and shelf-stable.
Natural Preservation Methods
Throughout history, the Amish have relied on natural preservation methods to maintain their food supplies without modern conveniences. Their techniques focus on simple, proven approaches that you'll find both effective and chemical-free.
You can preserve your food using traditional fermentation, a cornerstone of Amish preservation. When you make sauerkraut, the natural process creates beneficial bacteria that protect the cabbage while adding distinctive flavors. Similarly, you'll find that pickling vegetables in a salt brine solution effectively extends their shelf life while maintaining nutritional value. These preservation methods are excellent antimicrobial agents that help prevent harmful bacterial growth.
Natural preservatives like citric acid, plant extracts, and essential oils can enhance your preservation efforts. You'll discover that garlic's anti-viral properties help prevent bacterial growth, while rosemary extract serves as an excellent natural preservative.
For meat preservation, you can rely on time-tested methods like curing with salt or creating beef jerky.
When you're looking to preserve fruits, traditional apple butter making offers a delicious way to extend shelf life. By cooking down apples with natural spices, you'll create a versatile spread that lasts throughout the year.
These methods don't just preserve your food; they'll help you maintain its natural flavors and nutritional benefits.
Preparing Your Workspace
You'll need to start by thoroughly cleaning and sanitizing your workspace to prevent any contamination of your preserves.
Keep your essential canning tools – including sterilized jars, lids, tongs, and funnels – within arm's reach at your workstation.
Set up a logical flow for your preserving station, with designated areas for preparing ingredients, filling jars, and processing them in your canning pot.
Clean and Sanitize First
Creating safe and delicious Amish preserves starts with a spotless workspace and sterilized equipment. Before you plunge into preserving, clear your counters of clutter and cover them with clean cloth. You'll need to sweep and mop the floor, ensuring proper ventilation to prevent moisture buildup.
Sanitize all your equipment by washing in hot soapy water and submerging them in a boiling water bath for 10 minutes. Don't forget to inspect your mason jars for cracks, and sterilize them thoroughly. Keep pets and children away from your workspace to maintain sterile conditions.
| Task | Method | Time Required |
|---|---|---|
| Workspace Prep | Clear & cover surfaces | 10 minutes |
| Floor Cleaning | Sweep & mop | 15 minutes |
| Equipment Wash | Hot soapy water | 10 minutes |
| Sterilization | Boiling water bath | 10 minutes |
| Jar Inspection | Visual check & clean | 5 minutes |
Use your jar lifter to remove sterilized jars from the water bath, placing them on clean towels to dry. Keep a damp cloth handy for wiping jar rims, and use white vinegar for sticky residue. Remember not to touch the inside of jars or lids to maintain sterility throughout the process.
Essential Tools Ready
Now that your workspace sparkles, gather all your canning tools before starting the preservation process. You'll need proper mason jars designed specifically for preserves – inspect each one carefully for chips or cracks that could prevent a proper seal.
Remember, while you can reuse jars indefinitely, the jar's lip must be perfect for safe preservation.
Your lids and bands require special attention. Never reuse lids, as their rubber gaskets are designed for single use only. While bands can be reused if they're in good condition, you'll only need to tighten them finger-tip tight.
Keep plenty of new lids on hand – they're inexpensive and essential for food safety.
Don't forget your specialized tools: canning tongs for safely handling hot jars (regular tongs won't do), and a magnetic wand for retrieving lids from hot water without burns.
You'll also need a large stockpot with a canning rack, a wide-mouth funnel to prevent spills, and a spouted ladle for neat filling.
Keep a bubble tool or chopstick nearby to release trapped air bubbles in your filled jars. Having these tools ready guarantees your canning process will flow smoothly and safely.
Organized Preserving Station
A well-organized preserving station forms the backbone of successful Amish preserving. Position your workspace away from high-traffic areas but close to essential utilities like sinks and electrical outlets.
You'll want to keep refrigeration nearby to maintain the freshness of your fruits and vegetables while they await processing.
Create designated zones for washing, chopping, and storing, following the natural flow of food preparation. Label your containers clearly with contents and dates, and always implement the FIFO method – it's a time-tested Amish practice that guarantees nothing goes to waste.
You'll need vertical storage solutions to keep your essential tools within arm's reach while maximizing counter space.
- Feel the satisfaction of opening your clearly labeled jars months later, knowing exactly what's inside and when you preserved it
- Experience the peace of mind that comes from having all your tools properly sanitized and ready for use
- Enjoy the efficiency of a well-planned workspace where everything has its place
- Connect with generations of Amish wisdom through organized, methodical preservation techniques
Remember to maintain clear pathways and clean as you go – it's not just about efficiency, it's about creating preserves safely and joyfully in the Amish tradition.
Selecting Fresh Local Ingredients
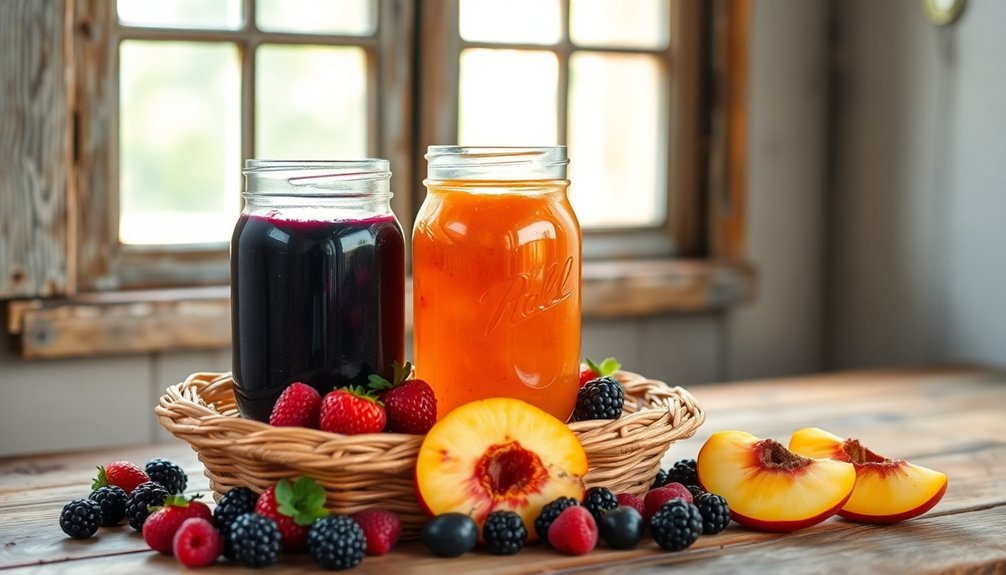
You'll want to choose fruits and vegetables at their absolute peak of ripeness, when they're bursting with natural sweetness and flavor.
By working with the local harvest calendar, you're able to capture each ingredient precisely when it reaches its seasonal best, from early summer strawberries to late autumn apples.
Getting your produce straight from local Amish gardens and farms guarantees your preserves will maintain that coveted garden-to-jar quality that makes traditional Amish preserves so special.
Seasonal Peak Harvest Times
Understanding peak harvest times lies at the heart of Amish preserve-making, as the community relies heavily on locally grown produce for their canning activities.
You'll find spring brings the first bounty with strawberries, raspberries, and cherries reaching their peak, offering perfect opportunities for making jams and preserves.
As summer arrives, you can focus on vegetables like green beans, corn, and peas, which are ideal for traditional Amish canning methods.
Late summer marks the prime time for pickling and relish-making, when cucumbers, peppers, and sweet gherkins are at their finest.
You'll want to preserve these vegetables while they're crisp and fresh for the best results.
Fall brings apples, pears, and cabbage, perfect for creating classic Amish staples like applesauce and sauerkraut.
- Feel the excitement of spring's first strawberry harvest, knowing you'll soon be creating vibrant preserves
- Experience the satisfaction of summer vegetable canning at its peak
- Embrace the late summer pickling tradition that's been passed down through generations
- Savor the autumn abundance that provides sustenance throughout winter months
Garden to Jar Quality
When selecting ingredients for Amish preserves, freshness remains the cornerstone of exceptional quality. You'll find that Amish communities harvest their fruits directly from their own gardens or neighboring farms, guaranteeing each ingredient meets their strict standards. They'll pick only the ripest fruits at peak maturity, hand-selecting each piece to assure ideal flavor and nutritional value.
| Aspect | Traditional Method | Quality Impact |
|---|---|---|
| Sourcing | Local gardens & farms | Maximum freshness |
| Handling | Hand-harvested | Careful selection |
| Processing | Manual preparation | Consistent quality |
| Storage | Small-batch jars | Ideal preservation |
The Amish commitment to natural farming practices means you're getting preserves made from non-GMO ingredients, grown without artificial additives or preservatives. Each fruit is hand-smashed and carefully cooked using time-tested methods passed down through generations. You'll taste the difference in every jar, as traditional wood stove cooking and small-batch production guarantee consistent quality. This garden-to-jar process reflects the community's dedication to sustainable agriculture and environmental stewardship, while supporting local farmers and maintaining the integrity of their time-honored preservation techniques.
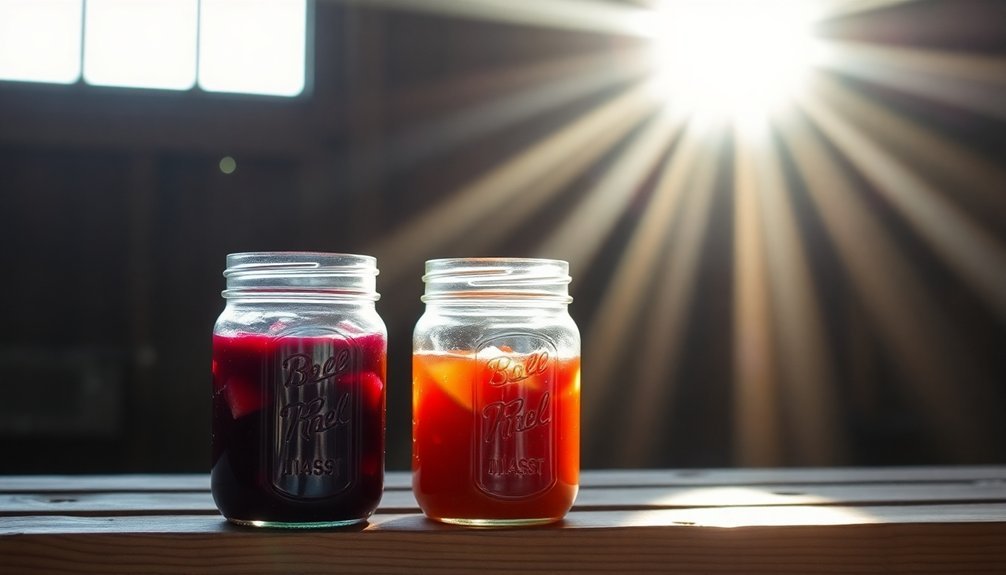
Time-Tested Canning Techniques
The time-tested techniques of Amish canning rely on two primary methods: water bath canning for high-acid foods and pressure canning for low-acid foods.
You'll need to match your preservation method to your produce – water bath canning works perfectly for fruits, jams, and pickles, while vegetables, meats, and soups require pressure canning's higher temperatures to guarantee safety.
Before you begin, gather your essential equipment: clean Mason jars without chips or cracks, new lids with intact rubber seals, and either a large stock pot with rack or pressure canner depending on your method.
Sterilize everything thoroughly – the Amish tradition of meticulous cleanliness isn't just tradition, it's critical for food safety.
- Feel the satisfaction of filling each jar with your garden's bounty, leaving proper headspace.
- Experience the meditative rhythm of processing jars in steady, rolling water.
- Listen for the rewarding 'ping' of each lid as it seals properly.
- Share the pride of your perfectly preserved foods with loved ones.
Remember to adjust your processing times for altitude and let jars cool naturally before testing seals.
Storage Solutions That Last
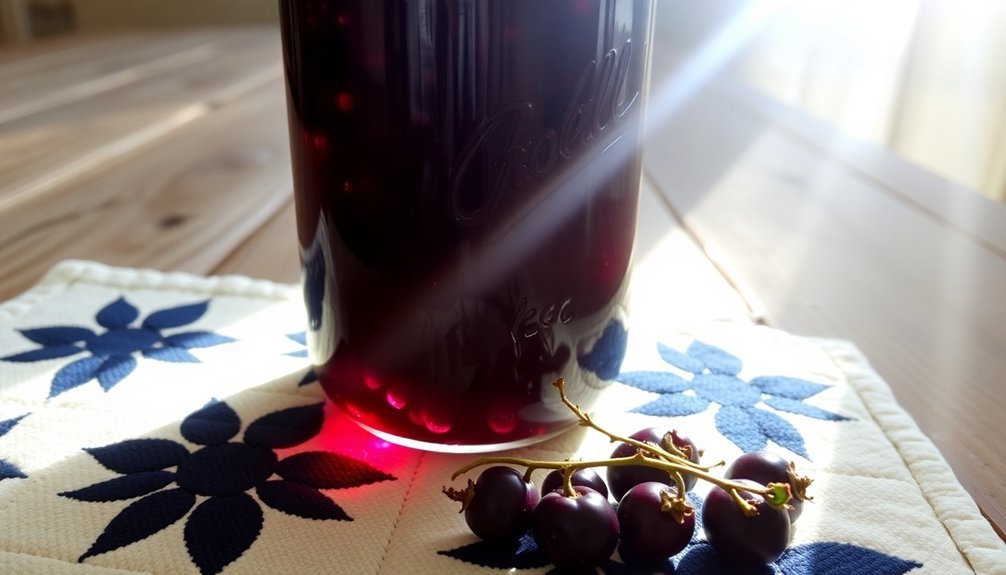
Through generations of experience, Amish communities have perfected storage solutions that don't rely on modern refrigeration. You'll find their methods combine simple tools like mason jars with time-tested preservation techniques that keep food fresh for months or even years.
Mason jars serve as your versatile storage workhorses. By strategically layering ingredients and ensuring tight seals, you can keep food fresh for up to six days in the fridge. Label your jar lids with contents and dates to maintain organized storage, and you'll always know what's inside.
For longer-term storage, you can adopt traditional Amish techniques like salt curing and smoking meats. When you submerge cooked meats in rendered lard, you're creating an airtight seal that prevents spoilage.
Underground root cellars offer ideal environments for storing vegetables, maintaining steady temperatures year-round.
You can also implement natural cooling methods by utilizing cold springs or designing storage spaces with proper ventilation. For dried goods, store them in airtight containers to protect against moisture and pests.
When properly dried and stored, items like beans and herbs can last for years without modern refrigeration.
Seasonal Preserving Calendar
Mastering preservation requires understanding nature's rhythmic cycles throughout the year. Each season brings its own bounty, and knowing when to preserve specific foods guarantees you'll have delicious homemade goods all year round.
Your preservation journey starts in spring with tender rhubarb and fresh strawberries, moves through summer's abundant tomatoes and corn, and extends into fall's hearty root vegetables.
The art of preserving connects you to generations of Amish wisdom, teaching valuable lessons about:
- Spring's awakening – when tender asparagus and early greens signal the start of a new preserving season
- Summer's abundance – as you transform sun-ripened tomatoes and plump blueberries into winter's comfort
- Fall's harvest – while you store away pumpkin puree and sweet potato treasures
- Winter's planning – when you'll assess your stores and prepare for the next cycle
Start your preserving calendar in January by taking inventory and gathering supplies.
By March, you'll be ready for garden planning, and come May, you'll begin the rewarding cycle of putting food by.
Remember to rotate your stores throughout the year, guaranteeing nothing goes to waste.
Beyond Basic Fruit Preserves
Over generations, Amish families have developed preservation methods far beyond simple jams and jellies. You'll find their techniques incorporate natural preservatives like honey and salt, creating unique flavor profiles while guaranteeing long-term storage stability.
You can explore traditional Amish methods such as layering fruits with spices like cinnamon, cloves, and nutmeg, which not only preserve but enhance the natural sweetness. They've perfected the art of combining fruits with herbs and spices in honey infusions, creating versatile preserves that work well in both sweet and savory dishes.
For extended storage, you'll want to follow their tried-and-true practices of using airtight containers and cool, dark storage spaces. Consider their method of beeswax coating, which creates a natural barrier against moisture while supporting local beekeeping.
Don't overlook their innovative use of wood ash preservation, particularly effective for apples and pears.
When you're ready to start preserving, you'll need basic tools like copper jam pans or wide-bottom pots, long wooden spoons, and proper jar lifters. Remember to use rubber gloves for safety when handling hot preserves and always guarantee proper sealing techniques.
Frequently Asked Questions
Can Honey-Preserved Fruits Be Safely Given to Infants Under One Year?
You shouldn't give honey-preserved fruits to infants under one year old. Even with preservation, honey can still contain botulism spores that are dangerous for babies, as standard processing doesn't eliminate this serious risk.
Why Do Some Amish Preserves Develop Dark Spots on Top?
You'll notice dark spots on preserves when acidic foods react with the metal lid, causing corrosion. Don't worry – it's usually harmless chemical reactions, not mold, as long as your seal's intact.
Does Adding Spices Affect the Preservation Time of Fruit Jams?
No, your spices won't affect your jam's preservation time. They're only there for flavor. The real preservation comes from sugar content, proper acidity levels, and correct canning procedures you follow.
Can Preserved Fruits Be Safely Transported During Winter Without Freezing?
You'll need to maintain temperatures above freezing during transport. Use insulated containers and track the temperature to keep preserves between -1 to 4°C. Don't let them freeze, as this can damage texture and quality.
What Causes Preserved Fruit to Float to the Top of Jars?
Your preserved fruit floats when there's trapped air in the cells, you've raw-packed instead of hot-packed, or you haven't packed the jars tightly enough. Improper exhaustion and overripe fruit can also cause floating.
In Summary
You'll find that mastering these Amish preserving techniques opens up a world of possibilities beyond basic jams and jellies. Whether you're canning summer peaches or autumn pears, the time-tested methods guarantee your preserves stay fresh and flavorful. Keep exploring new seasonal combinations, share your creations with loved ones, and enjoy the satisfaction of carrying on this cherished tradition of putting food by.


Leave a Reply