To can perfect applesauce, you'll need to follow seven essential steps. Start by selecting firm, ripe apples like Cortland or Gala, then wash and cut them into uniform chunks. Cook your apples with the right water-to-fruit ratio until soft, adding spices like cinnamon during cooking. Process the mixture to your desired consistency, then add sweeteners to taste. Sterilize your canning jars and lids thoroughly using either oven or hot water bath methods. Fill jars with hot applesauce, leaving proper headspace, and process in a boiling water bath. These time-tested techniques will guarantee your homemade applesauce stays fresh and flavorful for up to 18 months.
Selecting the Perfect Apples
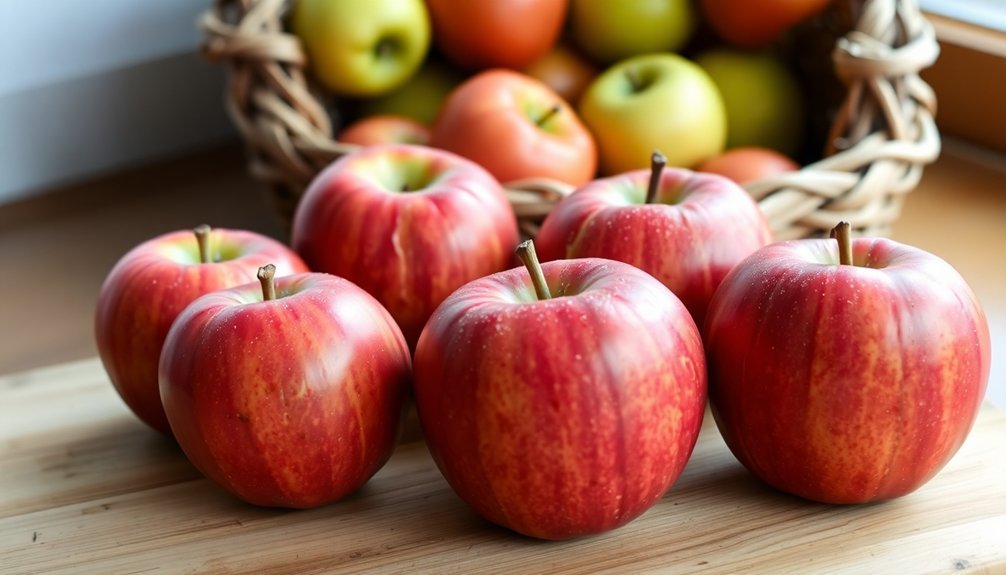
When making homemade applesauce, choosing the right apples can make or break your final product. You'll want to focus on varieties that cook down well and offer the perfect balance of sweetness and texture. Cortland, Golden Delicious, Gala, and McIntosh apples are excellent choices, as they're known for their soft flesh and ability to break down during cooking.
For the best results, you'll want to combine different varieties to create a complex flavor profile. Mix sweet Golden Delicious or Gala apples with tart Granny Smith to achieve a balanced taste. Avoid Red Delicious apples, as they become mushy and don't maintain their flavor when heated. With over 7,500 varieties of apples worldwide, you have plenty of options to choose from.
Don't select apples that are too green or overripe, as they'll affect the quality of your sauce. Look for fruit that's freshly picked rather than stored long-term in cold storage.
If you're planning to leave the peels on, consider how they'll impact your sauce's color and flavor. Remember that mealy or overly firm apples won't give you the smooth, consistent texture you're after. Your apples should be sweet, juicy, and crisp, with flesh that'll cook down easily.
Preparing Your Apple Mixture
You'll want to start with sweet, ripe apples like McIntosh, Gala, or Golden Delicious for the best homemade applesauce.
Give your apples a thorough wash, remove the stems and cores, and cut them into uniform ¾-inch chunks for even cooking.
Combine your chopped apples with just enough water to cover the bottom of the pot, typically about ½ cup of water per 4 apples, to achieve the perfect consistency. Adding ground cinnamon while cooking enhances the natural apple flavor.
Select Best Apple Varieties
The success of your homemade applesauce largely depends on choosing the right apple varieties. You'll want to select apples that soften well when cooked and provide the perfect balance of sweet and tart flavors. Cortland, Golden Delicious, and McIntosh apples are excellent choices as they break down easily during cooking and create a smooth texture. Combining different apples adds depth to the overall taste.
For the best results, combine at least three different varieties. You can pair sweet Gala apples with tart Granny Smith to achieve an ideal flavor profile. Avoid using Red Delicious apples, as they become too mushy and lack the depth of flavor you're seeking.
| Apple Variety | Best Use Case |
|---|---|
| Cortland | Primary base, excellent texture |
| Golden Delicious | Sweet foundation |
| Gala | Balanced sweetness |
| McIntosh | Quick-softening texture |
| Granny Smith | Tart flavor accent |
Don't hesitate to use slightly overripe or bruised apples – they're perfect for applesauce and can save you money. Simply cut away any damaged areas before cooking. If you're using local varieties, you might discover unique flavors that add character to your applesauce. Remember to remove apple cores, though you can leave the peels on for added color and nutrients.
Wash and Cut Properly
Preparing apples correctly forms the foundation of delicious homemade applesauce. Start by thoroughly washing your apples under clean, running water without using soap. Remove any stems, bruises, or decayed areas as you inspect each fruit. Give them a final rinse to guarantee they're completely clean.
Next, you'll need to peel and core your apples. Use a peeler or johnny apple peeler to remove all the skin, as unpeeled apples can lead to spoilage in your sauce. Remove the core and seeds using either your peeler/corer/slicer combination tool or a melon baller for more precise work.
Cut your cleaned apples into uniform chunks or slices. You can use a dedicated apple slicer or cut them manually into halves or quarters. Consistent sizing is essential for even cooking throughout your batch.
To prevent browning while you work, submerge your cut apples in an anti-browning solution. You can use either ascorbic acid (1 teaspoon per gallon of water) or lemon juice (½ cup per gallon).
Keep the pieces submerged until you're ready to proceed, then drain them thoroughly before moving on to cooking.
Perfect Water-to-Apple Ratio
Now that your apples are properly prepared, getting the right water-to-apple ratio will make or break your applesauce. For every 3-4 pounds of apples, you'll need about 1 cup of water. If you're working with larger quantities, add ½ cup of water for each additional 3 pounds of apples.
Consider your liquid options carefully. While water is traditional, you can enhance flavor by using apple cider or juice. Remember that using juice will increase sweetness, so adjust any added sugar accordingly. For extra tang and preservation benefits, add a splash of lemon juice to your chosen liquid.
| Liquid Type | Benefits | Considerations |
|---|---|---|
| Water | Neutral base, traditional | May need more seasoning |
| Apple Cider | Enhanced apple flavor | Affects final sweetness |
| Apple Juice | Natural sweetness | May make sauce too sweet |
Monitor your mixture closely during cooking. The liquid should just barely cover the apples to prevent sticking. If your sauce becomes too watery, simply continue cooking to reduce excess liquid. Conversely, if the mixture starts sticking, don't hesitate to add more liquid. You're aiming for a consistency similar to loose pudding for best canning results.
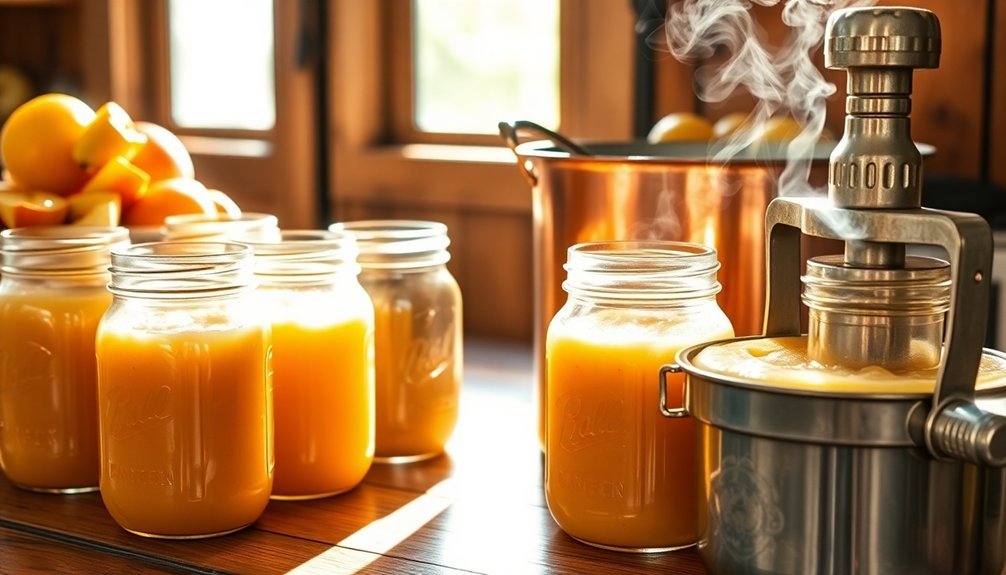
Cooking Down Fresh Apples

Making delicious homemade applesauce starts with properly cooking down fresh apples. Begin by washing your apples thoroughly and removing the stems. Cut them into rough chunks or quarters, depending on your preferred final texture. If you're not using a food mill, you'll need to peel, core, and remove the seeds. An apple peeler-corer-slicer can greatly speed up this process.
Place your prepared apple chunks in a large stockpot and cover them with water or apple cider and lemon juice. Heat the mixture over medium-high heat, stirring occasionally as the apples soften. You'll want to cook them for about 10 minutes until they break down completely.
Don't overfill your pot, as this can lead to sticking and scorching.
Once your apples are soft, process them through a food mill to remove skins and seeds, or use a potato masher if you don't have a mill. Work in manageable batches for consistent results.
Finally, bring the processed applesauce to a boil, then reduce heat slightly and cook for 2-4 minutes, stirring constantly until it reaches your desired thickness. Add water if needed to adjust consistency.
Adding Sweeteners and Spices
You'll find that both natural sweeteners like honey and maple syrup, as well as alternative options like Truvia and Lakanto, can enhance your applesauce's flavor when added at a rate of 1/8 cup per quart.
Your choice of spices, particularly classic combinations like cinnamon with nutmeg and allspice, will transform basic applesauce into a warmly spiced treat.
Add your chosen sweeteners and spices after cooking the apples but before final processing, tasting and adjusting until you've achieved your perfect blend.
Natural vs. Alternative Sweeteners
Traditional sugar isn't the only path to sweet, delicious applesauce. You'll find plenty of natural alternatives, including honey and maple syrup, which you can substitute for granulated sugar in a 1:1 ratio.
If you're using naturally sweet apples like Honeycrisp or Fuji, you mightn't need any additional sweeteners at all. You can also boost sweetness by replacing water with apple juice or cider in your recipe.
For those monitoring calories or sugar intake, alternative sweeteners offer practical solutions. Truvia Original Sweetener and Lakanto Monkfruit Sweetener provide zero-calorie options that can reduce sugar content by up to 50%.
These alternatives come in both white and brown sugar substitutes, and you'll find them easy to measure as they typically work as 1:1 replacements for traditional sugar.
Remember to add your chosen sweetener during the cooking process for even distribution, though you can make adjustments after cooking if needed.
Start with 1/8 cup of sweetener per quart of applesauce and adjust to taste. You can also balance sweetness by incorporating spices and a touch of lemon juice or apple cider vinegar for enhanced flavor.
Perfect Spice Combinations
Three essential spice combinations can transform basic applesauce into a flavor-packed treat. Start with the traditional blend of cinnamon, cloves, and allspice – this time-tested combination creates a warm, sweet profile that's perfect for classic applesauce.
Don't forget to take into account nutmeg, which adds a subtle nuttiness to complement these spices.
For a more complex flavor, you'll want to explore savory additions. Try combining ginger with your cinnamon and nutmeg, or add a surprising kick with a pinch of chile powder.
You can even incorporate aromatics like red onions or a dash of Angostura bitters to create depth and balance the sweetness.
If you're feeling adventurous, toast your spices before adding them – this simple step intensifies their flavors considerably.
Add unexpected elements like fresh rosemary sprigs or a splash of vanilla extract for unique variations.
When it comes to sweeteners, you've got options: pair brown sugar with warm spices, or use honey or maple syrup for distinct flavor profiles.
For extra depth, consider adding apple cider instead of water, or experiment with a splash of bourbon or brandy.
When to Add Flavors
Timing plays an essential role when adding sweeteners and spices to your applesauce. For sweeteners like sugar, honey, or maple syrup, wait until your apples have softened before adding them to prevent burning. You'll want to mix them thoroughly to guarantee even distribution throughout the sauce. If you're using zero-calorie alternatives, follow the same timing guidelines.
For maximum flavor and nutritional benefits, you can add certain sweeteners like honey after removing the pan from heat. This method gives you better control over sweetness levels and prevents caramelization. Don't forget you can skip sweeteners altogether if you're using naturally sweet apple varieties.
When it comes to spices, add ground cinnamon, cloves, or nutmeg early in the cooking process to allow flavors to develop fully. If you're using whole spices or sticks, place them in at the beginning and remove them before mashing. For more subtle flavoring, you can add spices after cooking and mashing.
If you're planning to can your applesauce, make sure it reaches a boil after adding sweeteners, and maintain constant stirring to prevent burning. Remember, sweeteners won't affect your canning safety or storage requirements.
Sterilizing Canning Equipment
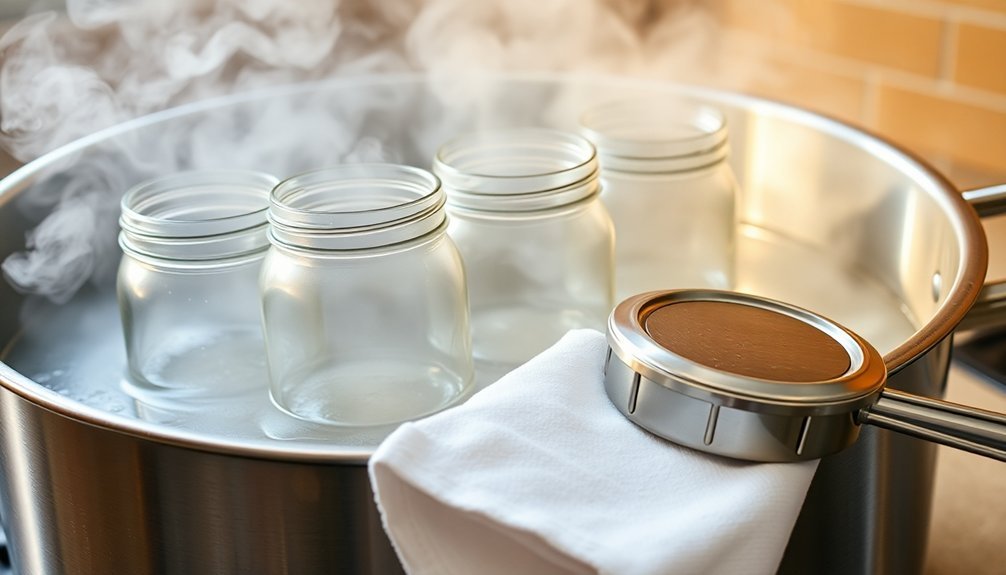
Proper sterilization of your canning equipment is essential for safe food preservation. You'll need to choose between two effective methods: the oven method or hot water bath sterilization.
For the oven method, wash your jars and lids with hot soapy water and rinse thoroughly. Preheat your oven to 275°F, place the wet jars on a baking tray, and heat them for 10 minutes.
Soak the lids in boiling water for 5 minutes separately.
If you're using the hot water bath method, place your clean jars right-side up on the rack in your boiling-water canner. Fill with hot water until it's one inch above the jars' tops.
You'll need to boil for 10 minutes at altitudes under 1,000 feet, adding an extra minute for each additional 1,000 feet of elevation.
Filling Your Canning Jars
Getting your applesauce into sterilized jars requires careful attention to both temperature and technique.
You'll need to maintain your applesauce at a simmering temperature throughout the filling process to guarantee proper preservation. If you've let it cool, bring it back to a boil before proceeding.
Fill your hot jars with the simmering applesauce, making sure to leave a ½-inch headspace at the top. You'll want to remove any air bubbles by running a debubbling tool or spatula around the inside of each jar.
After debubbling, check the headspace again and add more applesauce if needed to maintain the proper ½-inch gap.
Before sealing, wipe the jar rims with a clean, damp cloth to remove any food residue that could prevent proper sealing. Center the lid on each jar, ensuring the sealing compound makes full contact with the rim.
Screw on the band until it's fingertip-tight – don't overtighten. As you complete each jar, place it carefully on the rack in your water bath canner, keeping the jars from touching each other.
Make sure there's at least an inch of water above your jars before covering the canner.
Processing for Long-Term Storage
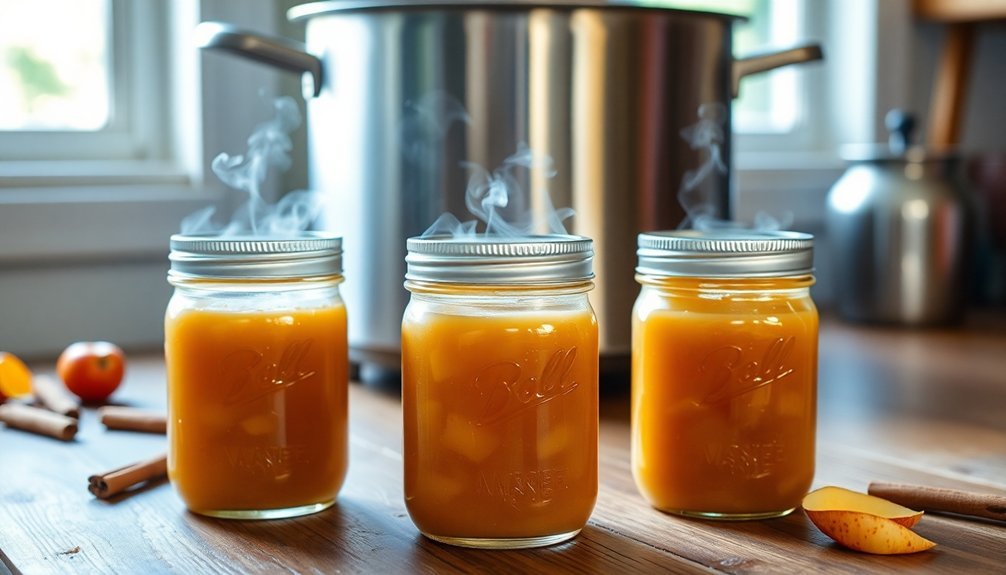
Your journey to shelf-stable applesauce begins with precise processing times and temperatures. If you're using a boiling water canner, process pint jars for 15 minutes and quart jars for 20 minutes. For pressure canning, process pints for 8 minutes and quarts for 10 minutes at 6 lbs of pressure (dial-gauge) or 5 lbs (weighted-gauge).
Once processing is complete, let the jars rest in the hot water for 5 minutes. Then, carefully remove them and place them on a clean towel. Don't disturb the jars for 12-24 hours while they cool and seal. You'll know they're properly sealed when the center of the lid doesn't flex when pressed.
After cooling, remove the rings and clean the jars with warm, soapy water. Store your sealed applesauce in a cool, dark place between 50-70°F. Don't stack jars more than two high to prevent damage.
While your applesauce will stay safe indefinitely with an intact seal, it's best to use it within 12-18 months for peak quality. Once you've opened a jar, refrigerate it and use the contents within a week.
Frequently Asked Questions
How Long Will Properly Canned Applesauce Last on the Shelf?
You'll find your properly canned applesauce will last 12-18 months when stored in a cool, dark place. It's safe to consume up to 2 years past the best-by date with proper storage conditions.
Can I Use Previously Frozen Apples to Make Canned Applesauce?
Yes, you can use frozen apples to make canned applesauce. Just make sure you've thawed them completely and heated the mixture to boiling before canning. Your applesauce will still turn out great with previously frozen apples.
What Causes Applesauce to Separate in the Jars After Canning?
Your applesauce separates due to excessive liquid content, whether you've added too much water or used overly juicy apple varieties. Fast cooking and proper cooling can help prevent this common canning issue.
Is It Safe to Reprocess Jars That Didn't Seal Properly?
Yes, you can safely reprocess unsealed jars within 24 hours. Just check the jar rim for damage, use a new lid, reheat the contents, and follow the original processing time and method.
Can I Double or Triple the Recipe for Larger Batches?
Yes, you can double or triple your applesauce recipe by multiplying the apple quantities accordingly. You'll need 42 pounds for 14 quarts or 63 pounds for 21 quarts. Just don't overfill your cooking pots.
In Summary
You'll find that mastering homemade applesauce is both rewarding and practical. With these seven steps, you're now equipped to create delicious batches that'll last through the seasons. Don't be afraid to experiment with different apple varieties and spice combinations once you've got the basics down. Whether you're a novice or experienced canner, following these time-tested methods guarantees safe, flavorful results every time.


Leave a Reply