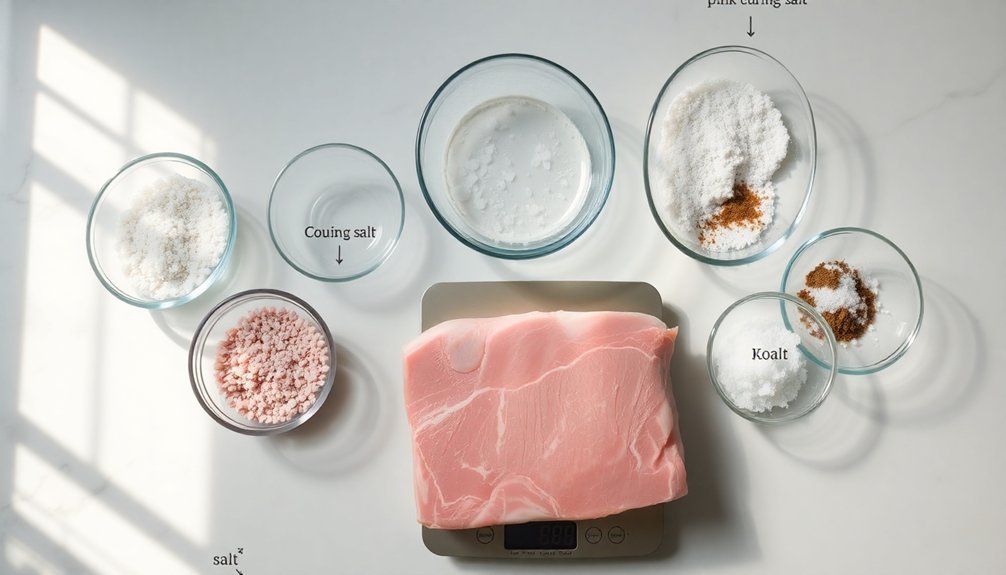
You'll need to use specific cure ratios based on your meat type and curing method. For ground meats, stick to 0.25% cure, while bacon requires 0.19%, and immersion-cured products need 0.32%. When using Cure #1 (which contains 6.25% sodium nitrite), you must carefully calculate the proper amount based on your meat's weight in grams. Temperature control is vital – keep curing temperatures between 36-40°F (2-5°C) when using nitrites. Precise measurements and proper calculations are essential for food safety, as both under and over-curing can be dangerous. The details behind these numbers reveal the science of safe meat preservation.
Understanding Basic Cure Types
When it comes to meat curing, you'll encounter four primary methods: dry curing, brine curing, combination curing, and sausage curing. Each method serves specific purposes and works best with particular cuts of meat.
Dry curing involves directly applying your cure mix to the meat's surface. You'll find this method particularly effective for bacon, hams, and smaller cuts. Temperatures between 36-40°F must be maintained throughout the process.
Simply place your meat in a sealed plastic food storage bag and refrigerate it. After curing, you'll need to rinse off excess salt before cooking.
In brine curing, you'll create a salt solution that either soaks or gets injected into the meat. You'll need to keep the meat fully submerged, often using weights, and maintain refrigeration throughout the process.
Combination curing merges both approaches by using a dry rub and brine injections, primarily for hams. This method speeds up curing while reducing spoilage risks by working from both inside and out.
For sausage curing, you'll mix curing salts and spices directly with ground meat, ensuring even distribution throughout.
You can customize your spice blend, but remember to keep the meat refrigerated during curing and cook it before serving.
Essential Cure Ratio Calculations
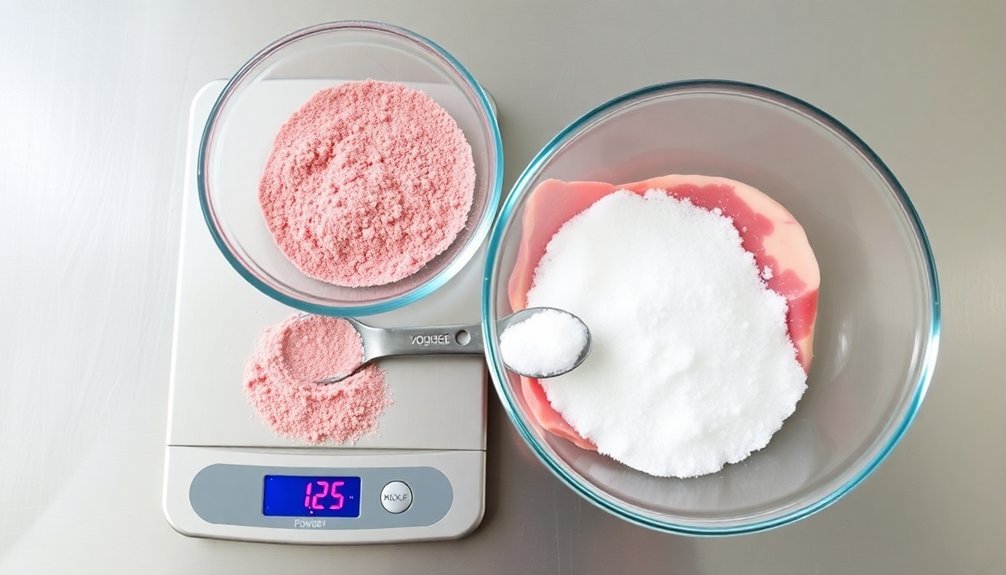
Precision stands at the heart of successful meat curing. When you're calculating cure ratios, you'll need to work with exact measurements to guarantee both safety and quality. The basic foundation is working with percentages based on your meat's weight, including any water used for brining. For optimal results, using dextrose over sucrose promotes better bacterial consumption during the curing process.
You'll typically use 0.25% cure for ground meats (156 ppm), 0.19% for bacon (120 ppm), and 0.32% for immersion-cured products (200 ppm). To make this practical, you can convert to grams – for every 1000 grams of meat, you'll need 2.5 grams of cure at 0.25%.
For Cure #1, which contains 6.25% sodium nitrite, you'll need to account for this percentage in your calculations. Using the PPM formula ((PPM × meat weight in grams) / 0.0625 / 1,000,000), you can determine the exact amount of cure needed.
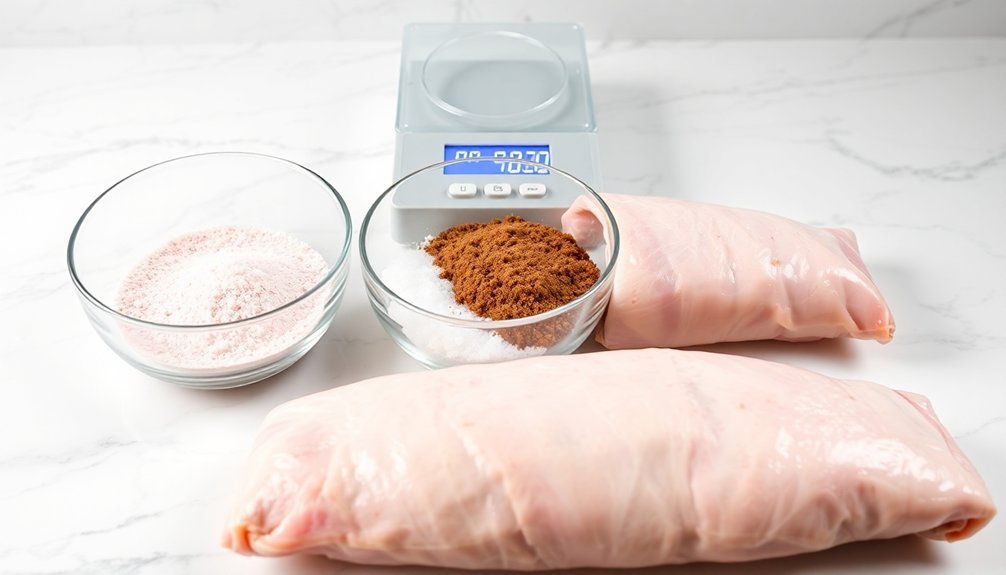
For example, if you're curing 5 pounds (2267.96 grams) of meat at 156 ppm, you'll need 5.66 grams of Cure #1.
Remember to weigh everything in grams for the most accurate measurements, and always include the weight of your brine when doing immersion cures.
Safe Curing Limits
You'll need to understand the maximum allowable nitrite concentrations for different meat products, which range from 120 ppm for wet cured bacon to 625 ppm for dry-cured products like country hams.
For optimal measurement precision, using electronic weighing scales will help ensure accurate cure ratios and safer results.
Common cure mix rates vary based on the specific product you're working with, and it's critical to measure your cure ingredients precisely to stay within safe limits.
Following proper cure mix ratios isn't just about food safety regulations—it's about protecting your health while achieving the desired preservation and flavor in your cured meats.
Maximum PPM By Product
Safe curing limits establish specific maximum parts per million (PPM) of sodium nitrite allowed for different meat products. You'll need to follow these limits carefully to guarantee both safety and compliance with USDA regulations.
| Product Type | Maximum PPM Allowed |
|---|---|
| Wet Cured Bacon | 120 ppm |
| Dry Cured Bacon | 200 ppm |
| Comminuted Meats | 156 ppm |
| Ham/Whole Muscle | 200 ppm |
| Keep Refrigerated | 120 ppm minimum |
When you're curing bacon, you'll need to distinguish between wet and dry curing methods, as they have different maximum limits. Wet cured bacon can't exceed 120 ppm of sodium nitrite, while dry cured bacon allows up to 200 ppm due to longer curing times and air exposure. For comminuted products like sausages and frankfurters, you're limited to 156 ppm maximum.
Ham and whole muscle products can contain up to 200 ppm of sodium nitrite. Don't forget that "Keep Refrigerated" products require a minimum of 120 ppm ingoing nitrite to guarantee safety against pathogens. You'll also need to take into account adding sodium ascorbate or sodium erythorbate in commercial bacon production to enhance nitric oxide formation and reduce nitrosamines.
Common Cure Mix Rates
Understanding proper cure mix rates builds on the PPM limits by showing you exactly how to measure and apply curing agents. When using Cure #1, you'll need to calculate based on your meat's green weight, not its finished weight. For precise measurements, use this formula: multiply your desired PPM of sodium nitrite by the meat weight in grams, then divide by 0.0625 and 1,000,000 to get your Cure #1 amount in grams.
For dry curing, you'll want to use 1 ounce of cure mixture per pound of pork. If you're working with comminuted meats, stick to a 0.25% cure rate, which means using 0.04 ounces of cure per pound of meat.
When wet curing, you can use 2 pounds of nitrite per 100 gallons of pickle at a 10% pump level.
You'll get the best results using equilibrium curing, which prevents over-salting by using precise salt amounts. Remember to use clean, non-reactive containers and maintain a temperature of 55°F with 70% humidity.
You can safely extend curing time by up to 25% beyond recommendations without compromising safety, but always watch for signs of spoilage.
Dry Versus Wet Curing
You'll find two distinct approaches to meat curing: dry curing, which involves rubbing cure directly onto meat surfaces, and wet curing, which uses a brine solution to preserve the meat.
Each method offers unique safety considerations – dry curing requires careful measurement of cure-to-meat ratios and consistent temperature control, while wet curing demands proper brine strength and complete meat submersion.
Your choice between these methods should depend on the cut of meat, available time, and desired final texture, with dry curing better suited for long-term preservation and wet curing ideal for maintaining moisture in leaner cuts.
Basic Method Differences
When choosing between dry and wet curing methods, you'll find two distinct approaches that shape your meat's final texture and flavor profile.
With dry curing, you'll apply the cure mix directly onto the meat's surface before sealing it in a plastic food storage bag and refrigerating. This method leads to moisture loss, resulting in a tougher texture and more concentrated, intense flavors. You'll need to rinse off excess salt before cooking the meat after the curing process is complete.
In contrast, wet curing requires you to submerge your meat completely in a chilled brine solution containing nitrites, nitrates, and flavoring agents. You'll often need to weigh down the meat to keep it fully immersed.
The wet method creates a more uniform cure as the solution reaches equilibrium with the meat's moisture content. You'll achieve a milder, more evenly distributed flavor throughout the meat, and the method helps prevent uneven salt concentrations or "hot spots."
Wet curing also offers better protection against oxidation and rancidity, giving you more control and consistency in your final product.
Safety By Curing Type
Safety considerations for both dry and wet curing methods revolve around pathogen control and proper handling techniques.
When you're dry curing, you'll need to pay extra attention to "hot spots" where the cure mightn't distribute evenly, especially around bones. You'll want to store your meat on a rack or hang it to guarantee proper air flow, while monitoring for any signs of spoilage or objectionable odors.
Wet curing offers more uniform distribution of the cure throughout your meat, reducing the risk of those problematic hot spots. You'll find it creates a more controlled environment, but you must still maintain proper refrigeration temperatures and use clean, distilled water to prevent contamination.
For both methods, you'll need to carefully control temperature (keep it below 40°F or above 140°F) and monitor pH levels to inhibit pathogen growth.
Remember that excessive consumption of cured meats can lead to health issues due to high salt and nitrate content. Always purchase your curing ingredients from licensed sources, follow prescribed standards for nitrite usage, and store your cured meats properly in sealed containers under refrigeration to maintain safety.
Choosing Right Cure Method
Building on our safety discussion, choosing between dry and wet curing hinges on your specific needs and the type of meat you're processing.
If you're working with smaller cuts or prefer a more concentrated flavor, dry curing might be your best option. You'll apply the cure mixture directly to the meat's surface and store it in a sealed plastic bag, potentially requiring multiple applications every 3-5 days.
For larger cuts or when you need more consistent results, wet curing offers distinct advantages. You'll submerge your meat in a brine solution, which guarantees even distribution of the curing agents throughout the meat. You can also speed up the process by injecting the brine directly into the meat.
While dry curing can take up to 60 days for a 15-pound ham, wet curing typically moves faster at 3½ to 4 days per pound.
Consider your time constraints and storage capabilities when choosing. Wet curing requires enough refrigerated space for a container that fully submerges the meat, while dry curing needs less space but demands more attention through multiple rubbings.
Both methods require proper temperature control and post-cure rinsing before cooking.
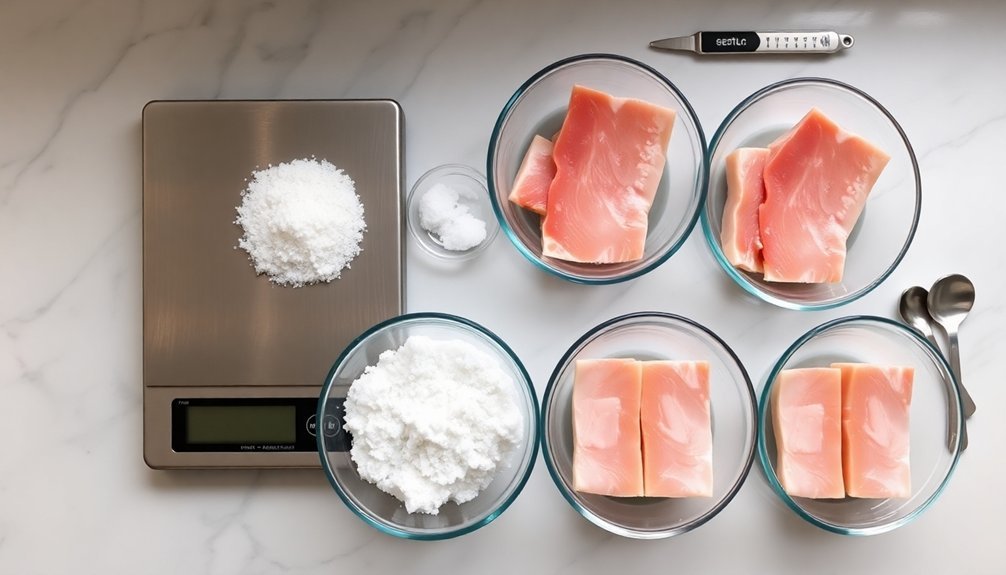
Measuring Cure For Different Meats
Measuring the correct amount of cure for different meats requires precise calculations and attention to detail. You'll need to adjust your cure ratios based on whether you're using dry, wet, or equilibrium curing methods.
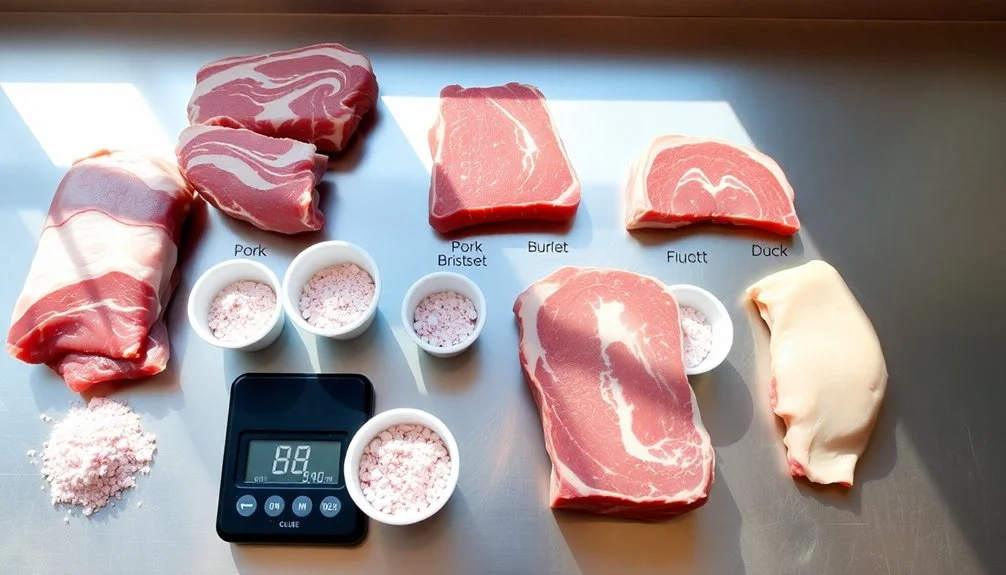
For dry curing, use 3-4% of the meat's weight in cure, while whole hams typically require 6-10% applied in three stages. When equilibrium curing, you'll calculate the cure based on both meat and water weight, aiming for 156-200 ppm of sodium nitrite.
For wet curing, you'll need to take into account the combined weight of meat and liquid, making sure the cure penetrates completely to the center. Remember to follow USDA limits: 120 ppm for wet-cured bacon and 156 ppm for comminuted meats.
- For basic dry curing, use 1 oz of Cure #1 per 25 lbs of meat
- For comminuted meats, calculate 0.25% of the meat's weight in Cure #1
- For equilibrium curing, apply 3% of the meat's weight in salt
- For wet curing, calculate cure based on total weight (meat + liquid)
Always follow proper safety guidelines and make certain uniform distribution to prevent contamination risks and maintain consistent curing throughout the meat.
Storage Temperature Requirements
Once you've measured your cure ratios correctly, maintaining proper storage temperatures becomes the next key factor in successful meat curing. You'll need to keep your curing environment within specific temperature ranges to guarantee safety and quality. For traditional curing, aim for 50-60°F (8-15°C), though you can safely cure at 36-40°F (2-5°C) when using nitrites.
| Temperature Range | What You Risk |
|---|---|
| Below 36°F (2°C) | Slows curing process too much, affecting flavor development |
| Above 60°F (15°C) | Dangerous bacterial growth, spoilage risk |
| Fluctuating temps | Inconsistent cure, texture problems |
| Too warm storage | Accelerated rancidity, shortened shelf life |
| Improper humidity | Case hardening or excessive mold growth |
When storing your finished cured meats, maintain temperatures between 59-68°F (15-20°C) in a well-ventilated space. Don't let your cured meats rest directly on surfaces, and always hang them upside down. Remember to cover any cut surfaces with gauze or cotton cloth to prevent oxidation, and you'll need to discard the first slice after extended storage to guarantee quality.
Common Cure Mixing Mistakes
Precision is critical when mixing cures for meat preservation, yet even experienced curers can make costly mistakes. You'll need to avoid common errors like miscalculating cure-to-meat ratios, using incorrect unit conversions, or failing to account for additional ingredients in your brine solution. These mistakes can lead to either under-cured meat that's unsafe to eat or over-cured products with unsightly green patches from nitrate burn.
Proper sanitation and consistent application are equally important as accurate measurements. You'll want to guarantee you're using clean, non-reactive containers and maintaining strict hygiene practices throughout the process.
When applying your cure, whether dry or wet, make sure you're distributing it evenly to prevent hot spots and under-cured areas.
- Always double-check your calculations, converting between units carefully to maintain the correct ppm of sodium nitrite
- Use precise measuring tools and food-grade containers that won't react with your cure
- Follow the recommended percentages: .25% for ground meats and .32% for whole cuts
- Stir wet cures periodically and reapply dry cures as needed to guarantee even distribution
Additional Cure Ingredients
Beyond the essential curing agents, you'll need several additional ingredients to achieve ideal flavor, color, and texture in your cured meats. These components work together to enhance the final product while supporting the curing process.
| Ingredient Type | Primary Function |
|---|---|
| Accelerators | Sodium ascorbate or erythorbate speed up curing and stabilize color at 0.04-0.15% |
| Natural Options | Cherry powder and vitamin C assist in nitrate conversion without affecting pH |
| Sweeteners | Sugar counteracts salt harshness and aids moisture retention |
| Flavor Enhancers | Celery juice, seaweed, and spices add depth while supporting the cure |
You'll want to incorporate cure accelerators like sodium ascorbate or erythorbate to speed up the curing reaction and maintain consistent color development. If you're pursuing a more natural approach, cherry powder and vitamin C can effectively convert nitrates to nitric oxide. Adding sugar isn't just for taste—it helps balance the salt's harshness and contributes to proper moisture retention in your final product. For enhanced flavor profiles, consider natural additions like celery juice concentrate or seaweed, which provide both taste and supplementary curing benefits.
Frequently Asked Questions
Can I Reuse Leftover Brine Solution for Curing Different Batches of Meat?
You shouldn't reuse leftover brine solution. It can harbor dangerous bacteria, lose its curing effectiveness, and violate safety standards. Always make fresh brine for each batch to guarantee safe, properly cured meat.
How Long Can I Store Premixed Dry Cure Before It Loses Effectiveness?
You can store premixed dry cure for 6-12 months in an airtight container in a cool, dry place. Keep it away from light and moisture. You'll know it's bad if the color changes.
Does Altitude Affect Meat Curing Times and Cure-To-Meat Ratios?
Yes, altitude affects your curing times and ratios. You'll need longer curing times at high altitudes due to lower boiling points and pressure. You should also adjust cure ratios to compensate for quicker moisture loss.
What Happens if Meat Is Accidentally Double-Cured With Cure #1?
If you've accidentally double-cured with Cure #1, you'll likely exceed safe nitrite levels. Don't consume the meat as it could cause toxicity. Throw it away and start fresh to avoid health risks.
Can I Use Iodized Salt Instead of Kosher Salt in Cure Mixtures?
You shouldn't use iodized salt in cure mixtures. It can create bitter flavors and react poorly with curing agents. Instead, use kosher salt or non-iodized salt to guarantee proper curing and food safety.
In Summary
You'll find the right meat cure ratio makes all the difference in your curing success. Remember to stick with 156ppm for wet cures and 625ppm for dry cures, always measure precisely, and store at proper temperatures. Don't rush the process – taking time to calculate your ratios correctly guarantees both safety and flavor. When in doubt, use a cure calculator and document your measurements for future reference.


Leave a Reply