
You'll find clay pot storage to be a game-changing solution for keeping produce fresh without electricity. These affordable pots, ranging from $5-$40, can extend your food's shelf life considerably – turning 1-2 days for leafy greens into 4-6 days of freshness. Start by soaking your new pot overnight, then season it with garlic and oil. Keep the pot in a well-ventilated, shady area, and maintain consistent moisture levels for ideal cooling. The system works through evaporative cooling, lowering temperatures by up to 15°C below ambient conditions. Understanding the proper setup and maintenance techniques will unleash even more impressive preservation results.
Benefits of Clay Storage
You can't beat the economic benefits, as clay pots cost between $5 and $40, making them an affordable solution that reduces food waste and improves your food security.
They're also environmentally friendly and healthier than plastic alternatives, as they're non-toxic and help maintain proper pH balance.
You'll find them especially valuable if you live in areas without reliable refrigeration. The clay pot cooling system lowers temperatures significantly, achieving up to 10-15 degrees Celsius below the surrounding air temperature.
Preparing Your Clay Pot
To prepare your clay pot for storage use, you'll need to begin with a thorough soak in cold water overnight to remove any residual clay dust and debris.
Next, season your pot by rubbing the interior with garlic and oil, then heating it with water for 2-3 hours to strengthen the clay and prevent any earthy taste in your stored items.
Keep your pot in top condition by cleaning it regularly with natural materials like rice flour or besan flour instead of soap, which can seep into the porous surface and affect your food's taste. Baking soda paste is particularly effective for removing stubborn stains and odors during cleaning.
Initial Soaking Process
Properly soaking a new clay pot is essential for ensuring its longevity and preventing damage during cooking. You'll need to submerge your pot and lid completely in water for 4-5 hours or overnight, allowing thorough absorption throughout the clay material. For best results, using a plant-derived oil during the initial seasoning enhances the pot's durability.
| Step | Action |
|---|---|
| 1 | Fill sink or large bowl with filtered water |
| 2 | Submerge pot and lid completely |
| 3 | Check for bubbles indicating cracks |
| 4 | Let soak for 4-5 hours minimum |
During the soaking process, you'll want to avoid using soap; however, if cleaning is necessary, opt for baking soda or an eco-friendly detergent. After soaking, carefully inspect your pot for any cracks by filling it with water and placing it on a plate to check for leaks.
Once you've confirmed there aren't any cracks, wipe the pot thoroughly with a soft cloth or paper towel to remove any debris or mud residue. Let your pot drip dry naturally or gently pat it with a cotton towel. Remember to handle the pot with extra care during this process, as it'll be slippery when wet. Store your pot in a cool, dry place, and always avoid exposing it to sudden temperature changes.
Seasoning With Spices
After your clay pot completes its initial soaking, seasoning with spices becomes the next important step in preparing it for cooking.
Start by ensuring your pot is completely dry, then generously rub coconut oil or ghee on all surfaces, allowing the oil to fully absorb into the clay.
Next, you'll need to prepare rice water and fill your pot with it, letting it sit overnight. Heat the pot with the rice water on low flame until it reaches a rapid boil. Once cooled, discard the water and clean the pot thoroughly using a gentle scrubber, but don't use any soap or detergents.
For the final seasoning step, heat your pot on low flame and add cooking oil. Sauté onion slices in the pot to eliminate any remaining mud smell. Once you've discarded the onions, your pot is ready for cooking.
Remember to use wooden or silicone utensils to protect the pot's surface.
To maintain your seasoned pot, never clean it with harsh chemicals. Instead, use rice flour or salt for cleaning. Always cook on low to medium heat and avoid sudden temperature changes that could crack your pot.
Regular Cleaning Methods
Maintaining a clean clay pot requires specific care methods that protect its porous surface while guaranteeing proper hygiene. You'll need to use hot water without detergent, as soap can be absorbed into the clay's pores and affect your food's taste.
For daily cleaning, use a soft bristle brush or gentle abrasive pad to remove food particles. When you encounter stubborn stains, soak your pot overnight in a mixture of hot water and baking soda (3 tablespoons per liter). Don't use chemical cleaners; instead, opt for natural alternatives like salt for scouring.
| Cleaning Task | Method |
|---|---|
| Daily Cleaning | Hot water + soft brush |
| Tough Stains | Baking soda soak overnight |
| Odor Removal | Warm water + 2 tbsp baking soda |
| Mold Treatment | Baking soda paste for 30 minutes |
| Deep Cleaning | Salt scrub with scouring pad |
For deep cleaning, you can boil the pot for 30 minutes if the pores become clogged. After any cleaning method, guarantee your pot is completely dry before storage to prevent mold growth. If you've cooked strong-smelling foods, freshen the pot by soaking it overnight in a baking soda solution.
Ideal Temperature Settings
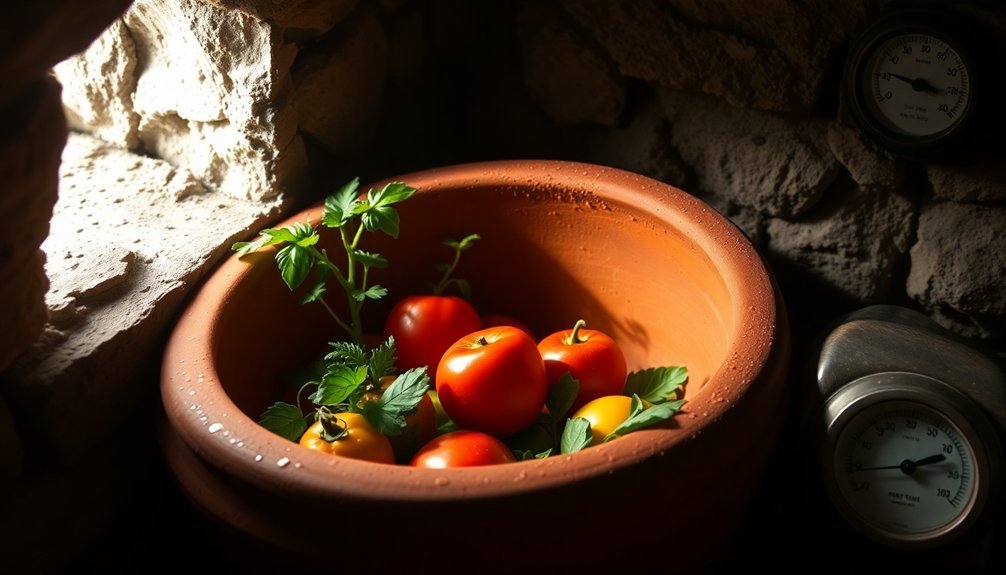
You'll get the best results from your clay pot cooler by maintaining temperatures between 10-15°C below the surrounding air temperature, which works best in dry climates with good airflow.
During warmer seasons, you'll need to monitor the water levels more frequently and potentially relocate your cooler to a shadier spot to maintain ideal cooling.
For indoor use, place your cooler away from heat sources and in a well-ventilated area where temperatures stay relatively stable throughout the day.
Cool Storage Sweet Spots
The sweet spot for clay pot storage lies in its remarkable cooling capabilities, which can reduce temperatures by up to 10°C below the surrounding environment.
You'll find this cooling effect particularly beneficial in hot, arid climates where keeping produce fresh can be challenging. The system works through evaporative cooling, creating an ideal environment for most fruits and vegetables.
To maximize your clay pot cooler's effectiveness, you'll need to place it in a shaded, well-ventilated area where breezes can enhance the cooling process.
Don't expose your cooler to direct sunlight, as this will counteract its cooling properties. Make certain you're maintaining proper humidity levels by keeping the sand wet and covering the cooler with a damp cloth or burlap sack.
When storing your produce, you'll need to separate ethylene-producing fruits like bananas and mangoes from ethylene-sensitive items.
Be cautious with vegetables that don't handle high humidity well, such as carrots and sweet peppers.
Before placing any produce in the cooler, verify it's clean, dry, and free from insects or damage.
These practices will help you maintain ideal storage conditions and extend your produce's shelf life considerably.
Seasonal Temperature Adjustments
For ideal performance throughout the year, clay pot coolers require specific temperature adjustments to match seasonal changes.
You'll achieve peak cooling when you maintain the interior temperature between 22.2°C and 22.7°C, which is notably lower than typical ambient temperatures of around 26.9°C. During peak daytime hours, you can expect temperature reductions of 5°C to 7°C, with maximum drops reaching 10°C in ideal conditions.
To maximize your cooler's effectiveness, maintain humidity levels above 80% inside the storage chamber, especially during dry seasons when ambient humidity hovers around 40-45%. This moisture-rich environment helps preserve your produce considerably longer than conventional storage methods.
For best results throughout seasonal changes:
- Monitor your cooler's performance during midday hours when temperature differences are most pronounced.
- Add water more frequently during hot, dry seasons to maintain the cooling effect.
- Check humidity levels daily and adjust water content accordingly.
Your stored vegetables will last substantially longer with proper seasonal adjustments – leafy greens extending from 1-2 days to 4-6 days, and tomatoes lasting 9-15 days instead of the usual 6 days.
Indoor Placement Guidelines
Proper indoor placement of clay pot coolers starts with maintaining stable temperatures between 60-80°F (15.5-26.7°C).
You'll want to choose a location away from windows, heaters, and any direct sunlight to prevent temperature fluctuations that could damage your cooler. A climate-controlled room provides the most stable environment for your clay pot.
Select a well-ventilated area of your home that's naturally shaded and has good air circulation. This helps prevent mold growth while maintaining the cooler's effectiveness.
You'll need to verify the space isn't too humid – like a damp basement – but still has enough moisture to keep the clay from drying out. If you're using a traditional zwei-topf cooler with sand between the pots, keep the sand consistently damp.
To maintain ideal conditions, cover your cooler with a damp cloth or burlap sack when not in use.
Keep the area around your cooler clean and dust-free, regularly wiping down both the inside and outside of the pots.
Position your cooler where you can easily monitor its condition and maintain proper moisture levels without exposing it to temperature extremes.
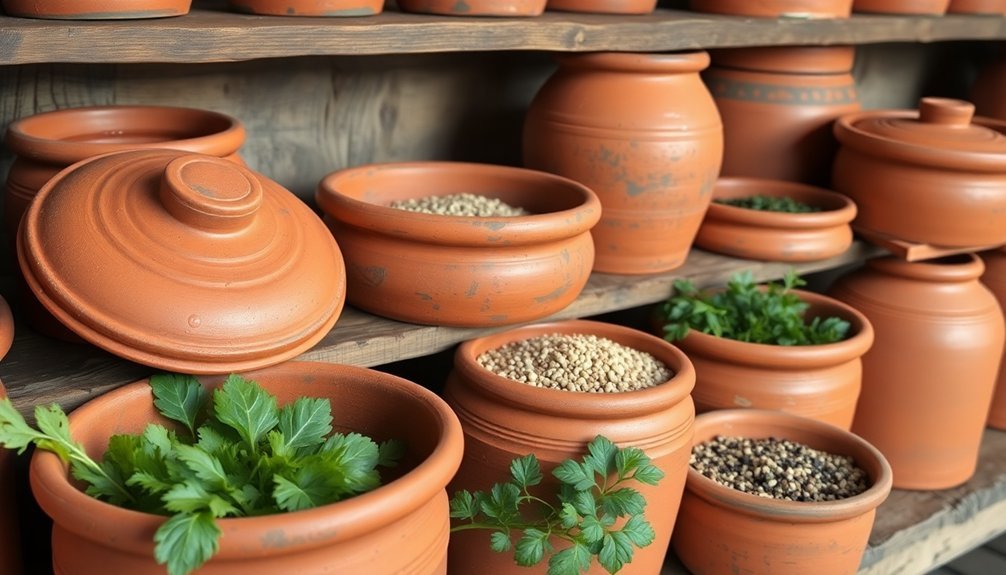
Food Types and Storage Duration
Inside clay pots, different food types can be stored for varying durations due to the material's unique preservation properties. Water stored in clay pots becomes naturally sweeter and less acidic, with the cooling effect becoming noticeable after two hours.
You'll find that fruits and vegetables benefit greatly from clay storage, with leafy greens lasting over four days instead of just one, thanks to the pot's evaporative cooling that reduces temperatures by up to 10°C.
For fermented foods, clay pots excel at creating favorable conditions for beneficial bacteria. You can ferment and store items like sauerkraut, kimchi, and yogurt more effectively, as the clay environment speeds up fermentation while maintaining nutritional value.
- Fresh Produce Storage
- Tomatoes, eggplant, and okra stay fresh longer
- Leafy greens extend from 1 day to 4+ days
- Humidity levels remain ideal for preservation
You can even store eggs and leftovers in clay pots, either on the counter or in your refrigerator. For non-meat leftovers, the pots provide adequate preservation without refrigeration, and you'll still benefit from the clay's protective properties even if the pot has minor cracks.
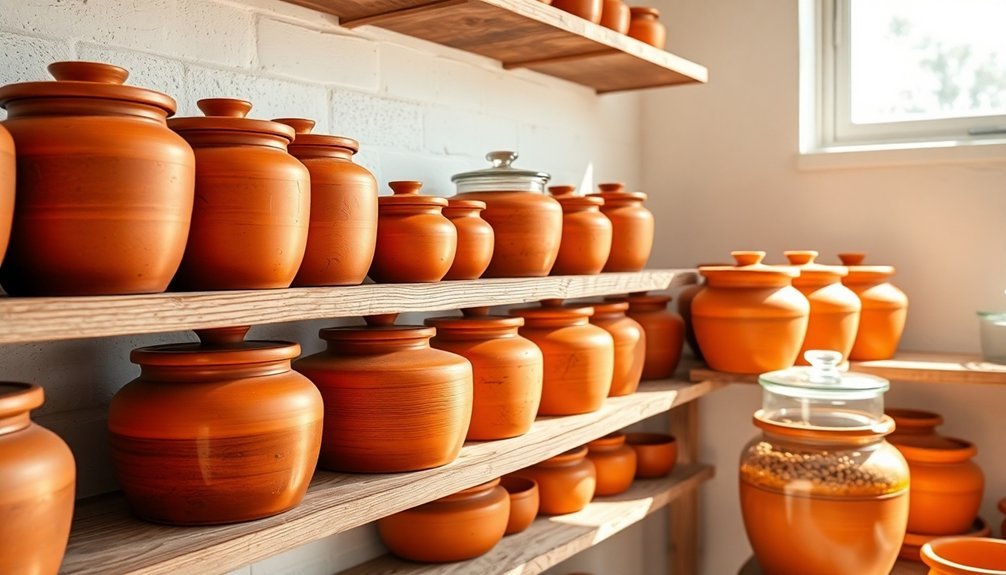
Cleaning and Maintenance Tips
Maintaining your clay pot's effectiveness requires specific cleaning methods that protect its natural properties. Never use soap to clean your pot, as it can absorb harmful chemicals. Instead, rely on natural cleaners like salt and baking soda for scrubbing, followed by a warm water rinse.
For tough stains and lingering food odors, boil water with lemon slices in your pot. Use only non-abrasive cleaning tools, such as soft bristle brushes or gentle scrubbing pads, to avoid damaging the clay surface. After cleaning, it's essential to dry your pot completely before storage.
You'll need to store your pot in a well-ventilated area, keeping the lid open to allow proper air circulation. If you're stacking multiple pots, guarantee each has adequate ventilation. Don't store your pot in damp places, as this can lead to mold growth.
Should mold appear, clean it with a vinegar and baking soda solution, followed by boiling water and thorough drying.
Regular maintenance includes using wooden utensils to prevent scratching and gradually heating the pot to avoid thermal shock. On induction cooktops, always use a heat diffuser for even heat distribution.
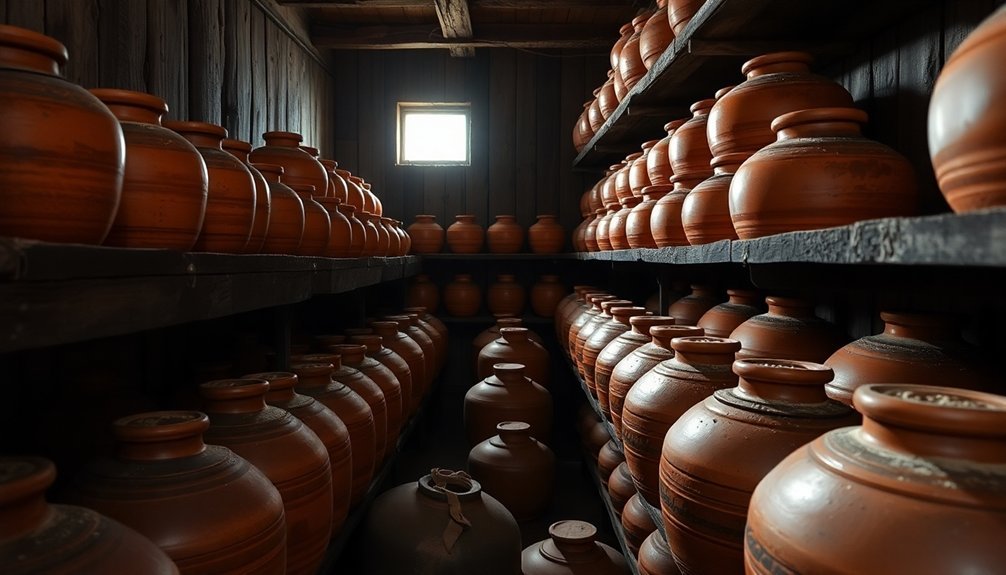
Common Storage Mistakes
Four essential mistakes can compromise your clay pot's longevity during storage.
Temperature mismanagement is a common error – you'll risk cracking if you store your pots in areas where temperatures drop below freezing or fluctuate dramatically. Keep your pots in spaces maintaining 60-80°F for ideal preservation.
Humidity control presents another challenge. You'll need to guarantee your pots are completely dry before storage and placed in well-ventilated areas to prevent mold and fungus growth.
Don't store them in damp basements or highly humid environments.
Here are three vital storage practices you shouldn't ignore:
- Never stack pots without proper spacing – each pot needs adequate ventilation.
- Don't skip wrapping individual pots in newspaper to prevent chips and cracks.
- Never store pots outdoors during winter months or in direct sunlight.
Poor protection from environmental elements can severely damage your clay pots.
You'll want to avoid exposure to direct sunlight, which can cause cracking, and keep them away from flood-prone areas.
Remember to store them in shaded, well-ventilated spaces and use airtight containers when appropriate to maintain their condition.
Seasoning Clay Pots

Properly seasoning your clay pot sets the foundation for its long-term performance and food safety. You'll need to start by washing your pot thoroughly with plain water and soaking it for at least 8 hours. After sun-drying, use a plastic or coconut scrubber to clean it, avoiding steel scrubbers and soaps.
The next phase involves oil treatment and rice water conditioning. Rub oil generously on all surfaces and let it soak in completely. Fill the pot with rice water overnight, then boil it the next day. Once cooled, clean the pot with plain water using gram flour, rice flour, or salt if needed.
| Step | Action | Duration |
|---|---|---|
| Initial Soak | Submerge in water | 8+ hours |
| Oil Treatment | Rub oil thoroughly | Until absorbed |
| Rice Water | Soak and then boil | Overnight + cooking time |
| Onion Fry | Heat oil and sauté | 5-10 minutes |
| Final Prep | Clean and dry | Until completely dry |
Complete the seasoning by heating oil in the pot and sautéing onion slices to remove any mud smell. Don't use detergents during the final wash, and guarantee thorough drying before storage. Remember to always use low to medium heat when cooking to prevent cracks.
Environmental Impact and Sustainability
Beyond the practical aspects of seasoning clay pots, these traditional storage vessels offer remarkable environmental benefits. By using clay pot storage, you'll reduce food waste by up to 98% while simultaneously decreasing your carbon footprint.
These simple yet effective containers help combat the 8% of total greenhouse gas emissions that come from decomposing fruits and vegetables.
The sustainability impact of clay pot storage extends far beyond waste reduction. You're conserving precious water resources, as these systems use less than 1% of the water needed to grow the produce they're storing.
They're also incredibly resource-efficient, requiring no electricity and using locally available materials that cost between $3 and $15.
Here are the key environmental advantages you'll gain:
- Minimal resource consumption – operates without electricity and uses basic, locally sourced materials
- Reduced carbon emissions – less food waste means fewer greenhouse gases from decomposing produce
- Water conservation – requires only 1-3 liters of water daily for maintenance
Traditional Storage Methods
Throughout history, traditional clay pot storage has relied on the simple yet ingenious principle of evaporative cooling. This time-tested method works just like human perspiration, where water evaporation from the clay's surface creates a cooling effect that can lower temperatures by up to 10°C below the surrounding environment.
You'll need two unglazed clay pots of different sizes to create this storage system. Place sand between the pots and keep it consistently moist. Cover the entire setup with a damp cloth or sack to maintain the cooling effect. For best results, position your clay pot cooler in a shady, well-ventilated area.
You can store various produce like tomatoes, leafy greens, eggplant, and okra in your clay pot cooler. However, you'll want to avoid storing garlic, onions, potatoes, and cereals due to the high humidity levels. Keep fruits like oranges separate to prevent odor transfer.
With proper maintenance, you'll find that leafy greens can stay fresh for over four days, compared to just one day at room temperature. Remember to clean the inside regularly and monitor moisture levels in both the sand and covering cloth.
Frequently Asked Questions
Can Clay Pots Be Safely Used in Microwave Ovens or Dishwashers?
You can use most clay pots in microwaves if they're properly glazed and tested first. However, it's best to hand wash them instead of using the dishwasher to prevent damage and maintain their quality.
How Do I Fix Hairline Cracks That Develop in My Clay Pot?
For unfired clay, make small cuts across the crack and apply paper clay slip mixture. For fired pots, you can use a rice flour paste sealant or epoxy. Always test repairs before cooking again.
Does the Size of Clay Pot Affect Its Cooling Efficiency?
Yes, size affects cooling efficiency. You'll get longer cooling from larger pots due to more water capacity, but they're less water-efficient. Smaller pots cool faster, though they'll need more frequent refills to maintain effectiveness.
Can I Store Pickles and Acidic Foods in Clay Containers?
You can store acidic foods in glazed clay containers safely, but avoid unglazed ones due to potential metal leaching. The glaze acts as a protective barrier, and the clay can enhance your pickles' natural flavors.
Will Clay Pots Retain Odors From Previously Stored Strong-Smelling Foods?
Yes, your clay pots will retain odors from strong-smelling foods due to their porous nature. But you can minimize this by properly cleaning them with rice flour or salt, and maintaining separate pots for different foods.
In Summary
Clay pot storage offers you a natural, sustainable way to keep your food fresh while honoring traditional preservation methods. You'll find that properly seasoned and maintained clay pots can greatly extend your food's shelf life without using electricity. By following proper temperature guidelines and avoiding common mistakes, you've got an eco-friendly storage solution that works just as well today as it did centuries ago.


Leave a Reply