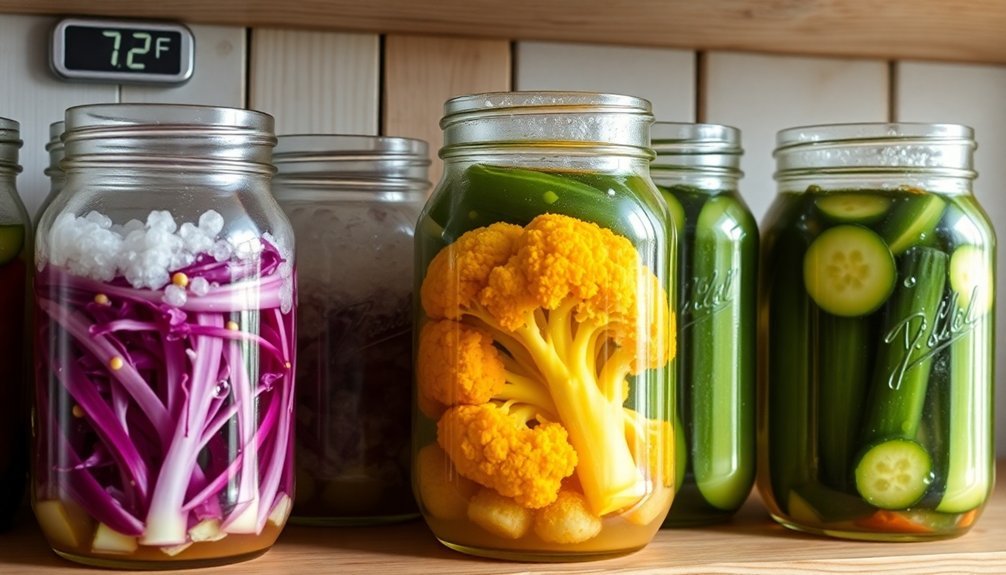
You'll find three effective room temperature fermentation times for your vegetable projects when fermenting between 60-70°F (16-21°C). A short three-day ferment produces a light, crisp result with mild acidity – perfect for quick pickles and kimchi. A traditional week-long fermentation develops deeper flavors while maintaining good texture, ideal for sauerkraut and mixed vegetables. For the richest, most complex flavors, try a two-week ferment that allows beneficial bacteria to fully transform your ingredients. Each timeframe offers unique characteristics, and understanding how to use them can transform your fermentation game.
Short Three-Day Vegetable Ferment
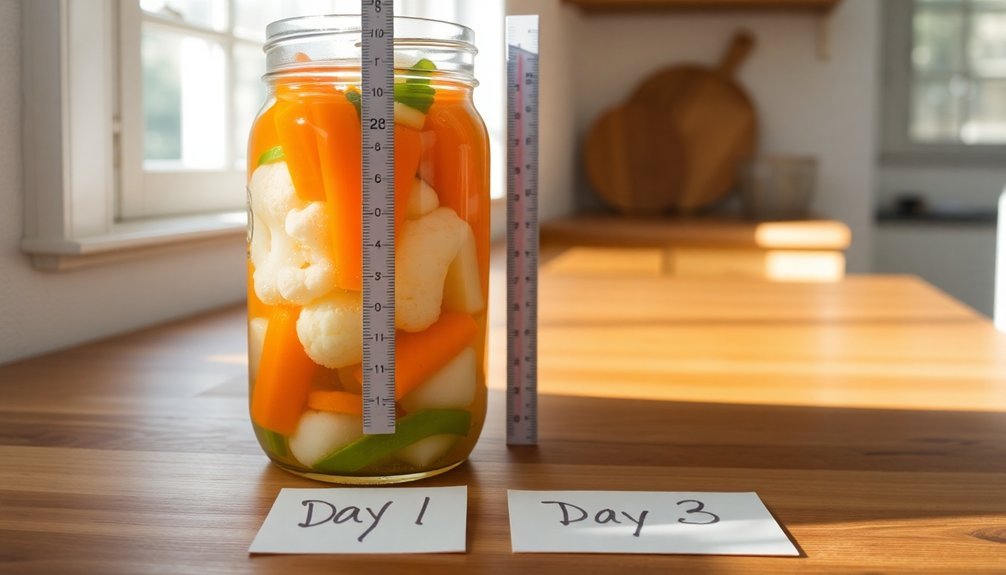
To understand why three days isn't enough, consider that ideal fermentation occurs between 60°F and 70°F, and rushing this process can lead to disappointing results.
While you might notice some changes in taste after three days, you won't achieve the full tanginess and texture that traditionally fermented vegetables offer.
Instead, aim for 5-6 days at room temperature, making sure to keep your ferments away from direct sunlight. Maintaining temperatures in the Goldilocks Zone range is crucial for optimal results.
You'll want to use proper techniques like complete brine submersion and clean equipment to guarantee safety. Whether you're using the brining method for carrots and radishes or dry-salting for cabbage, don't rush the process.
Monitor your ferments daily, taste-test regularly, and watch for any signs of spoilage.
Week-Long Traditional Pickling Method
Traditional pickling methods require several key steps for ideal results. You'll need a proper fermentation vessel, like a pickling crock or fermentation kit, and you'll want to maintain temperatures between 70-75 degrees Fahrenheit throughout the process. Pickling and fermentation techniques date back to ancient Mesopotamia around 2400 BCE.
Start by thoroughly washing your cucumbers, removing the blossom ends while leaving ¼ inch of stem attached, and drying them completely.
When packing your container, layer half the dill and spices on the bottom, add your cucumbers, then top with remaining seasonings. You'll need to keep the produce fully submerged under a salt brine using pickling weights to prevent spoilage.
Over the next 3-4 weeks, you'll want to check your fermentation several times weekly, removing any surface scum or mold that develops.
Once fermentation is complete, you can filter the brine through coffee filters for clarity and transfer your pickles to airtight containers. Store them in the refrigerator, where they'll keep for 4-6 months. While they're ready to eat immediately, you'll notice the flavors continue to develop over time.
Remember to maintain proper sealing to prevent contamination during storage.
Two-Week Full Flavor Development
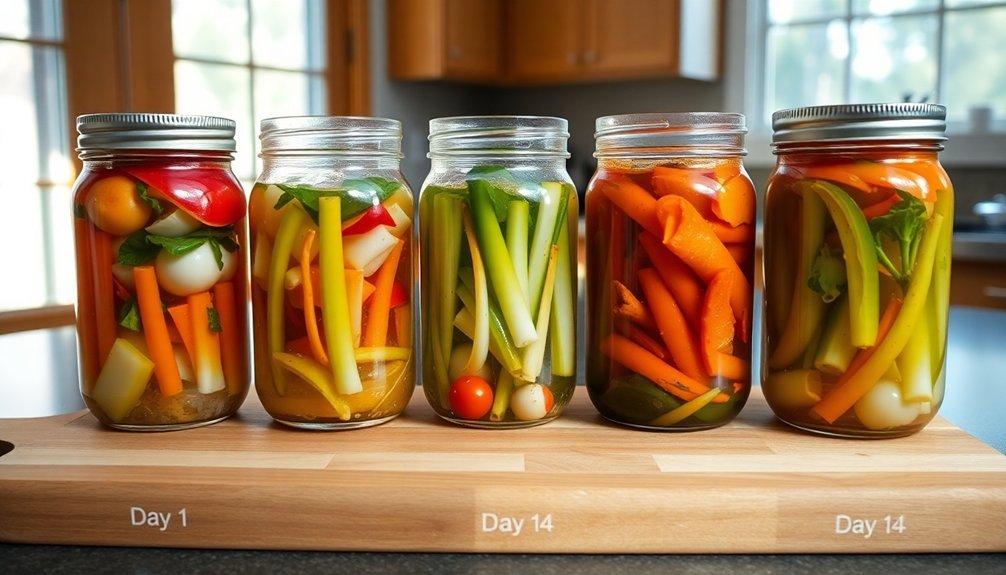
While traditional pickling takes several weeks, a two-week fermentation period can produce excellent results with proper temperature control and yeast management. You'll want to maintain temperatures between 65-70°F to guarantee the best yeast activity without encouraging excessive ester production or alcohol bite.
During the first few days, you'll notice vigorous fermentation as your yeast enters the exponential growth phase. This is when most sugars are consumed, and primary flavor compounds develop. Active dry yeast will begin fermenting almost immediately without any lag phase.
Don't worry if activity slows down after 3-4 days – this is natural as the yeast enters its stationary phase.
Keep your brew in primary fermentation for the full two weeks, even if fermentation appears complete earlier. This extended time allows your yeast to properly consume different sugar types in sequence and clean up potential off-flavors.
If fermentation seems to slow too early, you can gently shake the fermenter to rouse the yeast.
Watch out for signs of over-pitching, which can cause rushed fermentation and compromise flavor development. The key is patience – giving your brew the full two weeks will reward you with better attenuation and more refined flavors.
Frequently Asked Questions
How Does Humidity Affect Room Temperature Fermentation Times?
You'll need 75-80% humidity for ideal fermentation, as it prevents dough from drying out. While humidity won't speed up fermentation directly, it'll maintain the ideal environment for consistent yeast activity.
Can I Use Different Types of Yeast for Room Temperature Fermentation?
Yes, you can use various yeast strains for room temperature fermentation. Ale yeasts work best at 68-72°F, while some specialty strains like Kveik thrive at higher temperatures. Choose strains based on your desired flavors.
What Signs Indicate That Room Temperature Fermentation Has Gone Wrong?
You'll notice fermentation has gone wrong if there's no bubbling activity, you smell rotten or paint-thinner odors, see mold growth, or observe slimy textures. Temperature fluctuations below 72°F or above 85°F cause problems.
Should I Adjust Salt Levels for Different Room Temperature Conditions?
You don't need to adjust salt levels for different room temperatures. Instead, focus on adjusting fermentation time and yeast quantities. Keep salt at standard 2-3% levels for consistent flavor and microbial control.
Is It Possible to Rescue Over-Fermented Dough at Room Temperature?
Yes, you can rescue over-fermented dough by degassing it, reshaping, and letting it proof again. Don't wait too long though – you'll need to watch it carefully during the second rise to avoid repeating the problem.
In Summary
You've now learned three reliable fermentation timeframes to achieve different results at room temperature. Whether you choose the quick three-day method for a mild tang, the classic week-long pickle for balanced flavors, or commit to a full two weeks for deep, complex notes, you'll get consistent results. Start with small batches to find your preferred fermentation sweet spot and adjust future batches to match your taste.
Leave a Reply