
To restore your vintage butter churn, you'll need to start with thorough research to identify its historical origins and proper restoration methods. Begin by cleaning all parts with a vinegar-water solution, then carefully dismantle the churn while documenting each component. Restore wooden elements through light sanding and appropriate finishes, while treating metal parts for rust and corrosion. Apply protective coatings like Danish oil for wood and food-grade lubricants for metal components. Once reassembled, test your churn with room-temperature cream to guarantee proper functionality. These basic steps will set you on the path to bringing your antique churn back to its former glory.
Research Your Butter Churn History
Consider your churn's regional history too.
If it's from Ireland, it might date to the 17th or 18th centuries when the country was a major butter exporter.
New York-based churns could connect to America's early commercial dairy industry, particularly around Goshen.
For European models, check if they're from the 1930s when commercial churning began transforming into industrial production.
Early churns were often transported on animal skin sacks used by nomadic cultures.
Clean and Dismantle Parts
Once you've traced your butter churn's history, proper restoration starts with thorough cleaning and dismantling.
Begin by creating a 50/50 mixture of white vinegar and warm water to clean all surfaces that will contact butter or buttermilk. The butter churn's nearly 90-year age means thorough sanitization is essential. Scrub the jar, paddles, top, and pour spout thoroughly, then rinse with clean water. Avoid using bleach, as it's toxic; stick to vinegar for safe, effective cleaning.
Next, disassemble your churn completely to access all components. Document each part's condition and look for damage, rust, or wear. For rusty areas, soak the affected parts in white vinegar and use an emery cloth to file inside holes. You can employ a rotary tool to smooth out particularly stubborn spots, or consider a 2000-watt laser for severe cases.
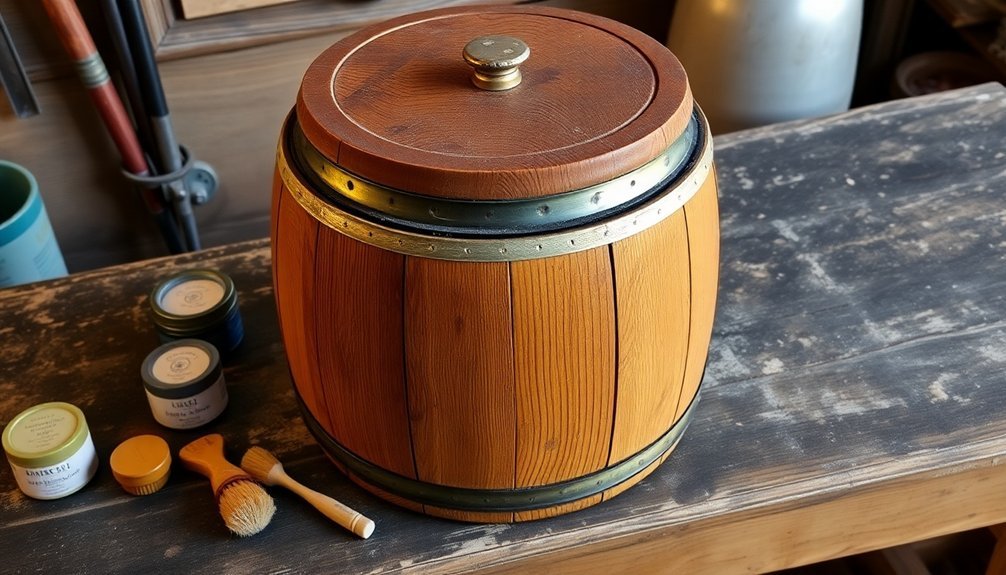
Before reassembly, verify every component is clean and completely dry. Apply food-grade lubricants like coconut oil or olive oil to gears and moving parts. For wooden components, use danish oil to protect and enhance the finish.
Test each part's functionality and replace any severely damaged pieces that can't be restored. This thorough preparation will guarantee your churn's proper operation once reassembled.
Tackle Wood and Metal Restoration
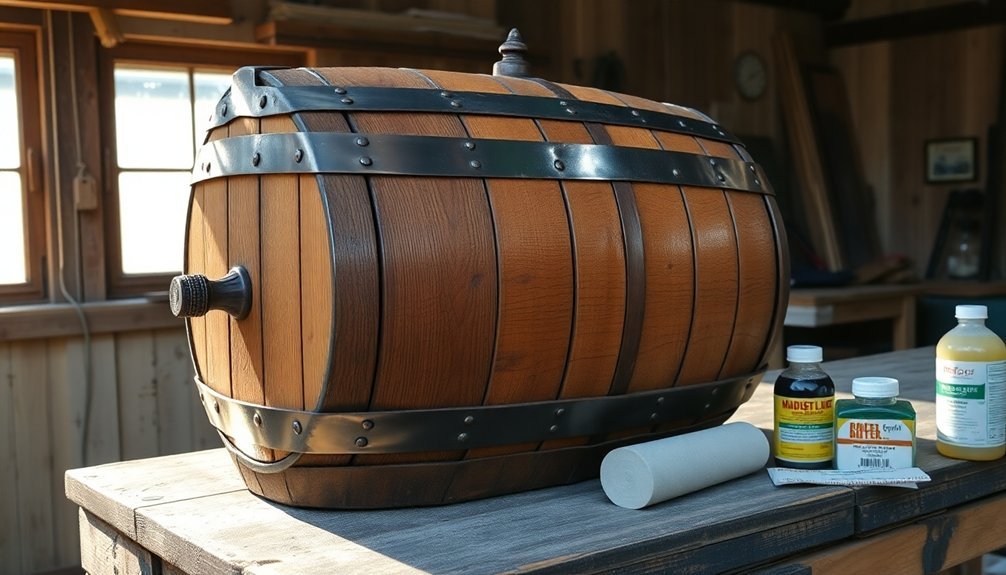
Vintage butter churns require distinct restoration approaches for their wood and metal components. Start by identifying your churn's wood type – most authentic pieces use oak, beech, or hard maple. You'll want to avoid cedar or walnut replacements to maintain historical accuracy. Proper restoration requires several hours of work to complete all necessary steps.
Begin wood restoration by lightly sanding to remove old finishes and create a smooth surface. Check for damage like animal gnawing and replace damaged sections with matching wood types.
For metal components, you'll need to tackle any rust or corrosion first. Use sandblasting or appropriate cleaning methods to remove built-up residue and rust from metal parts. After thorough cleaning, apply protective coatings like powder coating or paint to prevent future corrosion.
Don't forget to buff the surfaces to restore their original shine.
Once you've restored both materials, it's time for finishing touches. Apply Danish oil to enhance the wood's natural appearance, and use fine-grit sandpaper for final smoothing.
Reassemble the metal components, including paddles and handles, using proper fasteners. Make sure all parts are securely attached and functioning correctly before considering your restoration complete.
Apply Protective Finishes
Protective finishes serve as the final shield for your restored butter churn's longevity. Before applying any finishes, scuff the surface lightly with sandpaper and use a degreaser for thorough cleaning. This preparation guarantees better adhesion of your chosen materials.
Start with Hickory Gel Stain as your base coat to establish an antique appearance. Once it's cured, layer butcher block wax on wooden parts to maintain the rustic feel while providing protection. You'll want to apply the wax in multiple thin layers, allowing each to dry completely before adding the next.
Create depth and character by using different colored waxes to simulate aging and wear. You can create the illusion of metal or wooden bands using strategic wax application. If you're adding paint, apply it as a wash to enhance depth without overwhelming the piece's vintage character.
Don't forget to properly maintain your finished churn. Store it in a cool, dry place and clean it regularly with mild detergents. When you notice the protective layer wearing thin, apply additional coats of wax. Avoid harsh chemicals that could compromise your careful restoration work.
Test Your Restored Churn
After completing your restoration work, it's crucial to test your butter churn's functionality before attempting any actual butter making.
Begin by checking all components for secure attachment and proper alignment, paying special attention to any signs of rust or movement issues that could affect performance.
Test the handle or crank mechanism to verify it rotates smoothly, and confirm that the paddle or agitator moves correctly inside the churn.
Look carefully for any leaks or gaps in the container that might compromise the churning process.
Once you've confirmed the mechanical aspects, clean the churn thoroughly and dry it completely.
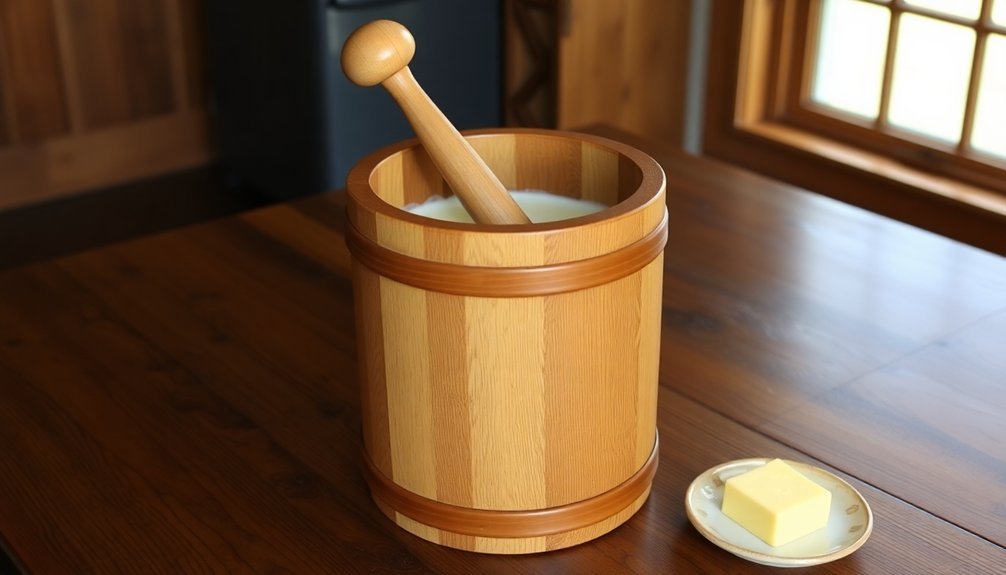
You'll want to test it with room-temperature heavy cream, filling the container only halfway to allow for expansion.
Place your churn on a level surface and begin turning the handle steadily.
Monitor the cream's transformation as you churn, watching it progress from liquid to whipped cream and finally separating into butter and buttermilk.
This process may take up to an hour.
Evaluate your results by checking the butter's consistency, aroma, and taste, confirming the churn didn't introduce any unwanted elements during the process.
Frequently Asked Questions
Where Can I Find Replacement Parts for My Vintage Butter Churn?
You'll find replacement parts for your vintage butter churn at Farm and Ranch Depot, Wisemen Trading, and Etsy. Check Bing Shopping for Dazey parts, or explore antique shops and specialty stores for rare components.
How Much Is My Antique Butter Churn Worth After Restoration?
Your restored butter churn's value depends on its age, manufacturer, condition, and market demand. You'll need a professional appraiser or antique dealer to determine its exact worth, which could range from $50-$1000+.
Can I Use My Restored Butter Churn for Modern Food Preparation?
Yes, you can use your restored butter churn with modern ingredients. For best results, use room-temperature, pasteurized heavy cream and fill it only 2/3 full. It'll produce fresh butter in 15-45 minutes.
Should I Remove Original Paint if It Contains Lead?
Yes, you should remove lead paint due to serious health risks. Don't skip this step if you'll use the item for food prep. Hire a professional or use infrared/steam methods for safe removal.
How Long Should I Expect My Restored Butter Churn to Last?
With proper maintenance and regular care, you'll find your restored butter churn can last decades. It'll stay functional longer if you're diligent about cleaning, lubricating parts, and storing it in ideal conditions.
In Summary
Now you've successfully restored your vintage butter churn to its former glory. While the process takes time and patience, you'll find satisfaction in preserving this piece of history. Whether you plan to display it or put it to use, your restored churn will serve as a beautiful reminder of traditional butter-making methods. Keep it maintained, and it'll continue to be a cherished item for years to come.
Leave a Reply