Store your winter squash in a cool, dry place between 50-55°F with 60-70% humidity for best results. You'll want to harvest when the rind is hard, dull-colored, and passes the fingernail test – meaning you can't puncture it with your nail. Before storage, cure most varieties (except acorn squash) in a warm, well-ventilated area at 80-85°F for 3-5 days. Clean each squash thoroughly with a dry cloth, leaving an inch of stem attached, and place them on wooden shelves or in ventilated containers. Regular monitoring for soft spots or discoloration will help your squash last through winter and beyond.
When to Pick Your Squash
During late September or October, you'll want to harvest your winter squash before the first frost arrives. Since squash is sensitive to temperatures below 45°F, it's essential to pick them before cold weather sets in, though they can briefly tolerate temperatures as low as 35°F if followed by warmer days. Most varieties need at least 100 days to fully mature.
You'll know your squash is ready when the vines and leaves have yellowed and look fairly dead, though don't rely solely on vine death as an indicator of maturity. About two weeks before harvesting, reduce watering and let your squash sit on the vine without water. This helps prepare them for storage.
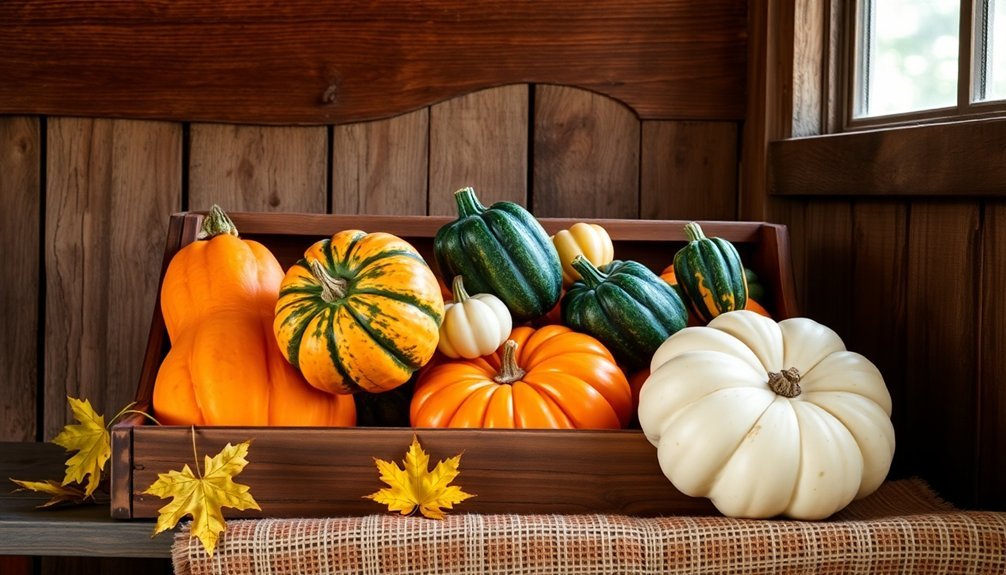
Check that each squash has reached its full size and watch for the skin to deepen in color and become somewhat dull. The stem should be thick and woody, not green or flexible.
When you're ready to harvest, use sharp shears to cut the stem, leaving about 2 inches attached. If weather permits, field cure your squash in a sunny, dry location for 7 to 14 days. Keep an eye on the weather forecast and be prepared to move your squash to a protected area if frost or rain threatens.
Signs of Squash Maturity
When checking if your winter squash is ready for storage, you'll want to look for key visual signs like a dull but fully-colored rind and a distinct ground spot where the fruit rested.
You can perform simple touch tests by pressing your fingernail against the rind, which shouldn't leave an impression if the squash is mature. Waiting 95 to 120 days after planting ensures proper maturity for most winter squash varieties.
A quick tap on the squash should produce a hollow sound, confirming it's reached the right stage for harvest and storage.
Visual Signs to Check
Three key visual indicators help you determine if winter squash is mature and ready for harvest: color changes, stem condition, and skin appearance.
When checking color changes, you'll notice butternut squash transforms from pale green with streaks to a solid deep tan color. Spaghetti squash shifts from creamy to yellow, while delicata squash develops a beige background with an orange blush. If you're growing acorn squash, look for an orange spot where it rests on the ground.
The stem offers another reliable indicator. You'll see it change from bright green to brownish and dried out as the squash matures. Look for woody texture and corking (small stretch marks) on the stem. Always be sure to cut stems with a sharp clean knife when harvesting to prevent damage.
While it won't be as brown as store-bought squash, it should be noticeably drier and duller than when immature.
For skin appearance, examine your butternut squash for a uniform tan color without green streaks. The skin shouldn't show any dark spots or blemishes.
Remember that winter squash typically needs 85-110 days to mature, so you'll want to check these visual signs as you approach your variety's expected maturity date.
Texture and Touch Tests
Simple touch tests provide reliable ways to determine winter squash maturity. You'll want to start by checking the hardness of the skin using your fingernail – if you can't puncture the surface, that's a good sign your squash is ready for harvest. The skin's texture should be matte and hard rather than shiny and soft, as glossiness indicates the squash isn't fully mature yet.
Try the knocking test by gently tapping the squash with your knuckles. You're listening for a hollow sound, which suggests the squash is ripe and ready. If you hear a dull thud instead, the squash might be either unripe or starting to spoil.
When you're handling the squash, be extra careful to avoid creating any nicks or bruises, as these can lead to rotting during storage.
When you're ready to harvest, cut the squash from the vine while leaving about an inch of stem attached. Don't pull or twist the squash off the vine, as this can damage both the fruit and the stem.
The stem's presence helps protect against decay during storage and indicates proper harvesting technique.
Preparing for Long Term Storage
Successful long-term storage of winter squash begins with proper preparation.
You'll need to start by thoroughly cleaning each squash with a dry cloth to remove dirt and debris. Make sure your squash is completely dry before storing, as moisture can lead to rot.
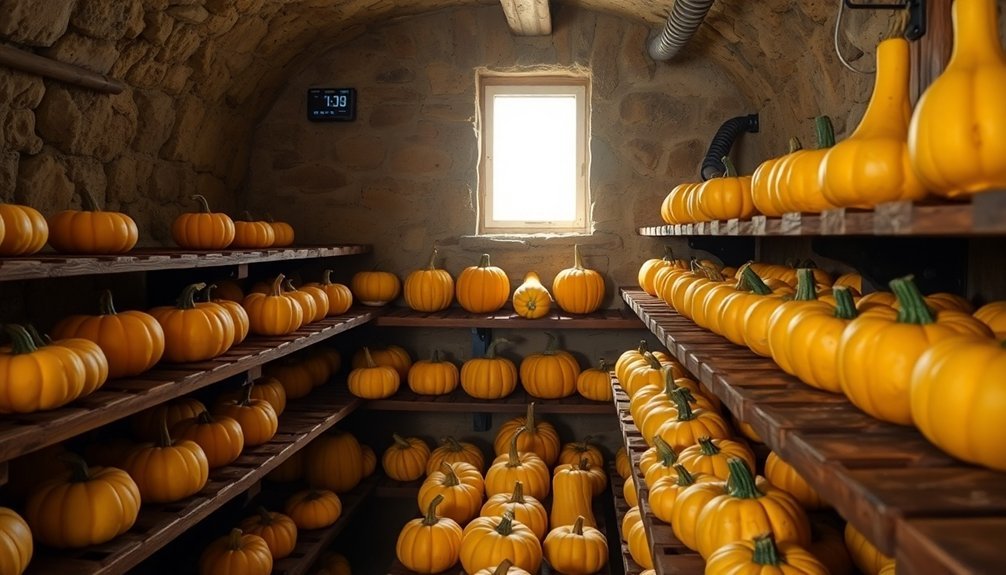
Set up your storage area with proper containers that allow air circulation, such as milk crates or wire storage drawers. Don't place squash directly on the floor; instead, elevate them to prevent moisture absorption.
Position your squash so they're not touching each other or any hard surfaces, which can cause bruising over time.
Choose a location that maintains a consistent temperature between 50°F and 55°F with 60-70% relative humidity. You'll want a dark space away from fruits that produce ethylene gas, like apples and pears.
Good air circulation is essential, so don't overcrowd your storage containers.
Once you've arranged your squash, plan to check them regularly for signs of deterioration. Turn them occasionally to prevent pressure points, and remove any that show soft spots or stem decay immediately.
With proper preparation and monitoring, your winter squash can last several months in storage.
Essential Curing Steps
Proper curing sits at the heart of preserving winter squash for long-term storage.
You'll need to start by harvesting your squash when they're fully mature, indicated by hard skins that won't puncture under thumbnail pressure. Cut them from the vine with pruning shears, leaving a 1-inch stem intact, and handle them carefully to prevent bruising.
The curing process requires specific conditions to be successful. Place your squash in a dry, sunny location or well-ventilated area with temperatures between 80-85°F and 80-85% relative humidity. If you're curing indoors, maintain temperatures of 80-90°F with good ventilation for 3-5 days, rotating the squash daily.
For ideal results during the 5-14 day curing period, follow these critical steps:
- Sanitize the squash using either a 135-140°F water bath or a 1:10 bleach-water solution.
- Dry thoroughly with a clean cloth immediately after sanitizing.
- Keep squash elevated off the ground with good air circulation.
Remember that acorn squash shouldn't be cured, as it reduces quality and storage life.
Keep all squash away from ripening fruits that produce ethylene gas, and monitor regularly for signs of mold or rot during curing.
Choosing Storage Location
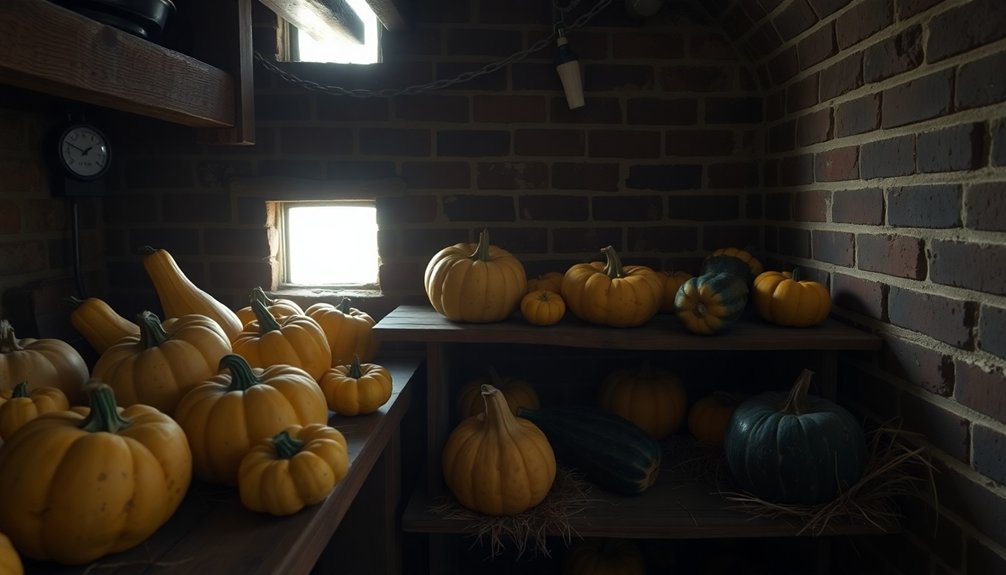
Your winter squash's longevity hinges on selecting the right storage location. For best results, choose a cool, dark space where you can maintain temperatures between 50-55°F (10-13°C). Your basement, cellar, or an unheated spare room often provides these ideal conditions.
While temperatures up to 72°F are acceptable, they'll reduce your squash's storage life.
When setting up your storage area, prioritize proper ventilation and humidity control. You'll want to maintain humidity levels at 60% or less while ensuring good air circulation.
Consider using milk crates or wire storage drawers that allow air to flow freely around each squash. Don't overcrowd your storage space, as this can trap moisture and promote decay.
Keep your winter squash away from fruits like apples and pears, which release ethylene gas that speeds up ripening. You'll also want to avoid storing them near strong-smelling foods to prevent flavor transfer.
If you're using a shared storage space, create a dedicated section for your squash that's well-separated from other produce. For areas that aren't naturally dark, use cardboard bins or other light-blocking materials to protect your squash from direct light exposure.
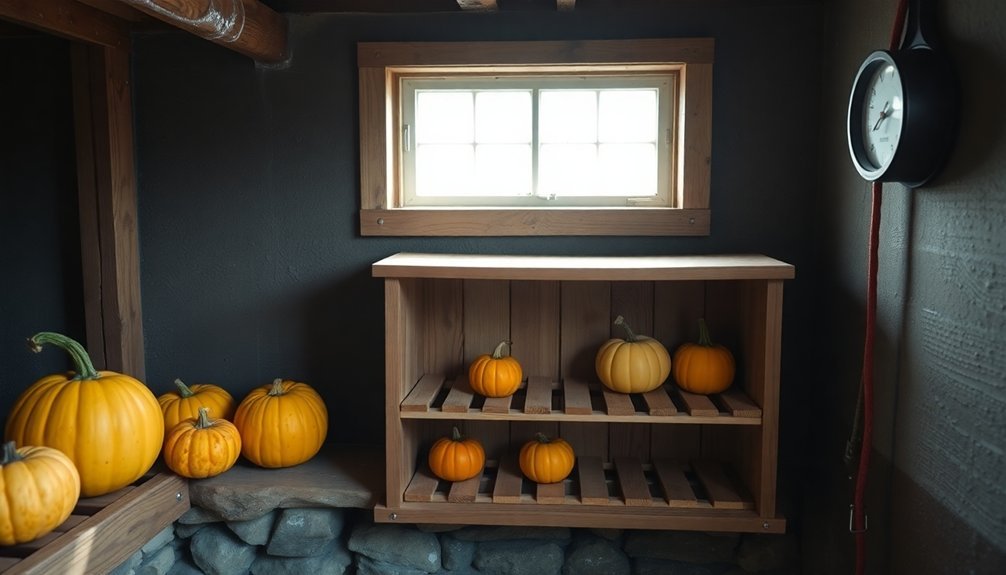
Setting Up Storage Space
You'll need a consistent environment with temperatures between 50-55°F and humidity levels of 60-75% to properly store winter squash.
Get your storage area ready with wooden shelves or flat cardboard to keep squash off cold floors, and make sure you have perforated crates or open boxes for proper air circulation.
Remember to gather cloth, paper, or newspaper to wrap individual squash, ensuring they don't touch each other when arranged in a single layer.
Location and Environment Basics
Successfully storing winter squash requires a well-planned environment with precise temperature and humidity controls.
You'll want to maintain temperatures between 50-55°F for optimal storage, though your squash can still last several months at temperatures up to 72°F. Just remember that fluctuating temperatures encourage rotting, so keep conditions as stable as possible.
Your storage location should provide darkness and proper ventilation while maintaining 50-70% relative humidity. Using materials like newspaper or cardboard helps control moisture levels and guarantees adequate air circulation.
It's essential to keep your squash away from other produce, particularly fruits that release ethylene gas, as this can greatly reduce storage life.
For the best storage results, follow these key environmental factors:
- Choose a consistently cool location (50-55°F) with minimal temperature fluctuations
- Verify proper ventilation and maintain 50-70% humidity using materials like newspaper
- Store in complete darkness, away from ethylene-producing fruits like apples and pears
A basement or semi-heated space often provides these ideal conditions naturally, but you can also create suitable conditions in a dedicated storage area with proper monitoring and control measures.
Equipment You'll Need
Setting up proper winter squash storage requires specific equipment and materials to maintain ideal conditions.
You'll need storage containers that promote good air circulation, such as milk crates or wire storage drawers. Nylon mesh bags are excellent options, as you can hang them from rafters using carabiners or hooks for efficient storage.
When selecting storage surfaces, choose wooden shelves or crates rather than cement floors, as they're less likely to transfer cold and moisture to your squash.
You'll also want to gather clean cloths or paper for wrapping individual squash if needed, though this can make regular inspections more challenging.
For maintenance, keep a 10% bleach solution and cleaning supplies on hand to sanitize squash surfaces before storage.
It's helpful to have a reliable thermometer to monitor storage area temperatures and guarantee consistency. You'll want to position these in different areas of your storage space to track temperature variations.
Additional equipment should include proper lighting for inspections, though you'll need to keep the storage area dark when not checking your squash.
Consider installing hooks or shelving systems that keep squash elevated and properly spaced for best air circulation.
Monitoring During Storage
During the storage period, regular monitoring of winter squash is essential to prevent spoilage and maximize their shelf life. You'll need to check your squash frequently for any signs of deterioration, including soft spots, dark areas, or shriveling. When you notice these indicators, remove and use the affected squash immediately to prevent the spread of decay to others.
Make it a habit to regularly inspect the stems, as they're often the first place where rot begins. You'll want to maintain proper temperature control, using a thermometer to guarantee the storage area stays above 50°F. Turn your squash periodically to prevent bruising and promote even drying on all sides.
Here are the key signs of deterioration to watch for:
- Soft or sunken spots that indicate internal decay
- Discoloration or dark patches spreading across the skin
- Stem softening or mold growth around the stem area
Keep your squash separated to prevent contact damage, and use cardboard bins or open crates to maintain proper air circulation.
Remember to check humidity levels and guarantee they stay around 60%. If you notice any squash starting to deteriorate, plan to use it in your next meal rather than letting it go to waste.
Common Storage Problems
Even with careful monitoring, several common problems can affect stored winter squash. The most frequent issues arise from improper temperature and humidity control. If you're storing your squash in conditions above 55°F or below 50°F, you'll likely notice accelerated deterioration.
Similarly, humidity levels outside the 50-70% range can lead to either dehydration or excess moisture problems.
Rot is another major concern, often starting at points where squash touch each other or where there are bruises and blemishes. You'll want to check regularly for soft spots, especially around stems and blossom ends. If you notice any squash developing these issues, remove them immediately to prevent spread to healthy specimens.
Disease manifestation during storage is particularly troublesome, especially if your squash was exposed to alternaria, anthracnose, or bacterial soft rot in the field. You can minimize these risks by maintaining good air circulation and keeping your squash separated.
Watch out for ethylene gas exposure from nearby ripening fruits, which can accelerate deterioration. If you notice unusual spotting or decay patterns, it's worth sending samples for pathology testing to identify specific issues and prevent future storage problems.
Long-Lasting Squash Varieties
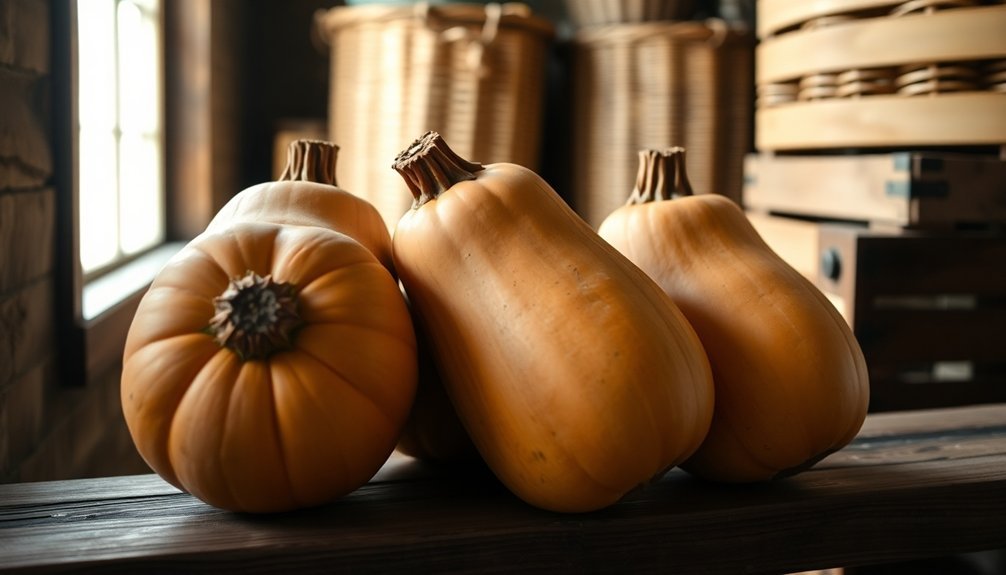
When selecting winter squash for long-term storage, certain varieties naturally keep better than others. Among these, Kabocha squash stands out as the champion, lasting up to eight months when properly stored.
Butternut and Hubbard squashes are also excellent choices, with storage lives of four and six months respectively.
These long-lasting varieties share common storage requirements – they'll need proper curing to harden their skin and should be kept in a cool, dry place at 50-55°F. You'll find that butternut squash actually becomes sweeter after two to three months in storage, making it worth the wait.
For the best storage success, consider these top-performing varieties:
- Kabocha – offering the longest shelf life at 8 months
- Hubbard and Marina di Chioggia – both lasting up to 6 months
- Black Futsu – maintaining quality for 5-6 months
If you don't need such extended storage, varieties like Jarahdale, Speckled Hound, and Starry Night squash will still keep well for about three months.
Remember that all these varieties require similar storage conditions to achieve their maximum shelf life potential.
Frequently Asked Questions
Can Winter Squash Be Stored in Plastic Bags?
You shouldn't store winter squash in plastic bags since they trap moisture and limit air circulation, leading to rot. Instead, use well-ventilated containers like mesh bags or wire storage drawers for better results.
How Do Different Cooking Methods Affect Stored Squash Quality?
Your cooking method won't affect stored squash quality as long as you're cooking after removing it from storage. You can steam, microwave, or bake – these methods only matter once you're ready to eat.
Is It Safe to Eat Winter Squash With Small Spots?
You can eat winter squash with small spots if they pass the smell test. Just cut away the affected area plus an inch around it. If there's mold inside or it's mushy, don't risk it.
Can Winter Squash Be Frozen Without Cooking First?
Yes, you can freeze winter squash without cooking, but it's not recommended. You'll have trouble thawing and using it later. For better results, blanch or cook your squash before freezing to preserve texture.
Do Squash Need to Be Washed Before Storage?
Yes, you'll want to wash your squash before storage. Use a mixture of 1 part vinegar to 3 parts water, then gently scrub to remove dirt. This cleaning helps prevent rot and extends storage life.
In Summary
You'll get the most from your winter squash by following proper storage techniques. Start with mature, well-cured squash, and keep them in a cool, dry place between 50-55°F with good air circulation. Check your squash weekly for signs of decay, and remove any that show problems. With the right conditions, many varieties can last 3-6 months, giving you farm-fresh flavor throughout winter.


Leave a Reply