Water bath canning keeps your jams safe through several key factors working together. You'll need proper acidity levels in your jam recipes, combined with maintaining a consistent boiling temperature of 212°F (at sea level) during processing. When you submerge your filled jars in boiling water, the heat kills harmful microorganisms while forcing air out of the jars, creating a vacuum seal that prevents contamination. Your clean, sterilized jars and new lids provide the foundation for safety, while following tested recipes and processing times guarantees your jam stays preserved. Understanding these essential elements will help you master safe home canning techniques.
Understanding Water Bath Canning Basics
The boiling water does more than just heat your food – it kills harmful microorganisms while forcing air out of the jars.
This creates a vacuum seal that keeps your preserved foods safe. You'll need to maintain the boiling temperature for the required processing time, which varies based on your altitude, jar size, and the acidity of your food. Foods like jams and jellies are perfect candidates for water bath canning due to their high acid content.
If you're canning at elevations above 1,000 feet, you'll need to increase your processing time accordingly.
Key Safety Equipment Requirements
Safety in water bath canning starts with having the right equipment on hand. You'll need a proper water bath canner or large, deep saucepot equipped with a rack to keep jars elevated from the bottom. If you don't have a standard rack, you can use a cake cooling rack or connect extra ring bands to create a makeshift solution that guarantees proper water circulation. Clean workspace preparation is critical before starting to prevent contamination of your food.
Your jars must be specifically designed for canning, and you'll need new lids for each session to assure a proper seal. Don't skip checking your screw bands for rust or damage, as they're vital for securing the lids during processing.
You'll also need essential tools like a jar lifter for safe handling, a funnel for clean filling, and a bubble freer to remove trapped air.
To protect yourself and maintain cleanliness, you'll want thick gloves or canning-specific hand protection, plus plenty of paper towels for cleaning jar rims. Don't forget a timer to track processing times accurately, and keep a permanent marker handy for labeling your finished products.
Proper Temperature Control Methods
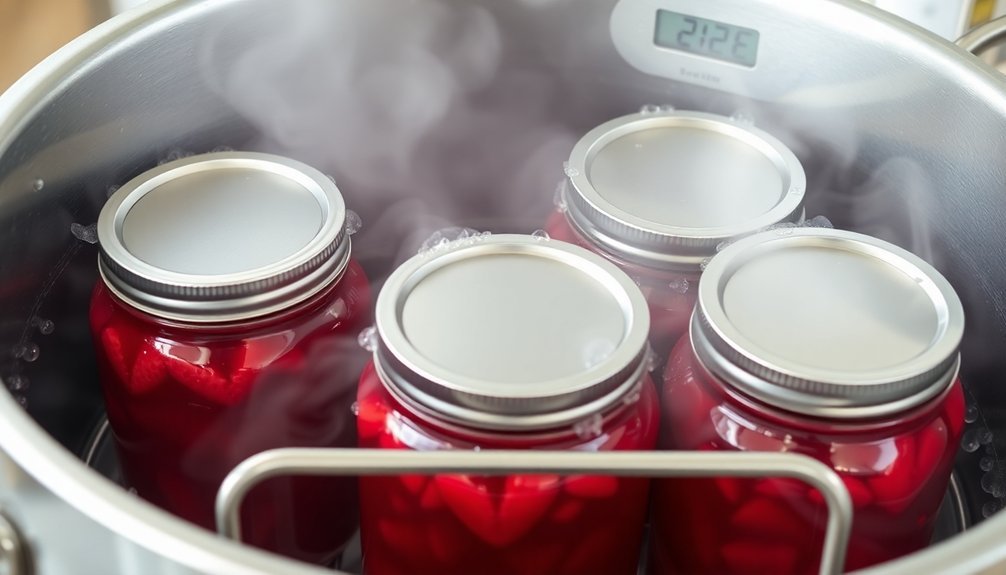
Mastering temperature control stands at the heart of safe water bath canning. You'll need to maintain a consistent temperature of 212°F at sea level, which is perfect for high-acid foods like jams and jellies.
Remember that the boiling water method can't exceed this temperature inside your jars, which is why it's only suitable for high-acid foods. Adding acid ingredients like lemon juice helps ensure food safety during processing. You must bring your canner to a rolling boil before starting the timer, and it's essential to maintain this boil throughout the entire processing period.
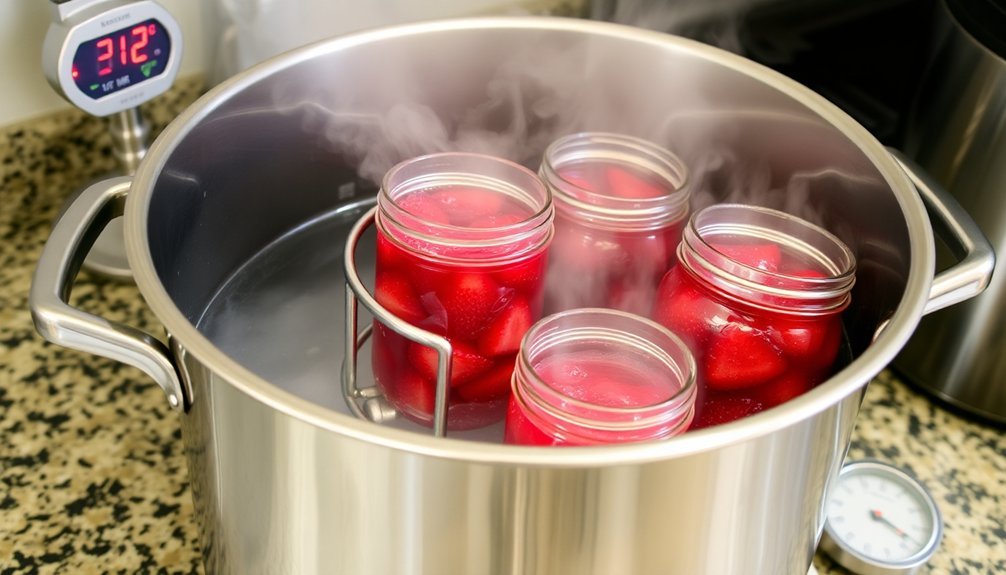
Keep your water level 1-2 inches above jar tops to guarantee even heat distribution, and you'll want to have extra boiling water ready to maintain this level. Using a wire rack helps promote proper heat circulation around your jars.
Don't forget to adjust your processing times based on your altitude – if you're above 1,000 feet, you'll need to increase the duration. Your jar size also matters; smaller jars typically require less processing time than larger ones.
Always follow tested recipes exactly, as they've been developed to guarantee the proper temperature is maintained long enough to kill harmful bacteria, yeasts, and enzymes.
Sterilization of Jars and Tools
While proper sterilization might seem like an extra step, it's essential for preventing contamination in your canned goods.
You'll need to sterilize your jars if your recipe calls for less than 10 minutes of processing time in the water bath. For recipes with longer processing times, the water bath itself will sterilize the jars during the canning process.
You've got two main options for sterilizing your jars. You can submerge them in boiling water for at least 10 minutes using a water bath canner, adding an extra minute for every 1,000 feet above sea level.
Alternatively, you can run them through your dishwasher's sanitize cycle, which uses water heated to at least 150°F.
Before sterilization, wash your jars thoroughly in hot, soapy water and rinse them well. Keep your sterilized jars hot until you're ready to fill them to prevent thermal shock.
Don't forget to use proper tools – a jar lifter will help you handle hot jars safely, and a magnetic lid lifter lets you handle sterilized lids without contaminating them with your fingers.
Correct Filling and Processing Times
Now that your jars are properly sterilized, correct filling and timing will make or break your canning success.
You'll need to fill hot jars with your preserves immediately, leaving a vital ¼-inch headspace at the top. Use a funnel and ladle to prevent spills, and remove any air bubbles with a plastic spatula to guarantee proper sealing.
Before securing the lids, you must carefully wipe the jar rims with a clean, damp cloth to remove any residue. Center the metal lid and finger-tighten the band – don't overtighten, as air needs to escape during processing.
For safe preservation, follow these important processing steps:
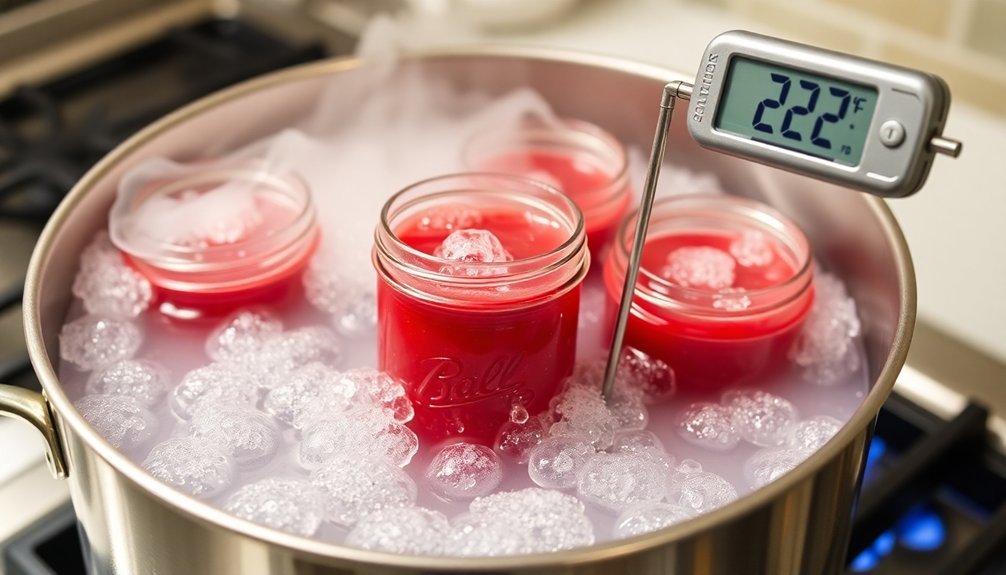
- Submerge your filled jars in boiling water at 212°F (at sea level)
- Process half-pint jars for 10 minutes, adding 5 minutes for each size increase
- Maintain a rolling boil throughout the entire processing time
Remember that proper timing is essential for killing harmful microorganisms.
If you're canning at high altitudes, you'll need to adjust your processing time accordingly.
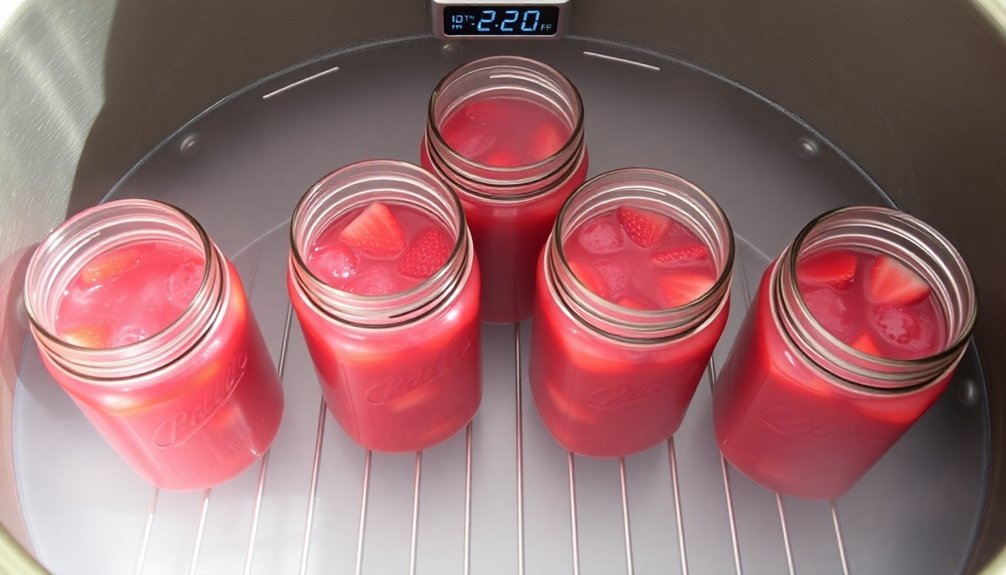
After processing, let the jars cool naturally at room temperature to complete the vacuum seal – this final step guarantees your preserves will stay safe and fresh.
Maintaining Safe Pressure Levels
To achieve proper pressure levels, you'll need to maintain a rolling boil at 212°F (at sea level).
If you're at a higher altitude, add 1 minute of processing time per 1,000 feet elevation.
Remember, you're only working with high-acid foods (pH 4.6 or lower) in water bath canning.
The combination of high temperature and acidity creates the pressure needed to kill harmful microorganisms and form an airtight seal, making your preserved foods safe to store.
Testing for Proper Seals
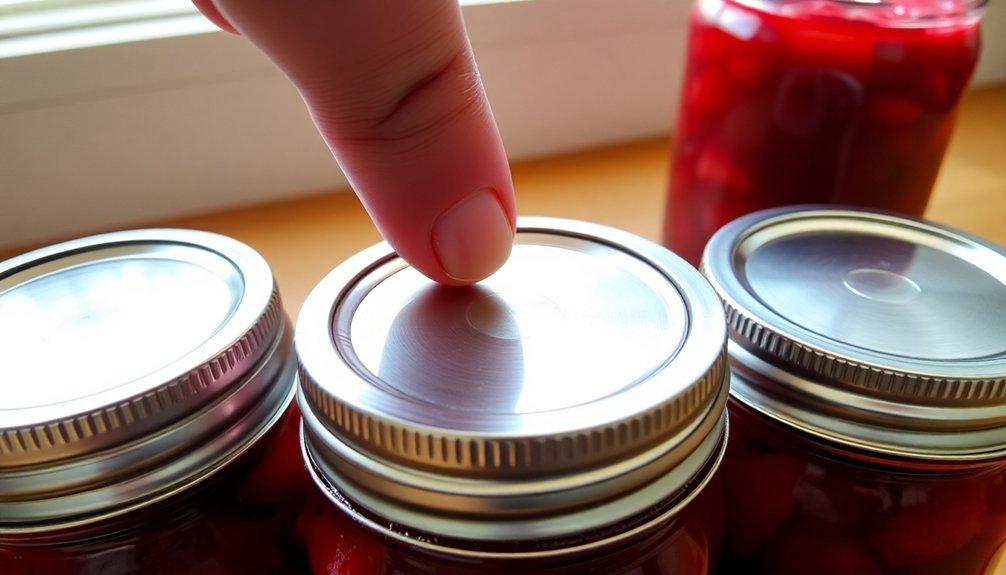
After your canning process is complete, properly testing jar seals is essential for food safety.
You'll need to wait 12 to 24 hours for your jars to cool at room temperature, leaving them completely undisturbed.
Don't tighten the bands during cooling, as this can interfere with the sealing process. You might notice the content level has dropped slightly after cooling – this is normal.
Once your jars have fully cooled, you can test their seals using multiple reliable methods:
- Press Test: Remove the screw bands and press down on the center of each lid. A properly sealed lid won't spring back when pressed, while an unsealed one will flex up and down.
- Sound Test: Tap the lid with a metal spoon. You'll hear a clear, high-pitched ring if it's sealed properly, but a dull sound indicates a failed seal.
- Visual Check: Look for a concave depression in the lid's center. The lid should curve slightly downward, and you should be able to pick up the jar by the lid alone without it coming loose.
If any jars fail these tests, you'll need to refrigerate and use them immediately or reprocess them within 24 hours.
Safe Storage Guidelines
Proper jar seals are only part of ensuring your home-canned foods stay safe and delicious long-term.
You'll need to store your jars in a clean, cool, dark, and dry location where temperatures stay between 50-70°F. Don't place them near heat sources or in damp areas like garages or basements, as these conditions can compromise food safety.
When stacking your jars, don't go higher than two deep to protect the seals. Before storage, remove the rings so you can easily spot any seal failures. You should label and date each jar clearly, which helps you rotate your stock and use older items first.
Remember to check your pantry every few weeks and use any products approaching their one to two-year shelf life.
If you're storing jars where freezing is possible, wrap them in newspapers and blankets for protection. Handle your jars with care to prevent breakage, and always use jar clamps when moving them in and out of the canner.
Clean your storage area regularly and inspect jars periodically for signs of spoilage. If you spot any concerning changes, remove and discard those jars immediately.
Frequently Asked Questions
Can I Reuse Old Mason Jar Lids for Water Bath Canning?
You shouldn't reuse old mason jar lids for canning since they won't seal properly. The sealing compound weakens after first use, which can compromise food safety. It's best to always use new lids.
What Happens if My Power Goes Out During Processing?
If your power goes out during processing, you'll need to remove the jars and refrigerate them. Once power's restored, you must restart the entire process with fresh lids to guarantee proper sterilization and sealing.
Why Do Some of My Jams Change Color After Processing?
Your jams can change color due to oxidation when fruit's exposed to air, light exposure breaking down color compounds, and lower sugar content. Don't worry though – these changes don't affect your jam's safety.
Can I Stack Jars on Top of Each Other While Processing?
You can stack jars if you use a wire rack between layers, but it's not recommended. It risks tipping and uneven heat distribution. For best safety results, process your jars in a single layer.
Should I Adjust Processing Times if I Live at High Altitude?
Yes, you'll need to increase your processing time at higher altitudes since water boils at lower temperatures. Add 5 minutes for every 3,000 feet above sea level to guarantee proper sterilization of your jars.
In Summary
Water bath canning safety for jams depends on your attention to detail and following proper procedures. You'll need to maintain temperatures above 212°F, use sterile equipment, and process for the correct time to prevent spoilage. Always test your seals and store jars in a cool, dark place. When you follow these safety guidelines consistently, you'll create shelf-stable jams that remain safe to enjoy year-round.


Leave a Reply