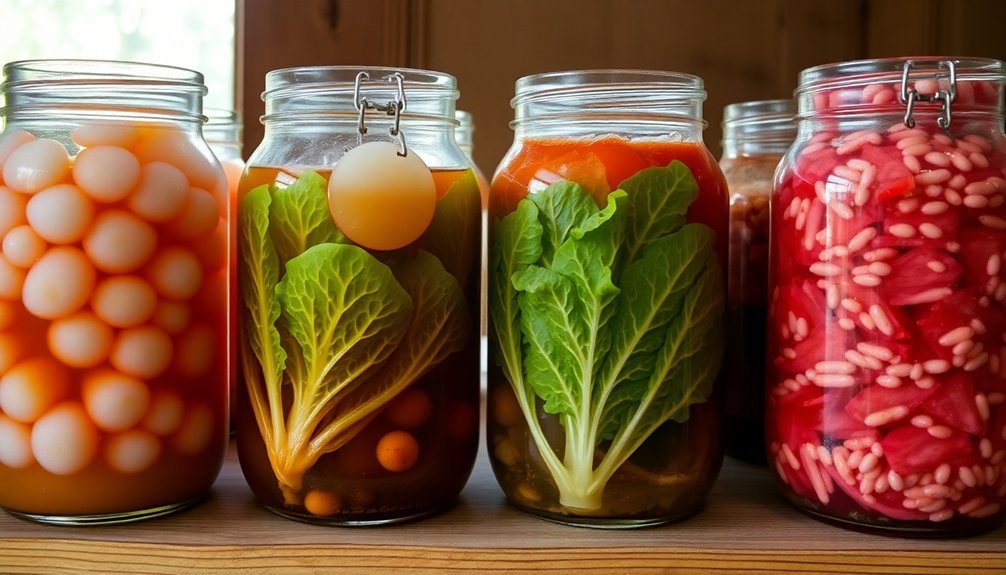
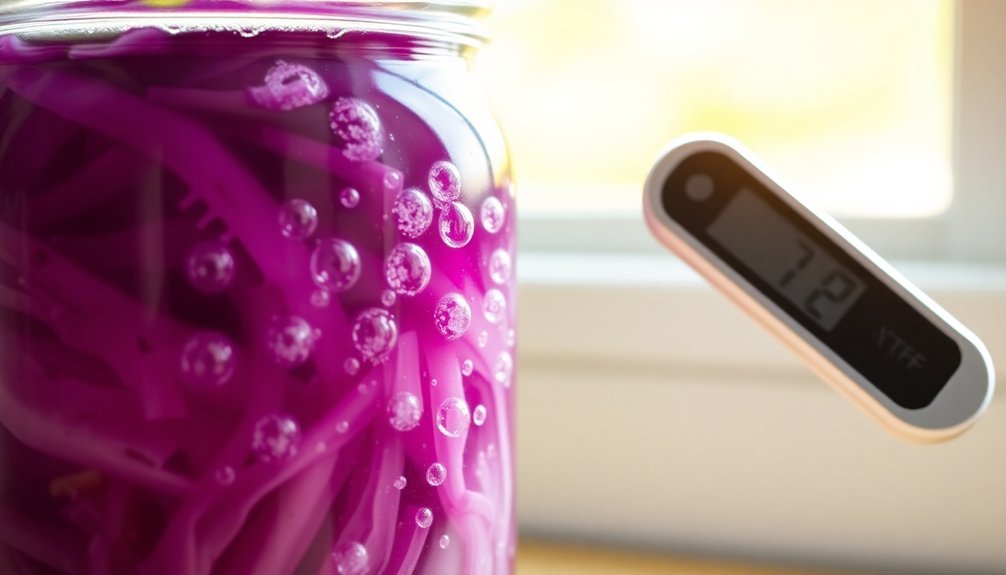
For successful DIY fermentation, you'll need to follow several critical steps. Always start with thoroughly sanitized equipment and use food-grade vessels. Keep temperatures stable between 68-72°F and monitor daily. Choose pure salt without additives, maintaining a 2-5% concentration for ideal results. Use sturdy, organic vegetables cut into uniform pieces and keep them fully submerged in brine. Watch for signs of active fermentation like bubbles and fizzing sounds. Track pH levels regularly and store finished products in cold temperatures. Watch for off-smells or unusual colors that might indicate contamination. These foundational tips will set you on the path to fermentation mastery.
Cleanliness Is Non-Negotiable
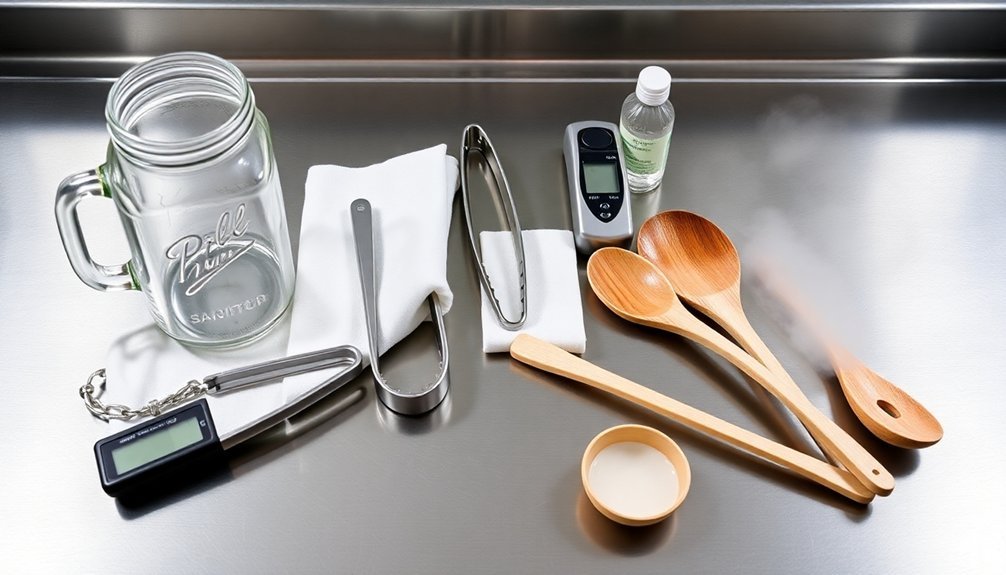
When it comes to fermentation, cleanliness isn't just a suggestion – it's essential for success. You'll need to master both cleaning and sanitizing to guarantee your ferments turn out properly. Start by thoroughly washing all equipment with hot water and dish soap, making sure to remove any visible dirt or debris. Letting containers soak for an hour helps loosen tough residue.
Whether you're washing by hand or using a dishwasher, always rinse multiple times with cold water to eliminate soap residue.
After cleaning, you'll need to sanitize your equipment with a food-grade sanitizer like Star San to kill 99.9% of microorganisms. Don't skip sanitizing spoons, funnels, or lids – every piece of equipment matters.
Remember to maintain strict personal hygiene by washing your hands thoroughly and wearing clean attire before handling any fermentation materials.
To prevent cross-contamination, keep your ferments separated and use non-chlorinated water for rinsing and fermenting. Avoid using porous surfaces like wood unless properly sterilized, and keep your ferments away from direct sunlight.
Temperature Control Matters
You'll need to track your fermentation temperatures daily since ambient room conditions can fluctuate greatly throughout different times of the day.
A Bru Success kit can help maintain precise temperature settings throughout the fermentation process.
For best results, monitor your ferment's temperature at both the warmest and coolest parts of your 24-hour cycle, adjusting your heating or cooling methods as needed.
During warmer months, you'll want to focus on cooling techniques like wet towels or ice baths, while colder seasons might require heating solutions such as insulated chambers or temperature-controlled heating elements.
Monitoring Daily Temp Changes
Keeping track of temperature changes throughout the day stands at the center of successful fermentation.
You'll need to monitor your fermentation vessel regularly, as temperature fluctuations can greatly impact your final product's quality and flavor profile.
To track temperature effectively, you'll want to install a thermometer or thermowell in your fermenter for accurate readings.
Don't rely on ambient room temperature, as the fermentation process itself generates heat.
Watch for temperature spikes during the first 48-72 hours when yeast activity is most vigorous. Different yeast strains have optimal temperature ranges.
If you notice temperatures climbing too high, you can quickly implement cooling methods like the swamp cooler technique or wet towel method.
For temperatures that drop too low, consider using a heating pad or insulated blanket to maintain prime conditions.
You don't want to risk producing off-flavors from high temperatures or stalling fermentation from cold conditions.
For precise control, invest in a digital temperature controller that can work with your cooling or heating equipment.
This device will help you maintain consistent temperatures within your yeast strain's ideal range, ensuring reliable fermentation results day after day.
Optimal Zones By Season
Seasonal temperature swings can make or break your fermentation success throughout the year.
You'll need to adapt your approach based on whether you're fermenting red wines, which require 70-85°F, or specific beer styles with their unique temperature demands.
In summer, you'll face challenges with excessive heat that can stress your yeast and create unwanted flavors.
Consider using a swamp cooler setup – place your fermenter in a water bath with a wet towel and fan for evaporative cooling.
For winter fermentation, you might need to find warmer spots in your home or use temperature-controlled environments to maintain ideal conditions.
Don't let seasons dictate what you can ferment.
With proper temperature control methods, you can brew any style year-round.
A chest freezer with a temperature controller offers precise control for both heating and cooling, while thermostat-controlled spaces help maintain consistency across batches.
If you're working with minimal equipment, use your uninsulated spaces strategically – cooler rooms in winter for lagers, warmer spaces in summer for ales.
Remember that your fermenter typically runs 3-5 degrees warmer than the ambient room temperature.
Salt Selection And Measurement
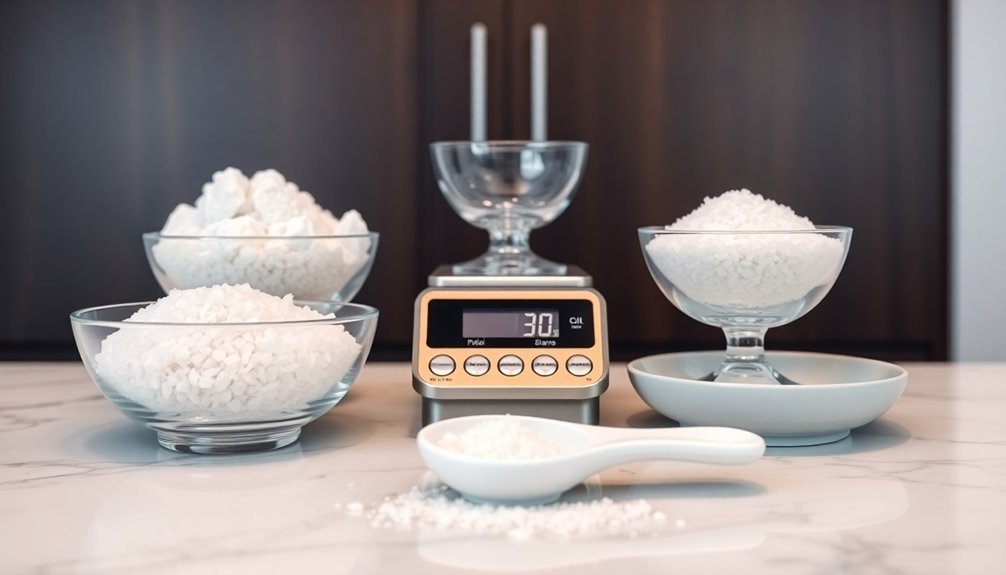
Selecting the right salt and measuring it accurately are essential elements for successful fermentation. You'll want to use pure salt without additives – pickling salt, sea salt, Pink Himalayan salt, or Redmond's Real Salt all work well.
While different salts may vary in weight, they'll perform similarly in your ferments as long as they're additive-free.
For consistent results, you'll need to maintain proper salt concentrations between 2-5% of your total ingredient weight. Using less than 2% risks spoilage, while exceeding 5% can halt fermentation. To calculate the right amount, weigh your vegetables and water together, then determine the salt needed using a digital scale.
Three key approaches to salt application:
- Dry salting: Use 1.5-2% salt for water-rich vegetables, mixing directly with shredded or chopped produce.
- Brining: Create a salt-water solution to completely submerge whole vegetables.
- Quick calculation: For simplified measuring, use 20g salt per quart jar of vegetables and water.
Proper Equipment Setup
A well-planned equipment setup forms the foundation of successful fermentation projects.
You'll need to start by selecting the right fermentation vessel – opt for food-grade materials like glass or stainless steel, and make certain it's cylindrical with a height roughly double its diameter. Never fill your vessel more than 80% to allow proper headspace for fermentation activity.
Temperature control is essential for your success.
You'll want to maintain consistent temperatures between 68-72°F for initial fermentation or 50°F for slow ferments. Install accurate thermometers and consider using temperature controllers like the STC-1000 for automation. Proper insulation of your fermentation area will help maintain stability.
Sanitization can't be overlooked – you must thoroughly clean and sterilize all equipment before use.
Employ airlocks to prevent unwanted air from entering while allowing CO2 to escape. Keep sanitizing supplies like ethyl alcohol and oxygen cleaners readily available.
Don't forget essential accessories like pumps, hoses, and proper ventilation systems.
If you're fermenting beer, you'll need CO2 cylinders and regulators. Install drain valves and sampling ports for easy monitoring, and make certain your setup includes sturdy platforms to support your equipment safely.
Keep Everything Submerged
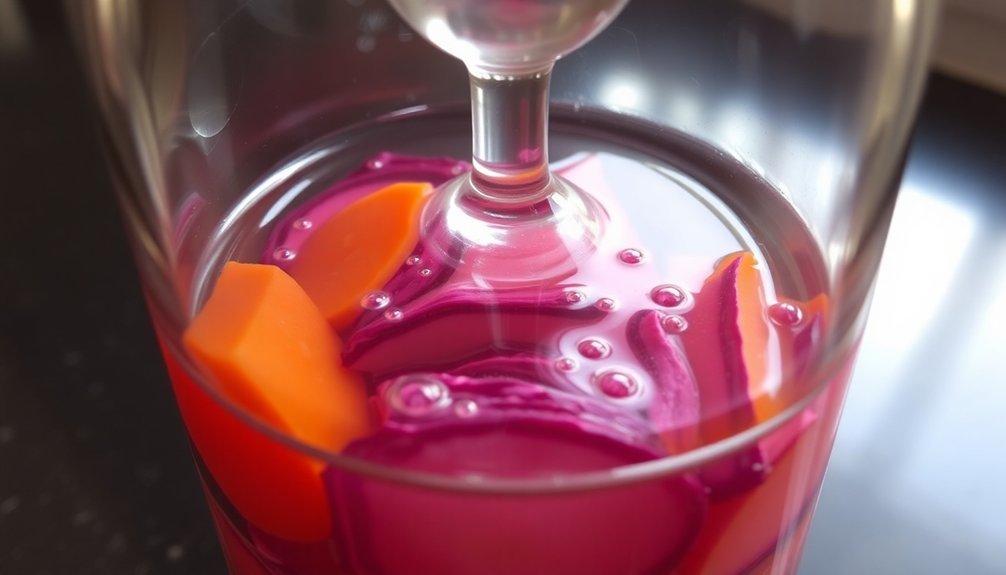
Once you've set up your fermentation equipment properly, maintaining submersion of your ingredients becomes your next key focus. Keeping vegetables submerged beneath the brine isn't just a suggestion – it's essential for preventing contamination and guaranteeing successful fermentation.
Without proper submersion, you'll risk mold growth and unwanted bacteria that can spoil your entire batch.
You've got several effective options to keep everything below the surface:
- Use glass or ceramic weights specifically designed for fermentation
- Create a DIY weight using a water-filled zip-top bag
- Layer a large cabbage leaf on top to naturally hold ingredients down
Check your ferment daily to verify everything stays submerged, and don't hesitate to add more brine if needed.
You'll want to maintain anaerobic conditions throughout the process, as this promotes the growth of beneficial bacteria while preventing harmful organisms from taking hold. The uniform distribution of brine and salt that comes with proper submersion helps break down cell walls and release natural juices from your vegetables.
Remember to remove any surface mold promptly if it appears, and adjust your weights as necessary to maintain consistent submersion throughout the fermentation period.
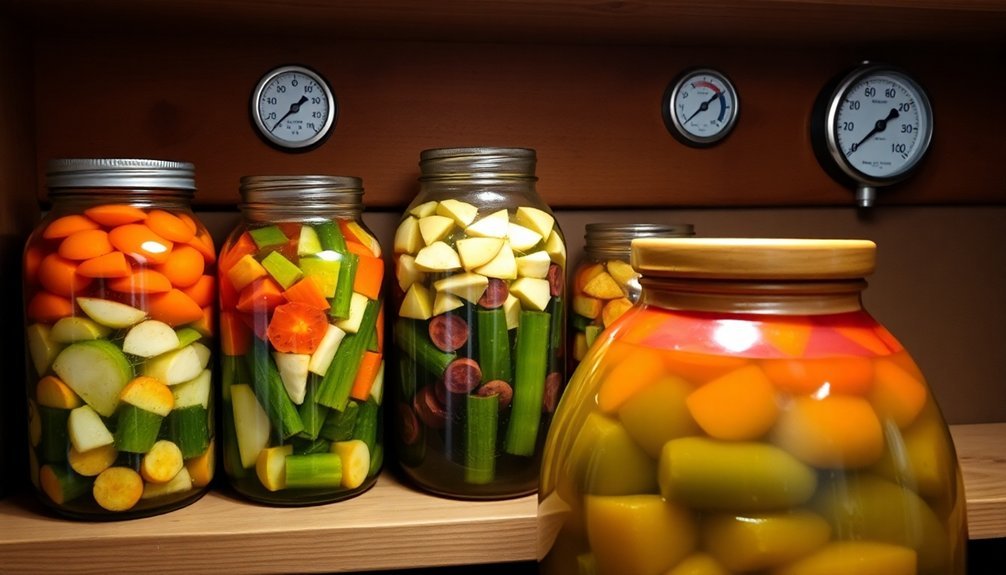
Choose The Best Vegetables
Your fermentation success largely depends on starting with the right vegetables. When selecting produce, look for sturdy vegetables like peppers that can maintain their structure during fermentation. While cabbage is an exception due to its intended softness in sauerkraut, most vegetables should feel firm and fresh to the touch.
Choose organic vegetables whenever possible, as pesticides and wax coatings can interfere with the fermentation process. You'll want to pick vegetables you enjoy eating raw, since these taste preferences typically carry over to their fermented versions. Popular choices include cucumbers for pickles, cauliflower for mixed ferments, and garlic for added flavor complexity.
Some vegetables require special attention during fermentation. Beets need careful monitoring due to their high sugar content, while carrots, radishes, and turnips ferment best in cooler temperatures.
Before you start, cut your vegetables into bite-sized pieces and remove any blemishes or tough stems. Don't hesitate to mix different vegetables together – this can create interesting flavor combinations.
Remember to keep your tools and vessels clean to prevent contamination and guarantee successful fermentation.
Monitor Your Fermentation Process
Your fermentation's success depends heavily on tracking pH levels, which you can measure using either pH strips or a digital meter.
You'll want to see the pH drop during the first few days, as this confirms your fermentation is progressing properly.
If you notice the pH isn't dropping or seems unusually high, it's a warning sign that your ferment may be stalled and needs attention.
Track Ph Level Changes
Monitoring pH levels stands as one of the most essential aspects of successful fermentation. You'll need to track these changes regularly to guarantee your fermentation stays on the right path. Using a digital pH meter gives you the most precise readings, though pH test strips can work if you're just starting out.
For safe fermentation, you'll want to see the pH drop below 4.6 to eliminate harmful pathogens. Different fermentations require specific pH ranges for ideal results:
- Wine fermentation thrives between 3.3-3.6
- Beer production needs 4.0-4.5
- Yogurt making requires 4.2-4.6
If you're making dairy products, make sure the pH drops to 4.6 or lower within 48 hours to guarantee safety.
When your pH levels stray from these ideal ranges, you risk stalling the fermentation process or encouraging unwanted bacterial growth. You'll want to check pH levels frequently during the first few days, as this is when the most significant changes occur.
Don't skip this essential step – incorrect pH levels can mean the difference between a successful batch and a failed experiment.
Watch For Warning Signs
Look for signs of active fermentation, such as tiny bubbles rising to the surface and a gentle fizzing sound when you tap the jar.
Keep the vegetables packed down beneath the brine to prevent air pockets, and use mineral-rich salt to create an environment where beneficial bacteria can thrive while harmful ones can't survive.
Master The Brine Ratio
Getting the brine ratio right stands at the heart of successful fermentation. You'll need to maintain precise salt concentrations, typically between 2-5%, to create an environment where beneficial bacteria thrive while harmful ones can't survive.
Different vegetables require specific concentrations – cucumbers need 3.5-5%, while broccoli thrives in 2-2.5% brine.
To achieve accuracy in your brine preparation, follow these essential steps:
- Use weight measurements instead of volume – weigh both your vegetables and water, then multiply the total by your target percentage (0.025 for 2.5%) to determine exact salt amounts.
- Dissolve salt completely in water before adding vegetables to guarantee uniform concentration throughout.
- Keep vegetables fully submerged using weights to maintain consistent exposure to the brine.
Your brine concentration directly impacts texture, fermentation time, and flavor development. If you're working with softer vegetables like cucumbers, you'll want to lean toward higher salt concentrations to maintain crunchiness.
Don't hesitate to adjust ratios based on results – while food safety comes first, you can experiment within safe ranges to find your preferred balance of flavor and texture.
Cold Storage Solutions
Once you've mastered your brine ratios, proper cold storage becomes your next key to fermentation success. Your cultures need specific temperature ranges to maintain their viability and activity. For refrigeration storage, keep temperatures between 0 to 4°C (32 to 39°F) to slow down microbial activity while preserving your cultures in a dormant state.
If you're planning long-term storage, consider freezing at -18°C (0°F) or lower. You'll get better results with temperatures between -20°C to -75°C (-4°F to -103°F), but remember that not all cultures can survive these conditions.
When freezing, do it quickly to minimize cell damage, and don't let temperatures fluctuate, as this can destroy your cultures.
You'll need to act fast when receiving new cultures – transfer them immediately to appropriate storage conditions. Keep your older cultures separate from fresh ones, and use them first.
Watch for signs of contamination by checking fermentation activity and looking for unusual smells, colors, or mold. For extended storage, you can use freeze-dried cultures, which'll stay viable for over 12 months when kept at 4°C, especially when protected with cryoprotective agents.
Signs Of Successful Fermentation
Throughout your fermentation journey, recognizing the telltale signs of successful fermentation will help you avoid costly mistakes and guarantee consistent results.
You'll want to monitor three key indicators: bubbling activity, temperature patterns, and sensory changes. Active bubbling in your brine or vessel after a few days signals that beneficial bacteria or yeasts are hard at work.
Temperature monitoring is vital for tracking fermentation progress. You'll notice cycles that start slow, speed up during peak activity, and eventually flatline as fermentation completes. Most ferments thrive in environments between 68-72°F, though some can succeed in temperatures as low as 50°F.
Here's what to look for when evaluating your ferment's success:
- Visible bubbles in the brine or vessel, accompanied by expected aromas
- A pleasant, sour smell that develops over time (never rotten or offensive)
- Consistent gravity readings showing a steady decline until reaching final gravity
Trust your senses during daily observations. A successful ferment will display these signs while developing complex flavors.
If you notice unpleasant odors or unexpected gravity readings, it's best to start fresh rather than risk contamination.
Frequently Asked Questions
Can I Mix Different Fermentation Projects in the Same Storage Area?
You can store different fermentation projects together, but you'll need to keep them well-separated, use separate utensils, and monitor temperatures carefully to prevent cross-contamination that could spoil your ferments.
How Long Can I Keep Using the Same Fermentation Weights?
You can use glass weights indefinitely with proper care. Check silicone and stainless steel weights before each use for damage. Don't reuse plastic weights, as they'll leach microplastics. Always sanitize weights between uses.
Should I Wash Vegetables With Vinegar Before Fermenting Them?
You don't need to wash vegetables with vinegar before fermenting, but if you're concerned about pesticides, you can use a 1:3 vinegar-water solution for a quick 2-minute soak. Just avoid antibacterial soaps.
Can I Reuse Leftover Brine From Previous Successful Fermentations?
Yes, you can reuse leftover brine from successful ferments as a starter culture. It'll speed up fermentation and guarantee consistent results. Just make sure the old brine is fresh and free from contamination.
How Do Seasonal Changes Affect Fermentation Timing and Process?
You'll notice fermentation moves faster in summer due to heat, requiring closer monitoring. In winter, you'll need longer fermentation times and warmer spots. Remember to adjust your timing and starter amounts accordingly.
In Summary
DIY fermentation doesn't need to be intimidating. You've now got the key principles to create delicious fermented foods safely at home. Keep these tips handy, and you'll be well-equipped to start your fermentation journey. Remember to stay vigilant with cleanliness, maintain proper temperatures, and monitor your ferments carefully. With practice and patience, you'll soon master the art of home fermentation and enjoy its many benefits.


Leave a Reply