Preserve your garden vegetables with confidence using these seven essential oil preservation tips. Start by selecting peak-quality produce without signs of decay. Store your oils in dark, airtight containers away from heat and sunlight. You'll need quality vacuum sealing equipment, BPA-free bags, and proper blanching tools. Always blanch vegetables before preservation to kill bacteria and maintain nutrients. Use specialized vacuum sealer bags with oxygen barriers, and seal vegetables in consistent batches. Keep storage temperatures at 0°F (-18°C), and monitor seals weekly for integrity. These foundational steps will open the door to mastering long-term vegetable preservation methods.
Selecting Garden Fresh Vegetables
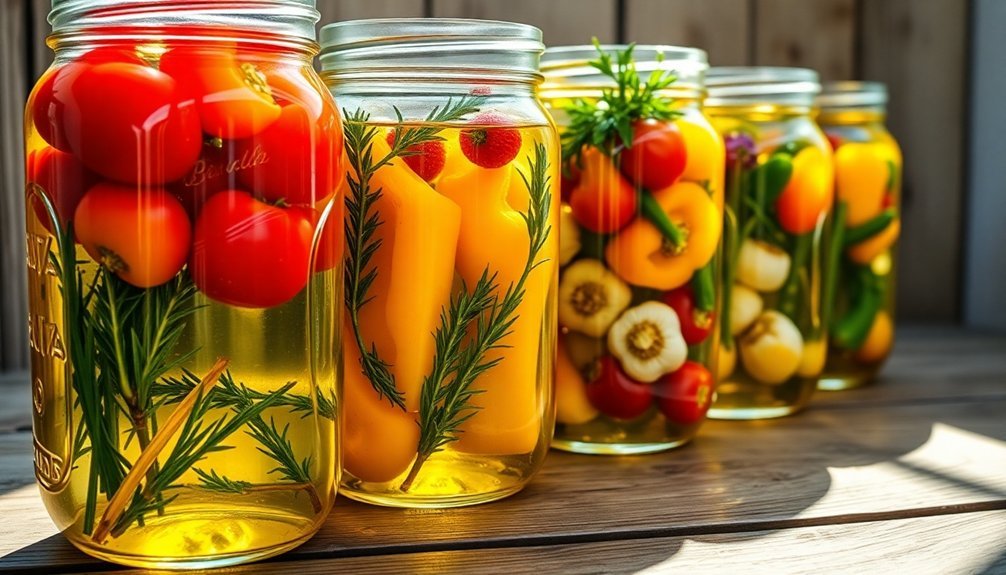
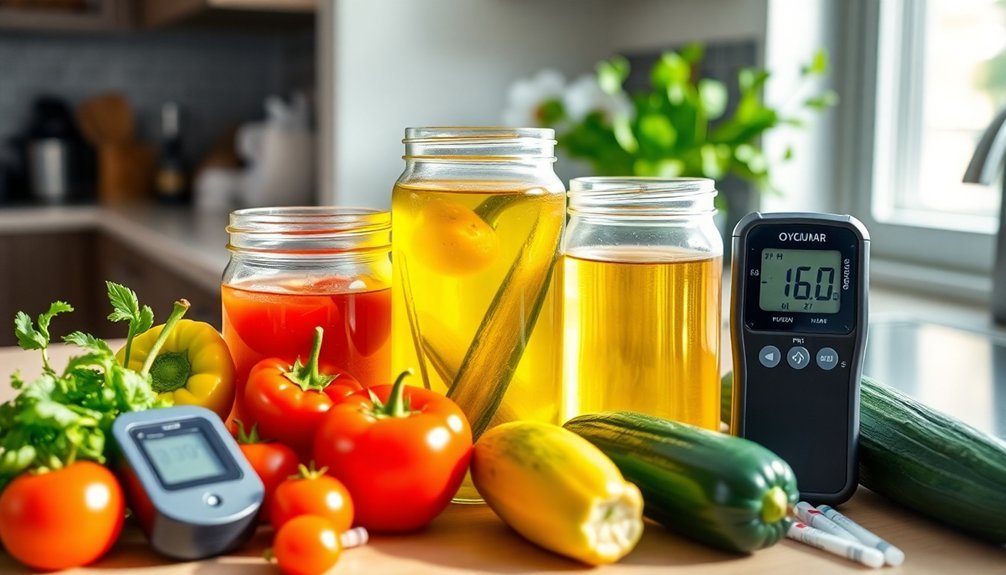
Selecting fresh vegetables is the essential first step in vacuum-sealed oil preservation. You'll need to choose produce at its peak quality to guarantee the best preservation results.
For leafy vegetables, select heads of lettuce and cabbage that feel heavy for their size, with crisp leaves showing no signs of yellowing. Store promptly in refrigeration to maintain optimal freshness before processing. When choosing root vegetables, look for carrots that are firm and smooth with fresh green tops, and potatoes that are free from green coloring or bruising.
For fruit vegetables, pick tomatoes that are ripe but still firm, with rich red coloring. Bell peppers should feel heavy and display a deep, shiny color. When selecting squash varieties, you'll want firm flesh and, for winter squash specifically, a tough outer skin.
Don't forget to examine cruciferous vegetables carefully – broccoli should have tight, dark green florets, while cauliflower needs to show a compact, creamy white head.
Check all vegetables for signs of decay, soft spots, or unusual discoloration. Avoid any produce with mold, cuts, or bruises, as these imperfections can compromise the preservation process and lead to spoilage.
Proper Oil Storage Methods
The success of vacuum-sealed vegetable preservation hinges on proper oil storage techniques.
You'll need to maintain strict control over your storage environment, keeping oils in a cool, dark place away from direct sunlight and heat sources. Your pantry or cupboard is ideal, as long as it's well-ventilated and has a level surface.
Choose your containers carefully. You'll want to use dark-tinted or aluminum containers that seal tightly to protect the oil from light and air exposure. If you're using drums, store them horizontally on racks or guarantee the bungs are tight when stored upright. Regular inspections for leaks and deterioration of containers are essential for maintaining oil quality.
Always seal containers immediately after use to prevent contamination.
Implement a FIFO (First-In, First-Out) system since oils have a limited shelf life. You should color-code and label your oils to prevent mix-ups, and always filter new oil before use.
Keep your storage area clean to maintain oil quality.
Pay special attention to vegetable oils, as they're particularly sensitive to environmental conditions. If you're planning long-term storage, consider refrigeration, but remember that some oils may solidify at lower temperatures.
Always check the manufacturer's recommendations on the bottles for specific storage requirements.
Essential Equipment and Tools
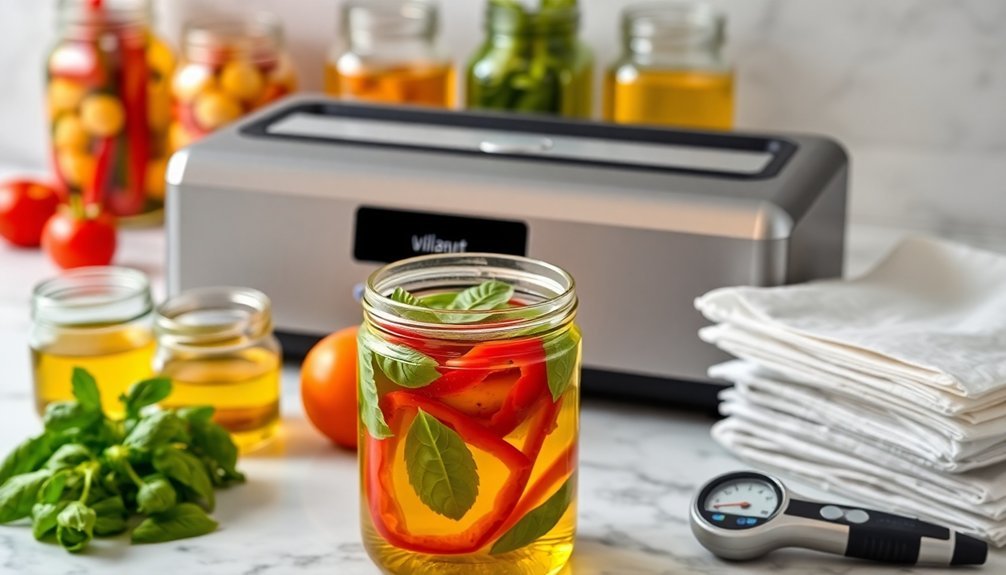
Assembling the right equipment forms the foundation of successful vacuum-sealed oil preservation. You'll need a quality vacuum sealer and compatible BPA-free bags or rolls as your primary tools.
Make certain you've got airtight containers and proper storage spaces, including a freezer set to 0°F (-18°C) or refrigerator maintained between 35°F to 38°F (1.6°C to 3.3°C).
For the preservation process, you'll require specialized equipment like a pH meter to monitor acidity levels and sterilization tools to prevent contamination. Roasted vegetables enhance flavor when preserved in oil.
Don't forget essential items like slotted spoons for blanching, ice baths for cooling, and clean cloths or paper towels for drying vegetables. If you're working with delicate produce, invest in specialized containers to prevent damage.
Keep cookie sheets and cracked ice on hand for flash freezing, and stock up on mason jars or glass containers for oil preservation.
You'll need clear labeling materials to track storage dates and identify contents. Remember to maintain proper hygiene with your equipment and regularly check stored items for seal integrity.
Following these guidelines guarantees you're well-equipped to preserve your garden vegetables safely and effectively through vacuum-sealed oil preservation.
Blanching Before Oil Preservation
Mastering the blanching process serves as an essential first step before vacuum-sealing vegetables in oil. You'll need to blanch your vegetables to kill harmful bacteria, deactivate enzymes, and preserve nutrients before they're sealed. This vital step also helps maintain the vegetables' vibrant colors and improves their texture for storage.
To blanch properly, use one gallon of boiling water per pound of vegetables. You'll want to work in small batches to maintain consistent water temperature. Place your vegetables in a wire basket or blancher with a lid, and start timing only after the water returns to a boil.
Don't use a microwave for blanching, as it won't effectively deactivate enzymes.
Once blanching is complete, immediately plunge your vegetables into ice water. The cooling time should match your blanching time. For example, if you've blanched broccoli for three minutes, cool it for three minutes.
Make sure you're using water that's 60°F or below, and change it frequently to maintain temperature. Before moving on to oil preservation, drain your vegetables thoroughly to remove excess moisture that could compromise the vacuum seal.
Vacuum Sealing Best Practices
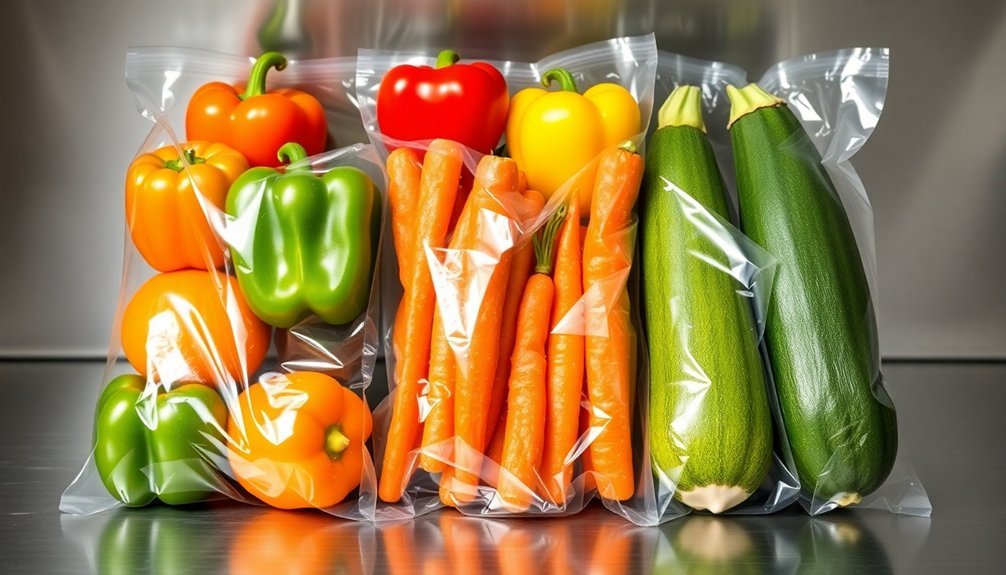
After blanching and thoroughly drying your vegetables, proper vacuum sealing techniques will maximize their shelf life and maintain quality during oil preservation. You'll need to select specialized vacuum sealer bags with textured channels and oxygen barriers, as regular poly bags won't maintain the necessary seal.
Before sealing, verify you're working in a clean, dry environment and prepare your vegetables by:
- Removing any blemishes or signs of spoilage, cutting larger pieces into manageable sizes.
- Thoroughly cleaning and drying each piece to prevent moisture-related issues.
- Organizing similar vegetables into batches for consistent storage times.
- Positioning vegetables in bags with ample headspace for effective air removal.
When operating your vacuum sealer, align the bag carefully with the seal bar and monitor the process closely. For delicate items, you'll want to seal in stages to prevent overflow.
If you're working with particularly moist vegetables, consider using a chamber vacuum sealer to maintain equal atmospheric pressure. Always inspect the seal immediately after completion to check for leaks or weak spots.
Once sealed, store your packages in a cool, dry place and periodically check the seals to verify they're maintaining their integrity.
Temperature Control During Storage
During the storage phase, proper temperature control serves as the cornerstone of safe oil preservation for your garden vegetables.
You'll need to maintain your refrigerator below 40°F (4°C) to safely store your vacuum-sealed vegetables in oil, and they shouldn't be kept for more than 4 days before you either use, discard, or freeze them.
If you're planning for longer storage, freezing is your best option.
Keep your frozen vegetables in oil at 0°F (-18°C) or below to prevent bacterial growth, especially Clostridium botulinum. You'll want to use airtight containers or freezer bags to protect against freezer burn, which can extend storage life to several months.
Don't store your oil-preserved vegetables at room temperature unless they're properly acidified, as this creates ideal conditions for botulism.
When vacuum sealing, verify the vegetables' core temperature is 41°F (5°C) or below to prevent liquid boiling inside the bag.
Remember to label your containers with preparation and use-by dates, and pay special attention to items like raw garlic, herbs, mushrooms, and chilies in oil – they must be refrigerated unless pickled with acidic ingredients.
Quality Testing and Monitoring
Regular quality checks form the foundation of successful vacuum-sealed oil preservation.
You'll need to monitor your vacuum-sealed vegetables consistently to guarantee they maintain their quality and safety over time. By implementing systematic testing procedures, you can catch any potential issues before they compromise your preserved garden produce.
Here's what you should look for when monitoring your vacuum-sealed vegetables:
- Check the seal's integrity weekly by gently pressing the package – if it's lost vacuum, you'll notice air pockets or a loose feel.
- Examine vegetables through the clear packaging for any changes in color, texture, or signs of freezer burn.
- Test the firmness of stored vegetables by carefully pressing through the packaging – they shouldn't feel mushy or deteriorated.
- Inspect for any liquid accumulation or oil separation, which could indicate improper sealing or temperature fluctuations.
Remember to track storage dates and rotate your inventory regularly.
If you're storing cruciferous vegetables, you'll want to verify that they were properly blanched before sealing by checking for any gas buildup in the packages.
When testing delicate vegetables like baby spinach, use the gentle vacuum setting to prevent damage while maintaining preservation quality.
Frequently Asked Questions
Can I Reuse Oil From Previously Preserved Vegetables for New Batches?
You shouldn't reuse oil from preserved vegetables for new batches. It can harbor harmful bacteria, transfer unwanted flavors, and compromise food safety. Instead, always start with fresh oil for each preservation batch.
How Do Different Herbs Affect the Preservation Time of Vacuum-Sealed Vegetables?
You'll find that strong antimicrobial herbs like rosemary and thyme extend preservation time, while delicate herbs like basil and cilantro don't affect storage life but should be preserved separately to maintain quality.
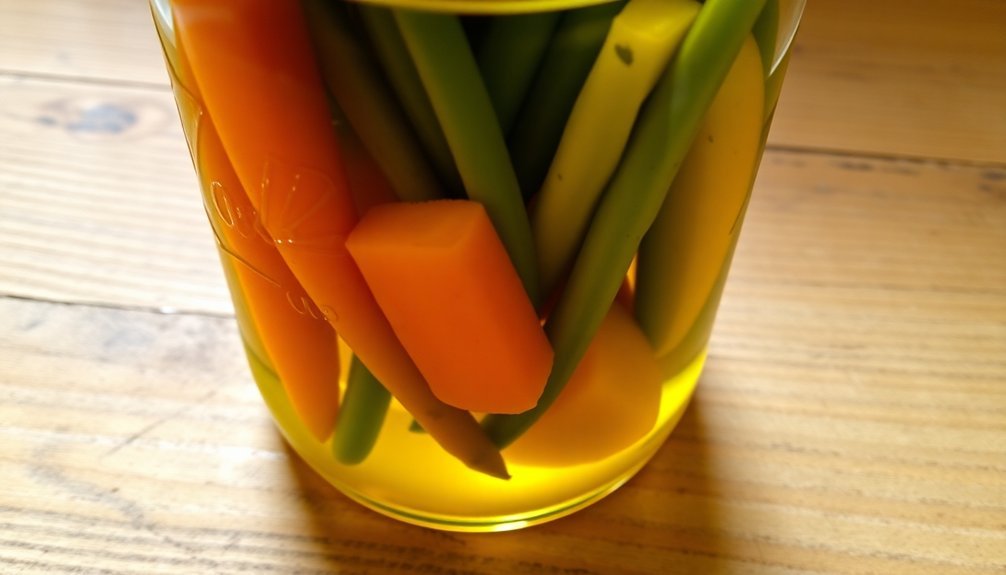
What Causes Vegetables to Float to the Top of Oil-Filled Jars?
Your vegetables float due to trapped air in their structure, insufficient oil coverage, or using overripe produce. You'll notice this happens more with raw-packed veggies since they haven't released their internal air through pre-cooking.
Does Altitude Affect the Vacuum Sealing Process for Oil Preservation?
Yes, your altitude will affect vacuum sealing as higher elevations have lower atmospheric pressure. You'll achieve less vacuum strength, which means you'll need to adjust your sealing process and possibly use stronger equipment.
Can Preserved Vegetables Be Safely Transferred Between Containers After Initial Sealing?
You shouldn't transfer preserved vegetables between containers after initial sealing, as this breaks the seal and compromises food safety. If you must transfer them, you'll need to reprocess them completely for safety.
In Summary
With these oil preservation techniques, you'll keep your garden vegetables fresh and flavorful for months. Remember to select peak-ripeness produce, properly blanch before storing, and maintain consistent temperatures. Don't forget to check your vacuum seals regularly and monitor for any signs of spoilage. When you've mastered these methods, you'll enjoy your garden's bounty long after harvest season ends.
Leave a Reply