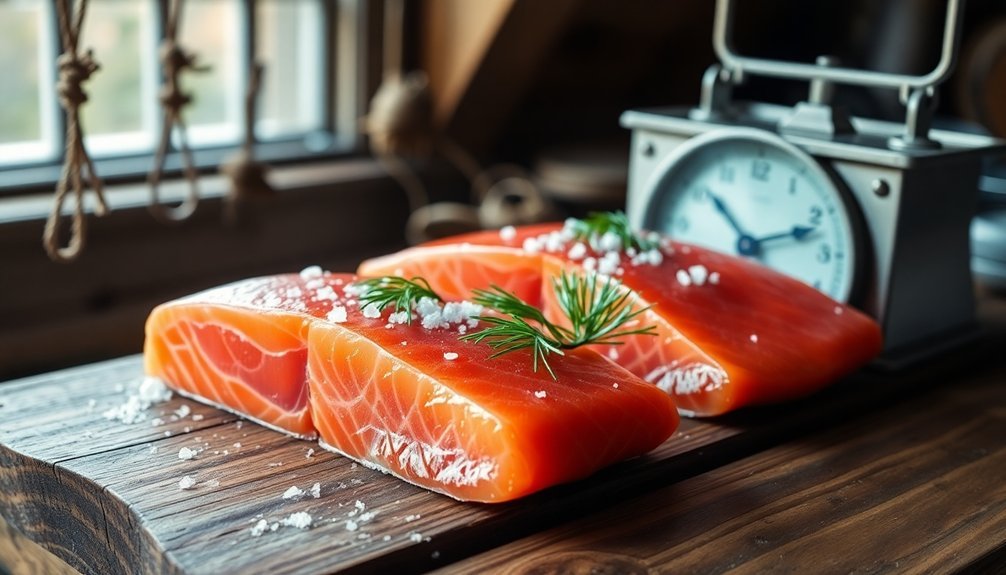
You'll find ancient salmon curing methods have stood the test of time for thousands of years. The basic technique combines salt, sugar, and herbs to preserve salmon through moisture extraction, with traditional cultures from Scandinavia to the Pacific Northwest perfecting these methods. A typical cure mixture uses 2-3 parts salt to 1-2 parts sugar, plus aromatics like dill and peppercorns. You'll need 24-72 hours curing time, depending on your desired texture, and proper temperature control between 40-50°F. Whether you're making gravlax or cold-smoked salmon, these time-tested preservation techniques offer a gateway to centuries of culinary wisdom.
Origins of Salmon Preservation

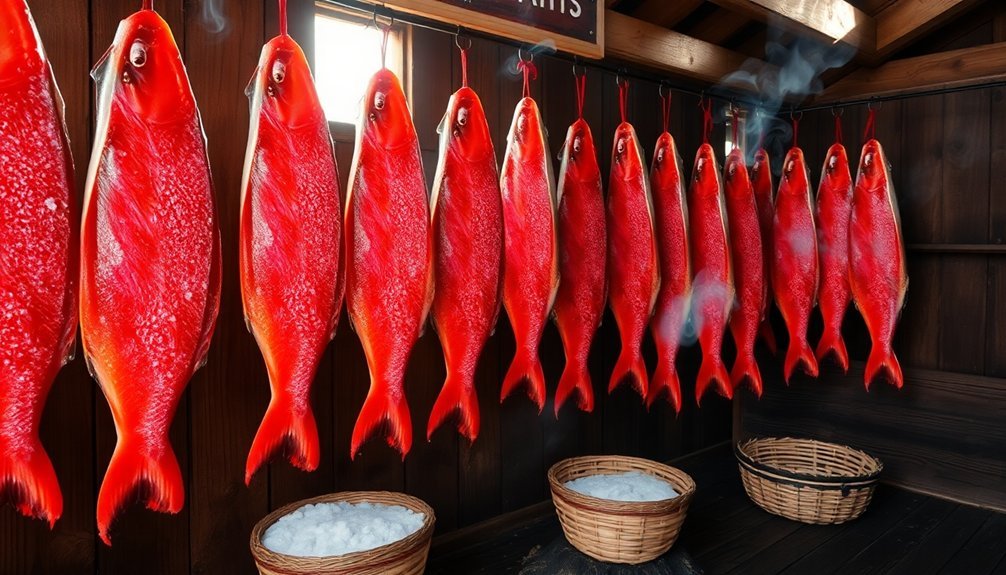
For thousands of years, indigenous peoples across the Northern Hemisphere developed sophisticated methods to preserve salmon, ensuring their survival through harsh winters and lean seasons.
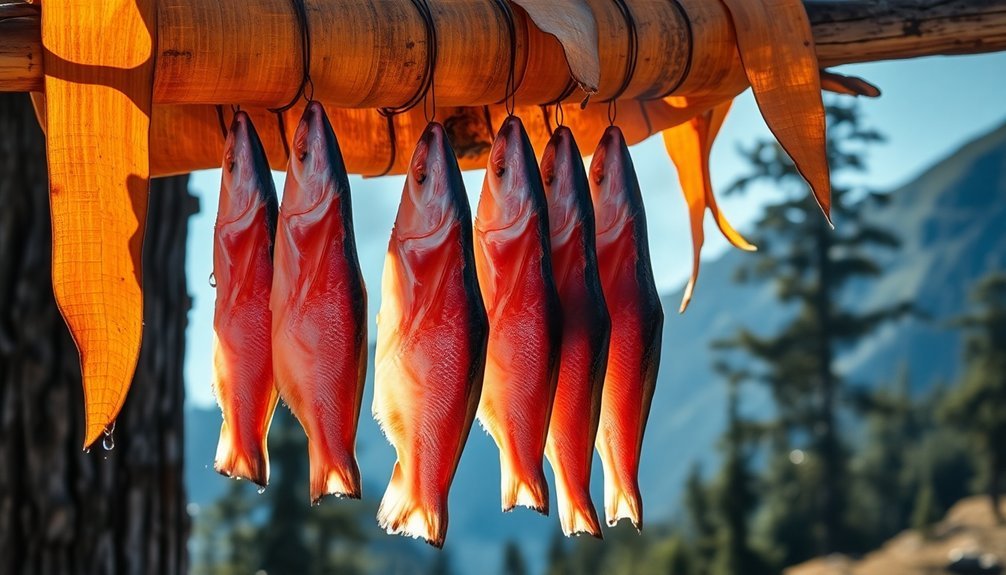
In Western Alaska, the Unangax̂, Sugpiaq, Yup'iq, and Iñupiaq peoples mastered various preservation techniques that you'll still find relevant today, including salting, pickling, drying, and smoking. Traditional oral storytelling played a vital role in passing down these ancestral preservation methods.
Before modern refrigeration, you'd find these preservation methods weren't just useful – they were essential for survival. The absence of freezing temperatures during fall hunting seasons meant communities had to rely on alternative methods to keep their salmon supplies edible throughout winter.
You'll notice similar patterns across different cultures, from the Scandinavian gravlax tradition of fermenting salmon in sandy beaches to the preservation practices of the Ainu in Hokkaido and the Salish people of the Pacific Northwest.
What's particularly fascinating is how these techniques were passed down through generations.
Tribal elders served as living repositories of knowledge, teaching younger members the precise methods of smoking, drying, and later, salt-curing.
These techniques created portable, nutritious food that maintained its value long after the salmon runs ended.
Early Mediterranean Fish Trading
Throughout the ancient Mediterranean, a vast network of fish trading emerged around 3,500 years ago, connecting Egyptian fisheries with distant Canaanite settlements. This remarkable trade persisted for two millennia, stretching from the Late Bronze Age into the Byzantine Period. You'll find that the Bardawil lagoon on Egypt's northern Sinai coast served as an essential hub for catching prized fish like gilthead sea bream. Scientists have uncovered evidence through oxygen isotope analysis of fish teeth to determine their exact origins in these ancient waters.
| Fish Type | Source | Preservation Method |
|---|---|---|
| Sea Bream | Bardawil Lagoon | Salting |
| Nile Perch | Egyptian Waters | Smoking |
| Exotic Species | Red Sea | Drying |
When you examine the preservation methods, you'll notice that merchants relied heavily on salting, smoking, and drying to transport fish over long distances. They'd wrap their precious cargo in wet cloth or straw to maintain freshness during the journey. This sophisticated trading system wasn't just about moving fish from one place to another – it played a fundamental role in developing urban populations and supporting new industries. The trade routes you see established during this period laid the groundwork for future economic networks, demonstrating how fish trading helped shape Mediterranean civilization.
Nordic Gravlax Methods
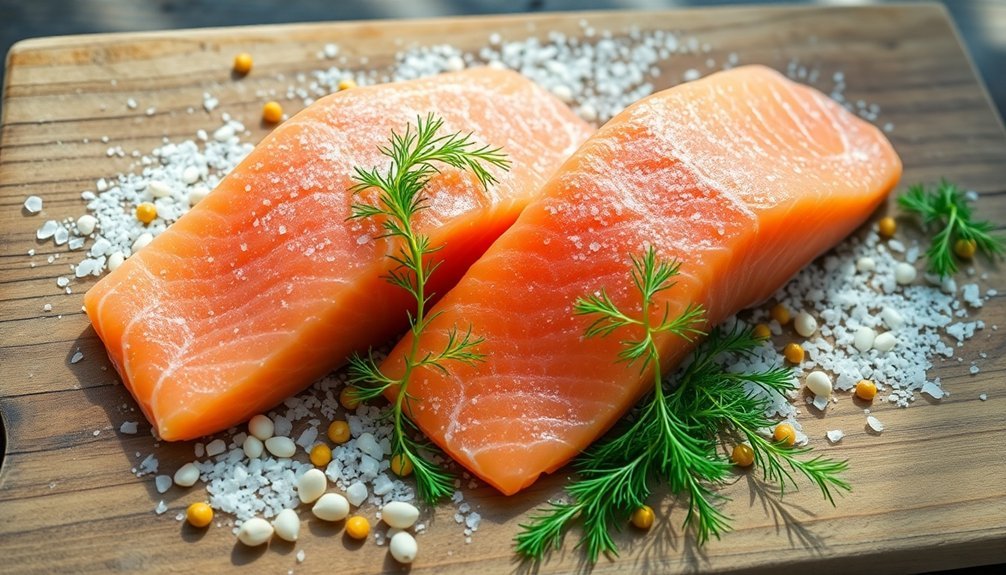
Nordic Innovation in food preservation reaches its pinnacle with gravlax, a centuries-old method of curing fresh salmon. You'll need sashimi-grade salmon with the skin on, coarse sea salt, sugar, peppercorns, and fresh dill as your core ingredients.
While traditional methods involved burying the fish in the ground to ferment, modern techniques have evolved to be more practical and safe. The name gravlax comes from Swedish burial practices, where salmon was originally preserved in holes lined with bark and moss.
To prepare gravlax, you'll create a curing mixture by combining salt, sugar, crushed peppercorns, and generous amounts of fresh dill. You'll then sandwich your salmon between layers of this mixture, wrap it tightly in plastic, and let it cure in your refrigerator for 24 to 48 hours.
Some variations include adding spirits like aquavit or cognac to enhance the flavor profile.
After curing, you'll need to rinse the salmon thoroughly with cold water. When you're ready to serve, slice the gravlax thinly on a bias and garnish with fresh dill.
You can store your cured salmon in the refrigerator for several days, making it perfect for entertaining or weekly meal prep. Serve it with bread, bagels, or crackers, along with cream cheese and fresh vegetables.
Salt's Role in Preservation
Salt, humanity's oldest food preservative, has played a pivotal role in fish preservation since its discovery in Mesopotamia around 3,000 BC. From ancient Greeks and Romans to First Nations people along coastal areas, civilizations have relied on salt's remarkable preservation properties to extend the life of their catch.
When you apply salt to fish, it triggers a fascinating process called osmosis. The salt draws moisture from both the fish and any present microorganisms, creating an environment where bacteria simply can't thrive. You'll notice the fish becoming firmer as the salt does its work, transforming the texture while simultaneously protecting it from spoilage.
To achieve the best results, you'll want to combine salt with sugar to create a potent curing mixture. This combination produces a concentrated brine that's even more effective at preservation.
You'll know you've got the right consistency when the mixture crumbles easily but can still form a ball when squeezed. After thoroughly coating your fish, refrigerate it for 2-3 days until it's uniformly firm.
The result isn't just preserved fish – you'll have created a product with enhanced flavor and a unique texture that can last for months.
Traditional Birch Bark Techniques
Deep in ancient coastal communities, the practice of wrapping salmon in birch bark revolutionized fish preservation. Nordic cultures discovered that birch bark wasn't just a simple wrapper – it was a remarkable natural preservative that kept their precious catch fresh for extended periods.
You'll find the genius of this method in its simplicity. The process involved carefully wrapping salmon fillets in birch bark before burying them in cool sand above the high tide mark. This technique, which gave rise to the term "gravlax" (meaning "grave salmon"), created a natural refrigeration system that worked in harmony with the earth's cool temperature.
What made birch bark particularly effective was its natural antimicrobial properties. When you'd wrap salmon in this material, you weren't just keeping sand off your fish – you were actively fighting bacterial growth and preventing spoilage. The bark's compounds helped preserve the salmon for weeks or even months while adding a distinct flavor to the meat.
While modern methods often substitute plastic wrap or bags, you can still find traditional recipes that incorporate birch bark, combining ancient wisdom with contemporary curing ingredients like salt, sugar, and spices.
Essential Curing Ingredients
Modern curing methods have evolved from birch bark traditions, but the core ingredients remain remarkably consistent through time.
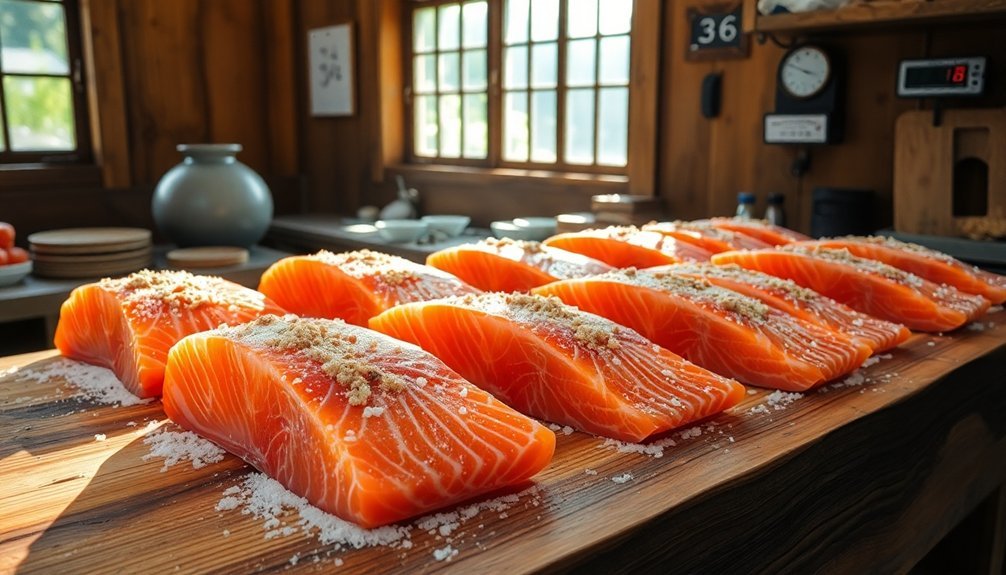
You'll want to start with kosher or coarse sea salt as your primary curing agent, which draws moisture from the fish and creates an inhospitable environment for harmful bacteria. The salt works in harmony with granulated sugar, which balances the cure's intensity and contributes to the final texture.
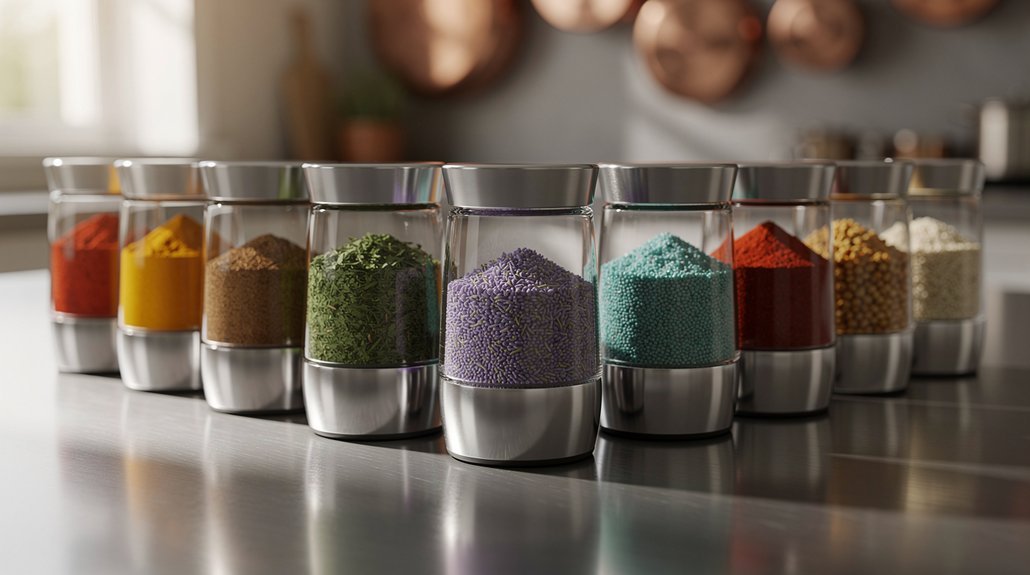
To enhance your salmon's flavor profile, you'll need:
- Fresh dill, fennel fronds, or parsley as your aromatic base
- Crushed peppercorns and coriander seeds for depth
- Citrus zest or juice to brighten the cure
- Vodka or gin to help the seasonings adhere
You'll find that these ingredients work together to create a complex flavor profile while ensuring proper preservation.
The salt-to-sugar ratio you choose will greatly impact the final taste, typically ranging from 2-3 cups of salt to 1-2 cups of sugar.
Don't forget to wrap your cured salmon properly using cheesecloth or plastic wrap, and always apply weight to assist in moisture extraction during the curing process.
Time and Temperature Factors

While mastering the art of salmon curing requires attention to several factors, time and temperature stand out as the most critical elements for success. You'll need to maintain temperatures between 40-50°F (4-10°C) throughout the curing process to prevent bacterial growth and guarantee food safety.
| Curing Type | Recommended Time |
|---|---|
| Light Cure | 24 hours |
| Medium Cure | 36-48 hours |
| Hard Cure | 72 hours |
| Average Fillet | 8-12 hours |
| Thick Fillet | 16 hours |
Your curing time will depend on your desired texture and flavor intensity. For a soft texture with mild flavor, you'll want to cure for 24 hours. If you're aiming for a medium-firm texture, extend the process to 36-48 hours. For fully developed flavors and a silky, firm texture, let the salmon cure for 72 hours.
After curing, you'll need to rinse the salmon under cold water and let it rest for 1-2 hours. Store your cured salmon in cold storage at 32-34°F (0-1°C) for ideal preservation. When properly wrapped in wax paper or plastic, your cured salmon will keep in the refrigerator for up to a week.
Spice and Flavor Combinations
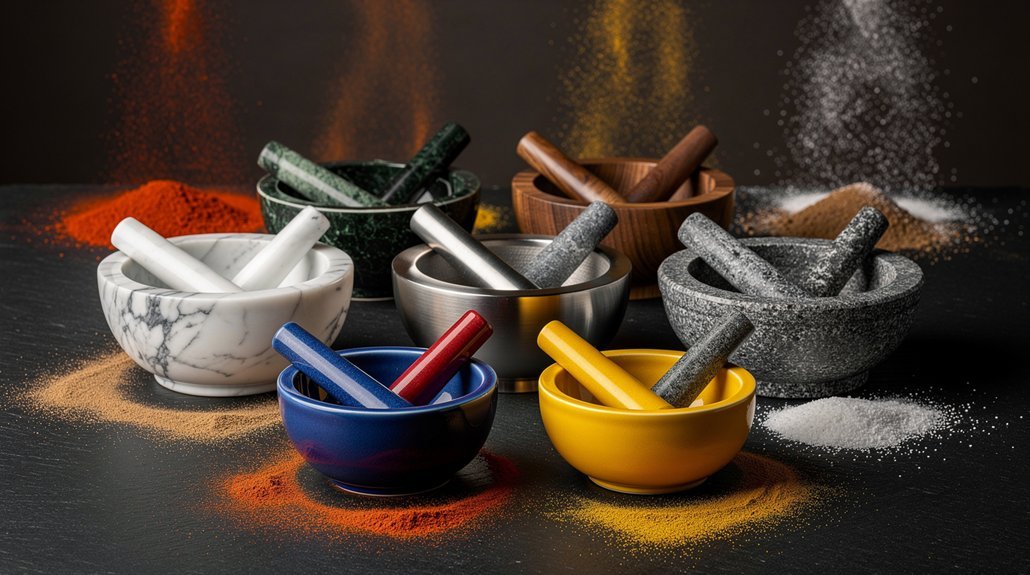
Creating flavorful cured salmon starts with mastering your spice and seasoning combinations. You'll want to begin with the essential salt and sugar mixture as your base, which draws out moisture while adding a balanced sweetness. From there, you can layer in fresh herbs like dill and parsley to infuse your salmon with bright, intense flavors.
To add complexity to your cure, consider these time-tested combinations:
- Combine citrus and fennel for a Mediterranean-inspired profile that'll bring out the salmon's natural sweetness.
- Mix whole spices like cumin, coriander, and white peppercorns for a bold, aromatic cure.
- Layer fresh dill with red onion in your salt-sugar mixture for a traditional Scandinavian approach.
- Add a splash of vodka or whiskey to enhance the curing process and deepen the flavors.
For an extra dimension of flavor, you can incorporate whole-grain mustard for texture and nuttiness, or spice things up with red pepper flakes.
If you're feeling adventurous, try adding Pernod for a subtle bitter note or experiment with bay leaves for an additional aromatic element. These combinations have stood the test of time and will help you achieve consistently delicious results.
Sushi-Grade Curing Standards
When you're preparing sushi-grade cured salmon, you'll need to maintain strict temperature controls below -4°F (-20°C) during the freezing process to eliminate parasites effectively.
You must follow rigorous handling protocols, including using sanitized equipment and maintaining a clean workspace, to meet food safety regulations for raw fish consumption.
The salt content in your cure mixture should be precisely measured to achieve a minimum of 3.5% salinity throughout the fish, ensuring proper preservation while still maintaining the salmon's delicate flavor profile.
Safety Regulations and Handling
Modern safety standards for sushi-grade salmon have evolved considerably, yet the term "sushi-grade" itself remains largely unregulated. You'll need to rely on trusted fishmongers rather than labels alone, as there's no governing body that standardizes this designation.
To guarantee safety when preparing raw salmon, you must follow strict freezing protocols. If you're using wild salmon, freeze it at -4°F (-20°C) for 24 hours in a commercial freezer, or keep it in your home freezer at 0°F (-18°C) for seven days to kill potential parasites.
When handling raw salmon, maintain proper storage temperatures below 40°F (4°C) and implement rigorous sanitation practices. You'll want to cure your salmon using a mixture of salt and sugar, which not only enhances flavor but also helps eliminate surface bacteria.
Essential safety measures include:
- Slow thawing in the refrigerator to maintain quality
- Regular cleaning of all preparation surfaces and equipment
- Using separate cutting boards and utensils for raw fish
- Consuming cured salmon within a few days of preparation
Temperature Control Requirements
Temperature control stands at the heart of safe salmon curing, particularly for sushi-grade preparation.
You'll need to start by freezing your wild salmon to eliminate parasites like anisakis. If you're using a home freezer, plan for a seven-day freezing period, though commercial freezers can complete this process in 24 hours. Farm-raised varieties like Ora King from New Zealand may skip this step if they're certified parasite-free.
When you're ready to thaw your salmon, don't rush the process. Place it in your refrigerator and maintain a temperature at or below 41°F (5°C). You'll want to keep this consistent temperature throughout the storage period to prevent bacterial growth and maintain quality.
During the actual curing process, verify your refrigerator stays between 32°F and 38°F (0°C to 3°C).
After curing, you'll need to rinse the salmon and pat it dry before storing it in a covered container. Keep monitoring the temperature, maintaining it at or below 41°F (5°C).
Remember to store your cured salmon separately from other foods to prevent cross-contamination, and always use clean, sanitized containers for storage.
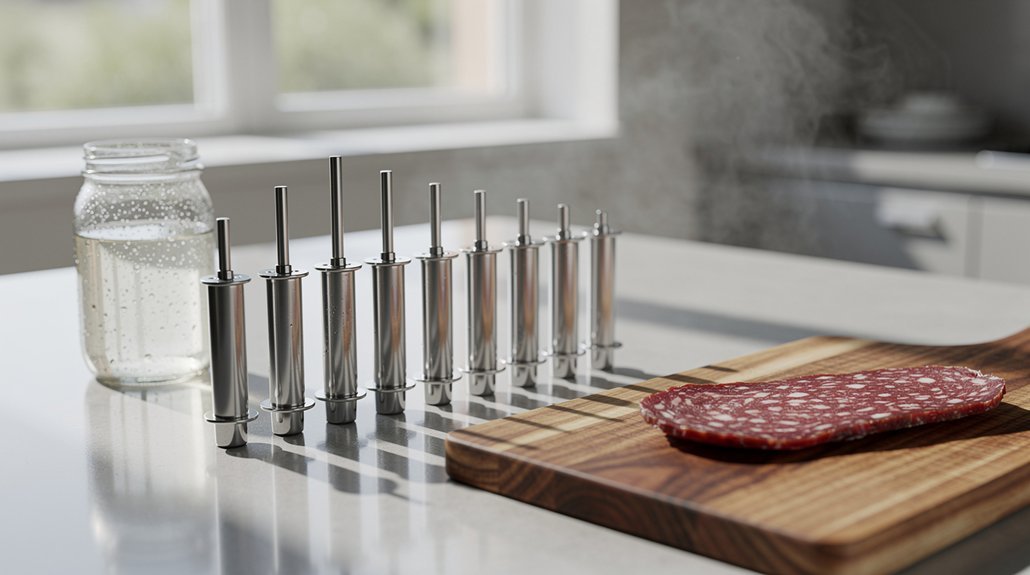
Salt Content Standards
Proper salt content lies at the core of sushi-grade salmon curing standards. You'll need to maintain a precise 3:1 ratio of sugar to sea salt to achieve ideal results and guarantee food safety. While "sushi-grade" isn't officially regulated, proper salt curing helps establish the high standards necessary for raw consumption.
When you're curing salmon, it's crucial to follow specific salt content guidelines to effectively inhibit microorganism growth through osmosis. Start by coating your salmon with sugar until you see water seeping out, then follow up with a controlled salt application. The salt-sugar combination creates a concentrated brine that transforms the fish's texture and color while making it safe to eat.
- Use kosher sea salt for its pure, unrefined properties that enhance the curing process
- Apply salt for approximately half the duration of the sugar cure to maintain proper balance
- Monitor water extraction during the process as an indicator of proper salt penetration
- Rinse and pat dry between sugar and salt applications to guarantee even distribution
Remember that proper curing combined with freezing requirements (-20°C for 7 days) creates the safest conditions for raw salmon consumption.
Modern Storage Solutions
To maximize your salmon's longevity in modern storage, you'll want to take into account vacuum sealing as your primary preservation method, which can extend refrigerated shelf life up to two weeks.
You can choose from various container materials, including glass for its non-porous properties or vacuum-sealed bags for maximum air removal.
Your storage temperature should remain at or below 40°F (4°C), regardless of the container type you select, to guarantee proper food safety and preservation.
Vacuum Sealing for Longevity
Modern vacuum sealing has revolutionized how we preserve salmon, offering significant advantages over traditional storage methods. When you vacuum seal your salmon, you'll remove oxygen that causes spoilage and bacterial growth, extending refrigerated shelf life up to two weeks and frozen storage to an impressive 1-3 years.
You'll find that vacuum sealing doesn't just preserve your salmon – it actively protects its quality. The process maintains the fish's natural flavors and textures by preventing oxidation and protecting essential fats and oils. You won't have to worry about freezer burn either, as the airtight seal prevents moisture loss and ice crystal formation.
- Vacuum-sealed salmon retains its nutritional value longer due to reduced oxidation and nutrient degradation
- You can easily organize your storage with clear labeling of dates and fish types
- The sealed bags protect against both refrigerator and freezer environments
- The process maintains cell structure, preventing the mushy texture often found in traditionally stored fish
This modern preservation method guarantees your salmon stays fresh, flavorful, and nutritious, making it an invaluable tool for both home cooks and professional chefs who want to maximize their fish's longevity.
Container Types and Materials
Selecting the right container for salmon curing makes a significant difference in your results. You'll want to focus on non-reactive materials like glass, stainless steel, or ceramic to prevent any unwanted chemical reactions with your fish. A 9-by-13-inch glass casserole dish is ideal for most curing projects, providing enough space while keeping the fillets snug.
When you're curing salmon, you'll need to apply consistent pressure to guarantee proper cure absorption. You can achieve this by using water-filled zip-top bags or heavy plates as weights. Make sure you're distributing the pressure evenly across the fish's surface and turn it periodically for uniform curing.
For storage, you'll need airtight containers to keep your cured salmon fresh. If you're using the fermentation method, opt for quart-sized jars with at least an inch of headspace at the top.
Remember to keep your cured salmon refrigerated at 40-50°F, or freeze it for extended storage. When wrapping the finished product, use wax paper or plastic wrap before placing it in an airtight container to maintain peak freshness and prevent contamination.
Temperature Control Guidelines
Maintaining precise temperature control stands at the heart of successful salmon curing. You'll want to keep your curing environment slightly cooler than room temperature, ideally between 15-20°C (59-68°F). For modern curing processes, refrigeration at 40-50°F (4-10°C) provides the best conditions to slow bacterial growth and guarantee food safety.
During the initial fermentation phase, you can start at room temperature (70-75°F) for 24 hours, but you'll need to move your salmon to cooler temperatures afterward. Your refrigerator offers the most reliable method for maintaining consistent cooling, though a protected outdoor space can work if the weather stays within safe temperature ranges.
- Use cooling racks in your refrigerator to promote even air circulation around the fish.
- Place weighted dishes or water-filled zip-top bags on top of the salmon for uniform pressure.
- Monitor temperatures regularly with a reliable thermometer to stay within safe limits.
- Avoid temperatures above 60°F (15.5°C) to prevent spoilage.
After curing, store your salmon below 40°F (4°C) for best preservation. While you can freeze cured salmon, it might affect the texture and flavor. When properly refrigerated, your cured salmon will stay fresh for about a week.
Serving Cured Salmon
Cured salmon offers remarkable versatility in its serving options, from elegant crudo preparations to hearty open-faced sandwiches.
You'll find the Italian-inspired salmon crudo particularly refined, with its thin slices dressed in olive oil, lemon juice, and capers, typically arranged on a serving platter after a brief 30-minute to one-hour curing period.
If you're serving beetroot gravlax, you can present it on bread or crackers with traditional toppings like fresh dill and capers.
You'll enhance the experience by adding mustard sauce, cucumber slices, or tomatoes to complement the fish's rich flavor profile. Don't hesitate to customize the toppings based on your preferences.
For a more casual approach, serve your cured salmon on crackers or bread with cream cheese or sour cream.
You can elevate this simple presentation by adding chopped onions or pickles as garnishes.
When planning a more substantial meal, consider pairing your cured salmon with soft scrambled eggs and asparagus.
Remember to incorporate fresh herbs like dill or parsley, which not only add visual appeal but also provide a bright, complementary flavor to the rich, cured fish.
Safety and Quality Control
You'll need to keep your salmon at a consistent cold temperature throughout the curing process to prevent harmful bacteria from developing.
Maintaining a clean workspace and using sanitized tools will further protect against bacterial contamination, while regular monitoring guarantees even curing.
Your most essential safety checkpoints are proper refrigeration, thorough cleaning of all surfaces and tools, and careful inspection of the fish before and during the curing process.
Critical Temperature Control
The success of salmon curing hinges critically on proper temperature control, as even slight variations can affect both safety and quality.
You'll need to maintain temperatures between 40-50°F (4-10°C) for ideal results, with refrigeration being your most reliable method for consistent control.
During your 24-hour curing period, you'll want to turn the fish halfway through while ensuring the temperature remains stable. If you're using outdoor temperatures as an alternative to refrigeration, you'll need to monitor conditions carefully to prevent fluctuations that could compromise your results.
Here's what you'll need to monitor for successful temperature control:
- A reliable thermometer to check both ambient and fish temperatures throughout the process
- Proper air circulation using cooling racks in your refrigerator
- An insulated container or dedicated curing vessel to maintain consistent temperatures
- A backup plan for temperature control in case your primary method fails
Remember that while lower temperatures might extend your curing time, they're generally safer than higher temperatures, which can promote bacterial growth.
You'll know your temperature control has been successful when your salmon feels uniformly firm to the touch and has cured evenly throughout.
Bacteria Prevention Methods
Four essential methods form the foundation of bacteria prevention in salmon curing: precise salt concentrations, strategic sugar additions, controlled nitrate levels, and time-tested traditional techniques.
You'll need to maintain a salt concentration of nearly 20% to create an environment where harmful bacteria can't thrive. It's vital to use non-iodized salt, like sea salt or canning salt, to avoid unwanted darkening and bitter flavors.
When you add sugar, you're not just improving taste – you're also feeding beneficial bacteria like Lactobacillus that help preserve the fish.
For enhanced safety, you'll want to carefully monitor your nitrate and nitrite levels. Keep sodium nitrite below 200 parts per million and sodium nitrate under 500 parts per million in your final product. These compounds are essential for preventing botulism while developing the characteristic color and flavor of cured salmon.
You can also incorporate traditional methods that have proven effective for millennia. The Scandinavian gravlax technique, which combines salt with natural antioxidants like pine needles and berries, offers additional protection against bacterial growth.
These time-tested approaches, when combined with modern safety standards, guarantee both safety and quality in your cured salmon.
Frequently Asked Questions
Can Pregnant Women Safely Eat Traditionally Cured Salmon?
You can safely eat traditionally cured salmon while pregnant if it's sashimi-grade and properly handled. Be sure it's cured correctly with the right salt and stored safely to minimize foodborne illness risks.
Does Curing Salmon Kill All Parasites Found in the Raw Fish?
No, curing won't kill all parasites in raw salmon. While salt and vinegar curing can reduce some parasites, you'll need to freeze the fish at -4°F for 7 days to effectively eliminate dangerous parasites like anisakis.
Why Does Traditionally Cured Salmon Have a Translucent Appearance?
You'll notice salmon becomes translucent during curing because salt and sugar draw out moisture through osmosis. This reduction in water content changes the flesh's structure, making it less opaque and creating that characteristic translucent appearance.
Can You Cure Frozen Salmon, or Must It Be Fresh?
Yes, you can definitely cure frozen salmon! It's actually safer since freezing kills parasites. Just thaw it properly in your fridge first. You'll get great results as long as you're using high-quality "sushi grade" fish.
What Determines the Final Color of Cured Salmon?
You'll find that your cured salmon's color depends on the fish's diet of carotenoids, its species type, environmental factors where it lived, and how you process it during curing. Diet's especially important.
In Summary
You'll find that ancient salmon curing techniques remain relevant today. Whether you're using Nordic salt methods or traditional birch bark wrapping, these time-tested approaches still produce excellent results. Don't hesitate to blend old-world wisdom with modern food safety standards. By following proper curing guidelines and storage practices, you can create delicious, safe preserved salmon that honors centuries of culinary tradition.
Leave a Reply