You'll need a hardwood box (like oak or maple) that's watertight and about 10" x 20", plus pure curing salt and a digital thermometer to start curing meat using the salt box method. First, clean and trim your meat, then chill it to 38-40°F before applying a precise mixture of regular and curing salts (about 3% of the meat's weight). Place the meat in your salt box, maintaining temperature between 36-40°F and humidity around 60%. Monitor daily for proper curing, which typically results in 35-40% weight loss. The art of salt box curing holds many more secrets for transforming fresh cuts into delicious preserved meats.
Essential Tools and Equipment
Meat curing's foundation rests on having the right tools and equipment at your disposal. At the core of your setup, you'll need a water-tight box made from hardwood like oak or maple. The box should match your meat's dimensions, typically 10" wide by 20" long, with height varying based on the amount of meat you're curing. Make certain the box top fits snugly inside and can be weighted down.
For effective curing, your salt must be pure and additive-free to ensure proper preservation of the meat. You'll want a wooden block for tamping the meat to remove air pockets, along with a bristle brush for washing and non-lint towels for drying. Don't forget a meat slicer for achieving those perfect thin cuts once your meat is cured. If you're planning to grind meat, you'll need a cutting plate with appropriate hole sizes.
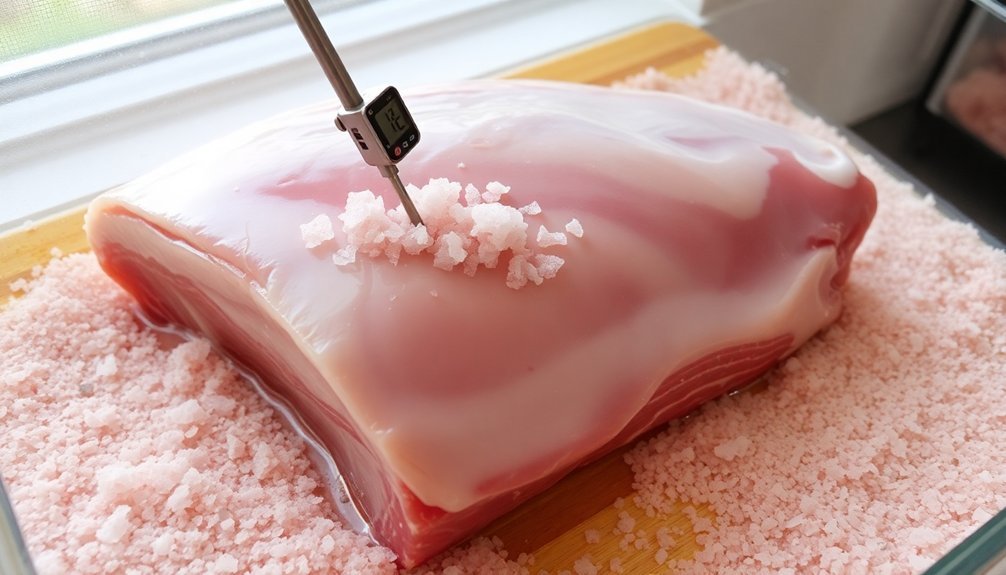
Temperature control is vital, so you'll need a digital hygro-thermometer to monitor both temperature and humidity. Keep your curing area cool, around 36-40°F, and dark to prevent unwanted growth.
For more precise control, consider using a temperature controller and humidity management tools like a peltier dehumidifier. A weight mechanism guarantees proper pressure throughout the curing process.
Selecting the Right Salt
For successful meat curing, choosing the right salt isn't just about grabbing whatever's in your kitchen cabinet – you'll need specific curing salts containing precise amounts of sodium nitrite and nitrate.
Don't use regular table salt, as it lacks the essential nitrites needed for proper preservation and color development. These pink-colored salts contain red food dye additives to help distinguish them from regular table salt.
Your best choice for the salt box method is Prague Powder #1, which contains 6.25% sodium nitrite and 93.75% table salt. This mixture is ideal for short-term curing and will give your meat that characteristic pink color while helping with preservation.
If you're planning longer cures, like dry sausages, you'll want to use Prague Powder #2, which includes both sodium nitrite and sodium nitrate.
When handling curing salts, you'll need to be precise with measurements and follow safety guidelines carefully. These salts are highly concentrated, and proper usage is essential to avoid health risks.
Remember that while nitrites contribute to color and flavor, you're primarily using them as part of a complete preservation process.
Store your curing salts separately from regular salt and label them clearly to prevent any confusion or accidental misuse.
Proper Meat Preparation Steps
Three essential steps lay the foundation for successful meat curing: cleaning, trimming, and chilling.
You'll need to start by thoroughly cleaning your chosen cut of meat, removing any visible contaminants that could compromise the curing process. Small batch preparation of 1 to 1.5 pounds allows for easier manual mixing and handling. Verify you've selected an appropriate cut, such as ham or bacon, that's well-suited for curing.
Next, you'll want to trim away excess fat and any impurities that might interfere with the salt penetration. This step guarantees even curing throughout the meat. Don't skip weighing your meat at this point, as you'll need this measurement to calculate the proper amount of cure mixture required for your specific cut.
The final preparation step involves chilling your meat to the ideal temperature range of 38-40 degrees Fahrenheit. This temperature is vital for food safety and proper curing. You can use your refrigerator to achieve this, but make sure it's properly calibrated.
Once your meat reaches the correct temperature, you're ready to begin the curing process. Remember, these preparation steps aren't just formalities – they're essential for achieving a safe, high-quality cured meat product.
Building Your Salt Box
You'll want to start with untreated hardwood for your salt box, ensuring it's food-safe and won't leach harmful chemicals into your meat during the curing process.
The box should be about 2-3 inches larger than your meat cuts on all sides, with a tight-fitting lid and small drainage holes drilled in the bottom to allow excess liquid to escape.
To protect the wood and extend its lifespan, seal all surfaces with food-grade mineral oil or beeswax, paying special attention to the corners and joints where moisture tends to collect.
Wood Selection and Treatment
Building a successful salt box begins with choosing the right wood, as this decision directly impacts the quality of your cured meats. You'll want to select hardwoods like hickory, apple, oak, maple, or ash, as they provide the ideal combination of durability and breathability.
Don't use resinous woods like pine, which can transfer unwanted flavors to your meat during the curing process.
Before construction, verify your chosen wood is well-seasoned to prevent warping and thoroughly dried to avoid moisture interference. You'll need to clean the wood meticulously to remove any contaminants that could compromise your meat.
If you're considering a finish for your salt box, stick to natural, non-toxic options that won't react with the salt or meat.
Once your salt box is built, you'll need to maintain it properly. Keep it in a cool, well-ventilated area with temperatures between 36°F and 40°F.
Monitor the box regularly for signs of wear or damage, and clean it between uses. Remember that proper humidity control and pest protection are essential for successful meat curing, so choose a location that allows you to manage these factors effectively.
Box Size and Design
Selecting the right size and design for your salt box is critical to successful meat curing. You'll need a container that's deep enough to completely submerge your meat cuts in salt while allowing proper air circulation. For most home curing projects, a food-grade plastic or stainless steel container will serve you well.
When choosing your box size, consider the largest cuts of meat you'll be curing and add extra space for salt coverage. You don't want a container that's too large, as this will waste salt, but it should be spacious enough to maintain at least two inches of salt around the meat.
Include small ventilation holes in the design to prevent moisture buildup, but don't overdo it – excessive airflow can cause uneven drying.
Make sure your box has a well-fitting lid that's easy to open and close. If you're handling larger quantities, consider adding sturdy handles for better maneuverability.
The interior should be smooth to facilitate easy meat removal and cleaning. Remember, you'll need to access and clean this container regularly, so prioritize practicality in your design choices.
Sealing and Drainage Features
Proper sealing and drainage features stand out among the most essential elements in salt box construction. You'll want to verify your box design facilitates complete salt coverage while managing moisture effectively throughout the curing process.
When designing your box's sealing system, remember that the salt itself acts as the primary sealant. You don't need additional sealing mechanisms, but you must confirm there's enough space to completely bury your meat in salt.
If you prefer an alternative method, you can use a vacuum sealer to achieve even salt distribution through equilibrium curing.
Your drainage system should effectively handle the liquid that's drawn out during curing. Include features that allow excess moisture to drain away from the meat, as proper drainage prevents bacterial growth and maintains the best curing conditions.
Position drainage holes or channels at the bottom of your box, but make sure they're small enough to retain the salt while allowing liquid to escape.
You'll also want to reflect on how you'll access the meat for regular turning and inspection. Design your box so you can easily monitor the curing process and drain accumulated liquid without disturbing the salt coverage.
Salt Application Techniques
You'll need to carefully measure 2.5-3% salt by weight of your meat, plus 0.25% curing salt, to achieve the proper curing ratio.
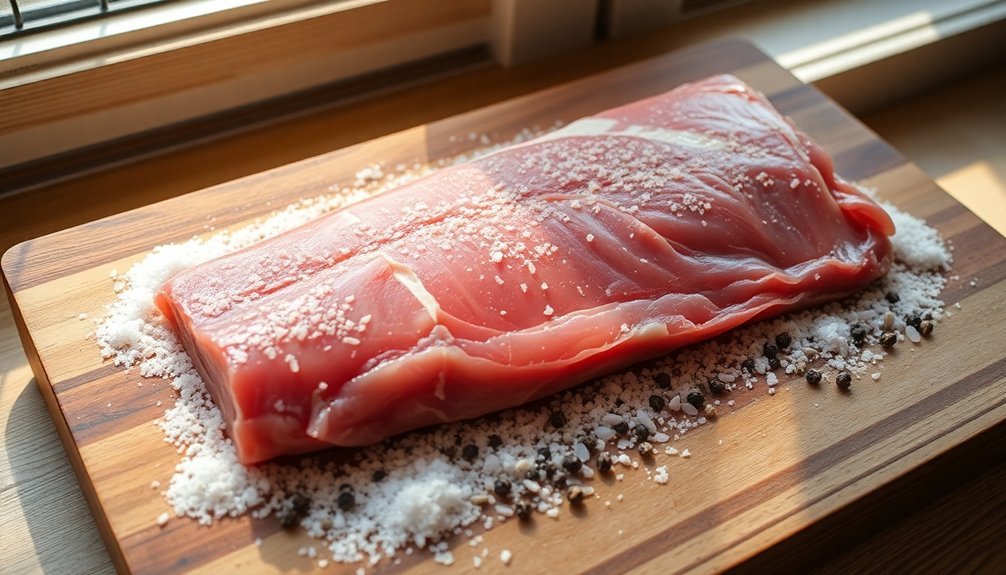
Start by thoroughly coating all surfaces of the meat with your salt mixture, ensuring no spots are missed as uneven coverage can lead to improper curing.
For the most effective results, use your hands to gently but firmly rub the salt into the meat's surface, allowing excess salt to naturally fall away while maintaining complete coverage.
Correct Salt Coverage Ratios
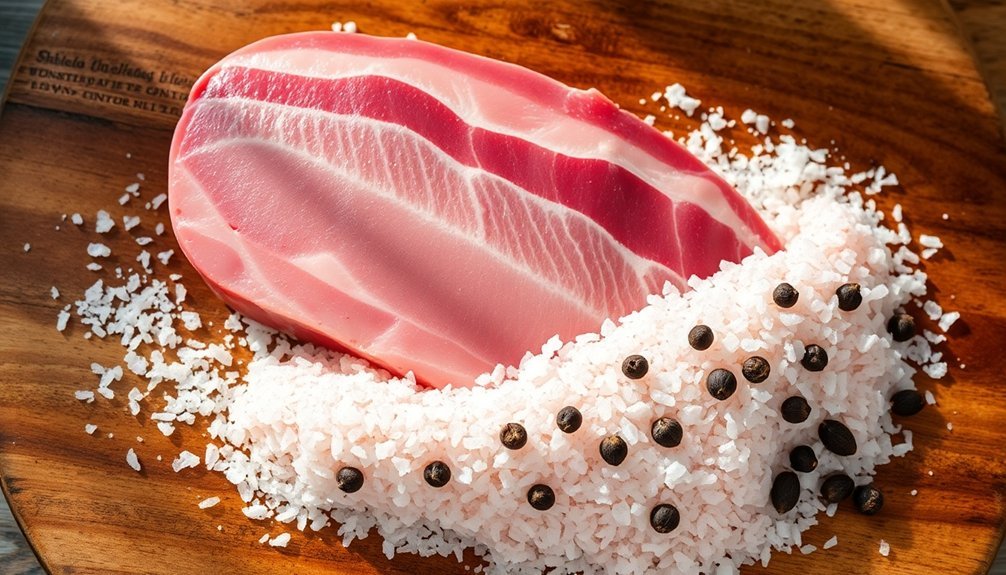
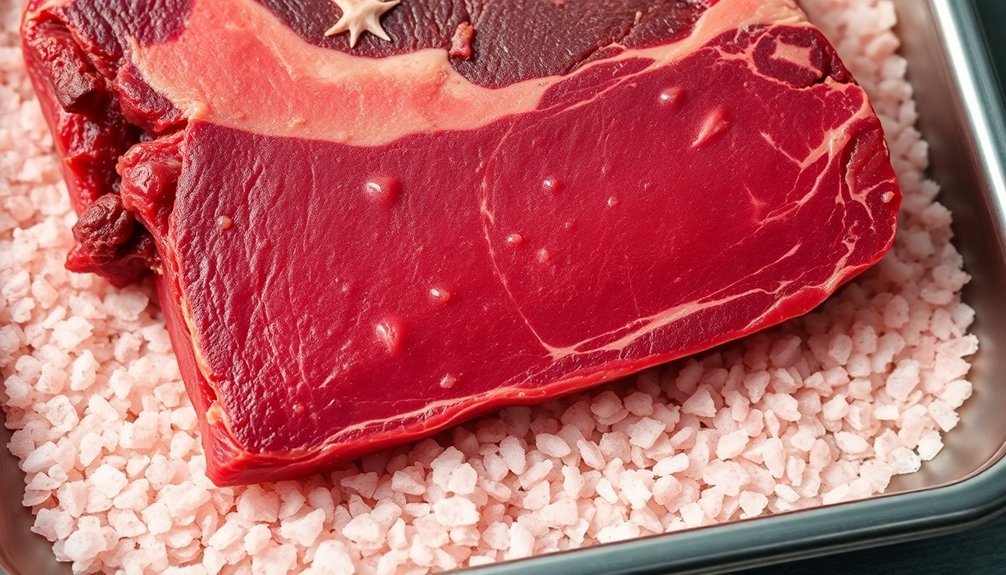
The precise measurement of salt is essential for successful meat curing using the salt box method. You'll need to use between 2.5% to 3.5% salt by weight of your meat, guaranteeing even coverage across the surface. For best results, use coarse salt, as it gives you better control during the curing process and creates an environment that inhibits harmful bacteria growth.
When formulating your cure mix, you'll need to include curing salt (sodium nitrite) at .25% of the meat's weight for protection against botulism. As a reference point, use 1 oz of cure for every 25 lbs of meat. Don't exceed these ratios, as over-curing can ruin your product.
Your curing time depends on the meat's thickness, with salt penetrating approximately 1/4 inch per day from both sides. For most cuts, you'll need a minimum of 2 weeks, while thicker pieces may require 3 weeks or more.
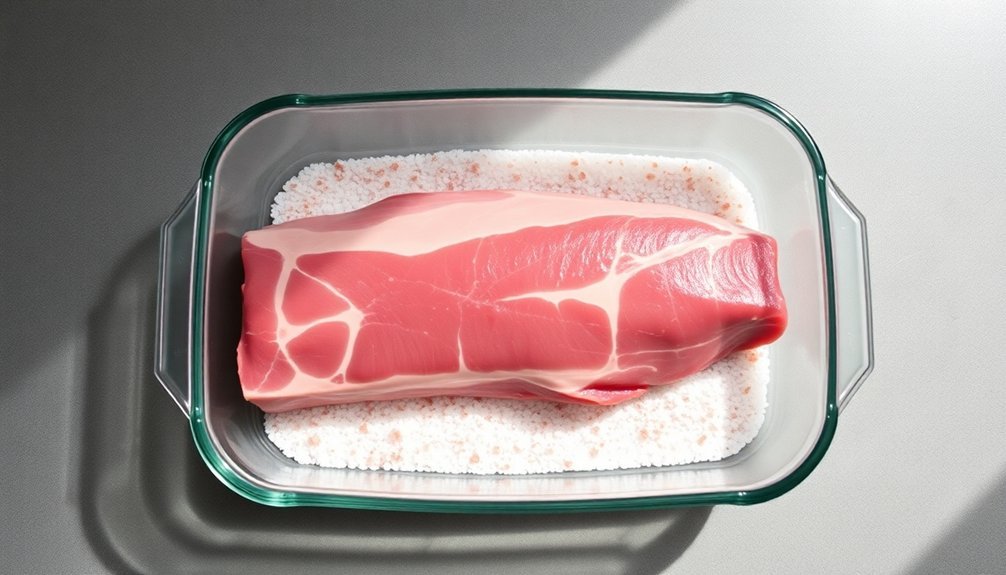
During the curing process, store your meat in a sealed container at 36-40°F, and flip it regularly to guarantee even salt distribution. Remember to label your container with the start date and scheduled removal time.
Layering Salt Effectively
Mastering salt application techniques begins with three fundamental steps for the salt box method: cleaning and drying your meat thoroughly, preparing a deep container of cure mixture, and methodically coating every surface.
You'll need to use coarse or kosher salt without anti-caking agents to guarantee proper adhesion and controlled dissolution during the curing process.
Start by dredging your meat piece through the salt, making sure you're covering all sides evenly. Don't rush this step – natural adhesion will help the salt stick to the meat's surface.
Once you've coated the meat, gently shake off any excess salt and place it in your curing container.
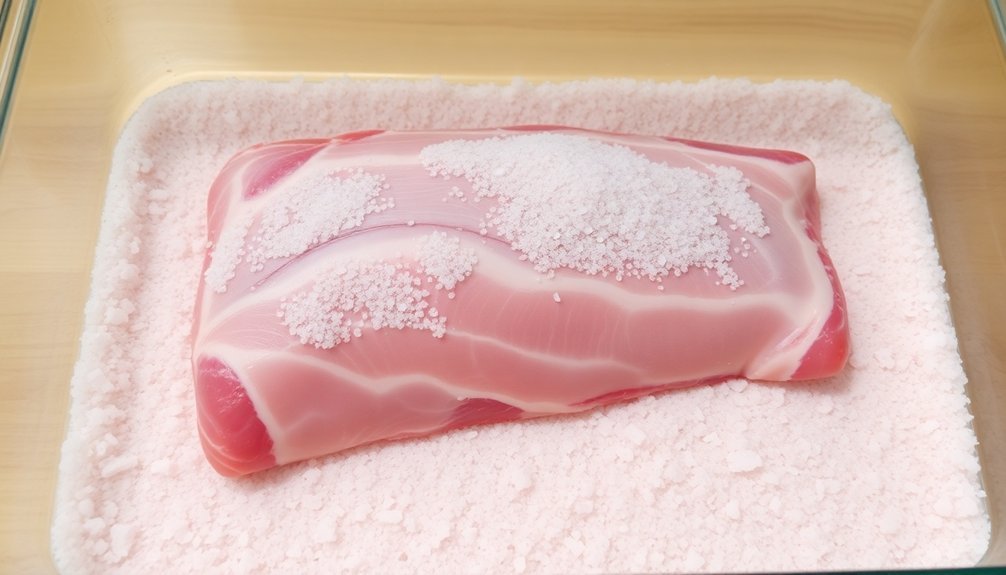
- Layer the bottom of your container with a thick bed of salt (about 1 inch deep)
- Position your coated meat piece carefully, making sure it doesn't touch the container's sides
- Pour additional salt over and around the meat until it's completely buried
You'll want to monitor the process daily, checking that the meat remains fully submerged in salt as liquid is drawn out.
If you notice any salt scabbing, you may need to adjust the coverage or soak the meat briefly to reduce salt concentration.
Measuring For Even Distribution
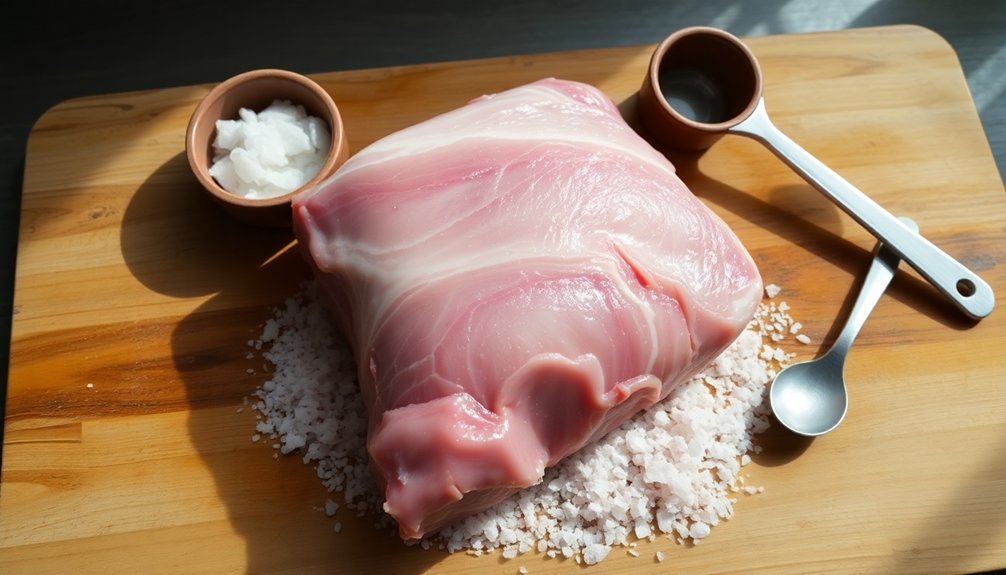
Proper salt measurement stands at the heart of successful meat curing, building upon the layering techniques we've discussed. You'll need to calculate 2.5-3% of your meat's weight in salt, plus 0.25% curing salt for safety. For a 1000g piece of meat, you're looking at 25-30g of regular salt and 2.5g of curing salt.
You'll want to use coarse salt or kosher salt for your cure, as their larger crystals dissolve gradually and stick well to meat surfaces. If you're using sea salt, remember it'll add subtle mineral flavors to your final product. For the curing salt, choose #1 for short-term projects or #2 for long-term curing needs.
When you're applying the salt mixture, put on clean gloves and use a consistent rubbing motion to guarantee even coverage. Don't forget to reach into every crevice and fold.
You'll need to monitor the process regularly, checking that the salt's distributing evenly throughout the meat. If you notice any spots with too much or too little coverage, redistribute the cure immediately.
Keep track of your timing by labeling the start date and scheduled completion time.
Temperature and Environment Control
Maintaining control over temperature and environment stands out as one of the most critical aspects of successful meat curing.
You'll need to keep your curing space between 36°F and 40°F (2°C – 4°C) to guarantee safe conditions. If you're working in a warmer climate or you're new to curing, it's best to use refrigeration to maintain consistent temperatures.
Your curing environment should maintain a humidity level of around 60% to prevent unwanted mold growth while guaranteeing even drying.
You'll want proper airflow to prevent moisture accumulation and maintain stable conditions throughout the curing process.
Here are three essential checks for your curing environment:
- Monitor temperature daily using a reliable thermometer – temperatures above 40°F (4°C) can lead to dangerous bacterial growth
- Install a hygrometer to track humidity levels – aim for 60% humidity, adjusting ventilation as needed
- Guarantee proper air circulation by placing your salt box in a well-ventilated area and avoiding overcrowding
Keep your curing space clean and sanitized to prevent contamination.
You'll need to regularly inspect for any signs of spoilage or unusual conditions that might compromise your meat's safety.
Monitoring the Curing Progress
Once you've established the right environment for curing, you'll need to track your meat's progress through several key indicators. The most reliable method is monitoring weight loss – start by weighing your meat before curing and calculate your target weight, which should be 65% of the initial weight.
You'll want to see a 35-40% reduction by the end of the process. As you check your meat regularly, you'll notice distinct visual changes. The meat should become firmer and more rigid while developing its characteristic cured color.
Watch for any unwanted mold or case hardening, which appears as an overly hard exterior. You'll need to assess the texture by feeling the meat's consistency. It should be uniformly firm with no soft spots, and the surface should feel dry to the touch.
The final product will have a chewy texture when properly cured. Remember that curing times vary considerably based on your meat's size. Smaller cuts might cure in 4-6 days, while larger pieces can take several weeks or months.
Don't rush the process – regular monitoring will help you avoid both under-curing and over-curing your meat.
Common Curing Problems
When curing meat using the salt box method, you'll want to watch out for salt scabbing, which occurs when excess salt forms a hard crust on the meat's surface and prevents proper curing.
Too much moisture can lead to inconsistent curing and potential spoilage, so it's essential to maintain the right humidity levels throughout the process.
Uneven curing often results from improper salt distribution or inconsistent meat thickness, which you can prevent by carefully rotating the meat and ensuring uniform contact with the curing mixture.
Salt Scabbing Prevention Tips
Salt scabbing can ruin an otherwise perfect meat curing project. To avoid this common issue, you'll need to be selective with your salt choice and methodical in your application. Using pure salt without anti-caking agents or added minerals is vital, as these additives can cause unwanted reactions during the curing process.
To guarantee success in preventing salt scabbing, follow these critical steps:
- Apply an even coating of salt across the entire surface of your meat, paying special attention to corners and crevices to prevent concentrated salt patches.
- Store your curing meat in a temperature-controlled environment between 36°F and 40°F, maintaining consistent conditions throughout the process.
- Monitor the curing duration carefully, using labels and dates to track progress and avoid over-curing.
You'll want to keep your meat in a well-ventilated area during curing and consider using equilibrium curing methods to optimize salt usage.
Remember to inspect your meat regularly for any signs of crystalline patches or unusual texture changes. If you notice these warning signs early, you can adjust your process before the salt scabbing becomes severe.
Excessive Moisture Issues
Three major problems can derail your meat curing process, but excessive moisture ranks as the most dangerous. If you don't control moisture levels properly, you'll face bacterial growth, spoilage, and potential food safety risks. You'll notice signs like slimy surfaces, off-odors, and discoloration when moisture becomes an issue.
| Problem | Solution |
|---|---|
| High humidity | Use dehumidifiers and maintain proper ventilation |
| Insufficient drying agents | Increase salt and sugar quantities according to recipe |
| Poor air circulation | Install fans and guarantee adequate spacing between meat pieces |
| Improper storage | Keep meat in cool, dry environment below 60°F |
| High initial water content | Pat meat dry thoroughly before applying cure |
To prevent moisture issues, you'll need to focus on both the environment and your technique. Start by confirming your curing space has proper air circulation and stable humidity levels. Don't skip the essential step of thoroughly drying your meat before applying the cure. If you're using a salt box method, you'll need to be especially vigilant about moisture control since there's direct contact between the meat and curing agents. Remember, your success depends on maintaining consistent drying conditions throughout the entire curing process.
Uneven Curing Problems
Despite careful preparation, uneven curing remains one of the most frustrating challenges you'll encounter with the salt box method. The issue often stems from inconsistent salt application, where some areas receive too much salt while others don't get enough.
You'll notice this particularly in cuts with varying thickness or fat content, as these differences affect how the meat absorbs the salt.
The type of salt you're using can greatly impact your results. Don't use table salt with anti-caking agents; instead, stick to pure kosher or sea salt. The grain size and purity of your salt directly affect how evenly it penetrates the meat during the curing process.
Here are three critical factors you'll need to monitor for even curing:
- Time and temperature consistency – maintain stable conditions throughout the entire curing period
- Salt distribution – guarantee uniform coverage across all surfaces of the meat
- Post-cure handling – proper rinsing and drying are essential to prevent uneven saltiness
If you notice uneven results, you'll need to adjust your curing time based on the meat's thickness and fat content, while carefully monitoring the meat's weight loss throughout the process.
Testing for Doneness
Your curing time will vary based on the meat's thickness.
While duck breast might take 4-5 weeks, larger cuts could require several months.
Throughout the process, maintain temperatures between 36°F and 40°F to prevent bacterial growth.
You'll know your meat is properly cured when it's reached both the target weight and developed the appropriate texture.
Remember to cook your cured meat before consuming it, using a meat thermometer to verify safe internal temperatures.
Cleaning and Storage
Once your meat has reached the proper cure, proper cleaning and storage will secure its longevity. Start by rinsing the meat thoroughly to remove excess salt, then pat it dry with a lint-free towel.
If you notice salt scabbing, soak the meat in water for an hour to reduce salinity. Check carefully for any unwanted mold or bacterial growth on the surface.
For storage, you'll need a cool, well-ventilated space that maintains a temperature between 50-60°F. Keep your cured meat away from direct sunlight and wrap it in breathable materials like butcher paper or cloth.
Don't use plastic wrap, as it traps moisture and promotes spoilage. If you're planning for extended storage, vacuum sealing is your best option.
Key steps for successful long-term storage:
- Hang your meat in a clean, temperature-controlled environment like a cellar or pantry
- Monitor your meat regularly for any signs of spoilage or contamination
- Label all wrapped meats with dates and storage instructions for proper tracking
With these storage methods, your cured meat can remain shelf-stable without refrigeration, though you should check it periodically to verify quality.
Preparing Meat for Consumption
After completing the curing and drying process, properly preparing your meat for consumption guarantees both safety and ideal flavor.
You'll need to cook your cured meat thoroughly before eating, as it's still technically raw despite the preservation process.
When you're ready to serve, slice the meat thinly for the best texture and presentation. As you cook the meat, you'll notice it developing a pink or reddish color, which is normal and expected. If you're working with poultry, don't rely on color alone – use a meat thermometer to ascertain it's reached a safe internal temperature.
If you find your meat is too salty after cooking, you can soak it in fresh water for an hour to reduce the salt content. Remember that different cuts may require different cooking approaches based on their thickness and fat content. You'll want to adjust your cooking time accordingly.
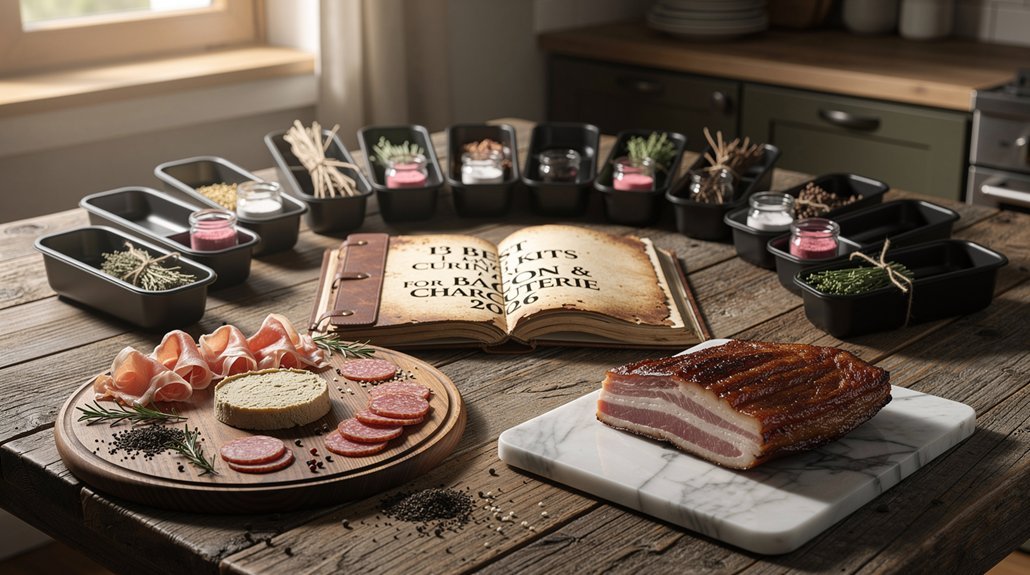
To enhance your dining experience, serve your cured meat with complementary accompaniments. You can pair it with various fruits, cheeses, and specialty condiments that'll bring out the meat's unique flavors and textures.
Salt Box Maintenance
Proper maintenance of the salt box is essential for successful meat curing and long-term food safety. You'll need to keep your salt box clean, dry, and protected from contaminants to guarantee the quality of your cured meats.
Store your salt box in a cool area with controlled humidity, and regularly check for signs of pest intrusion or unwanted odors that could compromise your curing process.
Your salt quality directly impacts the success of your curing, so maintain your salt box with pure, additive-free salt. Keep unused salt in a well-sealed container, and always apply a consistent amount for each batch.
When you're working with your salt box, use clean, non-corrosive containers and accurate measuring tools to maintain proper salt levels.
- Clean your salt box weekly using food-grade sanitizers, ensuring all surfaces are thoroughly dried before adding fresh salt.
- Monitor humidity levels daily – ideal relative humidity should stay between 65-75% to prevent salt clumping.
- Replace your salt supply every three months, even if it appears clean, to maintain peak curing effectiveness.
Remember to establish a regular cleaning schedule and properly dispose of any contaminated salt to maintain a hygienic curing environment.
Frequently Asked Questions
Can I Reuse Salt From Previous Curing Projects?
No, you shouldn't reuse salt from previous curing projects. It can be contaminated with bacteria, may have depleted preserving agents, and won't cure your meat effectively. Always use fresh curing salt for safety.
How Does Altitude Affect the Meat Curing Process?
At higher altitudes, you'll need to adjust your curing process due to increased evaporation rates and lower humidity. Monitor moisture levels closely, and expect changes in meat quality, including color, tenderness, and water retention.
What Happens if My Meat Accidentally Freezes During Curing?
If your meat freezes during curing, you'll notice moisture loss and potential texture changes when thawed. Don't worry – let it thaw slowly in the fridge and continue curing, though you might need extra time.
Is It Safe to Cure Meat During Humid Summer Months?
You shouldn't cure meat during humid summers without proper climate control. The high humidity creates dangerous conditions for bacterial growth. If you're determined, you'll need a controlled curing chamber to maintain safe conditions.
Can Different Types of Meat Be Cured Together Simultaneously?
While you can cure different meats together, it's not recommended. You'll face challenges with varying fat contents, inconsistent curing times, and increased contamination risks. It's safer to cure each meat type separately.
In Summary
You'll find that mastering the salt box method opens up endless possibilities for meat preservation. Keep your salt box clean, maintain proper humidity levels, and always follow food safety guidelines. Once you've perfected your technique, you'll enjoy delicious cured meats year-round. Remember to share your creations with fellow food enthusiasts and continue exploring different meat cuts and curing times for varied results.


Leave a Reply