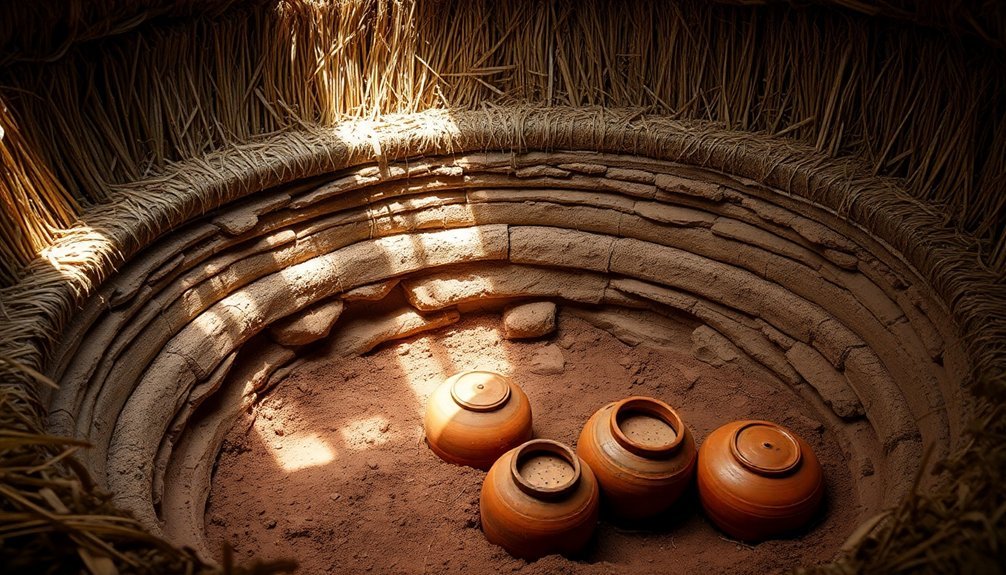
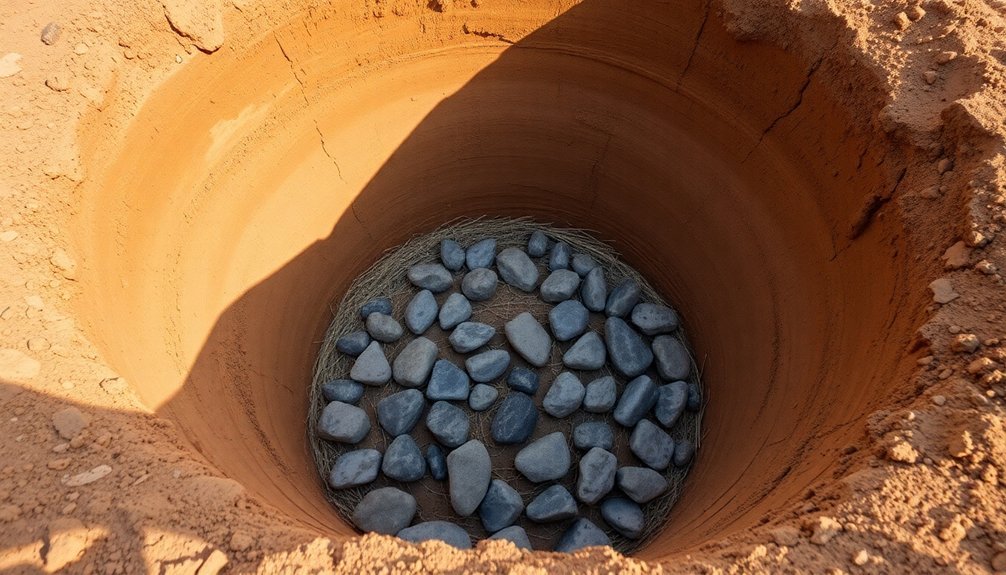
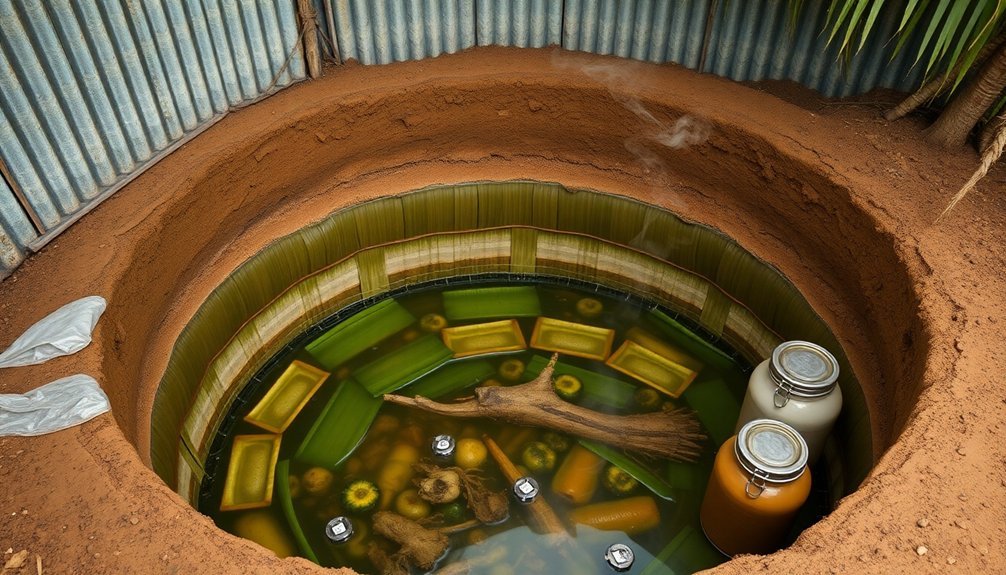
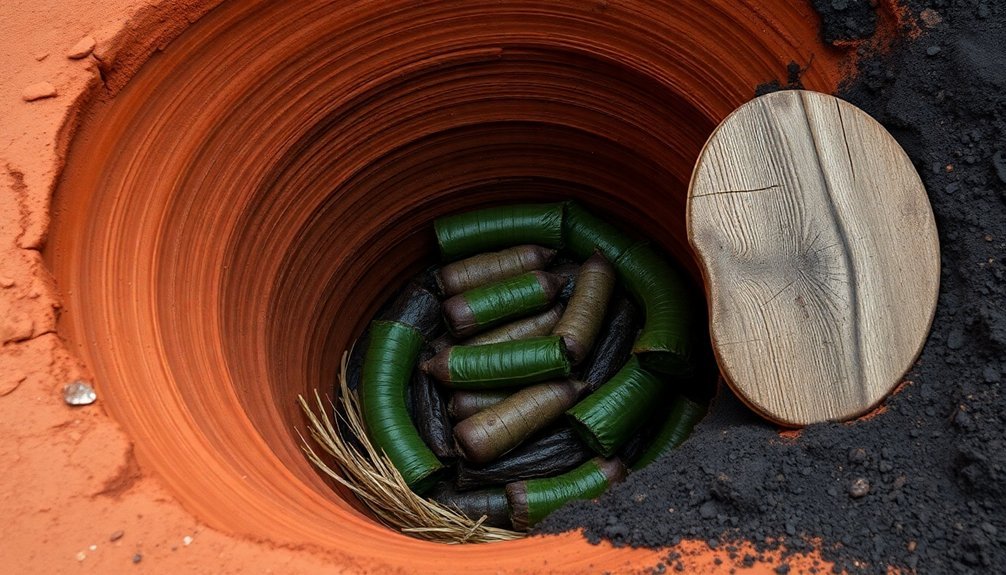
Earth pit food storage offers you a sustainable way to preserve food using techniques that date back thousands of years. You'll find this ancient method particularly effective for storing root vegetables, tubers, and grains at a consistent 32-40°F without electricity. To create your pit, you'll need to dig 1-2 feet deep in well-drained soil, preferably in a high location with clay-based earth. You'll want to line the walls, add proper insulation with straw, and guarantee good ventilation through a wooden duct system. This time-tested preservation method holds countless secrets from our ancestors that can transform your food storage approach.
The Legacy of Underground Storage

Ancient civilizations' ingenious storage methods live on through archaeological discoveries of earth pit food storage. You'll find evidence of these remarkable underground chambers dating back to 3900 BC, with notable examples like Japan's Sannai-Maruyama Site revealing how early hunter-gatherers mastered food preservation techniques.
What's fascinating is how you can trace these storage practices across different cultures and continents. From Iron Age hill forts in England to Māori settlements in New Zealand, you're looking at a truly global phenomenon that shaped human survival strategies. At Worlebury, archaeologists uncovered 93 storage pits cut directly into the bedrock.
These pits weren't just holes in the ground – they were carefully engineered structures lined with clay, sealed with stone slabs, and often integrated into bedrock.
You'll see how these storage systems played a vital role in food security, particularly for nomadic populations who needed to protect their supplies while away on extended hunts.
The archaeological evidence tells a compelling story of human innovation, with charred remains of corn, barley, and wheat giving you insights into ancient diets and farming practices.
Today's food storage methods still echo these time-tested principles of underground preservation.
Optimal Pit Design Features
Every successful earth pit storage system relies on four essential design features that work together: proper construction, ventilation, insulation, and accessibility.
You'll need to start by digging a square or rectangular pit 1-2 feet deep in a well-drained area, marking it with stakes for easy location during winter. Cold conditions help concentrate sugars in stored produce, naturally extending shelf life. The design must include a vertical wooden duct system that helps regulate temperature and humidity while allowing you to monitor conditions.
Proper insulation is vital, so you'll want to layer clean, dry straw both below and above your stored items.
Create horizontal tunnels within the straw layers to let excess moisture and gases escape, and make certain you've got at least 3 inches of soil cover on top. For easy access, incorporate a well box with a hatch above ground level.
- Maintain temperature control by using the vertical duct to introduce cold air or desiccants as needed
- Create multiple pits for different vegetables to simplify retrieval and maintenance
- Install a drainage trench around complex pit designs to prevent water infiltration
- Use a sack and rope system to remove produce without disturbing neighboring items
Choosing The Perfect Location

When you're selecting a location for your earth pit food storage, you'll need to focus on finding soil that's primarily clay or conglomerate to guarantee structural stability and proper water resistance.
You must position your pit at the highest possible point in the landscape, with adequate drainage systems like perimeter ditches to prevent water accumulation and seepage. This ancient method has been proven effective as storage pits were historically used for preserving grains long-term.
Your chosen site should also offer convenient access for vehicles while maintaining security against pests and providing natural protection from extreme weather conditions.
Ground Type and Composition
Selecting the right ground composition stands as the most critical factor in successful earth pit food storage. You'll want to focus on clay or heavy clay soil types, as they provide the stability needed for nearly vertical pit walls without risking collapse.
Compact, hard soil with low moisture content is essential to protect your stored grain from water infiltration and maintain its quality over time.
In some cases, you can dig your pit directly into rock formations, which offer excellent structural integrity. When working with clay soil, you can reinforce the walls by plastering them with a mixture of clay mud, fiber, and dung to create a moisture-resistant barrier.
- Clay or conglomerate soil types allow for steeper wall angles, reducing the risk of cave-ins
- Heavy, compact soil prevents water seepage and maintains a dry environment for grain preservation
- Low moisture content in the soil composition helps control humidity levels inside the pit
- Rock formations provide natural stability and require minimal additional reinforcement
Remember to test your soil's composition before starting excavation, as the ground type will determine your pit's shape, whether flask-shaped or conical, and influence its overall dimensions and stability.
Drainage and Water Management
For successful earth pit food storage, proper drainage and water management are paramount when choosing your location. You'll need to verify that agricultural runoff and excess water won't contaminate your storage pit or compromise your stored food. The location should have natural drainage patterns that direct water away from your pit, similar to how modern drainage systems protect waterways from contamination.
Consider installing subsurface drainage systems around your pit to maintain ideal soil moisture levels. This will prevent water logging and verify your storage area doesn't flood during heavy rainfall or seasonal changes. You'll want to monitor water movement and soil saturation regularly.
| Drainage Feature | Purpose | Implementation |
|---|---|---|
| Surface Runoff Control | Prevents water pooling | Dig shallow trenches |
| Subsurface System | Controls water table | Install drain tiles |
| Water Collection | Enables monitoring | Add lined collection points |
| Moisture Barriers | Prevents seepage | Install waterproof liners |
If you're reusing the pit seasonally, test the soil moisture content and drainage patterns throughout the year. This helps you identify potential water-related issues before they affect your stored food. Consider lining your pit with water-resistant materials to provide additional protection against moisture infiltration.
Accessibility and Security Factors
The perfect location for your earth pit storage balances accessibility and security while maintaining structural integrity. You'll want to position your pit near your homestead for easy supervision, yet guarantee it's on elevated ground to prevent flooding. The site's selection markedly impacts both the pit's longevity and your ability to manage stored grains effectively.
When choosing your pit's location, consider how you'll load and unload the grain. The traditional flask-shaped design, with its narrow neck and wider chamber, allows for efficient filling while maintaining security. You'll need to plan for quick loading and sealing to preserve grain quality, and remember that you must empty the pit completely once opened.
- Select high ground or hilly areas to protect against water infiltration and flooding risks
- Guarantee soil stability to prevent collapse and maintain structural integrity
- Position the pit within convenient distance of your home for regular monitoring
- Choose a location that allows for proper sealing using traditional materials like sticks, cow dung, and mud
The right location combines these factors while offering natural protection from theft, pests, and environmental challenges, making your storage system both practical and secure.
Crop Selection and Preparation
Successful earth pit storage begins with choosing the right crops and preparing them properly. You'll find that roots, tubers, and solid vegetables like cassava, potatoes, and cabbages store well underground.
If you're in a climate similar to the American Midwest, you can also store maize, dried squash, sunflower seeds, and beans. For grains, wheat, barley, and oats work well, but you'll need to plan your pit size carefully – wheat requires 1.3 cubic metres per tonne, while barley needs 1.6 and oats 1.9.
Before storage, you must guarantee your grain is completely dry to prevent mold. Stack it in a single layer around the pit wall and cover it with dried grass and hide to keep out air and moisture.
For vegetables, create a base layer using sand, straw, or leaves, then place them close together. Cover them with thick banana leaves to maintain proper humidity. You can use cloth, jute, or paper sacks to make removal easier and prevent disease spread.
Don't forget to check regularly for rot and remove any spoiled items. A small amount of insecticide can help protect your stored vegetables from pests.
Building Your First Storage Pit

You'll need to start by selecting a well-drained location that's easily accessible and won't collect water during rainy seasons.
When digging your pit, make certain it extends below the frost line and create a surrounding drainage trench filled with gravel to prevent water accumulation.
To protect your stored food, line the pit walls with concrete blocks or stone, install a vertical wooden duct for ventilation, and add proper insulation using rigid foam boards and straw layers.
Choosing Your Pit Location
Selecting an ideal location for your storage pit stands as the most critical first step in the construction process.
You'll need to find high ground that naturally sheds water and prevents underground seepage. Look for clay or conglomerate soil types that can maintain nearly vertical walls while supporting a water-resistant mound on top.
Consider accessibility when choosing your spot – you'll want easy vehicle access throughout the year, particularly if you're using equipment like front-end loaders or augers.
While proximity to your grain production area matters, don't compromise on finding a "high and dry" location.
- Choose elevated terrain where rainfall and surface water flow away from, not toward, your pit
- Confirm soil consistency allows for stable walls and minimal water penetration
- Keep adequate distance between multiple pits to prevent cross-seepage
- Plan for equipment access with a slope no steeper than one in three on at least one end
Remember to dig drainage ditches around the perimeter to direct surface water away from your pit.
If burrowing animals are a concern in your area, consider plastering the interior surfaces for added protection against unwanted visitors.
Proper Digging Techniques
A well-executed pit begins with proper digging techniques that guarantee long-term structural stability. You'll need to select a spot with excellent drainage, ideally in sandy soil, and avoid areas where water tends to pool. Start by excavating to a depth of 1-2 feet, ensuring the width spans 18-24 inches for standard trench silos.
| Feature | Specification |
|---|---|
| Depth | 1-2 feet (deeper in cold climates) |
| Width | 18-24 inches |
| Shape | Bell-shaped or cylindrical |
| Bottom | Flat, lined with straw |
| Sides | Flared to prevent cave-ins |
| Top | Narrowed for stability |
For colder regions, you'll want to dig below the frost line to protect your stored produce. As you dig, flare the sides outward to prevent soil collapse, creating either a cylindrical or bell-shaped cavity. The bell shape, which expands downward, offers superior structural stability and maximizes storage space. Line the entire pit with straw or dried leaves to control humidity and protect against excess moisture. Remember to maintain consistent dimensions throughout the digging process, ensuring your pit's size aligns with your storage needs.
Sealing and Protection Methods
Three vital elements define an effective storage pit: proper sealing, adequate lining, and moisture control.
You'll need to create an airtight seal using a three-quarter-inch wooden lid covered with soil, or traditional materials like adobe and stone slabs. For the lining, while cereal grains don't require it, other foods benefit from straw or dried leaf barriers that enhance drainage and stability. Verify your lining materials are completely dry to prevent mold formation.
Managing moisture is key for your pit's success. Choose a location with well-draining, sandy soil, and dig below the frost line if your winter temperatures drop under 25 degrees. Create horizontal straw tunnels for gas escape, and slightly elevate the surrounding soil to direct water away from the pit.
- Always mark your pit's location with stakes, especially important during snowy conditions
- Sort and remove damaged produce before storage to maintain overall quality
- Consider creating separate pits for different types of vegetables
- If possible, utilize a hillside location for easier access and natural drainage
Remember to maintain the seal's integrity throughout the storage period, as it's essential for preserving your food's quality.
Maintenance and Preservation Techniques
Maintaining an earth pit food storage system requires careful attention to four key factors: humidity, temperature, ventilation, and pest control.
You'll need to monitor humidity levels regularly, aiming for 80-95% to prevent your root vegetables from shriveling. If you're noticing dry conditions, add moisture by sprinkling water on the floor or placing damp burlap bags in strategic locations.
Keep your storage temperature between 32-40°F by guaranteeing proper insulation with straw, mulch, or leaves. You'll want to dig below the frost line to maintain stable temperatures year-round.
Check your thermometer regularly and adjust insulation as needed during seasonal changes.
Monitor air circulation by maintaining gaps between stored items and walls. You'll need to guarantee proper ventilation to prevent ethylene gas buildup, which can cause premature spoilage.
Install elevated storage platforms to keep food away from ground moisture while promoting airflow.
Check regularly for signs of pest activity and maintain protective barriers. You can use sand or sphagnum moss as natural deterrents against rodents.
Inspect for water seepage or dampness, and maintain your waterproof layer to prevent moisture damage. Remove any spoiled items promptly to prevent contamination of healthy produce.
Modern Adaptations of Ancient Methods

Modern technology has revolutionized traditional earth pit storage while preserving its core principles. You'll find smart monitoring systems and sensors integrated into today's root cellars, allowing you to track temperature and humidity levels with precision.
These automated systems can alert you to any changes that might affect your stored produce, combining ancient wisdom with contemporary convenience.
You're now able to build your own earth pit storage using both traditional and modern materials, with online resources making the process more accessible than ever.
Whether you're joining a community initiative or creating your personal storage space, you can incorporate sustainable practices while maintaining cultural traditions that have proven effective for centuries.
- Smart sensors help you maintain ideal conditions without constant manual monitoring
- Community-based storage solutions let you share resources and knowledge with neighbors
- Sustainable construction methods reduce your environmental impact while preserving food
- Digital tools and automated alerts guarantee you're always aware of storage conditions
Frequently Asked Questions
How Do Wild Animals Affect Underground Food Storage Pits?
You'll find that burrowing animals can damage your stored food by digging into pits, contaminating contents, and causing structural collapse. They'll consume your supplies and compromise the pit's integrity through their activities.
Can Earth Pit Storage Work in Areas With Frequent Earthquakes?
You shouldn't rely on earth pit storage in earthquake-prone areas, as ground shaking can collapse walls and cause soil liquefaction. If you must use pits, you'll need extensive reinforcement and frequent structural inspections.
What Emergency Signs Indicate Immediate Pit Inspection Is Needed?
You'll need immediate pit inspection if you notice wall cracks, unusual odors, flooding, sudden structural shifts, loud creaking noises, or signs of pest invasion. Don't ignore strange smells or water seepage.
Does Food Stored Underground Develop Different Flavors or Textures?
Yes, you'll notice underground storage changes both flavor and texture. Your food can become sweeter as starches convert to sugar, while moisture levels affect texture. Temperature fluctuations and fermentation can also alter taste considerably.
How Do Traditional Communities Mark Pit Locations Without Obvious Surface Features?
You'll find traditional communities use natural landmarks, oral stories, ceremonial markers, and specialized plantings to mark pit locations. They also rely on shared community knowledge and seasonal observations to remember these important spots.
In Summary
You'll find that earth pit storage connects you directly to ancient wisdom while providing practical modern benefits. Whether you're storing root vegetables or preserving your harvest, these time-tested methods still work remarkably well today. By following proper design, location, and maintenance principles, you've got a reliable, energy-free storage solution that'll serve you faithfully through every season, just as it did our ancestors.


Leave a Reply