Before storing your clay pots, sanitize them with a 10% bleach solution or heat at 400°F, then dry them completely to prevent mold. Choose a well-ventilated storage area with temperatures between 60-80°F, and place pots upside down on wire racks for ideal air circulation. Don't skip proper drying techniques – use vented materials and avoid rapid drying methods. When stacking, put heavier pots at the bottom with paper between each layer to prevent scratches. Season new pots before use, and protect them from extreme temperatures using insulation. These essential steps will help you master the art of clay pot preservation.
Clean and Sanitize Before Storage
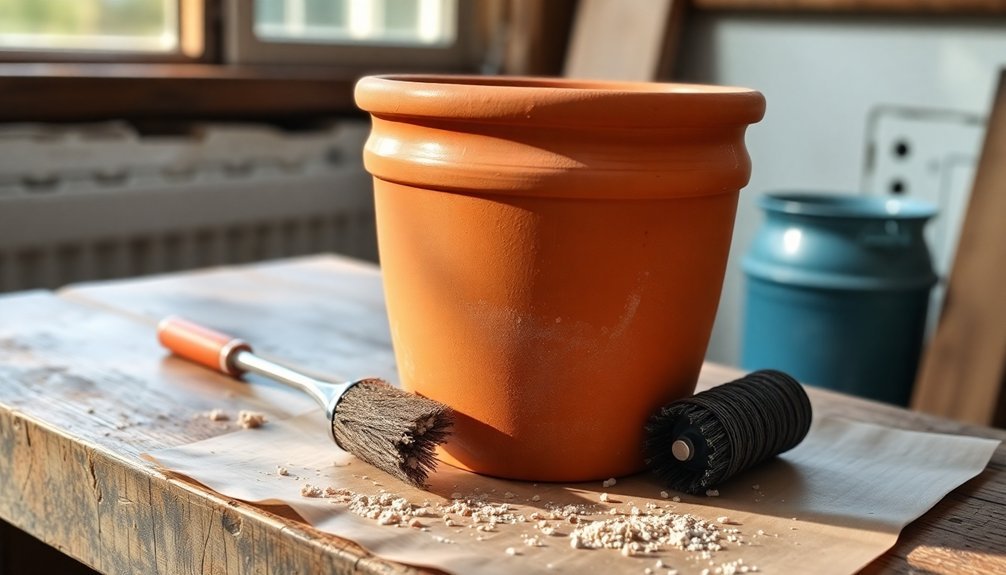
Once clean, you'll need to sterilize the pot to prevent pest and disease transfer.
You can either soak it in a 10% bleach solution for several hours or heat it in an oven at 400°F for two hours.
If you have access to a kiln, firing the pot at 1000°F provides chemical-free sterilization.
Remember to let the pot cool completely after any heat treatment.
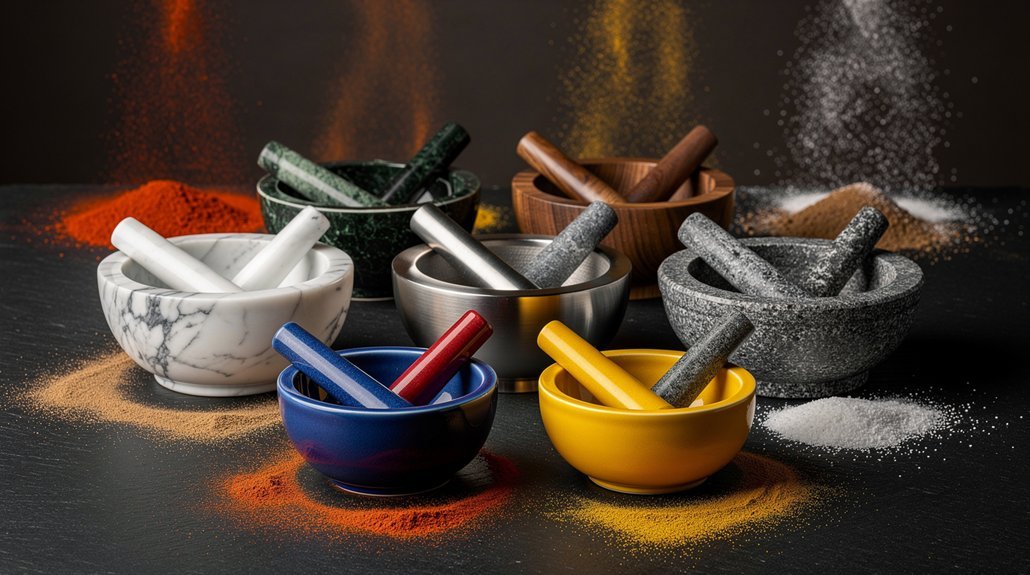
For tough stains that persist, try using salt as a natural abrasive instead of chemical cleaners.
After cleaning, always ensure the pot is completely dry before storing to prevent unwanted mold growth.
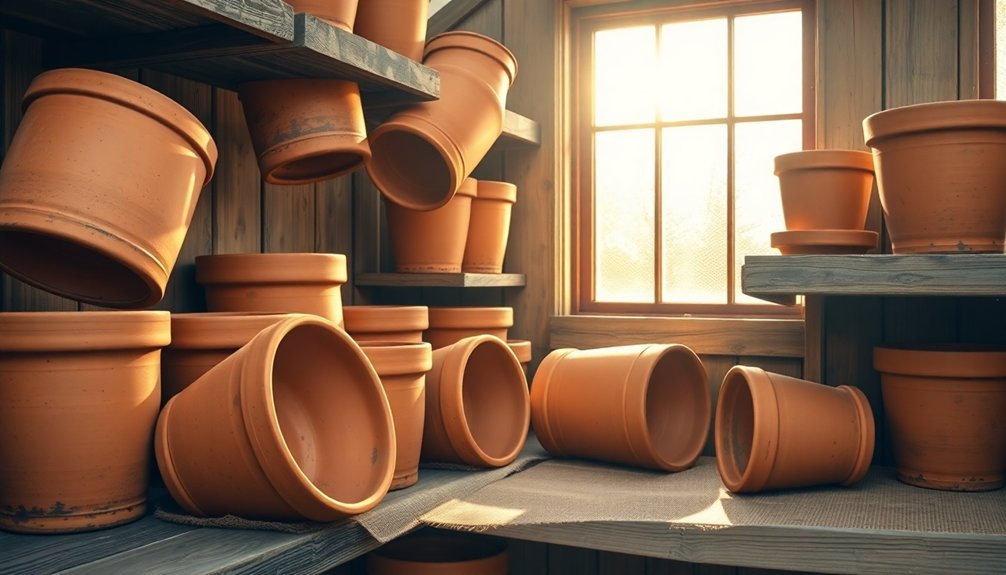
Choose the Perfect Storage Location
Proper storage location plays an essential role in extending your clay pot's lifespan. When selecting a storage spot, make sure it's well-ventilated to prevent moisture buildup.
Place your pot on wire racks or trivets that allow air to circulate on all sides, and if you're using a kitchen space, consider that areas near gas stoves typically offer lower humidity than those with electric burners. Regular inspection of your pots during storage helps identify any moisture accumulation early.
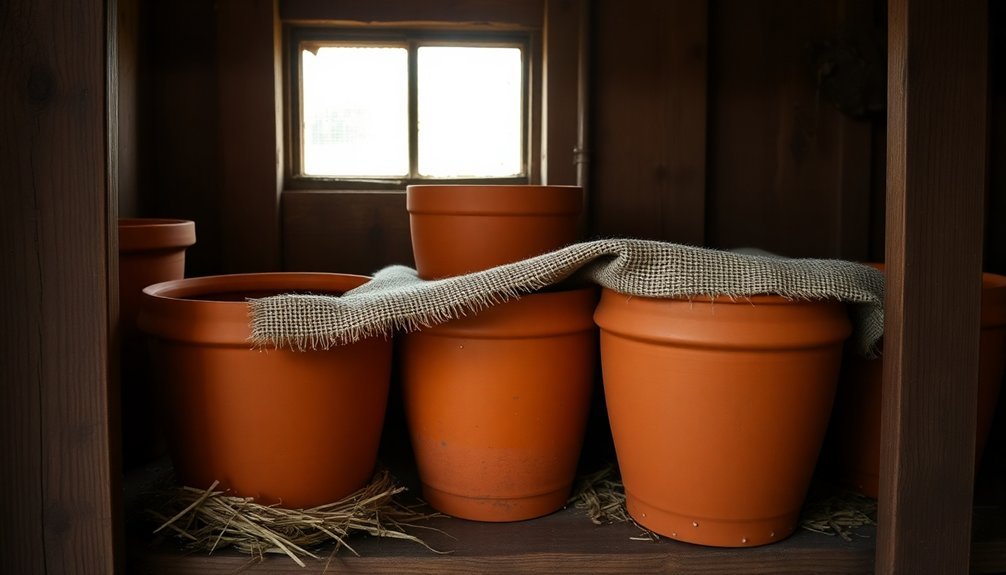
Store your clay pot upside down to help it reset after cooking and prevent moisture from accumulating. If you're storing the lid too, place it inverted inside the pot with a paper towel between them to allow for breathing.
While you can stack pots if needed, always make sure they're completely dry first. Combat humidity by periodically drying your pot on the stovetop's lowest setting for 5-10 minutes.
Avoid dark, damp areas prone to mold growth, and opt for bright, well-ventilated spaces instead. Choose storage solutions that offer visibility and ventilation, such as clear containers with proper airflow.
If you're using metal shelving, protect your pot with towels, and maintain a stable temperature in your storage area, avoiding extreme conditions.
Master Proper Drying Techniques
Mastering proper drying techniques starts with controlling your environment. You'll need to monitor humidity, temperature, and air circulation while keeping pieces away from direct sunlight and heating vents. For consistent moisture levels, use a dry box or controlled environment, and guarantee proper ventilation throughout the drying process. Managing the process carefully helps prevent cracking and detachment in your ceramic work.
To protect your pieces during drying, cover them with dry-cleaner plastic or bed sheets, making sure to vent the covers to prevent condensation. For larger pots, use multiple layers and place foam blocks or ware boards underneath for support. Don't forget to add a layer of rags or paper towels between the clay and cover to catch moisture.
| Drying Time | Environment Control | Common Mistakes |
|---|---|---|
| 1 hour per 1/2" thickness | Maintain consistent humidity | Using heat guns carelessly |
| Adjust for clay type | Control temperature | Re-wetting specific areas |
| Monitor condensation | Guarantee good airflow | Sudden climate changes |
Place pieces upside down to prevent warping and cracking, and avoid rapid drying methods like torches or heat guns. If you're working with difficult pieces, consider using a kiln at 180°–200°F for controlled drying.
Prevent Moisture During Storage
Protecting clay pots from moisture during storage starts with choosing the right environment and containers. You'll need to store your clay in airtight containers, like plastic buckets with sealing lids or heavy-duty zip-closure bags, to prevent unwanted air exposure and moisture changes. Keep these containers sealed whenever you're not actively using the clay.
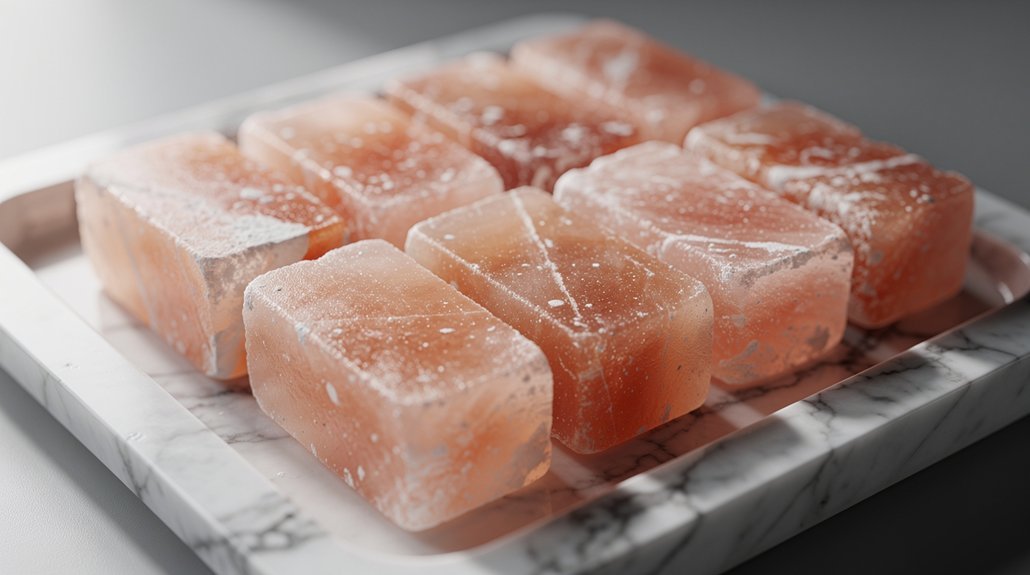
Temperature and humidity control are essential for proper storage. Maintain your storage area at 60-80°F and use dehumidifiers if needed to manage moisture levels. Don't store your clay in damp basements or areas with high humidity, as these conditions can damage your materials. Keep your pots away from direct sunlight and extreme temperatures, especially freezing conditions below 32°F.
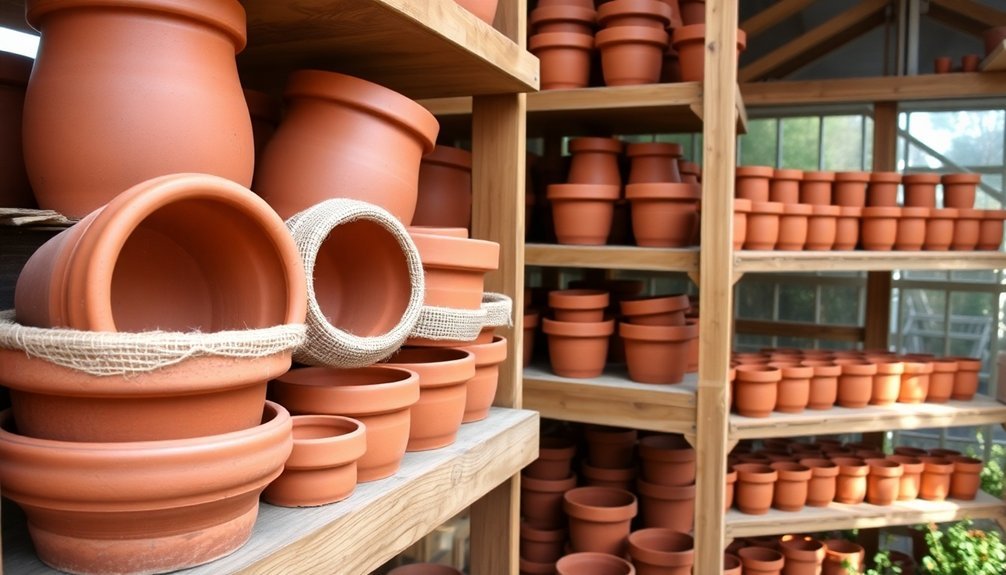
When storing terracotta pots specifically, wrap each one in bubble wrap or fabric to create a moisture barrier. If you're stacking them, place cardboard, foam, or old towels between each pot to prevent pressure damage.
Before long-term storage, keep your pots in a warm, dry place for several days to guarantee they're completely dry. This preparation will help protect your clay pieces from moisture-related deterioration during storage.
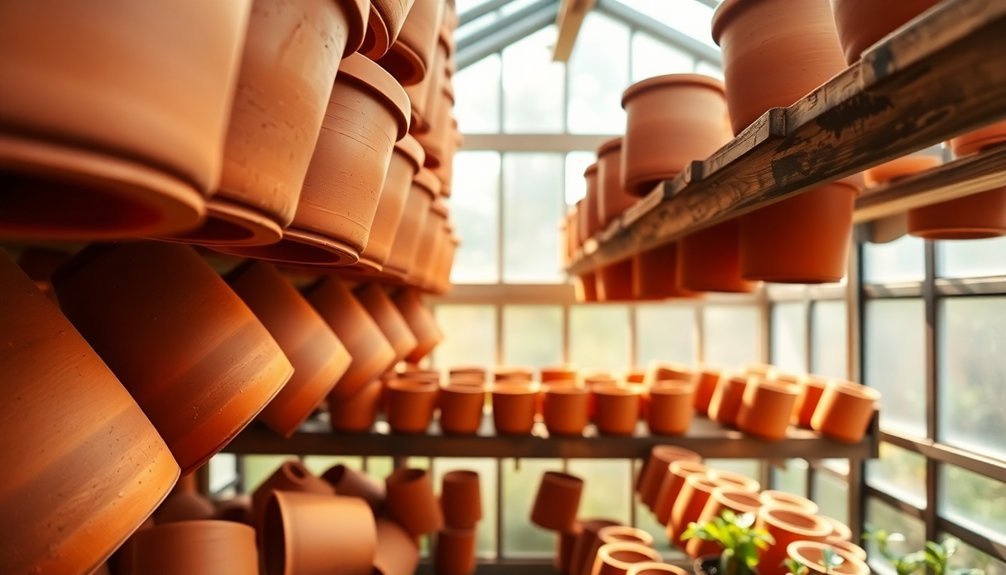
Stack and Arrange Safely
Once your clay pots are dry and ready for storage, smart stacking techniques will keep them safe and organized.
Place paper between pots when nesting them to prevent scratches and make it easier to separate them later. Always position larger, heavier pots at the bottom and stack lighter ones on top, making sure not to put pressure on rims or handles.
You'll maximize space by storing smaller pots inside larger ones, but don't overstack them. Consider using wooden crates, large baskets, or under-bed containers to keep your pots secure.
For added stability, you can create a simple storage system by placing large pots upside down with a board across them to form a shelf.
Organize your pots by size and type to make them easy to find. Keep frequently used items in accessible locations, and store occasional-use pots in upper shelves or corners.
If you're dealing with limited space, try laying pots on their sides in layers, with wider forms on top for stability. Don't forget to use dividers or partitions to keep everything secure, and consider hanging smaller pots using hooks or chains to maximize vertical space.
Season New Clay Pots
Before using your new clay pot, you'll need to soak it overnight in water to remove any residual dust and prepare it for seasoning.
Next, apply a generous coating of coconut oil or ghee to all surfaces of the dried pot, letting it absorb completely in the sun.
Finally, treat the pot with rice water to seal its pores, ensuring it's ready for safe, effective cooking.
Soak Before First Use
A new clay pot requires proper seasoning before its first use to assure safe cooking and longevity.
You'll need to start by soaking your pot and lid completely in water for at least one night to remove any residual clay dust. While soaking, verify both pieces are fully submerged in water.
After soaking, you'll want to test your pot for any cracks or leaks. Fill it with 500 ml of water and place it on a plate for 4-5 hours. Check if the water level has changed or if there's any leakage on the plate.
Once you've confirmed there are no defects, clean the pot thoroughly using a brush appropriate for its surface – stiff-bristled for unglazed pots and soft-bristled for glazed ones.
Don't use regular soap; instead, opt for baking soda or eco-friendly detergent.
After cleaning, you'll need to begin the initial seasoning process by cooking a mixture of water and flour until it bubbles and thickens. Let it cool, then discard the mixture and rinse well.
You'll want to repeat cooking water-based recipes 3-5 times to complete the seasoning process.
Oil Treatment Methods
Once you've completed the oil treatment, maintain the seasoning by applying a thin layer of cooking oil to the exterior walls and lid after each use.
Don't use soap when cleaning, as it can be absorbed into the clay. Instead, rinse with water and dry thoroughly using low heat or a thick cotton cloth.
For the first few uses, stick to water-based recipes to help establish a strong seasoning base.
Protect Against Temperature Changes
When moving clay pots between indoor and outdoor environments, you'll need to make the shift gradually to prevent cracking and damage from thermal shock.
You should bring your pots inside before winter frost hits and store them in a sheltered location where temperatures remain above freezing.
Keep your pots away from direct sunlight throughout the year, as sudden temperature changes from intense sun exposure can weaken the clay structure and lead to premature deterioration.
Gradual Indoor-Outdoor Transitions
Moving your clay potted plants outdoors requires careful planning and patience to prevent shock. Start the change when temperatures consistently stay above 50°F, and place your pots in a shaded area for 1-2 hours on the first day. Over the next 7-10 days, gradually increase outdoor exposure while monitoring weather conditions.
| Day | Time Outside | Light Exposure |
|---|---|---|
| 1-2 | 1-2 hours | Deep shade |
| 3-4 | 3-4 hours | Filtered shade |
| 5-7 | 6-8 hours | Morning sun only |
| 8-10 | All day | Partial sun |
You'll need to pay extra attention to watering during this change period, as clay pots tend to dry out faster outdoors. Check soil moisture daily, especially during the first month. Since outdoor light is considerably stronger than indoor conditions, even sun-loving plants need gradual exposure to prevent leaf burn. Start with shaded areas and slowly move to partial sun locations before considering full sun placement. Remember that terracotta pots are particularly susceptible to moisture loss, so you might need to water more frequently than you did indoors.
Winter Frost Prevention
Winter weather poses serious risks to clay pots, making proper protection a must for their survival. You'll need to focus on four key areas to prevent frost damage: elevation, waterproofing, insulation, and placement.
Start by elevating your pots off the ground using pot feet or small rocks, and place them on a gravel layer to improve drainage. Make sure drainage holes aren't blocked and remove any water-collecting saucers.
To waterproof your pots, apply a penetrating sealer or create a protective barrier using a 10:1 water-PVA glue solution. Consider switching to salt-glaze or high-fired clay pots, which offer better frost resistance.
Wrap your pots with insulating materials like bubble wrap or horticultural fleece, securing them tightly with string. Don't forget to line the pot's interior with bubble plastic before adding compost to accommodate freezing expansion.
For the best protection, move your pots to a sheltered location like a covered porch or greenhouse. If that's not possible, place them against a house wall and use protective covers.
Avoid moving pots during winter months to prevent damage from handling.
Avoid Direct Sun Exposure
Direct sunlight poses a significant threat to clay pots, causing rapid temperature fluctuations that can lead to cracks and structural damage. You'll need to find a cool, shaded storage area away from large windows and conservatories. If you're storing your pots indoors, choose a well-ventilated room or cupboard that doesn't receive direct sunlight.
To protect your clay pots, you'll want to maintain stable temperature and moisture levels. Place a paper towel between the lid and base to promote airflow, and guarantee your pots are completely dry before storage. Don't forget to check regularly for moisture accumulation and use a diffuser when cooking to prevent sudden temperature changes.
| Threat Level | Impact | Prevention |
|---|---|---|
| High | Cracking | Store in shade |
| Medium | Moisture damage | Use paper towels |
| Low | Dust buildup | Regular cleaning |
Keep your clay pots away from heating sources and maintain consistent temperatures. When cleaning, use a simple solution of baking soda and water to remove any mold, then dry thoroughly. Remember to provide good air circulation in your storage area and avoid poorly ventilated spaces that could trap moisture or heat.
Frequently Asked Questions
Can I Use Vinegar Instead of Bleach to Clean My Clay Pots?
Yes, you can effectively use vinegar instead of bleach! Mix one part white vinegar with four parts hot water, add dish soap, and soak your clay pots. It's safer, cheaper, and environmentally friendly.
How Long Do Properly Stored Clay Pots Typically Last?
When you properly maintain and store your clay pots, they'll last for generations. Your pots can remain durable and functional for decades with regular care, proper seasoning, and protection from extreme temperature changes.
Is It Safe to Paint Clay Pots Before Storing Them?
You can safely paint clay pots before storage, but make sure they're completely dry and sealed properly. Don't forget to let the paint and sealer cure fully to prevent any damage or sticking during storage.
Should I Remove Mineral Deposits From Pots Before Storage?
Yes, you should definitely remove mineral deposits before storing your pots. They can damage the clay over time and cause deterioration. It's best to clean them thoroughly with vinegar or a bleach solution first.
Can I Use Silica Gel Packets to Prevent Moisture During Clay Pot Storage?
Yes, you can use silica gel packets to protect clay pots during storage. They'll effectively absorb excess moisture and prevent mold growth. Place several packets around your pots, especially in sealed containers or bags.
In Summary
Your clay pots will last for many seasons when you've followed these essential storage tips. Remember to clean, dry, and store them properly in a climate-controlled space. You'll want to check them periodically for any signs of damage or moisture. By taking these simple precautions, you're protecting your investment and ensuring your pots are ready for next season's planting adventures.
Leave a Reply