
To make Asian-style air-dried fish at home, you'll need lean fish varieties like cod, flounder, or sea bass under 8 inches for best results. Start by thoroughly cleaning and eviscerating your fish, then create a salt cure using a 1:4 salt-to-fish ratio. After curing for 24-48 hours at 34-38°F, enhance flavors with traditional marinades like soy-ginger or miso-sake combinations. Air dry your fish using proper ventilation on drying mats, maintaining consistent airflow and temperature. For storage, use airtight HDPE bags with silica gel packets in cool, dark places. Following these time-tested Asian preservation methods will reveal centuries of traditional fish-curing wisdom.
Selecting the Perfect Fish
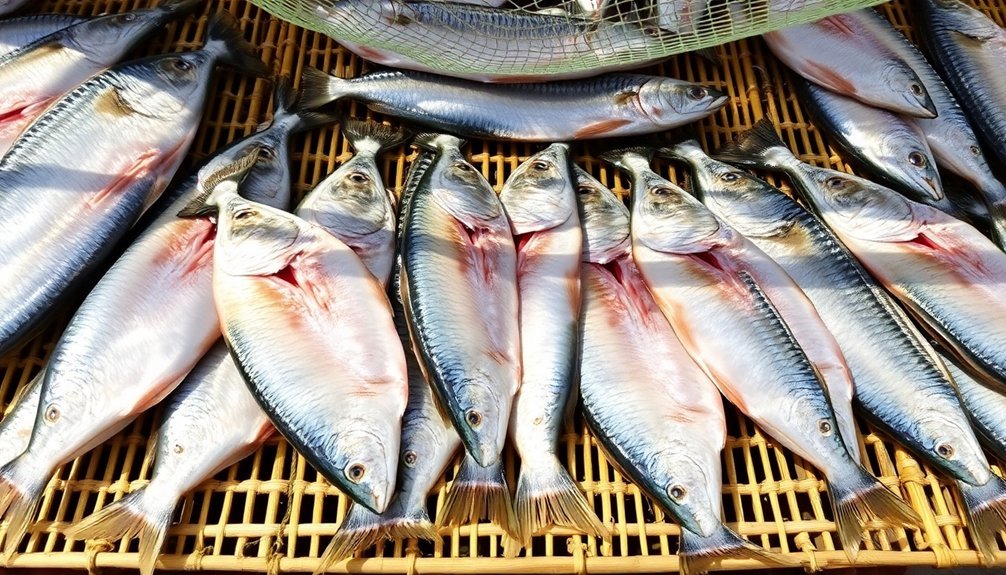
When it comes to air-drying fish, selecting the right type is vital for success. You'll want to focus on lean fish varieties, as they're ideal for the drying process due to their lower oil content. Excellent choices include cod, flounder, grouper, haddock, and sea bass. These fish contain minimal oils that could lead to spoilage during the preservation process.
Before making your selection, verify the fish is absolutely fresh – this is imperative for both food safety and achieving the best results. You'll need to examine the fish carefully, looking for clear eyes, firm flesh, and a clean ocean smell. Once you've selected your fish, make sure to remove all entrails and thoroughly clean the cavity before beginning the drying process.
Don't choose fatty fish for drying, as they'll spoil quickly despite your best preservation efforts.
Consider the flavor profile you're aiming for in your final product. If you want a bold taste, opt for sea bass or grouper. For milder flavors, flounder or cod will serve you well. Remember that the drying process will concentrate the fish's natural flavors, so start with a fish whose taste you already enjoy.
The size of the fish matters too – smaller fish under 8 inches are easier to process and dry evenly.
Essential Equipment and Tools
Successful air-dried fish preparation begins with having the right equipment at your disposal. You'll need basic tools for the initial preparation, including a sharp fillet knife, fish scaler, and cut-resistant gloves to protect your hands while handling slippery fish. Implementing proper workflow optimization helps streamline your preparation process and saves valuable time.
A dedicated fish cutting board helps maintain proper hygiene and prevents cross-contamination.
For the drying process, you'll want either an oven that can maintain temperatures between 160-180 degrees or a dedicated dehydrator. If you're going the traditional route, drying frames or poles will be essential for hanging your fish flesh side out.
Don't forget to have mats or screens ready to guarantee proper air circulation during the drying process.
- Large bowl or container for cleaning and brining your fish
- Salt for preservation and enhancing flavor
- Bamboo or wickerwork frames for drying delicate pieces
For more precise control over the drying process, you might consider investing in a psychrometer to monitor humidity levels.
Kitchen shears come in handy for trimming fins and removing small bones, while canes or sticks help keep the fish properly spread during drying.
Salt Curing Fundamentals
You'll need to maintain a salt-to-fish ratio of roughly 1:4 by weight when dry brining, ensuring complete coverage of your fish fillets with the salt mixture.
Traditional dry brining methods require you to layer the fish between generous amounts of salt in a non-reactive container, allowing the salt to draw out moisture over 24-48 hours at refrigerator temperatures between 34-38°F.
To achieve consistent results, you must monitor both time and temperature carefully, as warmer conditions can lead to spoilage while insufficient curing time won't properly preserve the fish.
Using high-quality coarse sea salt or kosher salt will provide better control over the curing process and avoid unwanted additives that can affect the final flavor.
Salt-to-Fish Ratio Basics
Mastering the salt-to-fish ratio forms the foundation of successful air-dried fish. You'll need to use approximately 1/4 to 1/3 cup of salt per pound of fish, though this can vary based on your specific preservation goals.
To enhance both preservation and flavor, combine your salt with sugar in a 2:1 ratio – that's two parts salt to one part sugar.
When preparing your curing mixture, remember that the salt-to-fish ratio directly impacts your final product's taste and texture. You'll want to guarantee even distribution of the salt mixture across your fish fillets for consistent results.
Pat your fillets dry before applying the cure, as this helps the salt adhere better and promotes effective moisture removal.
- Fresh, uniform-thickness fillets covered in an even layer of salt cure
- Multiple fillets stacked in alternating layers of fish and salt mixture
- Pin bones removed and surfaces thoroughly dried before salt application
The effectiveness of your cure depends largely on maintaining proper salt concentration throughout the process. If you're working with fattier fish like salmon or mackerel, you might need to adjust your ratios slightly upward to guarantee proper preservation.
Traditional Dry Brining Methods
With your salt ratios established, it's time to understand the traditional dry brining process. You'll need to start by thoroughly cleaning your fish under cold water, removing scales with a fish scaler or knife back, and eliminating the head, fins, and innards.
After filleting the fish by cutting behind the gills and along the backbone, pat the fillets dry with paper towels.
Next, you'll create a dry brine mixture using your predetermined salt-to-sugar ratio. Spread about 1/4 inch of this mixture on the flesh side of your fillets. Layer the fish in a nonreactive container, ensuring even coverage of the brine. Cover with plastic wrap, removing air bubbles to prevent spoilage, and refrigerate.
The salt in your brine works as a natural preservative by drawing moisture from the fish tissue, creating an environment that inhibits bacterial growth.
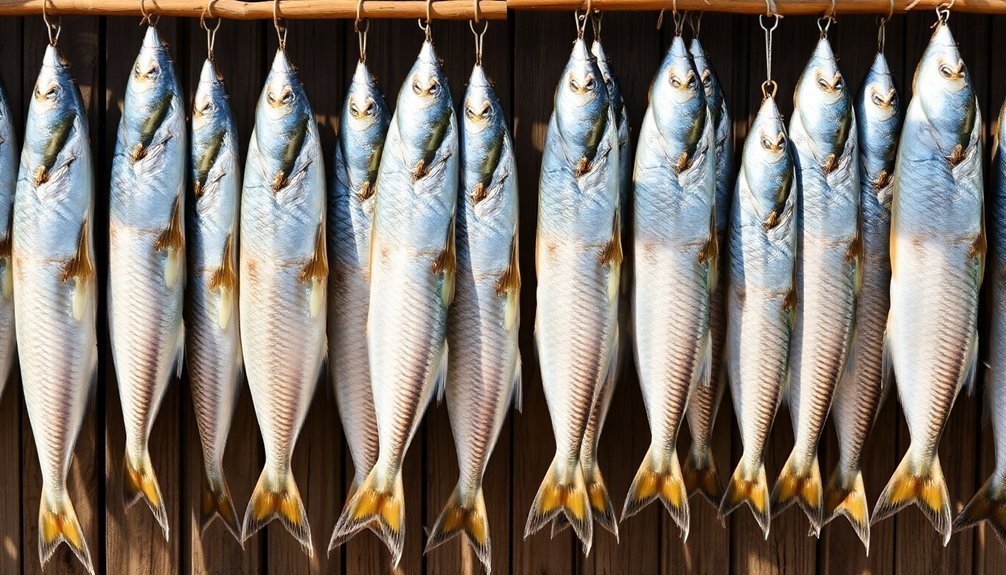
It'll also penetrate the flesh, alter protein structures, and stabilize oils in fatty fish. Once brined, you'll need to dry your fish until it forms a protective skin-like surface. You can accelerate this process by hanging it in a well-ventilated area or using a cloth tent to capture sun heat.
Time and Temperature Control
Maintaining precise temperature and timing control stands at the core of successful salt curing. You'll want to keep your curing environment between 34°F to 40°F (1°C to 4°C), as these cooler temperatures effectively slow bacterial growth while optimizing the salt's preservative properties. Your refrigerator provides an ideal setting for maintaining this consistent temperature range.
The curing duration depends heavily on your fish's characteristics. As a general rule, plan for 7 days of curing per inch of thickness. You'll find that smaller fillets might be ready in 1-3 days, while larger cuts require extended periods. If you're working with fatty fish, you may need to adjust these times downward, as they often cure more quickly.
- Store your curing container away from direct light and temperature fluctuations
- Check daily that your fish remains fully submerged in the brine
- Monitor the temperature consistently using a reliable thermometer
Remember to maintain strict hygiene throughout the process. You'll need to keep your equipment clean and regularly inspect the curing progress.
If you notice any temperature variations or inconsistencies, adjust your setup immediately to guarantee proper preservation.
Traditional Asian Marinade Recipes
You'll discover that Asian marinades for air-dried fish often start with a classic soy-based blend featuring ginger, garlic, and sesame oil as the foundation.
Sweet-spicy variations incorporate brown sugar or mirin balanced with chili paste, creating complex layers of flavor that complement the natural taste of fish.
Regional differences showcase unique ingredients, from Japanese sake-based mixtures to Thai-style marinades with lime and lemongrass, allowing you to experiment with various authentic combinations.
Classic Soy-Based Blends
Traditional soy-based marinades form the backbone of Asian fish preparation, offering a perfect balance of savory and sweet flavors. You'll need quality soy sauce as your base, complemented by fresh ginger and aromatic sesame oil.
The addition of unseasoned rice vinegar helps balance the flavors, while minced garlic intensifies the umami notes.
When preparing your marinade, you'll want to combine these ingredients quickly – it typically takes just 5-8 minutes. Let your fish marinate for about 30 minutes, making sure to turn it halfway through for even flavor distribution.
For added depth, consider incorporating:
- A touch of honey or sugar to balance the saltiness
- White pepper for an earthy kick that's different from black pepper
- Thinly sliced scallions and cilantro for fresh, aromatic notes
You can adapt this versatile blend for various cooking methods, including stovetop, oven, or grill. If you're looking to create a glaze, simply reduce the marinade while cooking.
Remember to store your marinated fish in the refrigerator until you're ready to cook, and consider garnishing with toasted sesame seeds for added texture.
Sweet-Spicy Fish Marinades
Looking to add some heat to your fish dish? Sweet-spicy marinades offer the perfect balance of flavors that'll make your air-dried fish truly memorable. You'll want to start with a soy sauce base, then add honey or brown sugar to create that essential sweet counterpoint to the heat.
| Ingredient | Amount | Purpose |
|---|---|---|
| Soy Sauce | 1/2 cup | Base flavor |
| Honey/Brown Sugar | 2 tbsp | Sweetness |
| Chili Flakes | 1-2 tsp | Heat element |
Mix your marinade by whisking all ingredients until well combined. For the best results, you'll need to marinate your fish for at least 20 minutes, though an hour will give you more intense flavors. Place your fish in a zip-lock bag and make certain it's evenly coated with the mixture. You can adjust the heat level by adding or reducing chili flakes, or incorporating fresh serrano peppers for an extra kick.
Once marinated, you can proceed with your preferred cooking method – whether that's grilling, baking, or pan-frying. Don't forget to garnish with fresh cilantro, green onions, and toasted sesame seeds before serving. A squeeze of lime will brighten up all the flavors perfectly.
Regional Marinade Variations
While sweet and spicy marinades offer great flavor, Asia's diverse culinary traditions bring an entirely different spectrum of tastes to air-dried fish.
You'll find that Japanese-style miso marinades combine miso paste with sake and mirin, creating a deep umami profile that's perfect for fatty fish like salmon or sablefish.
In Chinese cooking, you'll often encounter ginger-soy combinations, where fresh grated ginger adds a bright, spicy note to the savory soy base.
For your air-dried fish preparation, you can explore these regional variations:
- Japanese miso-based marinade: Combine white miso paste with sake, mirin, and a touch of sesame oil
- Korean-inspired marinade: Mix gochugaru (Korean red pepper flakes), soy sauce, garlic, and rice vinegar
- Chinese-style marinade: Blend soy sauce, shaoxing wine, ginger, and five-spice powder
Each regional variation requires specific marinating times, typically ranging from 30 minutes to 2 hours.
You'll want to reserve some marinade before use, then simmer it down to create a complementary serving sauce.
Remember to adjust the flavors to match your preferred fish variety and personal taste preferences.
Air Drying Techniques
Mastering proper air-drying techniques is essential for creating safe, delicious dried fish at home. Before you begin drying, you'll need to scale and clean your fish thoroughly, removing internal organs, fins, and as many bones as possible.
After rinsing away any debris, you're ready for the vital salting stage. You can either soak your fish in a saltwater solution (3-10% concentration) for 20-30 minutes or apply salt directly to the surface. Using high-quality sea salt or kosher salt will guarantee better flavor than iodized salt.
Let the fish cure in your refrigerator overnight or up to 24 hours before proceeding with the drying process.
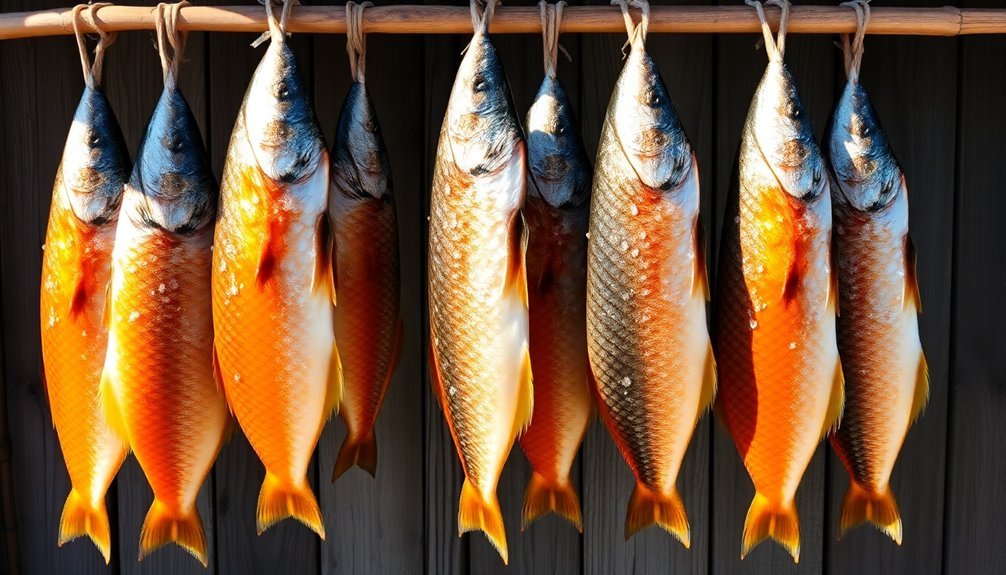
When you're ready to dry, place your fish in direct sunlight early in the morning for maximum exposure. Use a drying basket or cheesecloth to protect it from insects, and make sure there's proper ventilation.
You'll need to turn the fish several times during the 1-6 hour drying period for even results. Monitor the process carefully – the surface shouldn't stick to your finger when touched, but avoid over-drying as it can compromise texture and flavor.
Storage Methods and Tips
To maintain ideal preservation, consider these essential storage practices:
- Place silica gel packets or activated charcoal in your storage containers to absorb excess moisture and prevent rehydration.
- Keep salt-cured fish with their salt coating intact for additional preservation.
- Label containers with storage dates and check regularly for signs of spoilage.
Your dried fish's longevity depends heavily on proper moisture control. Keep humidity levels low and make certain your storage area remains clean and free from contaminants.
If you notice any unusual odors, mold, or discoloration, discard the fish immediately.
With proper storage techniques, you'll maintain the quality of your air-dried fish while preventing contamination from insects and rodents.
Remember to use your preserved fish within a reasonable timeframe for the best results.
Steaming Your Dried Fish
Successfully steaming dried fish requires careful preparation and timing to achieve the perfect texture and flavor.
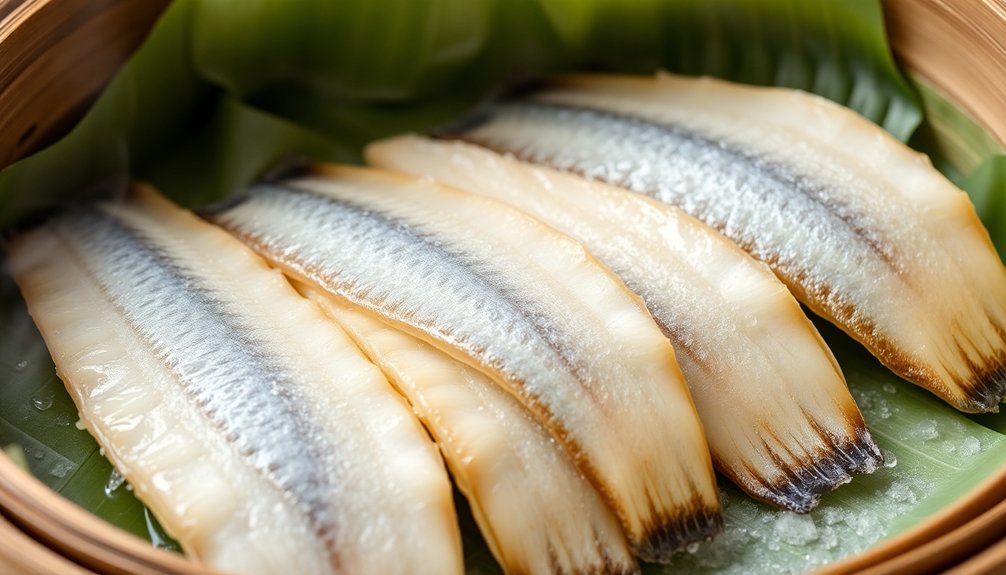
Begin by soaking your half-dried fish in rice water for an hour to remove excess salt, and thoroughly clean away any blood vessels to prevent fishy odors. Cut the fish into bite-sized pieces to guarantee even cooking throughout.
Set up your steamer and add a splash of cooking wine to neutralize any remaining fish smell. For thin varieties like Yangtae, steam for 15 minutes, while thicker fish like croaker and sea bream need 20-25 minutes. Keep the heat at medium to avoid overcooking.
While the fish steams, prepare your seasoning sauce using soy sauce, cooking wine, sugar, red pepper powder, and sesame oil. You'll want to spread this evenly over your fish either before or after steaming.
For extra flavor, consider adding radish slices, onion, and garlic to the steamer.
Serve your steamed fish hot, garnished with sesame oil and sesame salt. Add traditional accompaniments like leek, crushed garlic, and dried tangerine peel.
When done correctly, the fish should have a firm but slightly yielding texture when pressed.
Quality Testing and Safety Measures
Throughout the drying process, proper quality testing and safety measures guarantee your fish remains safe for consumption while retaining its nutritional value. To confirm safety, you'll need to maintain water activity levels at 0.85 or below, which prevents harmful bacteria from growing.
Pay close attention to proper sanitation practices, including clean hands, utensils, and work surfaces, as pathogens can enter from multiple sources.
For peak quality assurance, check these key indicators during your drying process:
- The fish's texture should be firm and consistent, without any soft or mushy areas that could indicate incomplete drying
- The color should be uniform without any dark spots or discoloration that might suggest spoilage
- The odor should be mild and characteristic of dried fish, without any off-putting or rancid smells
You'll want to eviscerate your fish thoroughly before drying, as this step is vital in preventing the formation of dangerous toxins, particularly those produced by Clostridium botulinum.
Store your finished product in HDPE bags to maintain its biochemical composition and prevent rehydration. Remember that proper packaging is fundamental for preserving both the nutritional value and safety of your dried fish.
Frequently Asked Questions
Can I Use an Electric Fan to Speed up the Drying Process?
Yes, you can use an electric fan to accelerate drying. Just place your items on a mesh surface, position the fan for even airflow, and guarantee good ventilation. It'll help remove moisture more quickly.
What Causes White Mold Growth on Drying Fish and Is It Dangerous?
You'll get white mold when there's too much moisture and poor ventilation during fish drying. It's dangerous because molds can produce toxic substances called mycotoxins that can harm your liver and overall health.
Why Do Some Dried Fish Turn Rancid Faster Than Others?
Your dried fish will turn rancid faster if it's an oily species, hasn't been properly dried, or is exposed to high temperatures. Poor storage, handling stress, and inadequate packaging also speed up rancidity.
How Can I Prevent Insects From Attacking My Drying Fish?
You'll need to cover your drying fish with protective netting, guarantee proper air circulation, and keep the area clean. Using fans can help deter insects while speeding up drying time.
Does Freezing Dried Fish Affect Its Texture When Later Steamed?
Yes, if you freeze your dried fish, you'll notice a tougher, mushier texture when steaming it later. This happens because freezing creates ice crystals that damage the fish's cellular structure twice – during drying and freezing.
In Summary
You've now mastered the art of Asian fish preservation through air drying. With proper fish selection, careful salt curing, and patient drying techniques, you'll create delicious preserved fish that lasts for months. Remember to always check for signs of spoilage and store your dried fish in airtight containers. Whether you're steaming it for dinner or adding it to soups, you'll enjoy this traditional delicacy whenever you want.
Leave a Reply