To check if your canning lids sealed properly, you'll need to wait 12-24 hours after processing for complete cooling. Start with a visual inspection – the lid should be concave (curved downward) and the center button shouldn't pop up when pressed. Next, remove the screw bands and press the center of each lid; it shouldn't flex or make a clicking sound. Test the seal by tapping the lid with a metal spoon – a high-pitched ring indicates success, while a dull thud suggests failure. Finally, try lifting the jar by the lid edges; a properly sealed lid will hold firm. These basic tests are just the beginning of ensuring your preserved foods stay safe.
Let Jars Rest Completely
The essential first step in checking canning jar seals is letting them rest completely undisturbed. You'll need to wait 12 to 24 hours after removing the jars from the canner to verify proper sealing and vacuum formation. During this time, don't retighten the lids or move the jars unnecessarily, as this can interfere with the sealing process.
Place your hot jars on a folded kitchen towel or wooden cutting board to protect them from temperature shock. Don't set them on stone, metal, or tile surfaces, which can cause breakage. Using cold surfaces can lead to sealing failures and jar damage.
Before removing the jars from the canner, let them stand for 5 minutes to cool gradually and prevent product loss.
You'll notice the food level might appear lower after cooling – this is normal and happens because of air exhaustion during processing. Don't open the jars to add more liquid, as this will break the seal.
Be patient during the cooling process, as jars may seal slowly and quietly. Wait until the jars are completely cool to the touch before testing the seals. If you rush this process, you won't get an accurate assessment of whether your jars have sealed properly.
Visual Lid Test
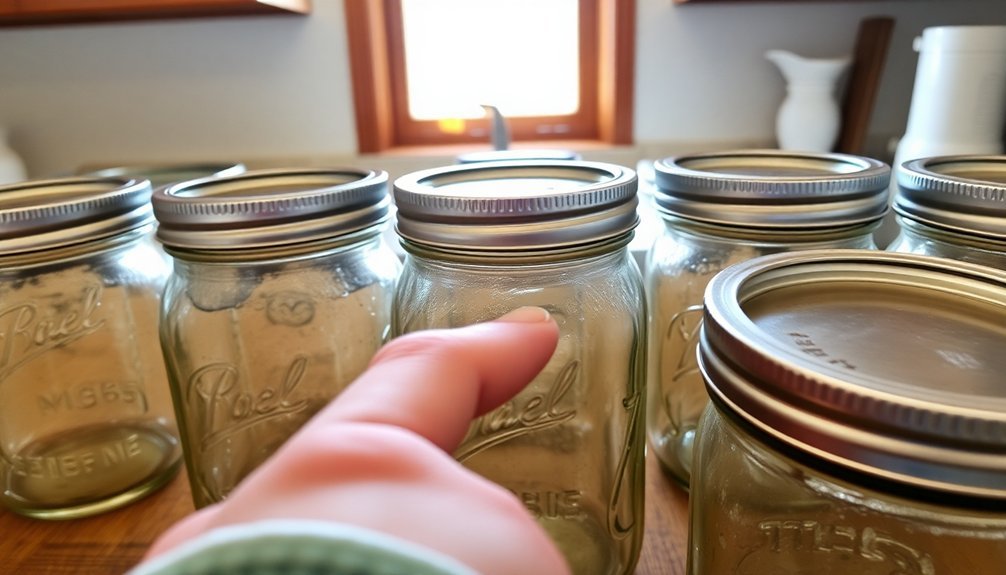
After your jars have cooled completely, you'll need to perform a visual inspection of each lid to check for proper sealing. A properly sealed lid will appear concave, with a noticeable depression at its center. This dip indicates that the vacuum seal has formed correctly during the cooling process. Maintaining negative pressure inside helps prevent contamination from external air and microorganisms.
To thoroughly check your jar lids, follow these essential steps:
- Hold the jar at eye level to examine the lid's shape – you're looking for a consistent downward curve from edge to center.
- Check the center button of the lid – it should be firmly pulled down and not pop up when pressed.
- Look for any irregularities like food residue, rust, or damage along the sealing surface.
- Remove the screw band and try lifting the jar by the lid – a properly sealed lid will stay firmly in place.
Don't ignore any visual red flags. If you notice the lid is flat or bulging, or if there are any nicks, cracks, or incomplete sealant rings, the jar hasn't sealed properly.
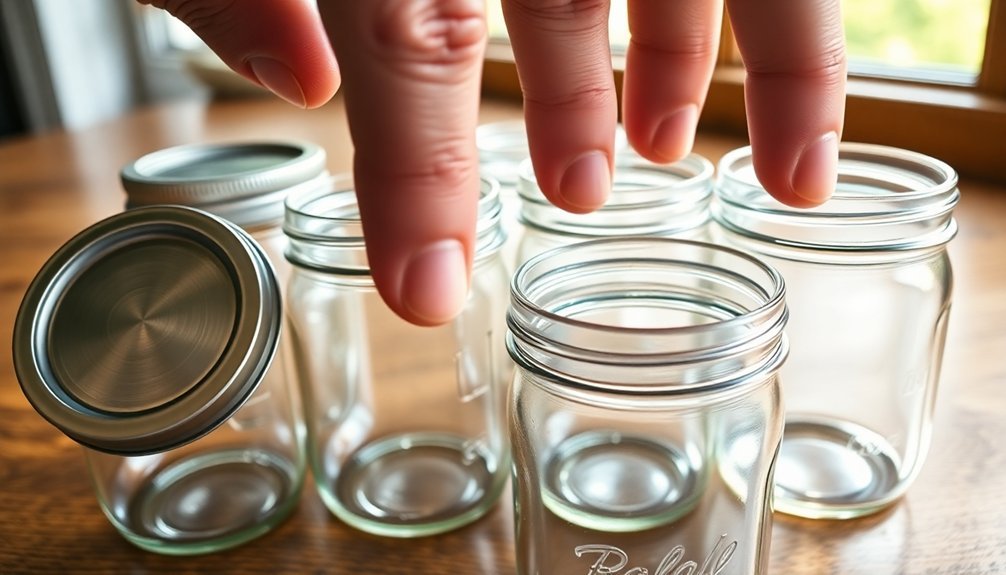
For best results, always use new lids and standard mason jars to guarantee reliable sealing.
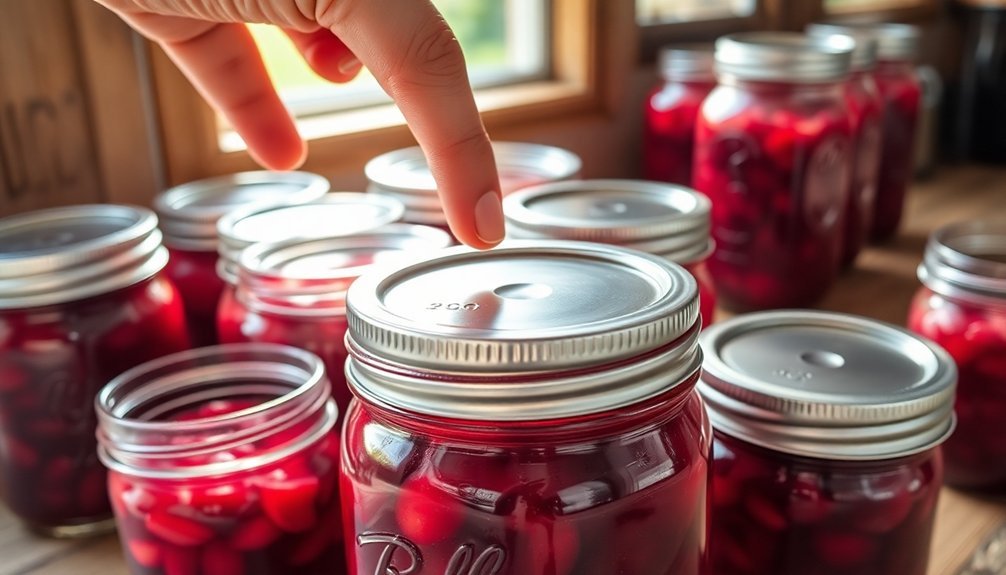
Press The Center Down

Beyond visual inspection, performing a simple press test offers another reliable way to verify your jar's seal. Press down firmly on the center of your cooled jar's lid – it shouldn't flex or move if properly sealed. A secure seal will feel solid and concave, maintaining its position when you apply pressure.
You'll need to wait 12-24 hours after processing before testing the seal. During this cooling period, don't tighten the bands, as this can interfere with the gasket and prevent proper sealing. Once your jars have reached room temperature, remove the screw bands to perform the test effectively. This test is ideal for beginners since it provides immediate feedback on seal status.
If you notice any movement when pressing the lid's center, your jar isn't properly sealed. You can confirm this by trying to lift the jar by the lid alone – a properly sealed lid should hold firm.
When you discover an unsealed jar, you've got two options: either store it in the refrigerator and use it within a few days, or reprocess it with a new lid within 24 hours. If you choose to reprocess, always inspect both the jar and new lid for any defects that might prevent successful sealing.
Listen For The Ring
Listening for a distinctive ring provides another reliable test for checking jar seals. When you tap the lid's center with a metal spoon, a properly sealed jar will produce a clear, high-pitched ringing sound. This sound occurs due to the vacuum created during the sealing process, while a dull thud often indicates a poor seal or food particles stuck to the lid.
To perform this test effectively, follow these key steps:
- Wait 12-24 hours after processing to verify the jar has cooled completely.
- Remove the screw band to test without interference.
- Tap the center of the lid gently with a metal spoon's bottom.
- Listen for a clear, high-pitched ring that's consistent across all jars.
Make certain you're tapping firmly enough to produce a clear sound but not so hard that you damage the lid. Avoid tapping near the edges or rim, as this can create misleading sounds.
If you're unsure about the seal based on sound alone, combine this method with other tests like checking for lid concavity or pressing the center. When you hear a dull sound, examine the jar carefully and consider reprocessing with a new lid or storing it in the refrigerator.
Check Ring And Seal Strength
Testing the ring and seal strength provides crucial confirmation that your canned goods are safely preserved. Once your jars have completely cooled, you'll need to perform several tests to verify proper sealing.
Start by removing the screw bands from your jars. Try to lift each jar by holding only the outer edge of the lid. If the lid stays firmly attached and supports the jar's weight, you've achieved a good seal. However, if the lid comes off, your seal has failed.
Next, examine the lid's shape by holding the jar at eye level. You're looking for a slight downward curve in the center – this concavity indicates proper sealing. Press down on the middle of the lid with your finger. A properly sealed lid won't flex or make a popping sound. If it moves up and down, your seal isn't secure.
Be wary of false seals that can occur if you've touched the lids during cooling or if food residue interferes with the sealing surface. When in doubt about a seal's integrity, either reprocess the jar or store it in the refrigerator.
Don't rely on the screw bands to maintain the seal; a properly sealed lid should hold firmly on its own.
Frequently Asked Questions
How Long Can Properly Sealed Jars Be Stored at Room Temperature?
You can store your properly sealed jars at room temperature for up to 12 months or longer if you've maintained them in ideal conditions. It's best to keep them in a cool, dark place.
Can I Reuse Canning Lids if They Appear to Be in Good Condition?
You shouldn't reuse canning lids, even if they look good. The sealing compound weakens after first use, risking food safety. The USDA and manufacturers strongly recommend using new lids for each canning session.
What Causes Some Jars to Seal Immediately While Others Take Longer?
Your jars' sealing speed depends on several factors: temperature cooling rate, headspace amount, lid quality, and proper venting. While quick sealing's common, some jars naturally take longer to form a proper vacuum seal.
Should I Remove the Rings After the Jars Have Sealed Properly?
Yes, you should remove the rings once your jars have properly sealed. This helps you spot spoilage easier, prevents rust build-up, and lets you store the rings separately. Just guarantee the seals are secure first.
Why Do Some of My Jars Make a Popping Sound During Cooling?
Don't worry – that popping sound you hear is actually a good sign! It means the lid is sealing properly as the jar cools down and creates a vacuum. It's a normal part of the canning process.
In Summary
You'll want to perform all these tests once your jars have completely cooled to guarantee proper sealing. Look for the telltale concave lid, listen for that satisfying ping, and check the seal's strength by pressing the center. If you've followed these steps and your lids pass these tests, you can confidently store your home-canned goods knowing they're safely preserved.


Leave a Reply