You'll need these 7 essential tips for successful sugar-salt food preservation. Start by getting the sugar-salt ratio right for your specific food type, then choose between wet brining or dry curing methods. Always sterilize your equipment thoroughly before beginning, and maintain proper temperature control throughout the process. Pack your foods tightly without air gaps to prevent spoilage, and monitor water activity levels to guarantee safe preservation. Store your preserved foods in appropriate containers at the correct temperature. These fundamentals will set you up for success, but there's much more to mastering this time-tested preservation method.
Choose The Right Sugar-Salt Ratio
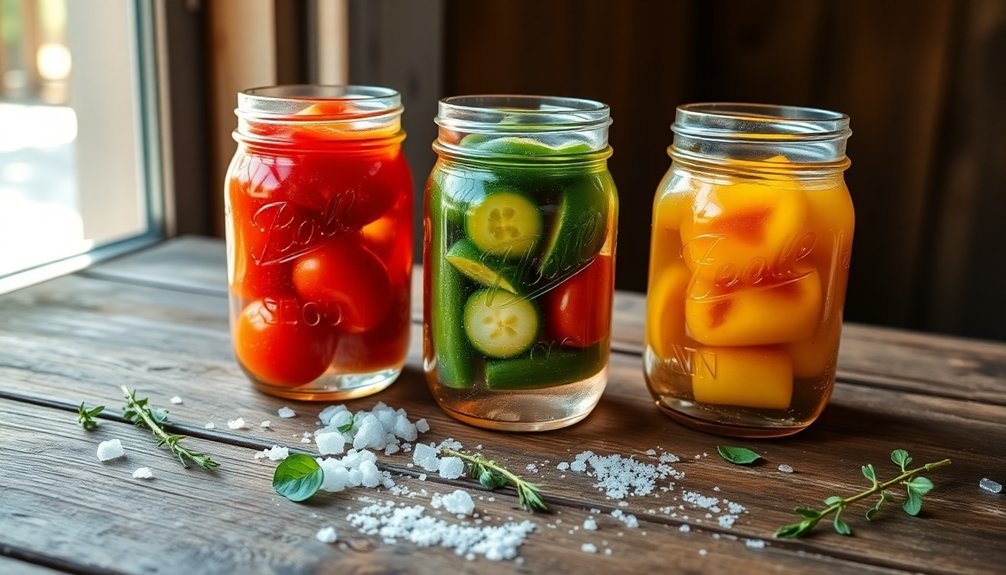
Anyone preserving food with sugar and salt must understand the critical balance between these ingredients. When you're combining these preservatives, you can't simply guess at quantities or modify tested recipes, as both ingredients play specific roles in food safety and quality.
You'll need to follow tested recipes precisely because sugar and salt work together to reduce water activity and inhibit microbial growth. Sugar helps maintain color, texture, and flavor while contributing to gel formation in products like jams. Salt enhances preservation through additional moisture reduction and antimicrobial properties. Non-nutritive sweeteners should be added only before serving to prevent flavor issues.
If you're thinking about reducing sugar content or substituting with alternatives like aspartame or sucralose, don't. These sweeteners won't provide the same preservative benefits or thickening properties as real sugar. They can also alter the chemical makeup of your preserved foods and reduce shelf life.
For best results, you should combine your sugar-salt preservation with complementary methods like dehydration or refrigeration.
When using the sugaring technique, you'll need to properly desiccate the food first, then pack it with the appropriate sugar-salt mixture to create an environment where harmful microorganisms can't thrive.
Master Wet Versus Dry Methods
You'll need to understand both wet and dry preservation approaches to choose the right method for your food.
When working with brine solutions, dissolve salt and sugar completely in water before submerging your ingredients, ensuring even distribution of the preservatives. Sugar helps maintain food quality during storage.
For dry curing, apply your salt-sugar mixture directly to the food's surface, allowing it to naturally draw out moisture while the cure penetrates the ingredients.
Brine Solutions Guide
Food preservation's most versatile method lies in the art of brining, which encompasses both wet and dry techniques for extending shelf life and enhancing flavor.
You'll find that traditional brine solutions combine salt concentrations between 5-20% with water, while enhanced versions may include sugar, honey, or molasses to improve browning and taste. The technique of tumbling or massaging meat during brining significantly speeds up the absorption process.
When you're creating a brine solution, you'll need to maintain temperatures between 36-40°F to prevent bacterial growth.
You can add herbs, spices, and aromatics like onions and celery to infuse more complex flavors. For meat processing, you'll either inject the brine directly or use immersion techniques, while pickling vegetables typically involves a combination of vinegar, salt, and sugar.
The science behind brining is fascinating – it's not just about flavor. Through osmosis, the salt denatures proteins and helps retain moisture, making your food juicier and more tender.
You'll notice improved texture and color preservation, especially in meats and produce. For maximum effectiveness, you'll want to cool your brine completely before using it, and if you can't maintain proper refrigeration, consider adding curing salts like Prague Powder to guarantee food safety.
Handling Dry Cure Mixtures
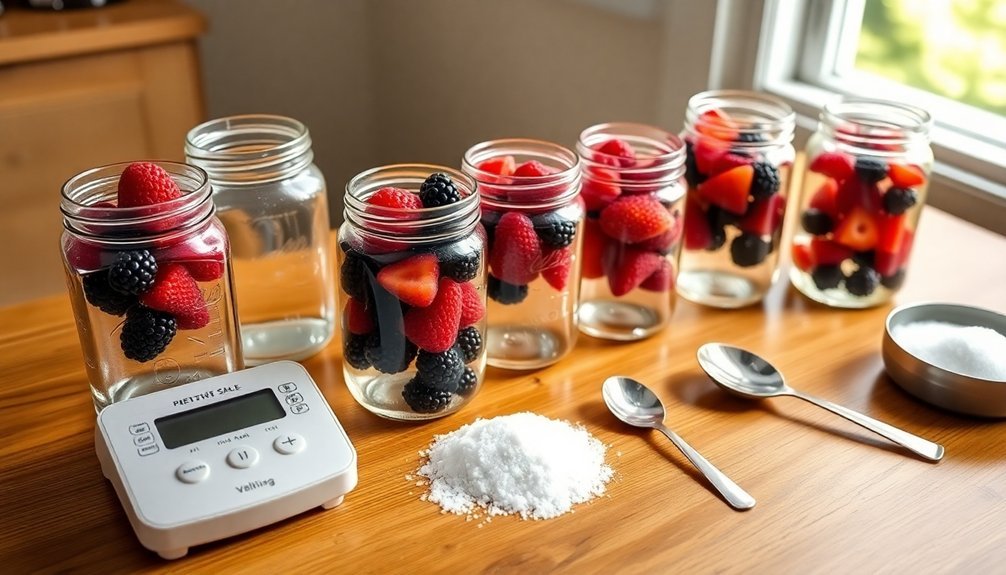
In contrast to wet brining, dry cure mixtures offer a more concentrated preservation method that draws moisture directly from meats through precise salt ratios.
You'll need to measure carefully, using 2.75 to 3.5 grams of salt per 100 grams of meat to achieve the right balance – too little won't preserve properly, while too much will make your meat inedible.
When you're applying the cure, thoroughly coat your chosen cut of meat with the salt mixture, then place it in a zipper bag in your refrigerator.
Remember to turn the meat daily to guarantee even distribution. You'll need to cure it for approximately one day per 1000 grams until it's uniformly firm throughout.
After curing, rinse off excess salt with water or wine, then hang your meat to dry in conditions between 55-65°F with 70-80% relative humidity.
You'll know your meat is safe to eat once it's lost 30% of its original weight – track this by weighing regularly.
While the process takes patience, ranging from weeks to months, you'll create shelf-stable preserved meat that doesn't require refrigeration when properly cured.
Sterilize Equipment Before Starting
You'll need pristinely clean jars to prevent food spoilage and guarantee successful preservation of your ingredients.
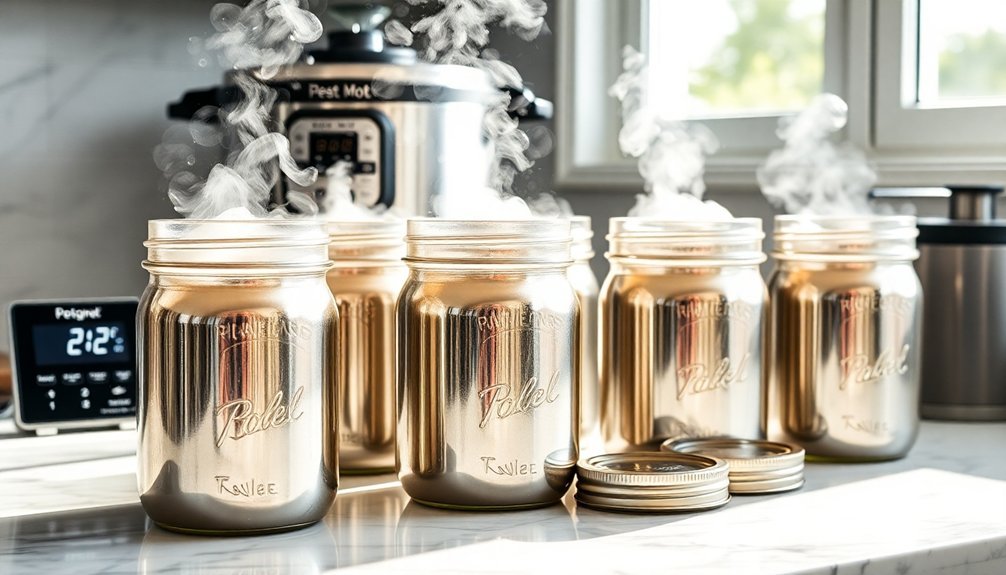
To sterilize your equipment, submerge jars and lids in a hot water bath at a rolling boil for at least 10 minutes, making sure they're completely covered.
Before you begin preserving, thoroughly sanitize all your working surfaces and tools with hot, soapy water followed by a sanitizing solution to eliminate any remaining bacteria.
Clean Jars Prevent Spoilage
Before starting any preservation project, properly sterilized equipment stands between success and spoilage. You'll need to guarantee every jar, bottle, and utensil is completely sterilized to prevent harmful microorganisms from contaminating your preserved foods.
Bacteria, yeasts, and molds can quickly turn your preservation efforts into waste if you're not careful with cleanliness.
You've got several effective methods to sterilize your equipment. You can use boiling water, run your jars through a hot dishwasher cycle, or employ steam sterilization. For the best results, you'll want to time your sterilization so your jars are still hot when you're ready to fill them.
Don't forget to sterilize your utensils too – every spoon, funnel, or tong that touches your food needs to be completely clean.
Remember that different foods may require different sterilization approaches. High-acid foods are more forgiving, but low-acid foods demand strict sterilization to prevent dangerous bacterial growth.
If you're using an autoclave or steam sterilizer, make sure you're following the manufacturer's instructions precisely. Regular maintenance of your sterilization equipment isn't optional – it's essential for consistent, safe results.
Hot Water Bath Method
A well-equipped water bath canner forms the foundation of successful home preservation. You'll need a large, deep pot with a metal rack at the bottom and a tight-fitting lid. Make sure your pot's deep enough to cover the jars with at least an inch of water, and verify that both pot and rack are thoroughly clean before you begin.
Before filling your jars, you'll need to sterilize them along with their lids and rings in boiling water. Use a jar lifter to remove them from the hot water, and check each jar for chips or cracks that could cause breakage during processing.
When you're filling jars with high-acid foods like tomato relish or strawberry jam, remember to leave proper headspace for expansion. Remove air bubbles, wipe the rims clean, and secure the lids finger-tight.
Once your jars are ready, lower them into the water bath canner, ensuring they're covered by at least an inch of water. Maintain a rolling boil for the time specified in your recipe.
After processing, remove the jars and let them cool on a wire rack. You'll know they're properly sealed when the lids become concave and don't move when pressed.
Sanitize Tools and Surfaces
Proper sanitization of all equipment marks the critical first step in food preservation.
You'll need to start by disassembling your equipment and removing any food residues. Wash all surfaces with a detergent solution at temperatures above 110°F, making sure to use appropriate cleaning tools like nylon pads for different surfaces.
After washing, you must rinse everything thoroughly with clean water to remove detergent residue. For effective sanitization, you've got two main options: hot water sanitizing at 171°F or higher, or using chemical sanitizing solutions.
If you're using a three-compartment sink, follow the wash-rinse-sanitize sequence precisely.
For more thorough sterilization, you can use methods like steam sterilizers or autoclaves, which are particularly effective for canning equipment. UV-C sterilization works well for packaging materials, while chemical sterilizers using hydrogen peroxide or chlorine are suitable for many tools.
Remember to check that all surfaces are free of cracks or crevices before sanitizing. Allow proper contact time between the sanitizer and surfaces, and always let items air-dry completely before use.
Maintain detailed records of your cleaning procedures to guarantee consistency in your preservation process.
Control Temperature During Preservation
Temperature control stands as the cornerstone of successful sugar-salt preservation. You'll need to maintain precise temperatures throughout the preservation process to prevent microbial growth and guarantee your preservatives work effectively. Keep your food out of the danger zone (4-60°C or 40-140°F), where bacteria multiply rapidly and can compromise your preservation efforts.
For sugar-salt preservation, you'll want to start with proper refrigeration at 0-7.2°C until you're ready to process your food. During the actual preservation process, maintain consistent temperatures based on your specific method. If you're using a hot pack method, heat your ingredients to 90-120°C to eliminate harmful microorganisms.
After processing, store your preserved foods at appropriate temperatures – typically between 0-8°C for short-term storage or below -18°C for long-term freezer storage.
Don't forget to monitor your storage temperatures regularly using reliable thermometers. Your preservatives' effectiveness depends heavily on proper temperature control – too warm, and they'll lose their preserving power; too cold, and they mightn't distribute properly through your food.
Remember that consistent temperature maintenance is just as important as achieving the right initial temperature.
Pack Foods Without Air Gaps

Packing foods without air gaps stands as a critical step in sugar-salt preservation. You'll need to select the right packaging method to guarantee your preserved foods maintain their quality and safety. Vacuum packaging offers an excellent solution by removing air that could lead to spoilage, while modified atmosphere packaging (MAP) creates an ideal environment by replacing air with preservation-friendly gases.
| Method | Best For | Key Benefits |
|---|---|---|
| Vacuum Packaging | Frozen foods, dry goods | Prevents freezer burn, reduces oxidation |
| MAP | Proteins, produce, snacks | Extends shelf life, maintains appearance |
| Airtight Storage | Herbs, berries, vegetables | Separates ethylene-producing items |
| Barrier Packaging | Canned goods, liquids | Protects against contamination |
| Heat-Sealed Containers | Dry preserved foods | Creates complete seal |
When you're packing your preserved foods, guarantee you're using clean, dry containers and filling them completely to eliminate air pockets. If you're using bags, squeeze out excess air before sealing. For added protection, you can include oxygen absorbers in your storage containers. Remember to check that your container lids have plastic seals rather than paper or foam ones, as these provide better protection against air and moisture.
Monitor Water Activity Levels
Monitoring water activity (aW) levels is essential for successful sugar-salt preservation. You'll need to understand that aW measures the unbound water in food that's available for microbial growth, ranging from 0 (bone dry) to 1.0 (pure water).
By controlling aW levels, you're directly affecting the ability of harmful microorganisms to survive and grow in your preserved foods. When you're preserving with sugar and salt, you're utilizing their ability to bind water molecules, making them unavailable to microorganisms.
You'll want to keep aW below 0.80 to prevent most mold growth, and ideally below 0.75 for long-term storage. Sugar and salt work as humectants, drawing moisture away from the environment where bacteria might grow.
You can measure aW using specialized equipment like hygrometers, but you'll need to follow tested recipes carefully if you don't have access to these tools. Remember that moisture content isn't the same as water activity – two foods can have identical moisture levels but different aW values.
Store Preserved Foods Correctly
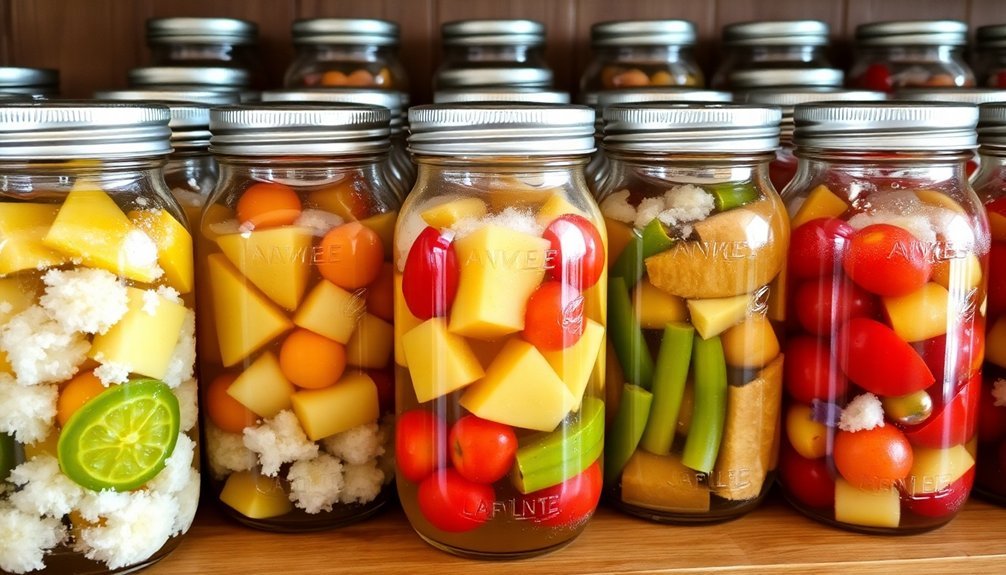
Setting up the right storage conditions will make or break your preservation efforts. You'll need to maintain consistent temperatures through refrigeration or freezing while controlling humidity levels to prevent moisture from compromising your preserved foods.
Always use airtight containers and store them in dark areas to protect against light degradation.
Choose your storage method based on your preservation goals. If you're planning short-term storage, refrigeration works well, while freezing is ideal for long-term preservation.
Consider combining preservation techniques – you might want to salt or sugar your foods before drying or canning them. When using multiple methods, verify they're compatible and monitor the results regularly.
Don't forget the basics of food safety. You'll need to keep your equipment and storage containers clean and sanitized to prevent contamination.
Store different types of preserved foods separately, and always label containers with contents and dates.
Check your stored foods regularly for signs of spoilage, and maintain proper temperature control throughout storage.
If you've used sugar or salt preservation, keep these items in low-humidity environments to prevent moisture absorption that could compromise their preservative effects.
Frequently Asked Questions
Can I Use Honey Instead of Granulated Sugar for Preservation?
You can use honey instead of sugar for preservation, but you'll need less since it's sweeter. Remember, it won't reduce sugar content and may affect texture and flavor. Always follow proper canning methods.
How Long Will Sugar-Salt Preserved Foods Maintain Their Optimal Flavor?
You'll find that properly preserved foods with sugar and salt maintain ideal flavor for up to 12 months when stored correctly. However, you should always check for signs of spoilage before consuming stored items.
What Signs Indicate My Preserved Food Has Spoiled Despite Sugar-Salt Treatment?
Watch for mold growth, off-putting smells, unusual texture changes, or discoloration in your preserved foods. You'll notice slimy surfaces, mushy consistency, strange odors, or cloudy appearance when spoilage occurs.
Does Altitude Affect Sugar-Salt Preservation Methods and Ratios?
While altitude won't affect your sugar-salt ratios directly, you'll need longer cooking times due to lower boiling points. Focus on adjusting processing times rather than changing preservation ratios to guarantee food safety at higher elevations.
Can I Preserve Different Foods Together Using the Same Sugar-Salt Mixture?
You shouldn't preserve different foods together using the same sugar-salt mixture. Each food requires specific ratios for safe preservation, and combining them can lead to improper preservation and potential food safety risks.
In Summary
These time-tested preservation methods will help you keep your foods fresh and safe when you follow them carefully. Remember to maintain proper ratios, use clean equipment, and monitor conditions throughout the process. You'll get better results with practice, so don't be afraid to start small and work your way up. By mastering these essential techniques, you're ensuring your preserved foods stay delicious and safe to eat.


Leave a Reply