To preserve fresh vegetables in oil jars, you'll need to start with clean, young produce and prepare it through roasting, grilling, or blanching until tender. Use sterilized Mason jars and pack your cooked vegetables tightly, avoiding air pockets. Create a marinade using 2 parts light oil to 1 part vinegar, adding your choice of aromatics like garlic, herbs, or chilies. Fill hot jars with the hot vegetable mixture and seal immediately. Store your preserved vegetables in the refrigerator at 40°F or lower, and use within 4 days. Proper technique and careful monitoring will reveal the secrets to successful long-term preservation.
Choosing Your Preservation Vegetables
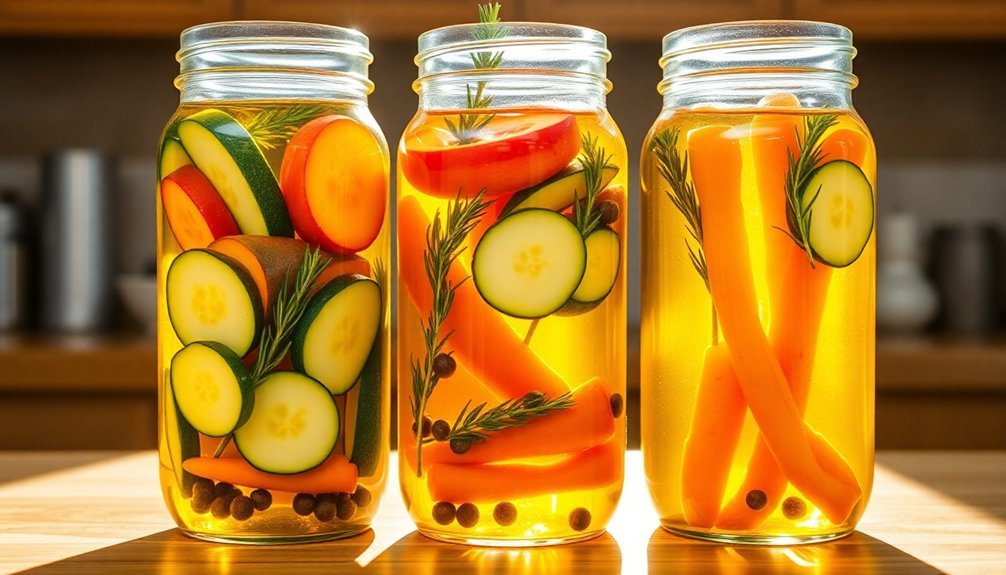
Anyone can preserve vegetables in oil, but selecting the right produce makes all the difference in your final product. You'll want to focus on vegetables that naturally complement oil preservation and hold their texture well during the process. Roasted beets, grilled zucchini, roasted peppers, blanched green beans, and mushrooms are excellent choices to start with.
When selecting your vegetables, always choose fresh, young, and tender specimens. Avoid any produce that shows signs of bruising, soft spots, or deterioration. High-quality olive oil is essential for achieving optimal flavor and preservation results.
You'll need to reflect on how you'll prepare each vegetable before preservation – some work better slow-roasted, while others benefit from grilling or blanching. Contemplate the flavors you'd like to incorporate, as your vegetables should pair well with herbs, garlic, and other seasonings you'll add to the oil.
Remember that mushrooms require special attention – they must be refrigerated unless you're adding vinegar or lemon juice to the preservation mixture. For best results, you'll want to maintain a ratio of two parts olive oil to one part vinegar in your preserving liquid, ensuring both safety and flavor.
Essential Equipment and Tools
Before diving into the preservation process, you'll need to gather the right equipment to secure success and safety. Start with clean, sterile glass jars, preferably Mason jars, which provide an airtight seal necessary for proper preservation. A pressure canner setup is essential as it's the only safe method for preserving low-acid vegetables.
You'll also need funnels that fit your jar openings and spatulas for efficient packing of vegetables. Don't forget essential tools like a bubble freer to eliminate air pockets and a jar lifter for safe handling.
You'll need sharp knives and cutting boards for vegetable preparation, plus cooking utensils like tongs for managing hot ingredients. Your kitchen should be equipped with an oven or baking dish for slow-roasting vegetables, and a stovetop for heating oil-vinegar mixtures when required.
For storage, ascertain you've got adequate refrigerator space, as your preserved vegetables must be kept at safe temperatures. You'll want to stock up on airtight lids to keep vegetables properly submerged in the oil mixture.
Finally, grab labels and markers to track preservation dates and identify contents. With these tools ready, you're properly equipped to begin the preservation process safely and effectively.
Preparing Vegetables for Storage
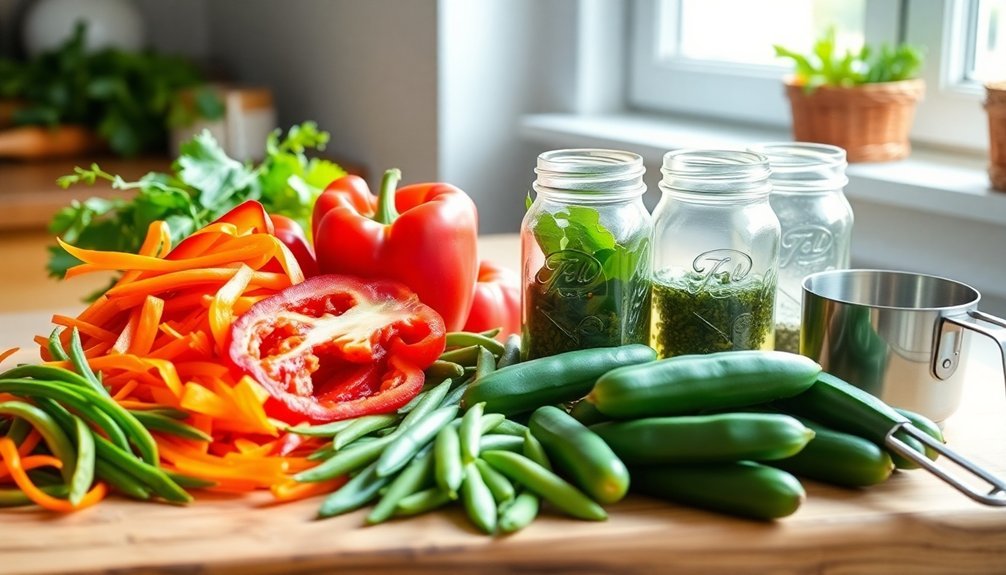
Proper vegetable preparation forms the foundation of successful oil preservation. You'll want to select young, tender vegetables at their peak freshness, focusing on varieties like beets, tomatoes, zucchini, summer squash, eggplant, peppers, mushrooms, and green beans.
Begin by thoroughly rinsing all produce to remove dirt and contaminants, handling them gently to prevent bruising. For food safety, you must ensure vegetables are properly acidified before adding any oil.
Before preserving your vegetables, you'll need to cook them completely. Preheat your oven to 350°F for roasting, or set up your grill or steamer. Toss the vegetables with half the olive oil, salt, pepper, and herbs before cooking.
Different vegetables require varying cooking times, typically between 20-60 minutes, so you'll need to monitor them until they're tender throughout.
Once cooked, you can add additional flavoring elements like garlic cloves, lemon zest, and fresh chilies. Remember to remove any raw or fresh ingredients if you're planning to store the preserved vegetables for longer than a week.
This preparation method guarantees your vegetables will be ready for safe preservation in your oil-vinegar mixture while maintaining their flavor and texture.
Creating the Perfect Marinade
With the vegetables prepared, it's time to create a flavorful marinade that'll preserve and enhance their natural taste. Start with a base ratio of 2 parts oil to 1 part vinegar, using light oils like vegetable or canola oil to prevent solidification in the refrigerator.
Add your acid components, such as red wine vinegar or citrus juices, which will help break down the vegetables' fibers and add moisture.
Balance your marinade by incorporating flavor enhancers like soy sauce, Worcestershire sauce, or mustard. You'll want to add a touch of sweetness with honey to complement the acidic elements.
Don't forget to include aromatics like garlic, ginger, and herbs, but remember to remove these if you're planning to store the vegetables for more than a week.
Whisk all your marinade ingredients together thoroughly before pouring over your vegetables. Make sure they're completely submerged in the liquid and store them in sterile containers.
You can marinate your vegetables for 1-2 hours, but don't exceed 24 hours to maintain their natural flavors. Always keep your marinated vegetables refrigerated and avoid reusing the marinade unless you boil it first.
Sterilizing and Filling Jars

You'll need to start by sterilizing your jars using boiling water, an oven, or a dishwasher to guarantee they're completely free from harmful bacteria.
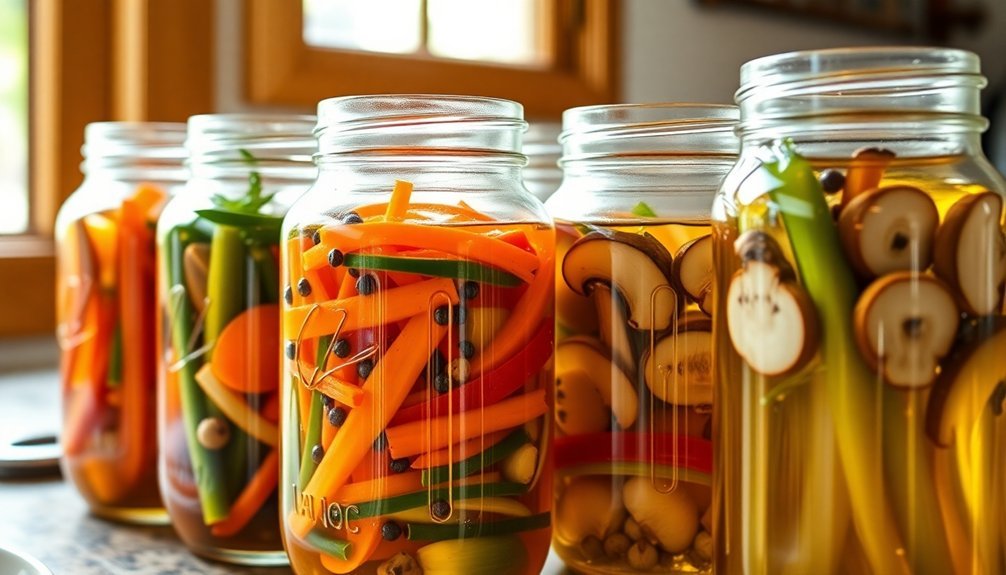
When filling the jars, pack your vegetables tightly while avoiding air pockets, which can lead to spoilage.
Be sure to leave the recommended headspace at the top of each jar and completely submerge all ingredients in oil to prevent contamination.
Proper Jar Sterilization Methods
Sterilizing jars correctly stands as the most essential step in preserving vegetables in oil, since even minor contamination can lead to spoilage or harmful bacteria growth. You'll find several reliable methods to achieve proper sterilization, with the boiling water technique being the most trusted approach.
For the boiling method, submerge your jars and lids in water with at least an inch of coverage, then boil for 10 minutes (adding a minute per 1,000 feet of elevation). If you prefer, you can use your oven by heating it to 150°C and placing the jars upright for 10-15 minutes.
- Don't risk your family's health – always sterilize thoroughly
- Imagine the satisfaction of perfectly preserved vegetables
- Think of the money you'll save by preventing spoilage
- Picture your pantry filled with safely preserved treasures
- Feel confident knowing you've followed proper safety protocols
For convenience, your dishwasher's hot cycle can effectively sterilize jars when placed upside down on the top rack.
Alternative methods include chemical solutions like bleach (1 tablespoon per gallon of water) or specialized UV equipment.
Remember to keep the jars warm until you're ready to fill them, ensuring maximum sterility throughout the process.
Preventing Jar Contamination
Even with properly sterilized jars, maintaining a contaminant-free environment during the filling process demands equal attention and precision.
You'll need to verify your vegetables and herbs are dried almost to crispness before adding them to oil, as moisture can create conditions where harmful bacteria like C. botulinum can thrive.
When filling your jars, you must acidify the mixture by adding vinegar to achieve a pH below 4.6, which prevents bacterial growth.
Don't rely on the misconception that oil or herbs have natural preservative properties – they don't provide adequate protection against contamination.
You'll need to refrigerate your filled jars immediately and use them within four days.
Label each container with both the preparation date and its four-day expiration date.
If you won't use the mixture within this timeframe, freeze it to extend its shelf life.
Remember that C. botulinum spores are present in soil, water, and air, so maintain strict cleanliness during the entire process.
If you notice any signs of contamination, don't take chances – boil the contents for 30 minutes to destroy toxins before disposing of them in sealed bags.
Air-Free Packing Techniques
Every successful oil-packed vegetable jar begins with proper sterilization and air-free packing techniques.
You'll want to start by choosing your preferred sterilization method – whether it's the reliable oven method at 275°F, the convenient dishwasher approach, or the traditional boiling-water canner method. For quick jobs, you can even use the microwave technique, though you'll need to avoid this for Kilner-style jars.
When you're ready to pack your vegetables, you've got two main options: raw-pack or hot-pack. The hot-pack method works best for oil preservation, as it helps remove trapped air. Remember to maintain proper headspace and add salt if desired – ½ teaspoon per pint is perfect for enhanced flavor.
- Watch in satisfaction as each perfectly sterilized jar gleams, ready for filling
- Feel the rewarding warmth of the jars as you handle them with care
- Experience the pride of properly packed vegetables, aligned just right
- Enjoy the satisfying pop of a properly sealed lid
- Marvel at your properly preserved vegetables, knowing you've done it right
Always fill hot jars with hot vegetables to prevent thermal shock, and seal them immediately to guarantee proper preservation.
Safe Storage Guidelines
You'll need to keep your oil-preserved vegetables in a refrigerator set at 4°C (40°F) or lower to prevent harmful bacterial growth.
Check your jars regularly for any signs of spoilage, even though contaminated oil may not always show obvious indicators.
If you notice any leakage, tampering, or if it's been stored for more than three weeks, you must discard the contents immediately.
Monitor Temperature Requirements
Maintaining proper temperature control stands as the cornerstone of safely storing homemade vegetable oil infusions.
You'll need to refrigerate both raw and cooked vegetables in oil to prevent dangerous bacterial growth, particularly Clostridium botulinum.
Don't keep these mixtures in your refrigerator for more than 3-4 days before using, discarding, or freezing them.
For ideal storage of your cooking oils, aim for temperatures between 55-60°F, though room temperature around 70°F is acceptable.
You'll want to keep oils away from heat sources and maintain consistent temperatures to preserve their quality.
If you're working with heat-sensitive oils like almond or truffle varieties, refrigeration is your best bet after opening.
- Your family's safety depends on proper temperature control
- Don't risk losing precious ingredients to spoilage
- Protect your culinary creations from harmful bacteria
- Save money by preventing oil degradation
- Trust your instincts – if you're unsure, refrigerate
For long-term storage, freezing is your safest option.
While frozen oils may become cloudy, this doesn't indicate spoilage – simply thaw them at room temperature.
Remember to label all containers with preparation and use-by dates to maintain proper rotation.
Inspect For Early Spoilage
Regular inspection of your oil-vegetable mixtures serves as a critical defense against foodborne illness. You'll need to check your containers at least weekly for any signs of spoilage, including mold growth, unusual cloudiness in the oil, or development of off-putting odors. If you notice any of these warning signs, discard the entire mixture immediately.
Label your containers with the preparation date and don't exceed three weeks of refrigerated storage – though it's safer to use the mixture within four days.
When examining your oil-preserved vegetables, look closely for any slime formation or decay on the produce itself. You'll want to guarantee your storage container remains properly sealed and free from contamination throughout the storage period.
For long-term preservation, consider freezing your oil-vegetable mixtures instead of refrigeration. If you're working with dried ingredients, you can store them safely at room temperature since they lack the moisture bacteria need to grow.
For fresh vegetables or herbs, remember that proper refrigeration is essential to prevent the growth of harmful bacteria like Clostridium botulinum, which thrives in oxygen-free, low-acid environments like oil.
Quality Control and Monitoring
The success of homemade oil jars depends heavily on consistent quality monitoring and testing procedures. You'll need to check several key parameters to guarantee your preserved vegetables remain safe and delicious. Using your senses is essential – regularly inspect the oil's color, smell, and clarity using a well-lit surface. If you notice any turbidity or color changes, it's time to investigate further.
Monitor these critical signs to maintain quality:
- The unmistakable fresh aroma that tells you your preserves are in perfect condition
- A clear, bright appearance that signals proper preservation
- The satisfying crunch of vegetables that haven't lost their texture
- The pure, clean taste that means your oil hasn't oxidized
- The proper seal that keeps your precious preserves protected
Keep your storage area at room temperature or slightly below, and use moisture-free containers to prevent spoilage.
You can check oil quality by observing its clarity in natural light – it should remain transparent and free from cloudiness. If you notice any off-odors or changes in the oil's appearance, test the acidity levels immediately.
Creative Uses in Cooking
Preserved vegetables in oil can transform everyday dishes into vibrant culinary experiences. You'll find endless ways to incorporate these flavorful additions into your meals, from main courses to garnishes.
Add depth to your pizzas with pickled jalapeños and banana peppers, or elevate your burgers with pickled garlic scapes instead of traditional pickles. When making fried rice, mix in finely chopped pickled vegetables for extra color and taste. You can also enhance soups with pickled vegetables to create complex flavor profiles.
For lighter fare, toss pickled radishes, carrots, and cauliflower into fresh green salads, or add dilly beans to potato salads for a satisfying crunch. They're perfect for charcuterie boards alongside cheese and crackers, and they'll bring zest to your spring rolls and hummus presentations.
Don't forget breakfast and brunch options – pickled vegetables can brighten your omelets, breakfast bowls, and sandwiches. They're also excellent garnishes for cocktails like Bloody Marys, and they'll add punch to deviled eggs.
For a simple snack, enjoy them straight from the jar with cheese and crackers.
Extending Shelf Life

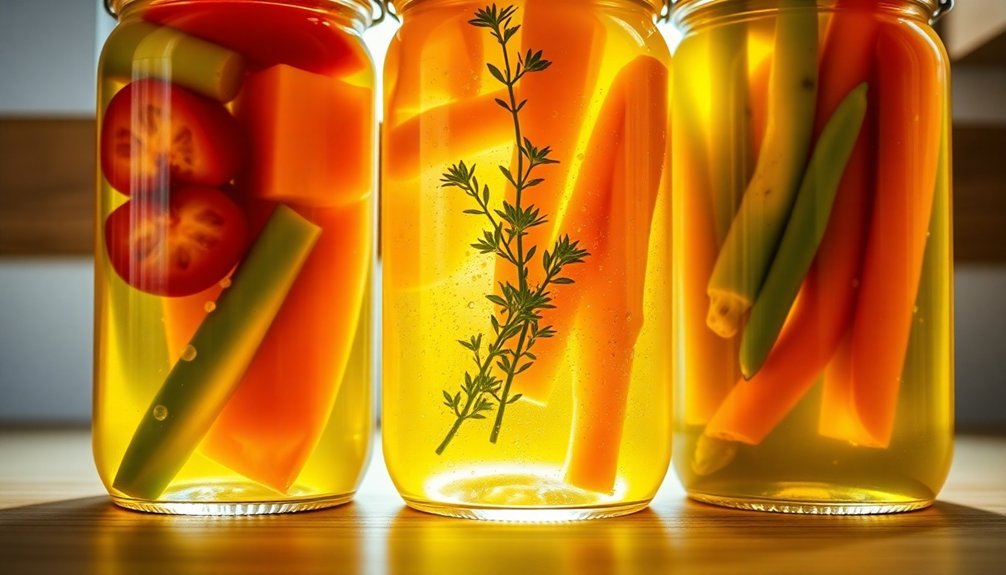
Successfully extending shelf life requires careful attention to both preparation and storage methods. The key is maintaining the proper 2:1 ratio of olive oil to vinegar, which creates an environment where harmful bacteria can't thrive.
You'll need to guarantee all vegetables are completely submerged in this mixture and remove any air bubbles by stirring with a skewer.
For maximum preservation, you'll want to:
- Keep your preserved treasures consistently refrigerated – the hardened oil is your sign of proper temperature
- Watch carefully for any signs of spoilage to protect your family's health
- Label and date each jar so you're always using the oldest ones first
- Check oil levels after each use to maintain full vegetable coverage
- Remove raw garlic or herbs if you're planning to store for more than a week
Remember to let the jar sit at room temperature for 15 minutes before serving, as the oil will solidify in the fridge.
With proper attention to these details, your preserved vegetables can last up to two months. Always use clean, sterile jars and maintain proper refrigeration throughout storage to guarantee the longest possible shelf life.
Frequently Asked Questions
Can I Reuse the Oil From Previously Preserved Vegetables?
You shouldn't reuse oil from preserved vegetables since it can harbor dangerous bacteria like Clostridium botulinum. It's best to discard used oil and start fresh to protect yourself from food poisoning risks.
What Causes Some Vegetables to Float to the Top?
Your vegetables float due to trapped air in their cells and packing methods. Hot-packing before storage helps release air, while raw-packing often leads to more buoyancy. Tight packing can minimize this floating effect.
Why Do My Preserved Vegetables Taste Bitter After Storage?
Your vegetables may taste bitter due to environmental stress during growth, improper storage conditions, or using the wrong preservation methods. High temperatures, dry spells, and incorrect pickling techniques can increase bitter compounds.
Is Cloudy Oil in Preserved Vegetables Safe to Consume?
You don't need to worry about cloudy oil – it's safe if it only appears when cold and clears at room temperature. Just make sure your oil smells fresh and tastes good before consuming.
Can I Mix Different Batches of Preserved Vegetables Together?
You shouldn't mix different batches of preserved vegetables together. It's unsafe due to botulism risks, inconsistent acidification, and potential contamination. Keep your batches separate and properly labeled for safety.
In Summary
You've now mastered the art of preserving vegetables in oil. By following proper sterilization, using quality ingredients, and maintaining safe storage practices, you'll enjoy your homemade preserved vegetables for months to come. Don't forget to check your jars regularly and always trust your senses when evaluating freshness. With these skills, you're ready to create delicious, shelf-stable vegetable preserves that'll enhance countless meals.


Leave a Reply