Building a snow storage pit requires smart planning and execution. You'll want to start by selecting an upland location with good drainage and installing freeze-proof systems to manage snowmelt. Next, construct an insulated foundation using the Swedish Skirt method and pressure-treated lumber to handle heavy loads. Install an efficient heating system with proper insulation and temperature controls. Don't forget to incorporate safe access points and support structures to prevent wall collapse. Finally, manage environmental impact by maintaining buffer zones and monitoring water quality. These fundamentals will set you up for a deeper understanding of snow pit construction techniques.
Location and Drainage Planning
Every successful snow storage pit begins with strategic location planning and proper drainage systems.
You'll want to select upland areas away from water bodies and drinking water sources to prevent contamination from road salt chlorides. Choose flat slopes with well-drained soil, and consider using existing community spaces like parking lots if they're suitable for your needs.
To manage drainage effectively, you'll need to install freeze-proof outdoor drain systems, such as landscape slot drains, that can handle snowmelt throughout the winter. Regular system inspections help identify potential drainage issues before they become major problems.
Make certain you're directing the flow away from sensitive areas and into designated drainage paths. You'll want to inspect and clean these systems before winter arrives to prevent blockages and guarantee proper functioning.
When planning your site's layout, don't block catch basins or manholes, as this will disrupt proper drainage.
Instead, maintain vegetated buffers between your snow storage area and any nearby water bodies. You'll need pervious surfaces that allow snowmelt to filter naturally into the soil.
Remember to estimate your expected snow accumulation accurately to confirm your site can handle the volume while maintaining efficient drainage throughout the season.
Building the Insulated Foundation
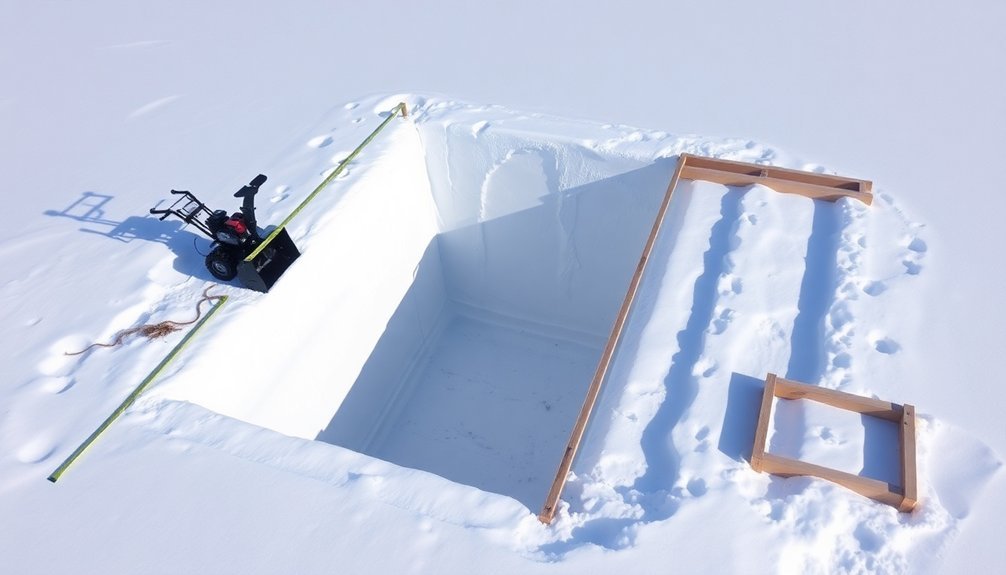
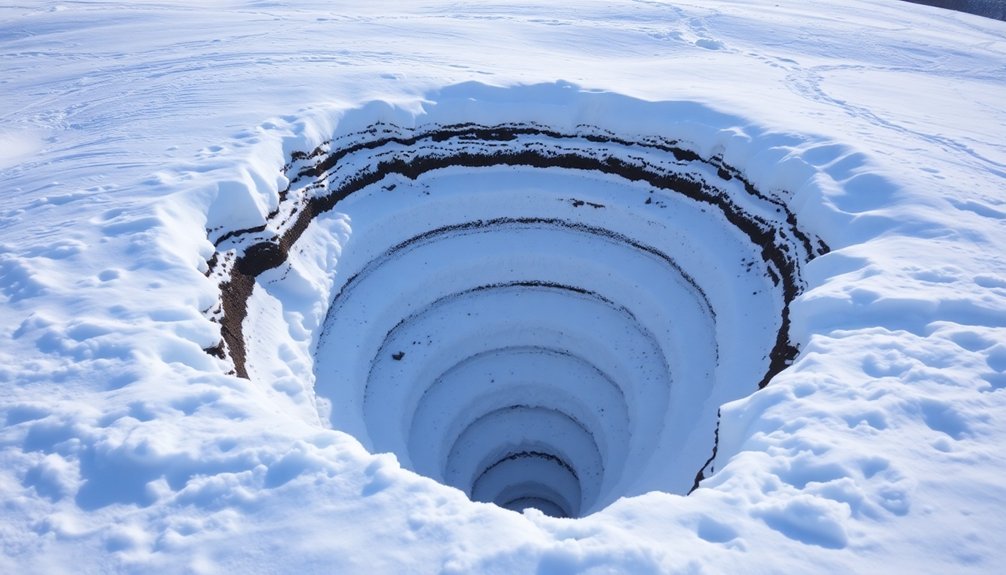
Starting with a solid foundation, you'll need to construct a properly insulated base that can withstand both heavy snow loads and freezing temperatures.
Begin by pouring concrete footings below the frost line or installing a monolithic slab reinforced with wire mesh or rebar. You'll want to add concrete tube forms on gravel with post base brackets for additional structural support.
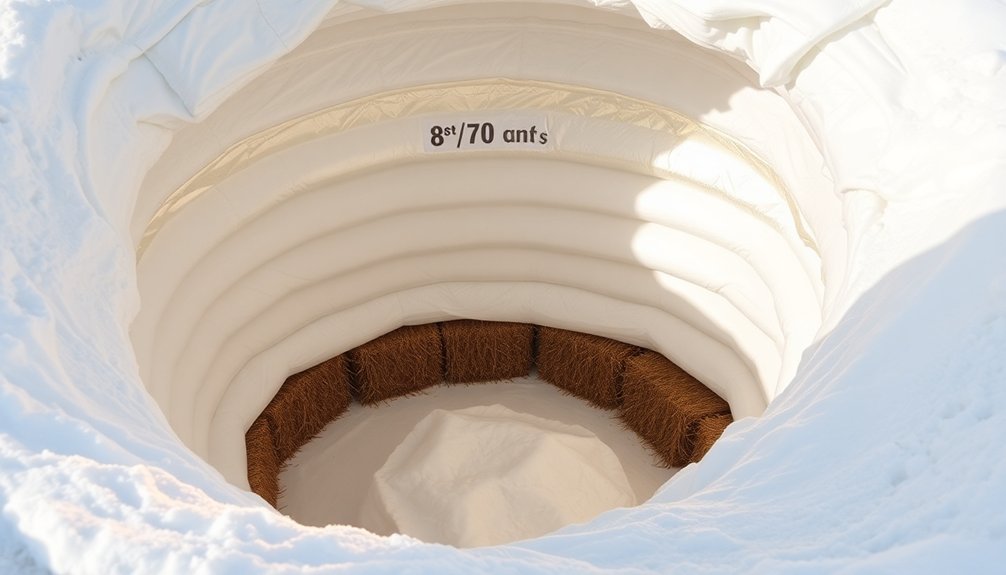
Install 6" XPS insulation using the "Swedish Skirt" method, which combines vertical and horizontal protection. The design specifications call for a 20' x 20' x 5' pit size to handle substantial snow volumes.
Place closed-cell, rigid insulation vertically 4' down into the earth, making certain it's flush with the foundation's top edge. Then, lay horizontal insulation boards around the perimeter, creating a gentle slope for proper drainage. Cover these horizontal boards with gravel or soil to protect them from UV damage.
For the structural frame, use pressure-treated lumber and secure it to concrete piers using galvanized-metal hardware.
Before construction, don't forget to check local building codes and call 811 to identify underground utilities. Use string and batter boards to guarantee accurate alignment of post holes and runners, and level the site properly before proceeding.
Heating Systems Design
Three key components make up an effective heating system for snow storage pits: the piping distribution network, heat source selection, and temperature management controls.
Similar to Denmark's proven pit storage systems, proper design and installation are critical for maximizing efficiency.
For your piping distribution, you'll need to install 3/4" tubing or 3" type L copper pipes with proper spacing (6" OC for tubing or 3" gaps for copper pipes).
Make sure you've insulated all pipes thoroughly to prevent heat loss and arranged them for easy maintenance access.
When selecting your heat source, opt for a mod con boiler or similar high-efficiency system that can handle peak load requirements.
Your boiler should be capable of reaching 140°F and be compatible with glycol circulation systems. Size it appropriately based on your total required heat output.
To manage temperatures effectively, you'll want to maintain water at 35°F during inactive periods to save energy, then boost it to 140°F when activated.
Install sump pumps for efficient water circulation and implement a control system to monitor performance.
Calculate your required heat flux using ASHRAE tables and factor in a 20% increase for downward heat loss.
Remember to account for pick-up energy loads when starting from cold temperatures.
Safe Access and Operations
During the construction and operation of snow storage pits, safety should be your top priority. You'll need to implement multiple safety features to protect workers and maintain efficient operations.
Start by installing secure access points with handholds and steps for safe entry and exit. You'll want to incorporate braces and support structures to prevent wall collapse and guarantee pedestrian safety. Consider installing the Safe-T-Pit system or similar motion detection sensors to monitor activity and automatically deactivate operations if unsafe movement is detected.
Maintain a strict operational protocol by regularly inspecting the pit's structural integrity and keeping the area clear of debris. You'll need to check for proper drainage and ascertain the surrounding area isn't becoming compacted. Install a well box with an access hatch to make maintenance and inspections easier.
When constructing your pit, choose a location away from direct sunlight and make sure it's large enough for personnel to work comfortably. You should dig the pit with a vertical wall facing away from the sun and create stepped access points.
Don't forget to incorporate drainage trenches to prevent water accumulation, which can compromise the pit's stability.
Environmental Impact Management
Managing the environmental impact of your snow storage pit requires careful attention to site selection and pollution prevention. You'll need to maintain specific distances from water bodies: 500 feet from great ponds, 100 feet from smaller tributaries, and 20 feet from tidal waters. Don't place your storage pit on high-yield aquifers or wetlands to prevent groundwater contamination.
Install silt barriers along the downgradient edge and guarantee you've got plant cover between the pit and nearby water bodies. You'll need to remove all debris by July 1st annually and prevent meltwater from entering surface or groundwater systems.
| Environmental Concern | Required Action | Minimum Distance |
|---|---|---|
| Great Ponds | Keep pit away | 500 feet |
| Small Tributaries | Maintain buffer | 100 feet |
| Tidal Waters | Establish setback | 20 feet |
| Groundwater | Install barriers | Site-specific |
| Surface Runoff | Add plant cover | Continuous buffer |
You'll need proper permits if you're operating near protected areas, and you must comply with water quality standards. Remember that snow meltwater can contain various pollutants, including road salt, automotive fluids, and animal waste, so proper site selection is vital for protecting water resources.
Frequently Asked Questions
Can Snow Pits Be Converted Into Swimming Pools During Summer Months?
You can convert snow pits into summer pools, but you'll face significant challenges with insulation, water treatment, and safety features. The high conversion costs and complex structural modifications might outweigh potential benefits.
How Long Does a Typical Snow Storage Pit Last Before Needing Major Repairs?
You'll typically get 10-15 years from your snow storage pit before major repairs are needed, but it's highly dependent on your maintenance routine, construction quality, and how well you've protected it from environmental factors.
What Happens if Wildlife Falls Into the Snow Storage Pit?
If you find wildlife in a snow pit, they'll face serious risks like hypothermia, injury, and toxic exposure. Animals can become trapped, exhausted, and may die without quick rescue from the contaminated snow.
Do Snow Storage Pits Affect Nearby Property Values?
Yes, you'll likely see reduced property values near snow storage pits due to aesthetic concerns and potential nuisances. Your home's value could drop by up to 20% if it's within half a mile.
Can Multiple Businesses Share the Cost and Use of One Pit?
Yes, you can share a snow storage pit with other businesses. You'll need formal agreements, clear usage schedules, and cost-sharing plans. It's a cost-effective solution that requires proper management and coordination.
In Summary
Building a snow storage pit requires careful planning and attention to detail. You'll need to balance ideal location, proper drainage, and environmental considerations while ensuring safe operations. If you've followed these guidelines for foundation, heating, and access design, you'll have a functional facility that meets regulations and serves your needs efficiently. Remember to monitor environmental impacts and maintain your pit regularly for best results.


Leave a Reply