To build a safe snow cave fridge, you'll need to start by selecting a stable snowbank at least 5 feet deep on a leeward hillside. Create multi-level storage compartments with a domed ceiling and packed snow dividers for temperature control. Install ventilation holes at 45-degree angles to maintain airflow while preventing moisture buildup. Build an upward-sloping entrance to trap cold air, and position storage platforms higher than the entrance level. Add ice shelving using uniform blocks bound with snow slush, and secure the entrance against wildlife with a narrow opening. These essential steps form the foundation for a reliable natural cold storage system that'll protect your provisions when you master the details.
Choose Your Cave Location Wisely
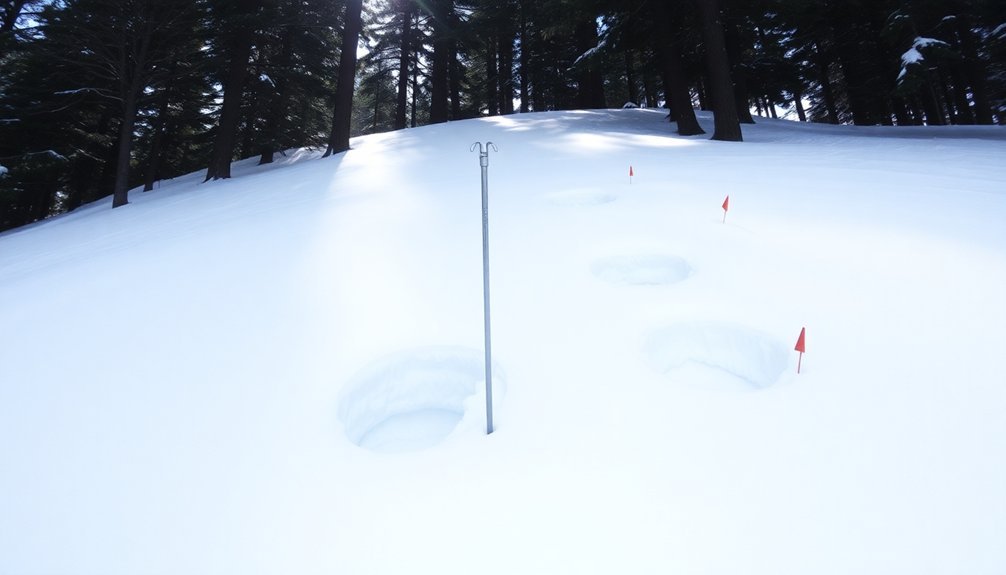
When building a snow cave fridge, your first essential step is selecting the right location. You'll need to find a snowbank that's at least 5 feet deep with compact, mature snow that can support a stable structure. Look for areas where snow has accumulated naturally due to prevailing winds or against barriers, ensuring it's uniform in depth and consistency.
Position your cave on the leeward side of a hill to protect it from harsh winds and precipitation. Don't select spots under tree canopies or near cliffs, as these can create hazardous conditions. Instead, choose an area where snow accumulation is consistent and away from natural snow drift paths. Leave No Trace principles should guide your site selection to minimize environmental impact.
You'll want to evaluate the snow's stability carefully. Check for signs of recent avalanches or unstable snow layers, and avoid steep slopes that could pose risks. Make sure your chosen location allows for easy access and visibility while maintaining enough distance from potential hazards.
The site should also permit proper ventilation hole creation and provide adequate space for a uniform dome shape with a 12-18 inch thick roof. Remember to reflect on how much time and effort you'll need to construct the cave in your selected spot.
Create Multi-Level Storage Compartments
You'll want to build your snow cave fridge with strategically spaced shelves, placing the coldest items near the entrance where temperatures naturally stay lower.
Similar to the mushroom shape design used in traditional snow caves, carving the storage area with a domed ceiling helps prevent collapse while maximizing space.
To maximize storage efficiency, carve multiple levels into the snow walls, ensuring each shelf maintains at least 12 inches of thickness for structural integrity.
Install snow block dividers between compartments to help regulate different temperature zones and keep your food items properly organized.
Strategic Shelf Spacing
Inside a snow cave, strategic shelf spacing transforms limited space into a well-organized storage system. You'll want to use ski poles or sturdy sticks to create multiple levels, guaranteeing each shelf can support the weight of your gear and supplies. Similar to cheese aging caves, this setup helps maintain consistent storage conditions.
Make certain to leave adequate space between levels for easy access and movement. Build your shelves and compartments with a slight slope to prevent items from sliding off.
You'll need to construct compartment walls using snow blocks that are 12-18 inches thick for maximum stability. Design separate sections for different types of equipment, keeping frequently used items within easy reach.
It's crucial to reinforce the walls with additional snow to prevent any potential collapse. Create a small alcove shelf specifically for necessary items like first aid supplies and light sources.
Pack all joints and connections thoroughly with snow to strengthen the overall structure. Remember to maintain smooth interior walls to minimize dripping and keep your storage areas dry.
Always guarantee proper ventilation throughout your multi-level system, and regularly check for any signs of structural weakness that could compromise your storage setup.
Cold Zone Optimization
Three distinct temperature zones within your snow cave create ideal storage conditions for different supplies.
You'll want to position your coldest storage area at ground level near the entrance, where cold air naturally settles. Pack this zone's floor with compressed snow and create shallow depressions to hold items that need maximum cooling.
Position your moderate temperature zone at mid-level height, about 2-3 feet above the ground. Create a shelf by carving into the snow wall, ensuring it's at least 12 inches thick for structural integrity. This area maintains a consistent cool temperature that's ideal for most perishables.
Your warmest zone should be at the highest point, just below your ventilation hole. Don't place items directly under the vent to avoid moisture drips.
Carve small alcoves into the upper walls for items that shouldn't freeze. Remember to maintain proper air circulation by keeping items away from the ventilation hole and entrance path.
You'll need to regularly check these zones' temperatures and adjust your storage accordingly. If you notice any structural weakening around your storage areas, redistribute the weight of your supplies immediately.
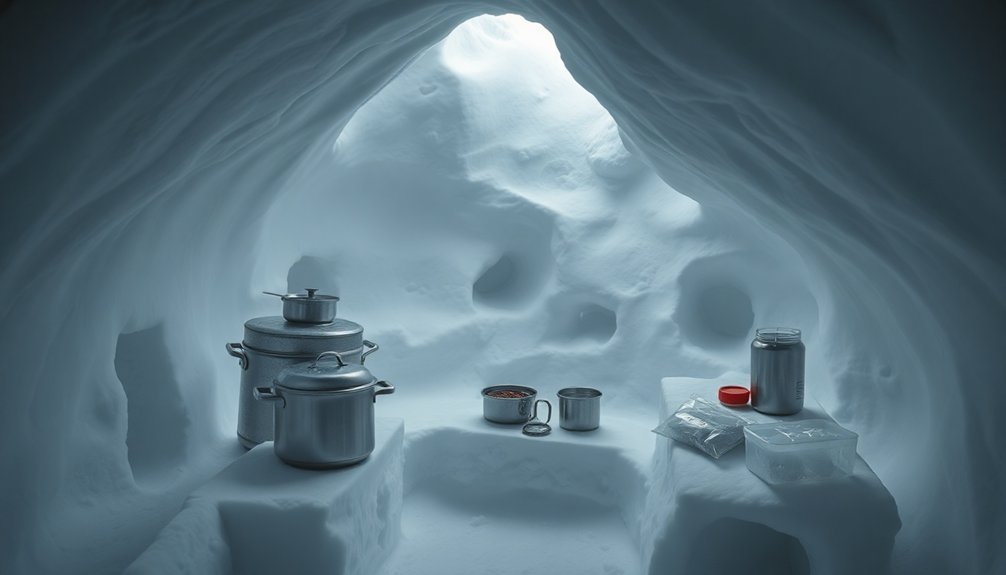
Snow Block Divider Installation
Building multi-level storage compartments starts with carefully placing snow blocks as dividers throughout your cave's interior. You'll need to construct a bench that's wide enough for comfortable lying while maximizing storage potential. Create distinct zones by installing snow block dividers between sleeping and storage areas, ensuring they're firmly packed for stability.
| Zone Type | Purpose |
|---|---|
| Upper Shelf | Small items, headlamps, gloves |
| Back Wall | Table surface, food prep area |
| Side Areas | Sleeping platforms, gear storage |
| Floor Level | Large equipment, boots |
| Door Zone | Cold trap, temporary storage |
Position a 12-inch elevated alcove shelf above your sleeping platform using carefully cut snow blocks as supports. When you're installing the dividers, wrap ski poles or sticks with a tarp to reinforce the doorway header, preventing collapse. Make sure you're leaving enough depth in the cave to accommodate both your gear and the thickness of the front wall. Pack any gaps between snow blocks with loose snow to maintain insulation and structural integrity. Keep the designated storage areas away from direct contact with the entrance to prevent temperature fluctuations in your food storage zones.
Pack Snow for Temperature Control
Creating stable temperature control in your snow cave starts with proper snow packing techniques. You'll need to select an area with at least 4-5 feet of snow depth or create a pile that meets these requirements. When building your snow pile, pack it firmly as you go, ensuring it's rounded and stable enough to support the structure you'll create.
Let the snow settle for at least an hour after piling to allow the crystals to bond. As you dig, maintain a slight upward angle from the entrance to create a natural cold air trap. Shape the interior with smooth, domed walls to prevent water droplets from forming and falling.
You'll want to focus on packing the snow tightly as you work, particularly in areas that will bear weight.
Don't forget to incorporate proper ventilation while maintaining temperature control. Install a ceiling vent hole and keep it clear with a stick or ski pole. Block the entrance with packed snow to regulate airflow and maintain stable internal temperatures.
Add insulation to your sleeping platform using materials like pine boughs or sleeping pads to prevent heat loss through the ground.
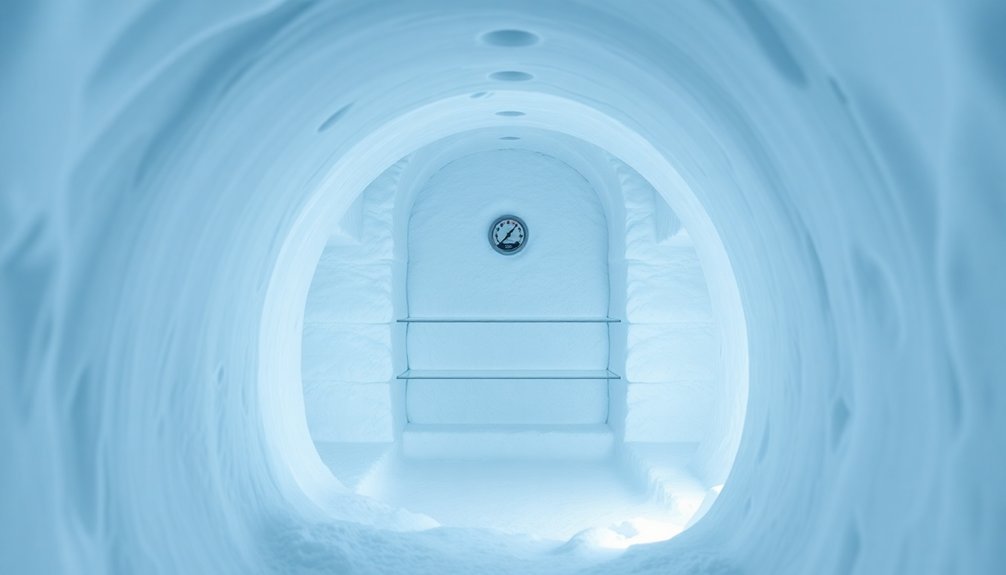
Build Drainage and Air Channels
Proper drainage and ventilation form the foundation of a safe snow cave design. You'll need to create a sloping floor that directs cold air and water away from the interior.
Dig a cold well in the middle of the cave, which acts as a collection point for cold air, keeping it away from your storage area. Make certain you raise your storage platform to bench height, preventing contact with pooling water and cold air that settles at the bottom.
For ventilation, you'll want to create multiple air holes in the ceiling at a 45-degree angle. Use a ski pole or stick to poke these holes, guaranteeing you have both upper and lower vents.
The upper vents allow warm air to escape, while lower vents let fresh air enter and heavier gases exit. Keep these ventilation channels clear at all times to prevent carbon dioxide buildup.
Don't use heating devices inside the cave, as they can compromise the structure's integrity. If you need a heat source, stick to small candles.
Remember to regularly check your drainage system and maintain clear air channels to guarantee your snow cave fridge remains functional and safe.
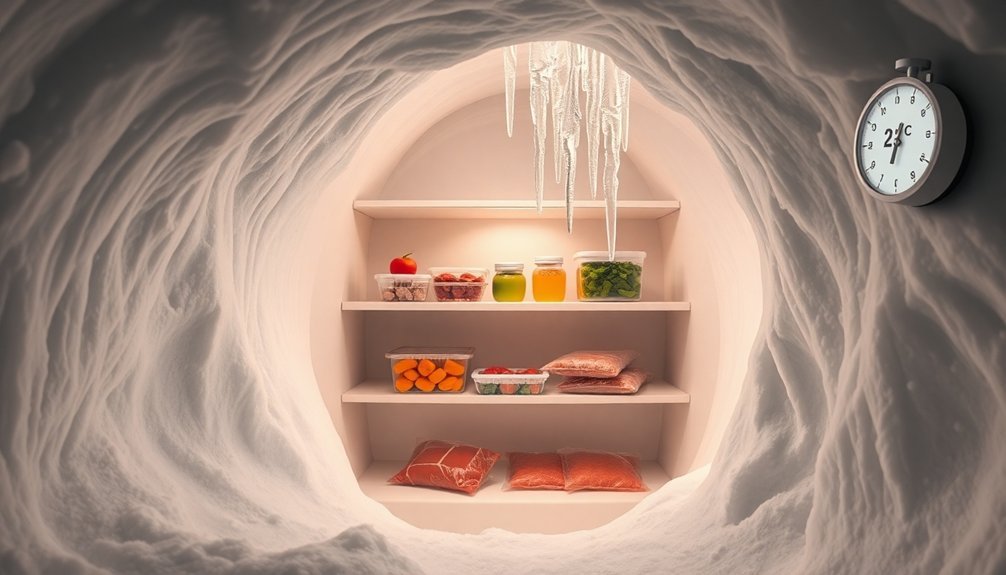
Install Natural Ice Shelving
Once your ventilation and drainage are set, the next step focuses on constructing your ice shelving system. You'll need to create a sturdy platform that keeps your stored items off the ground while maintaining consistently cold temperatures.
Start by carving uniform ice blocks that'll fit tightly together, using them to build both your foundation and surrounding walls.
When you're assembling the shelving structure, follow these critical steps:
- Build your base platform first, ensuring it's elevated enough to prevent direct contact with the ground where moisture can accumulate.
- Stack your ice blocks carefully around the perimeter, using snow slush as a natural binding agent between each block.
- Create a solid ice slab for the top cover, which acts as a lid to seal in the cold air.
Position your shelving system toward the back of your snow cave where it's naturally cooler, as cold air tends to sink to the bottom.
You'll want to pack additional snow around the structure for insulation, making sure there aren't any gaps that could let warm air seep in.
Monitor your ice shelving regularly for signs of melting, and make repairs promptly to maintain its structural integrity.
Design Cold Air Traps
Since cold air naturally sinks, you'll need to design strategic cold air traps to maintain ideal temperatures in your snow cave fridge. Start by digging an entrance that slopes upward into the snowbank at a slight angle before leveling off. This design naturally captures and holds cold air in the lower areas, creating an effective refrigeration system.
Make your entrance approximately 18 inches wide and chest-high, facing away from prevailing winds to maintain consistent temperatures. You'll want to position your storage platform at least one foot higher than the entrance level, which allows cold air to settle below while keeping your food storage area at a steady temperature.
Build up snow walls around the entrance to enhance the cold air trap's effectiveness, and verify you're maintaining a uniform angle throughout the cave's interior.
When shaping the space, create a dome-like structure with walls 12-18 inches thick for maximum insulation. Don't forget to install ventilation holes at a 45-degree angle, positioned away from your food storage area. These holes will prevent CO2 buildup while maintaining the temperature gradient you've created with your cold air trap design.
Secure Against Animal Access
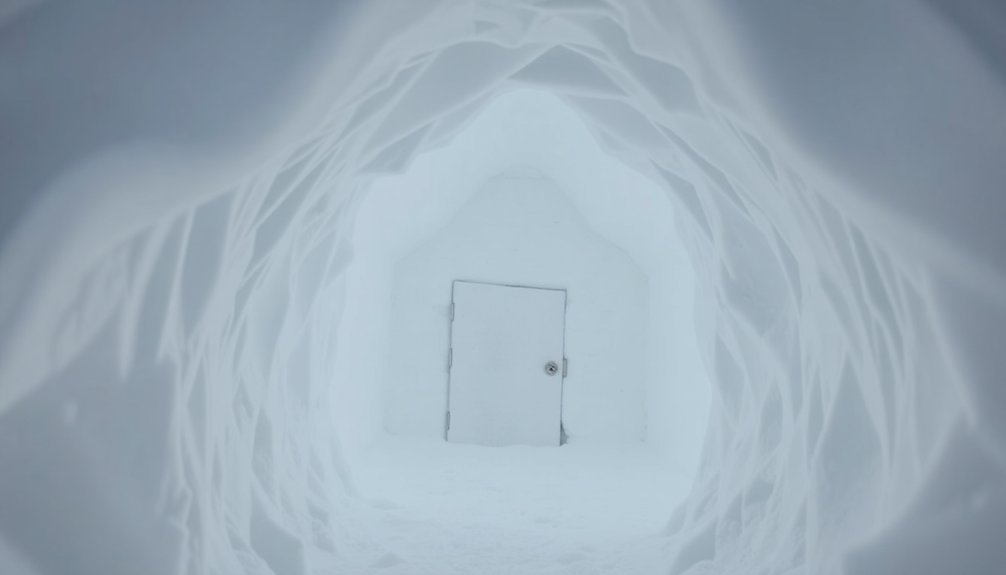
Around your snow cave fridge, wildlife poses a constant threat to both the structure and its contents. You'll need to implement multiple protective measures to keep animals from accessing your stored food. Start by creating a narrow, well-sealed entrance that's difficult for wildlife to navigate, and position it away from known animal paths.
To effectively protect your snow cave fridge, focus on these critical steps:
- Pack the snow structure densely and reinforce all walls, floors, and the entrance with additional snow layers to prevent animals from digging through.
- Remove all attractants from the area, including food scraps, strong-smelling materials, and waste – dispose of these items far from your snow cave location.
- Install visible deterrents such as flags, noise-making devices, or wildlife repellents around the perimeter.
You'll want to regularly inspect your snow cave fridge for signs of animal activity and promptly repair any damage. Use snow blocks or snowballs to seal the entrance whenever you're not accessing it, and maintain a clear line of sight around the structure to spot approaching wildlife.
Consider adding physical barriers like branches or small fencing for extra protection.
Frequently Asked Questions
How Long Can Meat Safely Stay Frozen in a Snow Cave Fridge?
You shouldn't rely on snow caves for freezing meat. While they stay around 32°F (0°C), they're not cold enough to freeze meat safely. Instead, you'll only get standard refrigeration storage times of 1-5 days.
Can I Store Liquids Without Risking Bottle Explosion From Freezing?
You'll need to keep liquids in insulated containers and wrap them in extra clothing. Store them away from direct cold air, and regularly check they're not approaching freezing point to prevent bottle explosions.
What's the Ideal Temperature Range for Different Types of Food Storage?
You'll need to keep refrigerated foods at 41°F or below, frozen items at 0°F or lower, and dry goods between 50-70°F. Live shellfish needs 45°F or less, while pharmacy items require 35.6-46.4°F.
Should Electronics Like Batteries Be Stored in Snow Cave Fridges?
You shouldn't store batteries or electronics in snow caves. They're vulnerable to moisture damage, temperature fluctuations, and poor ventilation. Instead, keep them in dry, temperature-stable environments to prevent corrosion and maintain functionality.
How Often Should Snow Cave Fridges Be Checked for Maintenance?
You'll need to check your refrigerator monthly for basic cleaning, every 6 months for filter changes, and annually for deeper maintenance like coil cleaning and seal inspection. Regular inspections prevent breakdowns and guarantee efficiency.
In Summary
You'll find building a snow cave fridge isn't just about digging a hole in the snow. By following these seven essential techniques, you're creating a reliable natural refrigeration system that'll keep your food fresh and safe. Remember to regularly check your cave's structural integrity and temperature levels. With proper maintenance and these safety measures in place, you've got a sustainable cold storage solution that works with nature.


Leave a Reply