You'll need five key strategies to control your spring house water flow effectively. Start by installing a proper collection system at the spring head with a collecting wall and directed piping. Next, manage underground pressure using reducing valves and flow sensors to protect your pipes. Install an overflow pipe in your spring box positioned below the collector pipe for proper drainage. Place your pipes with a consistent downhill slope of 1/8" to 1/4" per foot, using UV-resistant materials. Finally, adjust for seasonal changes by monitoring flow rates and maintaining your spring box. These fundamentals will set you up for mastering your spring water system.
Installing A Proper Collection System
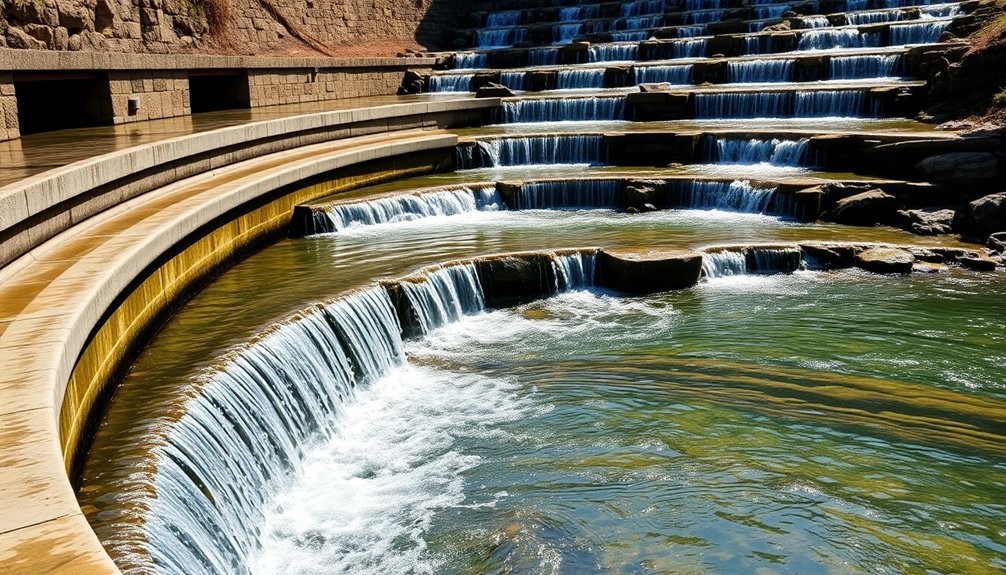
A well-designed collection system serves as the foundation for controlling spring water flow. You'll need to start by locating the spring head and carefully excavating along the flow line to the water's emergence point. Remove all loose materials like clay, sand, and gravel, but don't over-excavate the natural earth surrounding the spring. A minimum yield of 2 gallons per minute should flow from your spring to ensure adequate household water supply.
For seepage springs, you'll want to dig test holes to find the impervious layer about 3 feet underground. Create a trench across the slope that extends 6 inches into this layer and 4-6 feet beyond the seepage area.
Install a collecting wall downslope using concrete or plastic, positioning it to pocket water behind its center. You'll need to install a pipe low in the collecting wall to direct water to your spring box. Seal the wall's edges with non-porous clay and connect a collection tile to a 4-inch pipe leading to the spring box.
Make sure the box inlet sits below the collector tile. Once you've completed the basic structure, fill the area behind the wall with ¾" to 1" washed stone around the collection pipes, and compact the earth backfill thoroughly to prevent future settling.
Managing Underground Water Pressure
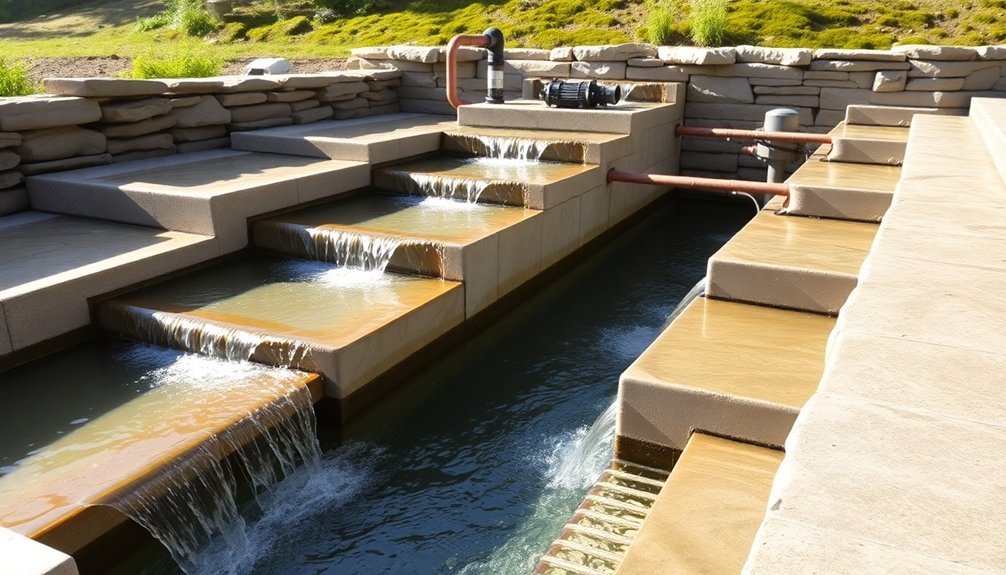
Effective underground water pressure management relies on three key components: pressure reducing valves, demand-based controls, and advanced monitoring systems.
You'll need to install pressure reducing valves at strategic points to convert high inlet pressure to a lower, more manageable outlet pressure. These valves help minimize fluctuations that can stress your pipes and cause leaks. Implementing intelligent valves provides real-time flow adjustments that protect your pipe network.
You can implement demand-based pressure management by using flow sensors and telemetry to adjust pressure according to real-time usage. During low-demand periods, like nighttime, you'll want to reduce pressure to prevent unnecessary strain on your system.
For areas with insufficient pressure, you can install booster pumps and pressure tanks. Make sure you size your pressure tanks correctly to maintain consistent pressure and prevent frequent pump cycling.
To enhance your pressure management system, you'll benefit from incorporating advanced measurement technologies.
Electromagnetic flowmeters provide precise measurements without moving parts, while modern telemetry systems help you detect and respond to pressure issues immediately.
Regulating Spring Box Overflow
Beyond managing water pressure, proper regulation of spring box overflow protects your water supply and maintains system integrity. You'll need to position your overflow pipe below the collector pipe, setting it at least 12 inches down from the spring casing's top edge. Ascertain there's a 1-foot "free fall" from the pipe to the ground for proper drainage. Regular water quality testing is essential to monitor potential contamination from surface runoff.
To prevent contamination, you'll want to install both ½-inch hardware wire screen and mosquito screening at the pipe's end. This dual-layer protection keeps out unwanted pests while maintaining smooth water flow.
| Component | Required Distance | Primary Purpose |
|---|---|---|
| Overflow Pipe | 12" from top | Prevent backup |
| Surface Diversion | 50' uphill | Direct runoff |
| Drain Pipe | 6" above ground | Enable cleaning |
Don't forget to install surface water diversions at least 50 feet uphill from your spring. You can use either a U-shaped drainage ditch or an earth berm, but don't dig deep enough to expose groundwater. Line your installation with gravel and tamped soil, and use puddled clay or cement around the spring box to create a protective slope that directs water away from your source.
Pipe Placement For Optimal Flow
Through proper pipe placement, you'll maximize water flow while protecting your spring water system from potential issues. Maintain a consistent slope of 1/8" to 1/4" per foot, using a level to guarantee proper downhill flow. If you need better flow, opt for the steeper 1/4" per foot grade and support the pipe with a gravel-filled trench underneath.
You'll want to dig your pipes as deep as possible near the spring's origin to minimize contamination risks. Place at least 5 feet of backfill material above your collection bed and confirm your discharge pipe matches the collection pipe's size.
When installing pipes, add landscape fabric and gravel to prevent erosion and provide stable support. For exposed sections, don't use white plumbing PVC; instead, choose UV-resistant materials. Install an adequately screened U-bend air vent on the discharge pipe, and use flexible couplings when connecting different pipe types or sizes.
Make certain your inlet pipe enters the spring box above both discharge and overflow pipes. To prevent vacuum conditions and maintain continuous flow, you'll need proper venting and consistent pipe sizing throughout the system.
Seasonal Flow Rate Adjustments
During the changing seasons, you'll need to monitor and adjust your spring's flow rate to maintain a reliable water supply. Using a 5-gallon bucket and timer, measure your flow rate regularly, especially during late summer and fall when groundwater levels are at their lowest. Your spring should consistently yield at least 2 gallons per minute throughout the year for reliable service.
You'll notice higher flow rates in spring and lower rates in late fall or winter. If your spring is influenced by surface water, you may need to make more significant adjustments to maintain consistent supply. Keep detailed records of your measurements to help you plan effective adjustments to your collection system.
To manage seasonal fluctuations, you can modify your collection bed, adjust trench excavation, or alter storage tank capacity. Make certain your spring box remains watertight and protected from surface contamination, which becomes more critical during certain seasons.
You'll want to match your water collection and storage rates to seasonal demands while maintaining water quality. Regular maintenance of your spring box and collection system will help guarantee you've got reliable water flow regardless of seasonal changes.
Frequently Asked Questions
How Often Should Water Quality Tests Be Performed on Spring House Systems?
You'll need to test your spring water annually for bacteria, nitrates, and nitrites, while checking other contaminants like arsenic, lead, and radon every 3-5 years. Don't forget to test before and after heavy rains.
Can Multiple Spring Houses Be Connected to Create a Larger Water Supply?
Yes, you can connect multiple spring houses to increase your water supply. You'll need to guarantee proper elevation, compatible piping systems, and adequate pressure control through carefully designed junction points and valves.
What Are the Signs That Indicate a Spring Source Is Beginning to Fail?
You'll notice declining flow rates, especially in late summer, increased fluctuations after rain, signs of contamination like bacteria or turbidity, and physical deterioration including erosion and root intrusion around the collection area.
How Do Nearby Construction Projects Affect Spring Water Flow and Quality?
Construction near your spring can disrupt natural groundwater flow, increase contamination risks through runoff, and affect water quality. You'll need proper drainage systems and protective structures to safeguard your water source.
What Permits Are Typically Required for Installing a Spring House System?
You'll need building, electrical, plumbing, and mechanical permits for your spring house installation. Don't forget to get water department approval and check if you need zoning permits from your local authorities.
In Summary
You'll find controlling your spring house water flow becomes much more manageable when you've implemented these five key strategies. From proper collection systems to seasonal adjustments, you're now equipped to handle varying water pressures and flow rates. Remember to regularly check your pipe placement and spring box overflow levels while monitoring underground pressure. With these techniques, you'll maintain ideal water flow year-round.


Leave a Reply