
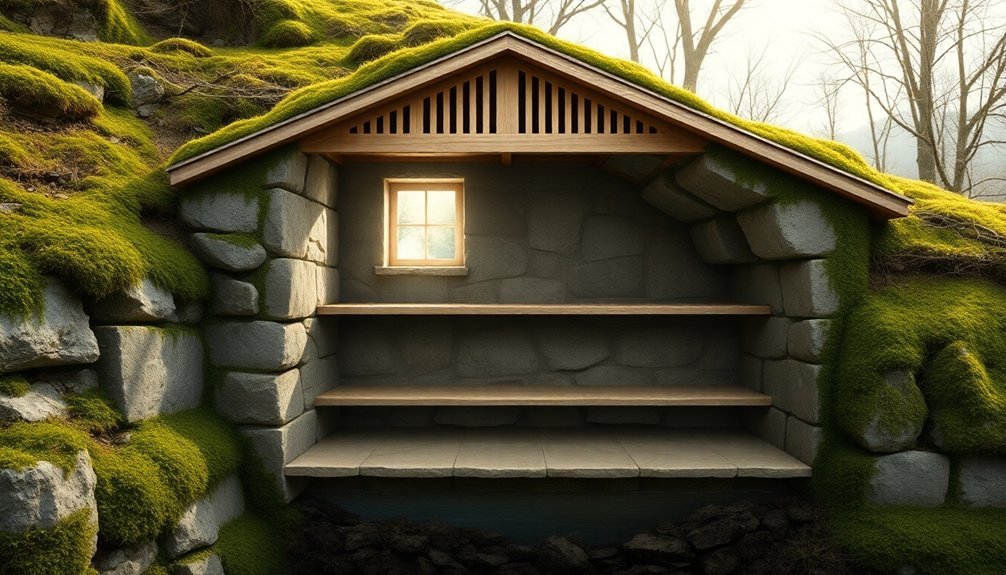
You'll maximize your spring house's cold storage potential by combining several proven techniques. Start with polyurethane or XPS foam insulation for superior thermal performance, then implement a multi-layered cooling approach using both passive and evaporative methods. Install proper ventilation with strategic vent placement to create effective cross-flow patterns, and don't forget ground temperature management – it's essential for maintaining consistent cooling. Add moisture control through air sealing and vapor barriers, as air movement accounts for 98% of moisture transfer. For ideal results, guarantee regular maintenance of your ventilation systems and keep stored items properly spaced. These foundational steps open a world of cold storage possibilities.
Natural Cooling System Design
How can you create an effective natural cooling system for your spring house? You'll want to combine multiple cooling strategies to achieve ideal temperature control without relying heavily on electricity.
Start by incorporating passive cooling elements like specialized insulation materials and phase change elements that maintain consistent temperatures without mechanical intervention. The design should focus on safety and efficiency in selecting appropriate systems and equipment.
You can enhance your system's efficiency by implementing evaporative cooling techniques. If you're in a hot, dry climate, consider installing a forced-air evaporative cooling chamber that uses just one-quarter of the power compared to traditional refrigeration. You'll get rapid cooling results while keeping energy costs down.
For maximum effectiveness, layer your cooling approach. Add a radiation and evaporation-based cooling system that can drop temperatures by up to 19°F below ambient conditions.
This three-layer system needs minimal maintenance – just water every four days in hot weather. You can also integrate natural refrigerants like CO2 or ammonia if you need additional cooling power.
Select your system type – whether direct expansion, flooded, or liquid pump – based on your specific temperature requirements and facility scale.
Optimal Insulation Material Selection
The selection of proper insulation materials stands as the cornerstone of an efficient spring house design.
When you're choosing insulation for your spring house, polyurethane emerges as your top choice due to its outstanding thermal performance and moisture resistance. It'll help you maintain consistent temperatures while preventing unwanted heat transfer.
If you're working with a tighter budget, XPS foam offers an excellent alternative. You'll find it provides high R-values and remarkable durability, particularly in humid conditions. Its high compressive strength makes it ideal for load-bearing floors, and you won't have to worry about its performance degrading over time.
While EPS might seem attractive due to its lower cost, you'll need twice the thickness to match polyurethane's effectiveness. This spatial requirement can impact your spring house's interior dimensions. BRD panels utilizing BASF rigid foam have proven to deliver superior insulation performance compared to traditional materials.
If sound absorption is essential for your needs, Rockwool presents a viable option, though you'll need to factor in higher costs and additional protective measures during installation.
Remember that your insulation choice directly affects long-term energy costs. Investing in polyurethane can improve thermal performance by up to 20%, leading to significant energy savings over time.
Ground Temperature Advantage
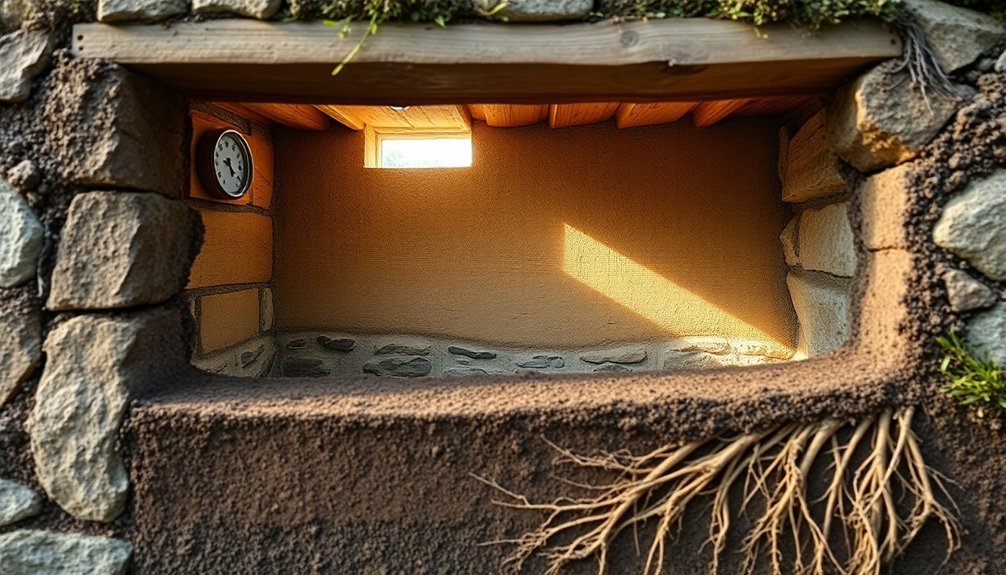
Building on your insulation strategy, maximizing ground temperature advantages can dramatically enhance your spring house's efficiency. By focusing on ground temperature stabilization, you'll create a more consistent cooling environment while reducing your energy costs. The natural coolness of the earth becomes your ally when you properly manage the ground-to-structure interface.
You'll want to implement systems like IGLU' ® or similar solutions that create an aerated cavity beneath your floor. This approach prevents moisture buildup and frost heaving while improving thermal insulation. When you maintain stable ground temperatures, you're not just protecting the structural integrity of your spring house – you're also optimizing its cooling performance. Professional earthing systems can significantly enhance the stability of your temperature control equipment.
The benefits extend beyond basic temperature control. You'll see significant improvements in your storage facility's shelf life capabilities, as consistent temperatures help prevent food spoilage and maintain product quality.
Moisture Control Techniques
Maintaining effective moisture control stands as your spring house's first line of defense against potential damage and inefficiency.
You'll need to implement a multi-layered approach focusing on both insulation and vapor barriers to protect your cold storage environment. Proper air sealing is essential since air movement accounts for over 98% of moisture transfer in building cavities.
Choose your insulation materials based on their moisture-handling capabilities. Closed-cell spray foam creates an excellent airtight seal and serves as a vapor barrier, while mineral wool offers natural water resistance. If you're using fiberglass or cellulose, you'll need to pair them with appropriate vapor diffusion retarders to prevent condensation issues.
- Dense-packed insulation with no gaps or voids to prevent air infiltration
- Properly installed vapor barriers with a perm rating below one
- Strategic air sealing around all joints, seams, and potential entry points
Don't skip professional consultation when selecting your materials. Your spring house's specific climate conditions and temperature differentials will determine the most effective combination of insulation and moisture barriers.
Remember to follow manufacturer guidelines for installation thickness and proper sealing techniques to maximize your moisture control system's effectiveness.
Air Flow Management
You'll need to carefully plan your spring house's vent placement to create consistent airflow patterns that prevent stagnant air and moisture buildup.
Managing cross-flow patterns through strategic openings helps you maintain ideal temperature control while reducing energy waste from uncontrolled air movement.
Your cold air distribution system should work in harmony with natural airflow patterns, using properly sized ducts and registers to guarantee even cooling throughout the structure.
Strategic Vent Placement
Strategic placement of vents serves as the foundation for effective home insulation and temperature control. You'll want to position your vents where furniture and curtains won't block the airflow, guaranteeing even distribution throughout your space. By considering your room's layout and window locations, you can enhance cross ventilation and reduce your energy consumption considerably.
When planning your vent placement, focus on creating a balanced airflow system that maintains consistent temperatures. You'll need to seal any gaps where cables or pipes enter the room to prevent unwanted air mixing, and implement proper maintenance routines to keep your system running efficiently.
- Place ceiling vents strategically to allow cool air to flow downward naturally, maximizing the effectiveness of your cooling system.
- Install return vents in ideal locations to create a continuous air circulation pattern that reaches all corners of your space.
- Use brush grommets or similar sealing tools around vent openings to prevent air leakage and maintain temperature control.
Don't forget to check your vents regularly for dust buildup and potential blockages. Regular maintenance of your ventilation system, including filter replacements and duct inspections, will guarantee peak performance year-round.
Managing Cross-Flow Patterns
Proper airflow management builds upon smart vent placement to create an efficient home cooling system. You'll need to understand how air moves through your space to prevent warm spots and maintain consistent temperatures throughout your spring house. By implementing cross-flow patterns correctly, you're guaranteeing that cool air reaches every corner effectively.
To optimize your cross-flow patterns, you'll want to leave adequate space between stored items and walls. Don't stack products too closely together, as this can block airflow and create unwanted warm zones. You should position items at least a few inches away from cooling units to maintain proper air circulation.
Consider installing multiple fans strategically to distribute cold air evenly. You can use airflow sensors to monitor temperature variations and adjust accordingly.
If you're planning a new setup, take advantage of Computational Fluid Dynamics (CFD) simulations to identify the most effective placement for your cooling equipment and storage areas. Regular maintenance is vital – you'll need to check your fans frequently, remove any dust buildup, and verify there's no ice formation that could impede airflow.
Cold Air Distribution Systems
While maintaining consistent temperatures throughout your spring house relies on several factors, an effective cold air distribution system serves as the cornerstone of successful climate control.
You'll need to guarantee proper airflow from ceiling-mounted units that push cold air downward, reaching every corner of your storage space. This circulation pattern, combined with strategically placed fans, prevents warm spots and reduces the risk of product spoilage.
- Axial and centrifugal fans work together to maintain consistent air movement
- Air curtains at doorways prevent temperature loss during access
- High-volume, low-speed (HVLS) fans distribute air efficiently across large areas
Your cold air distribution system should incorporate cooling coils for dehumidification, enhancing overall air quality while maintaining desired temperatures.
You can optimize energy efficiency by implementing thermal storage solutions, which allow you to produce and store chilled water or ice during off-peak hours. This approach reduces mechanical cooling needs during peak periods and can qualify for energy rebates.
Remember to maintain proper spacing between stored items to avoid blocking airflow paths, and schedule regular maintenance to prevent ice buildup and mechanical issues that could compromise your system's effectiveness.
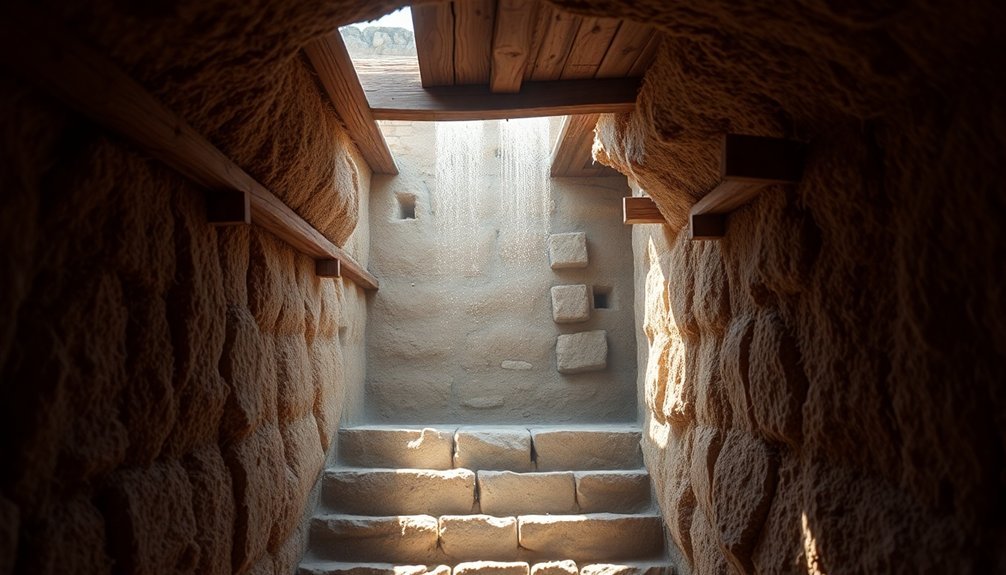
Construction Best Practices
In accordance with modern building standards, effective house insulation requires a systematic approach across multiple structural elements.
You'll need to start with your foundation, applying closed-cell foam to achieve an R-7 value per inch, and combine it with fiberglass batts to exceed energy codes without increasing wall thickness. For existing homes, you can insulate foundation walls from the outside or use alternative methods for crawl spaces.
Your walls require thorough insulation between living spaces and unheated areas. If you're working with existing walls, injection foam or blown-in cellulose provides effective solutions with minimal disruption. For new construction, insulate the foundation's exterior edge before backfilling.
In your attic, extend insulation into joist spaces and over floor joists to create a continuous thermal barrier.
Don't forget to insulate the attic access door and guarantee your air distribution system remains within the conditioned space.
For floors, particularly those above unconditioned spaces or built directly on the ground, use foam board insulation.
You'll want to pay special attention to cantilevered floors and slab edges, as proper insulation here can reduce heating bills by 10-20%.
Frequently Asked Questions
How Long Does Spring House Insulation Typically Last Before Needing Replacement?
You'll need to replace your insulation every 20-30 years, but it depends on the material you choose. Spray foam lasts longest at 80 years, while cellulose needs replacement after 15-20 years.
Can Existing Spring Houses Be Retrofitted With Modern Insulation Materials?
Yes, you can retrofit your existing spring house with modern insulation materials. You'll need careful planning and expert guidance to maintain historical integrity while upgrading with compatible materials like rigid foam boards or blown cellulose insulation.
What Impact Do Seasonal Temperature Fluctuations Have on Spring House Effectiveness?
You'll notice seasonal changes affect your spring house's cooling ability. In summer, it works harder to maintain low temperatures, while winter's cold helps efficiency but requires monitoring to prevent freezing of water sources.
How Much Does Professional Spring House Insulation Installation Typically Cost?
You'll typically spend between $500-$2,250 for a 500-square-foot spring house, with costs varying based on your chosen insulation type. Spray foam runs $1-$4.50/sq ft, while fiberglass is more affordable at $0.40-$1.20/sq ft.
Are There Specific Maintenance Requirements for Spring House Insulation During Winter Months?
You'll need to check regularly for moisture damage, clear ventilation pathways, seal any gaps, and verify your insulation stays dry throughout winter. Don't forget to monitor for pest intrusion and maintain proper airflow.
In Summary
You'll find that a well-insulated spring house combines traditional wisdom with modern materials for effective cold storage. By focusing on proper ground coupling, moisture management, and strategic airflow, you're creating an efficient natural cooling system. Whether you're storing produce or dairy products, the right insulation choices and careful construction techniques will help you maintain consistent temperatures while reducing energy costs throughout the seasons.


Leave a Reply