Start with fully ripe, unblemished fruits and herbs cut into uniform 1/8-inch pieces using a stainless steel knife. You'll need a sturdy frame with protective screening positioned for maximum sun exposure between 10 a.m. and 2 p.m. Pre-treat most fruits with an ascorbic acid or lemon juice dip to prevent browning, though berries typically don't need this step. Keep your drying station in hot, dry conditions with temperatures above 85°F and good air circulation. Bring items inside at night and store in airtight containers once fully dried. These foundational tips will set you on the path to successful off-grid food preservation.
Selecting Ideal Fruits For Drying
Setting up a successful fruit-drying operation starts with picking the right produce. You'll need to select fruits that have reached full ripeness for peak flavor and texture, while avoiding any that are either immature or past their prime.
Look for fruits that are free from blemishes, mold, and decay to guarantee the highest quality in your dried products. You'll find that cost-effective storage becomes possible with properly dried fruits, especially during off-season months.
When choosing fruits for sun drying, focus on those with high sugar and acid content, as these natural preservatives help prevent spoilage during the drying process.
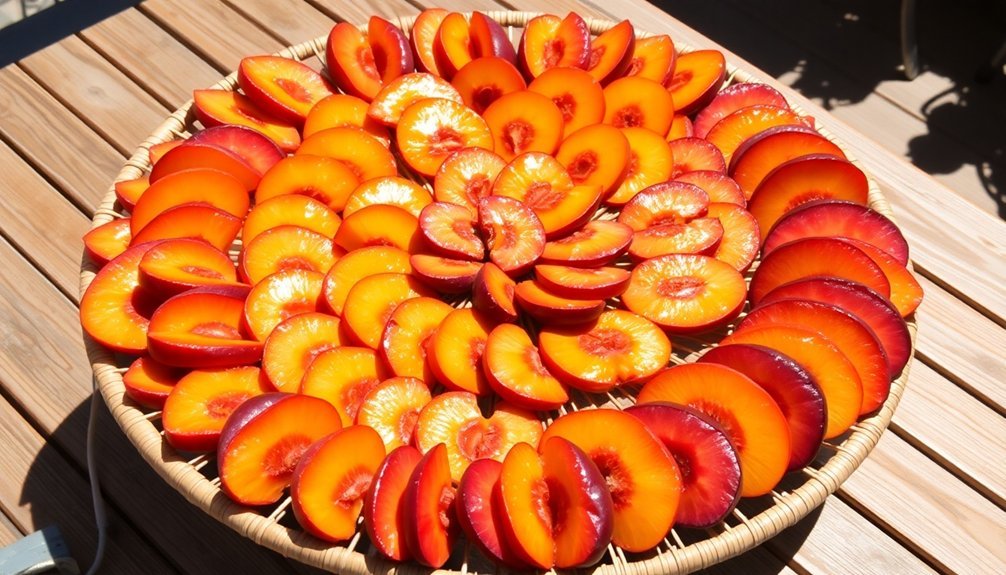
Apricots make an excellent choice due to their sweet, invigorating taste when dried. Grapes are another classic option, transforming into delicious raisins. Dates dry beautifully and become popular snacks, especially among children.
You can also try apples, which you'll core and slice into rings or wedges, and tomatoes, which are versatile for various recipes.
Examine each piece of fruit carefully before processing, rejecting any with bad spots or overripe areas.
Your final dried product will only be as good as the fresh fruit you start with, so take time to select produce at its peak of ripeness.
Preparing Your Solar Drying Station
A well-designed solar drying station forms the foundation of successful food preservation.
You'll want to start by building a sturdy frame using 2 x 2's, then cover it with protective screening or plastic sheeting to keep insects and animals away. Similar to off-grid living principles, this setup allows you to be fully self-sufficient in food preservation without relying on electrical appliances. Don't forget to include a separate screen door for easy access to your drying trays.
Position your station where it'll receive maximum sunlight exposure, especially during peak hours when the sun reaches 1000 Watts per square meter. You can enhance drying efficiency by using reflective surfaces and adjusting the station's angle according to seasonal changes in the sun's position.
Here's what you'll need for an effective drying station:
- Frame materials (2 x 2's, PVC hoops, or reclaimed cedar posts)
- Protective covering (greenhouse plastic, shade cloth, or landscape fabric)
- Wire mesh trays for proper air circulation
- Ventilation components (cross-ventilation windows or strategically placed holes)
Remember to check your drying foods frequently and bring them inside at night if they're not completely dried.
Keep your station clean and debris-free to maintain proper hygiene, and consider using it as a greenhouse during off-seasons for year-round functionality.
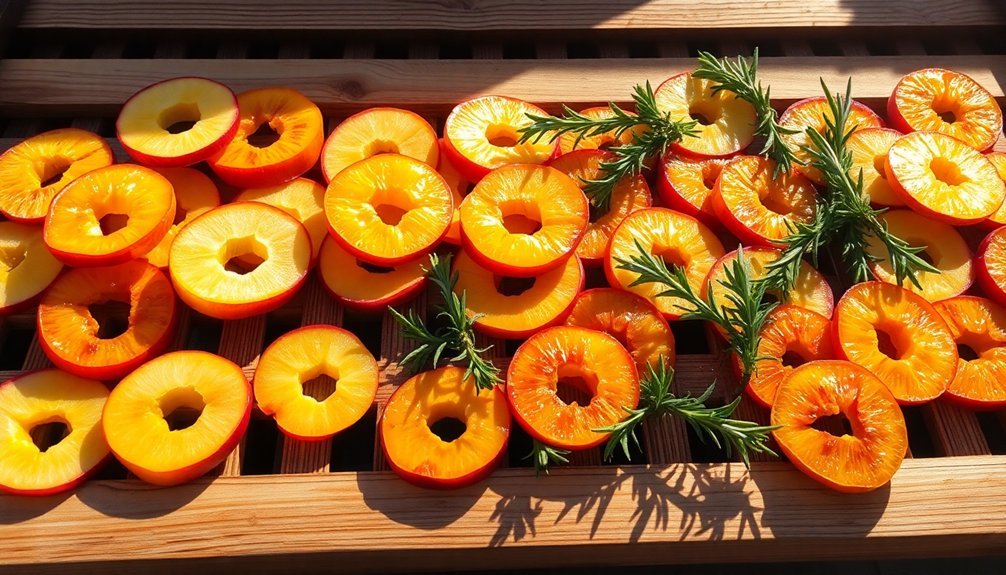
Proper Cutting Techniques
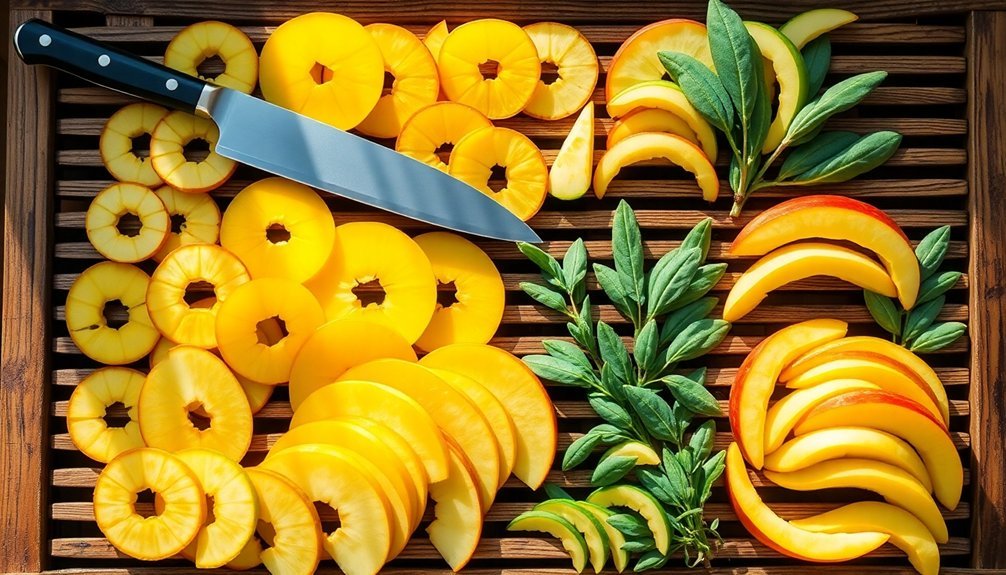
Mastering proper cutting techniques makes the difference between perfectly dried produce and subpar results. When preparing fruits, you'll want to wash and dry them thoroughly, then cut them into uniform pieces no thicker than 1/8 inch. For fruits like apples and bananas, slice them into thin rings or coins, while larger fruits like peaches should be halved or quartered. Always use a sharp, stainless steel knife to prevent metal residues and fruit damage.
For herbs, timing is essential. You'll get the best results by cutting them just before they blossom, when their essential oils are most concentrated. Cut about 6 inches below the flower buds, and gather the stems into small bunches. Continuous drying must be maintained throughout the process to prevent any mold from developing.
If you're working with herb roots, scrub them clean and slice thicker ones lengthwise for faster drying. Remember to handle all produce gently to preserve quality. For fruits, maintain consistent thickness in your cuts to guarantee even drying.
With herbs, avoid crushing the leaves, as this can release essential oils prematurely. Always cut herbs in the morning after the dew has dried, and make certain to use clean, sanitized tools and surfaces throughout the process.
Natural Pretreatment Methods
Before sun-drying fruits and herbs, proper pretreatment is essential to prevent browning, preserve nutrients, and extend shelf life. You'll find several natural methods that don't require special equipment or chemicals, making them perfect for off-grid food preservation.
The most effective natural pretreatment is an ascorbic acid dip, which you can make by mixing 1 teaspoon of powdered vitamin C with 2 cups of water. For a more accessible option, you can use equal parts lemon juice and water as a citrus dip. Both methods effectively prevent oxidation and maintain your fruits' natural color during the drying process.
- For apples and pears: Soak sliced pieces in ascorbic acid solution for 3-5 minutes, or use the citrus juice dip for 10 minutes.
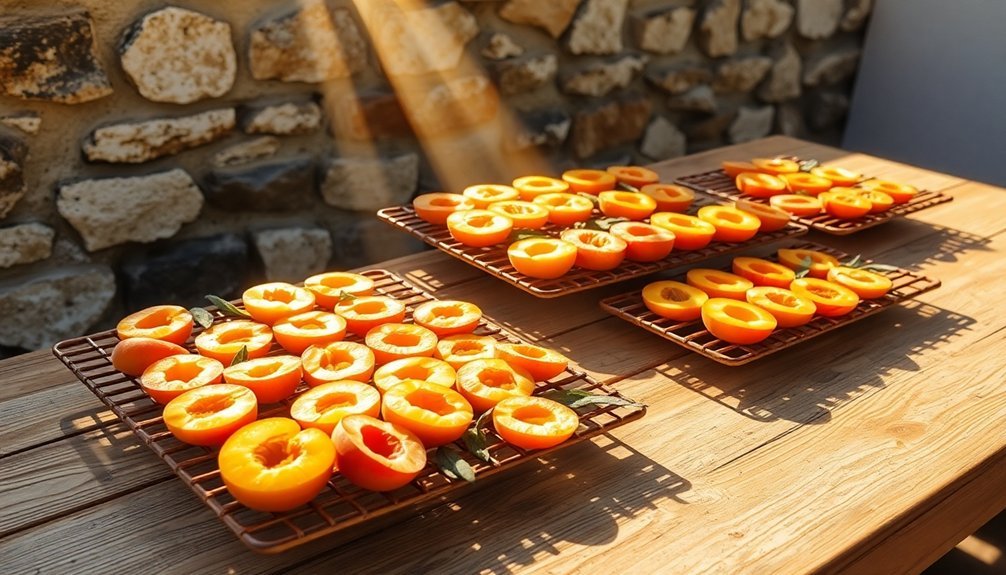
- For stone fruits like peaches and apricots: Use either the ascorbic acid dip or try syrup blanching for enhanced flavor.
- For berries: Most don't need pretreatment, except for cherries and blueberries, which require 15-second scalding.
- For citrus peels: Skip pretreatment entirely, as they naturally resist browning.
Remember to test for proper dryness by ensuring your fruits are pliable and leathery with no moisture in the center.
Optimal Sun Exposure Times
Your most productive sun-drying hours occur between 10 a.m. and 2 p.m., when the sun's rays are strongest and temperatures typically reach their peak.
You'll want to start positioning your drying racks early in the morning with a southern exposure to maximize the full day's sunlight.
While you can continue drying into the late afternoon, you'll need to adjust your drying racks throughout the day to follow the sun's path and maintain ideal exposure.
Daily Peak Hours
The three most productive hours for sun-drying occur between 10 a.m. and 2 p.m., when the sun's intensity peaks. During this window, you'll want to position your drying trays with a southern exposure to maximize sunlight absorption. The temperature should reach at least 86°F, though higher temperatures will speed up the drying process.
You'll need to monitor your setup regularly and adjust the dryer's position as the sun moves across the sky.
For ideal results during peak hours, follow these essential steps:
- Set up your drying station early in the morning to take full advantage of the peak drying window.
- Prop up one end of your dryer 6-8 inches to guarantee proper air circulation throughout the hottest part of the day.
- Use foil surfaces inside your solar dryer to increase temperature and efficiency during peak hours.
- Monitor humidity levels, aiming for less than 60% during the prime drying window.
Remember to bring your produce inside before sunset to prevent moisture buildup from evening dew.
If you're drying in an area with pollution concerns, cover your setup with cheesecloth or netting while maintaining proper ventilation.
Morning Versus Afternoon Rays
While peak hours provide maximum drying potential, understanding the distinct characteristics of morning versus afternoon rays can greatly improve your drying results.
For best results, you'll want to harvest and begin drying your herbs in mid-morning after the dew has evaporated but before the intense heat of the day sets in. Morning-harvested herbs retain more intense flavors and aromas, while their lower moisture content allows for faster drying times.
If you're planning to use your herbs immediately, afternoon harvesting can work well, especially on cloudy days. However, you'll need to be more vigilant about protecting your produce from insects and environmental factors during afternoon sessions.
Don't harvest after rainfall or watering, as excess moisture will compromise flavor and drying efficiency.
Regardless of when you choose to dry your produce, you'll need to maintain consistent practices. Turn your items regularly for even exposure, guarantee good air circulation, and protect them from pollution and pests.
If you're in a humid climate, bring your drying racks indoors overnight. Remember to monitor your produce regularly to prevent sunburn or rotting, and store properly once dried.
Weather and Environmental Considerations
Successful sun-drying depends heavily on selecting days with ideal weather conditions. You'll want to choose hot, dry days with temperatures of at least 85°F, though temperatures above 98°F will speed up your drying process notably.
Look for humidity levels below 60% and bright sunshine that coincides with your harvest's maturity.
Good air circulation is vital for effective drying, so take advantage of gentle breezes that help remove moisture from your food's surface. You'll need to protect your drying items from the elements while maintaining this airflow, using light coverings like cheesecloth or screens that keep insects away without blocking air movement.
Here are four essential actions to protect your drying foods:
- Bring items under shelter at night to prevent moisture reabsorption
- Use screens or cheesecloth to protect from insects while maintaining airflow
- Set up quick access to shelter in case of unexpected rain
- Position drying racks where they'll catch both sunlight and natural breezes
Remember that temperature fluctuations can affect your final product's quality, so maintain consistent conditions whenever possible by monitoring weather forecasts and being ready to adjust your setup as needed.
Proper Storage After Drying
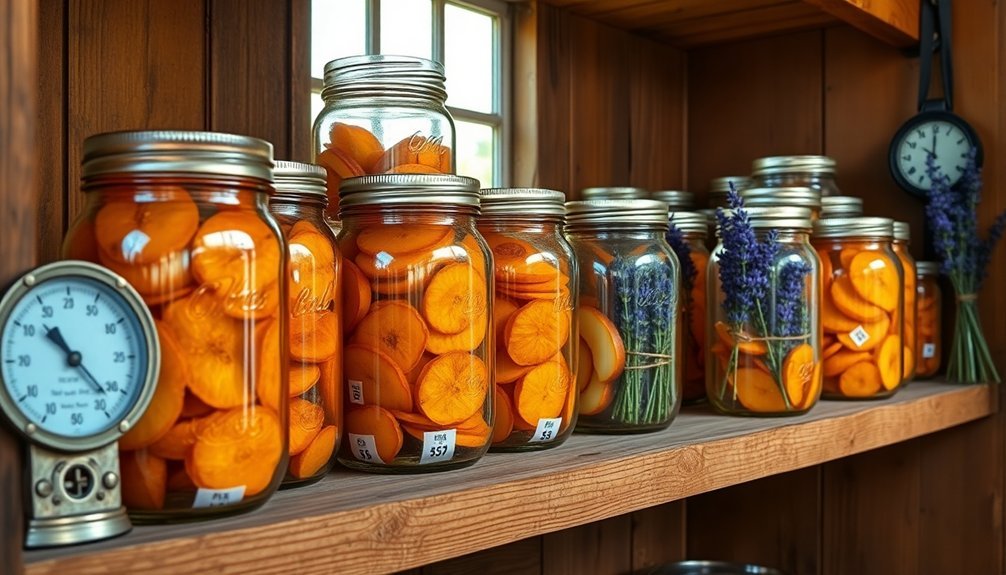
Once you've properly dried your fruits and herbs under ideal weather conditions, proper storage becomes your next important task.
You'll need to select airtight, vapor-proof containers that protect your harvest from moisture and prevent flavor transfer. Dark glass jars or tins work best, while you should avoid cardboard or paper containers that can absorb oils.
Before storing, make sure your herbs are completely dry by rubbing them between your palms – they should crumble easily. For added safety, pasteurize sun-dried herbs in your oven at 160°F for 10 minutes to eliminate any insects or eggs.
Keep herbs whole and crush them only when you're ready to use them, as this preserves their oils and flavors longer.
Choose a cool, dry, dark storage location away from heat sources like stoves and fireplaces. Your pantry or kitchen cupboard offers ideal conditions, but avoid bathroom storage or areas with high humidity.
Don't store herbs in your refrigerator or freezer unless absolutely necessary, as condensation can compromise quality. Label your containers clearly and inspect your stored herbs regularly for signs of moisture or spoilage.
With proper storage, most dried herbs will maintain their quality for up to a year.
Frequently Asked Questions
Can I Sun-Dry Fruits in Humid Climates or Only in Dry Regions?
While you can sun-dry fruits in humid climates, it's challenging and risky. You'll need consistent hot weather above 85°F, humidity below 60%, and you'll have to monitor closely to prevent spoilage.
How Do I Know if Mold Has Started Growing During the Drying Process?
You'll notice fuzzy green, black, or white growth on surfaces, along with musty odors and slimy patches. Watch for herbs clumping together, and check for soft spots or unusual discoloration during your daily inspections.
What Alternatives Can I Use if I Don't Have Traditional Drying Racks?
You can create DIY racks using wire wreath bases, repurpose old screens with lumber, or simply hang herbs in bunches. You'll also find passive solar drying sheds and household items like dish towels work well.
Will Sun-Dried Fruits Retain Their Original Nutritional Value After Drying?
You'll find that sun-dried fruits retain most of their original nutrients, including vitamins, minerals, and antioxidants. While there's some loss of vitamin C, they'll still provide concentrated nutritional benefits in a shelf-stable form.
Can I Use a Car Dashboard as an Alternative Drying Space?
Yes, you can effectively use your car's dashboard as a drying space. It works like a solar oven, trapping heat inside. You'll get fast results, and your items stay protected from insects and dust.
In Summary
Sun-drying your own fruits and herbs isn't just about preservation – it's about self-reliance and natural food processing. You'll save money, reduce waste, and enjoy nutrient-rich snacks year-round. With proper preparation, timing, and storage techniques, you're well-equipped to harness the sun's power for food preservation. Remember, patience is key – while the process takes time, the results are worth the wait.


Leave a Reply