
You can effortlessly create delicious solar-powered fruit leather in just five simple steps. Start by preparing ripe fruits: rinse, peel if necessary, and cut them into chunks. Next, blend the fruit into a smooth puree. Don't forget to add sweeteners and any flavor enhancers you like. Then, spread the puree evenly on a clean surface, like a dehydrator tray or baking sheet. Finally, place it in a sunny spot to dry, covering it with breathable cloth. In no time, you'll enjoy a tasty snack. If you want tips for perfect results, there's even more to explore!
Prepare Your Fruit
To kick off your journey in making solar-powered fruit leather, start by selecting the right fruit. Choose ripe or slightly overripe varieties for the best flavor and texture. You can use a wide range of fruits, including strawberries, raspberries, apricots, kiwi, mango, blueberry, apple, and pear.
Keep in mind the natural sweetness of your fruit; this will help you decide if you need to add any sweetener later.
Next, rinse your chosen fruit thoroughly to remove dust and debris. Check for blemished or damaged parts and cut those out. Pat the fruit dry with a clean towel if necessary.
For tough-skinned fruits like apricots and apples, peeling is essential, while soft-skinned fruits can be left as is for a smoother leather. Don't forget to pit fruits like apricots, cherries, and plums, and remove seeds, stems, and cores.
Cut your fruit into small to medium-sized chunks to make blending easier. For fruits like bananas and grapes, just peel and remove the stems. If you're using harder fruits like apples and pears, cooking them first will help you achieve the right texture. Additionally, using ripe bananas or mango can enhance the consistency of your fruit leather.
Happy prepping!
Make the Puree
After prepping your fruit, it's time to make the puree. Grab a high-powered blender or food processor and cut your fruit into small to medium-sized chunks for easier blending. If your puree turns out too thick, add a few tablespoons of water or fruit juice to achieve a smoother consistency. Aim for a texture similar to applesauce—no chunks allowed, as they won't dry evenly and could lead to mold.
Soft fruits like apricots and bananas can go straight into the blender, while berries like strawberries and blueberries can be blended whole after a quick wash. For tougher fruits, such as peaches, peeling them first will give you a smoother puree. Additionally, it's important to select ripe or slightly over-ripe fruit to ensure the best flavor and overall quality.
Watermelon may require straining through cheesecloth due to its high water content, while denser vegetables like carrots or sweet potatoes should be cooked beforehand.
If you're using canned or frozen fruit, make sure to strain excess liquid and thaw it completely before blending. Feel free to mix different fruits for unique flavors, but keep in mind that varying water content may affect drying time.
Enjoy experimenting with your puree!
Add Sweeteners and Flavor
When you're ready to enhance the flavor of your fruit leather, adding sweeteners and flavor enhancers can make a significant difference. You can choose from various sweeteners like sugar, corn syrup, honey, or even saccharin-based options to reduce tartness without extra calories. For every 2 cups of fruit, aim for ¼ to ½ cup of sweetener, adjusting based on the fruit's natural sweetness. If you're using canned fruit, you might need less.
To add depth, incorporate flavor enhancers. A couple of teaspoons of lemon juice helps prevent browning in lighter fruits. Spices like cinnamon and nutmeg, or extracts like vanilla, can elevate the taste. Start with small amounts and adjust to your liking. Homemade fruit rolls made from pureed fruit can also benefit from these enhancements, adding a richer flavor profile.
Blend your chosen sweeteners and flavor enhancers into the fruit puree until well combined. This not only enhances the flavor but also guarantees a uniform taste throughout your fruit leather.
Spread the Puree
Preparing to spread the puree is essential for achieving that perfect fruit leather. Start by lining your surface with parchment paper, a dehydrator sheet, a silpat, or plastic wrap—just steer clear of wax paper.
If you're using a rimmed baking sheet or dehydrator tray, verify it's clean and free of debris to avoid contamination. If you're working with a solar oven, check that the baking sheet fits inside before pouring the puree.
Next, measure out about 2-3 cups of fruit puree for an 8×6 inch tray, or 3-4 cups for an 11×17 inch baking sheet. Pour the puree evenly onto your prepared surface, ensuring it covers the entire area to prevent holes and clumps.
Give the tray a few taps on the counter to help distribute the puree evenly. Use an offset spatula to spread the puree to a thickness of about 1/8 to 1/4 inch. Make the edges a bit thicker, around 1/4 inch, to account for faster drying at the edges.
Check for any large clumps or uneven areas and smooth them out for uniform thickness.
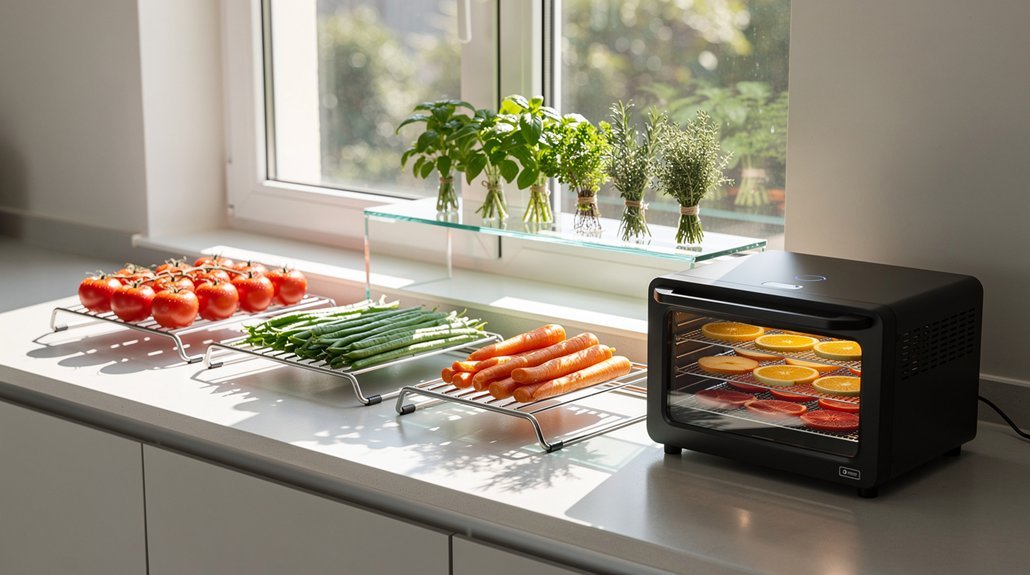
Dry the Fruit Leather
To dry the fruit leather effectively, choose a clean, sunny location that's free from bugs and other critters. Use a window screen or a flat surface lined with parchment paper or a silicone mat. Make sure the area is clean and clear of debris, and cover the fruit leather with a breathable cloth secured with weights or clips. This will help protect it while allowing airflow.
Place your drying setup in full sun, especially during the hottest part of the day, and avoid shading the area. Drying time can vary from 1 to 2 days, depending on sunlight intensity. Remember, the fruit leather dries from the outside edge toward the center.
Here's a helpful overview of the drying process:
| Step | Tips | Duration |
|---|---|---|
| Setup | Use parchment or silicone mat | Before drying |
| Cover | Secure with weights/clips | During drying |
| Check for dryness | Touch the center | Every few hours |
| Roll | Do it while warm | After drying |
| Store | Cool, dry place | Long-term storage |
Be patient, as solar drying can take time!
Frequently Asked Questions
Can I Use Frozen Fruit for Making Fruit Leather?
Yes, you can use frozen fruit to make fruit leather. Just thaw, drain excess water, puree, and mix with your favorite ingredients. Keep in mind it may take longer to dehydrate due to the added moisture.
How Do I Store the Finished Fruit Leather?
To store your finished fruit leather, keep it in a cool, dry place using airtight containers or zip-top bags. For longer shelf life, refrigerate or freeze it, ensuring it's wrapped to prevent moisture exposure.
What Fruits Work Best for Solar-Powered Fruit Leather?
For solar-powered fruit leather, choose fruits like berries, stone fruits, and apples. They dry well and enhance flavor. Avoid high water content fruits, and remember, combining fruits can yield delicious results!
Can I Add Spices or Flavorings to the Puree?
Absolutely, you can add spices or flavorings to the puree! Just blend in options like cinnamon or vanilla extract, and taste as you go to achieve a balance that enhances your fruit's natural flavor.
Is It Safe to Eat Fruit Leather Made in Direct Sunlight?
It's not safe to eat fruit leather made in direct sunlight. Sunlight can promote bacterial growth and spoilage, so guarantee proper dehydration and storage. Always inspect for mold or unusual odors before consuming any fruit leather.
In Summary
Now that you've followed these five simple steps, you're ready to enjoy your homemade solar-powered fruit leather! It's a fun and healthy snack that's easy to make and even easier to customize. Whether you keep it for yourself or share it with friends, you'll love the delicious flavors and the satisfaction of creating something from scratch. So grab your favorite fruits and start experimenting—your taste buds will thank you! Happy snacking!
Leave a Reply