
To pack snow for year-round food storage, you'll need to start with fresh, clean snow and compress it using a spiral auger system that achieves a 3:1 compression ratio. Build your storage chamber with high-grade aluminum and galvanized steel, using 40-100mm thick insulation materials like Finnfoam. You'll want to collect snow post-ski season when it's naturally denser, and protect it with reflective tarps to prevent melting. Install real-time temperature monitoring and maintain proper food organization, storing raw items below cooked ones. With proper techniques, your snow-packed storage can provide efficient cooling for decades to come.
Understanding Snow Properties for Storage
When considering snow for food storage, understanding its physical properties is essential for safety and effectiveness. Snow's composition of ice crystals surrounded by air makes it a natural insulator, but this characteristic can work against your storage needs.
You'll find that snow temperatures aren't as stable as you might think, especially in the top layers where air temperature has the most influence. The USDA cautions against relying on snow storage as only a last resort.
You need to understand that snow undergoes constant changes. Even in cold weather, the temperature within snow layers can fluctuate considerably, particularly in the upper 12-18 inches. While deeper snow near the ground stays warmer due to residual summer heat, this varying temperature gradient can affect your stored food's safety.
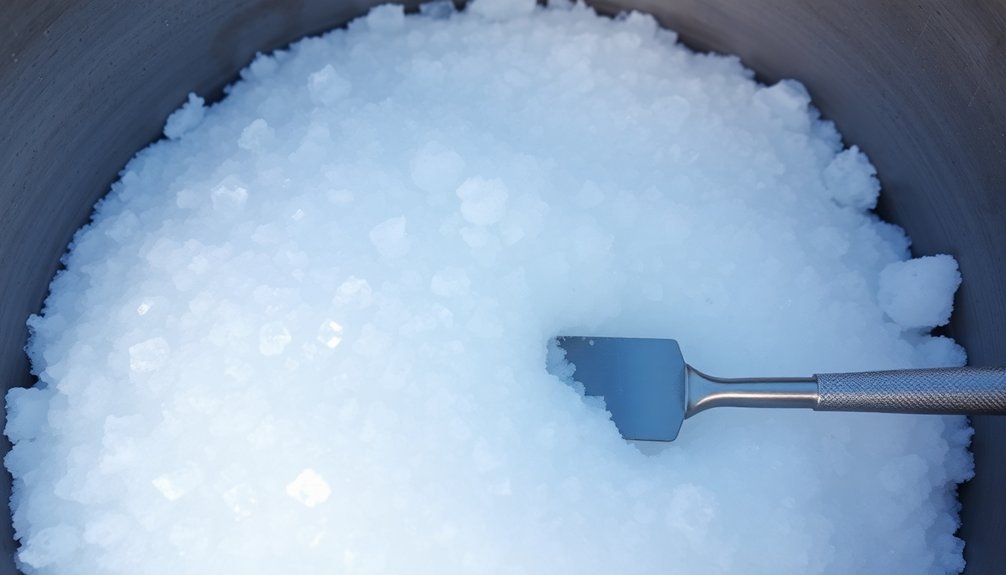
Fresh snow might seem ideal with its loose, powdery texture, but it will compress and change over time.
Weather conditions considerably impact snow's reliability for storage. Wind can pack snow more densely by breaking down crystals, while sunlight can cause partial melting even on cold days.
Dark particles that settle on the snow's surface accelerate melting by absorbing more solar radiation. These dynamic properties make snow an unreliable medium for maintaining the consistent temperatures necessary for safe food storage.
Preparing Snow Collection Sites
To guarantee successful snow storage, selecting and preparing the right collection site serves as your foundation for food preservation. You'll need to choose an area with reliable snowfall, good drainage, and minimal risk of contamination. Don't select sites near roads or industrial zones, as they'll expose your snow to pollutants. Since snow consists of frozen water crystals, understanding its composition helps determine optimal storage conditions.
Before the snow falls, you'll want to clear your collection area of debris and establish clear boundaries. It's crucial to compact the ground and set up protective barriers against wind and sun exposure. Keep an eye on weather forecasts to time your collection efforts perfectly.
| Site Requirements | Preparation Steps |
|---|---|
| Consistent snowfall | Remove debris and rocks |
| Good drainage | Mark collection boundaries |
| Away from pollution | Install wind barriers |
| Easy accessibility | Compact ground surface |
| Close to storage area | Monitor weather patterns |
You'll find that proper site preparation makes the difference between successful and failed snow storage. Remember to maintain the cleanliness of your collection area throughout the season, and don't forget to adjust your barriers as needed based on wind patterns and sun exposure.
Snow Compression Techniques

Successful snow storage comes down to mastering the right compression techniques.
You'll want to start with a spiral auger collection system that feeds snow into a compression chamber through a snow-throwing impeller. This setup guarantees consistent snow supply for the compression process.
To achieve ideal compression, you'll need to use hydraulic presses that can deliver around 3 MPa of pressure, which will give you a 3:1 compression ratio. Snow sculpture blocks can be efficiently transported and used for various artistic constructions.
Your compression cylinder should measure 1 × 1.5 × 2 meters for the most efficient operation. When you're compressing the snow, you'll work with rated maximum pressures of 6 × 10^5 N in the left-right direction and 3 × 10^5 N in the front-back direction.
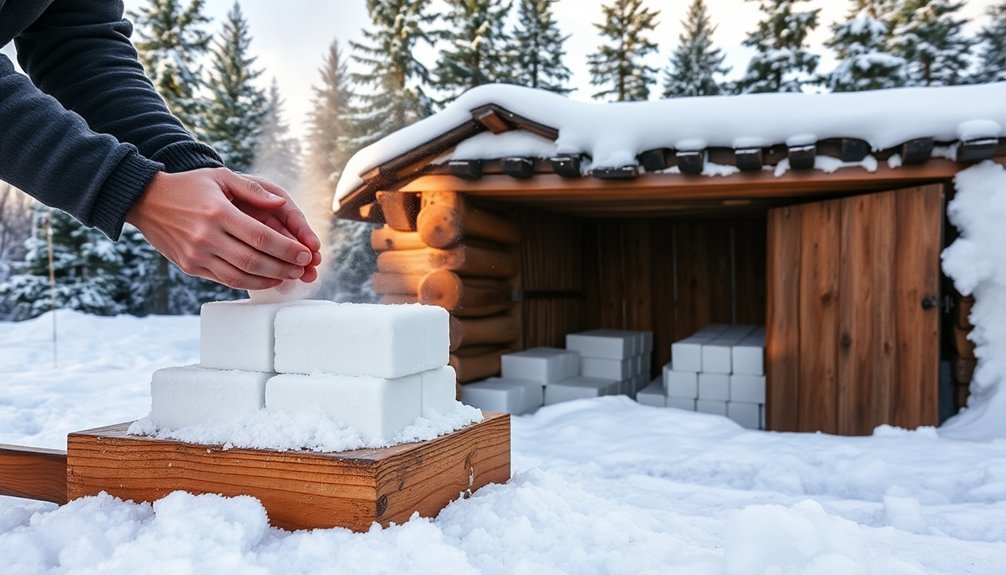
The compressed snow blocks you'll create will measure 1 × 1 meter in cross-section, making them ideal for storage and transport.
You can expect a working efficiency of about 0.1 cubic meters per second from your compression device. The standardized shape of these blocks won't just save space – they'll also maintain their form better during long-term storage, which is vital for maintaining consistent temperature in your food storage setup.
Building Insulated Storage Chambers
Now that you've mastered snow compression, let's focus on creating the perfect storage environment. Your storage chamber's design must prioritize both insulation integrity and practical functionality.
When installing insulation panels, pay special attention to fitted edges and areas near entrances, as these are particularly vulnerable points that require protection according to BS EN 13374-2013 standards.
Your chamber's structure will rely on support poles suspended from a portal frame, typically using high-grade aluminum and galvanized steel components. You'll need to carefully consider these essential elements:
- Wall thickness options ranging from 40mm to 100mm, using either sandwich panels or glass walling for ideal insulation
- Double-layer thermo roofing or sandwich panels that can withstand specific snow loads of 1.5 kN/m²
- Strategic placement of thermal barriers to protect against steam damage while accounting for ceiling load capacity
When designing your layout, make certain shelves are accessible from both sides and designate specific areas for different food types.
You'll need to store raw products below cooked items to prevent cross-contamination. Remember to manage any holes for refrigeration equipment carefully, as these can compromise your chamber's insulation effectiveness.
Long-Term Snow Preservation Methods
Effective long-term snow preservation starts with proper collection timing and preparation techniques.
You'll want to collect snow at the end of the ski season when it's most abundant, using snow groomers to gather and consolidate large piles. The denser the initial snowpack, the better it'll preserve over time.
To protect your stored snow, you'll need a robust insulation system.
While traditional materials like sawdust and wood chips work, you'll get better results with specialized materials such as Finnfoam and reflective polypropylene tarps at least 2mm thick. These advanced materials can reduce snow melt to just 10-20%, compared to 30-50% with conventional methods.
You can optimize your snow storage by implementing real-time temperature monitoring systems.
These sensors will help you track temperature fluctuations and adjust your insulation as needed. Make sure your covering system protects against rain and wind, as these elements can greatly impact snow retention.
With proper maintenance and high-quality insulation materials that can last 10-20 years, you'll create an efficient, long-term snow storage solution that's both cost-effective and environmentally friendly.
Frequently Asked Questions
Can Snow Storage Affect the Nutritional Value of Preserved Foods?
Yes, your food's nutritional value can change during snow storage. You'll notice vitamins C and B decline gradually, while minerals stay more stable. But don't worry – proper packaging helps minimize these losses.
What Alternative Materials Can Replace Snow During Warmer Seasons?
You can use ice packs, gel freezer blocks, or cold storage containers made from glass, stainless steel, or silicone. These alternatives maintain consistent temperatures and don't melt like snow during warm weather.
How Does Altitude Impact the Effectiveness of Snow Storage Methods?
At higher altitudes, you'll find snow storage is more effective due to colder temperatures and lower humidity. You'll need less insulation up high, while lower elevations require more advanced cover materials and monitoring.
Is Snow Storage More Cost-Effective Than Modern Refrigeration Systems?
You'll find that modern refrigeration is typically more cost-effective than snow storage, despite higher upfront costs. Snow storage requires ongoing expenses for labor, insulation materials, and initial snowmaking, making it less economical long-term.
Can Snow Storage Chambers Be Safely Constructed Underground?
You can construct underground snow chambers safely, but you'll face significant challenges with site selection, proper drainage, structural support, and ventilation. The high costs and technical requirements often make it impractical.
In Summary
You've now learned the essential steps for creating your own snow-based cold storage system. Whether you're preserving food or maintaining a natural cooling solution, proper snow collection, compression, and insulation techniques will help you maintain cold temperatures year-round. As you build and maintain your storage chamber, don't forget to monitor conditions regularly and adjust your preservation methods based on local climate patterns.


Leave a Reply