Select fresh or slightly underripe blackberries for ideal pectin content and clean them thoroughly, especially if they're wild-picked. You'll want to use equal parts sugar and fruit for the quickest set, though you can reduce sugar to enhance natural flavors. Keep your temperature between 217-222°F, with 220°F being your sweet spot for the perfect set. Test your jam's readiness using the cold plate test – it should wrinkle when pushed with your finger. Don't skip proper sterilization; use hot, clean jars and fill them while the jam's hot. These basic principles are just the beginning of your jam-making journey.
Choose the Right Blackberries
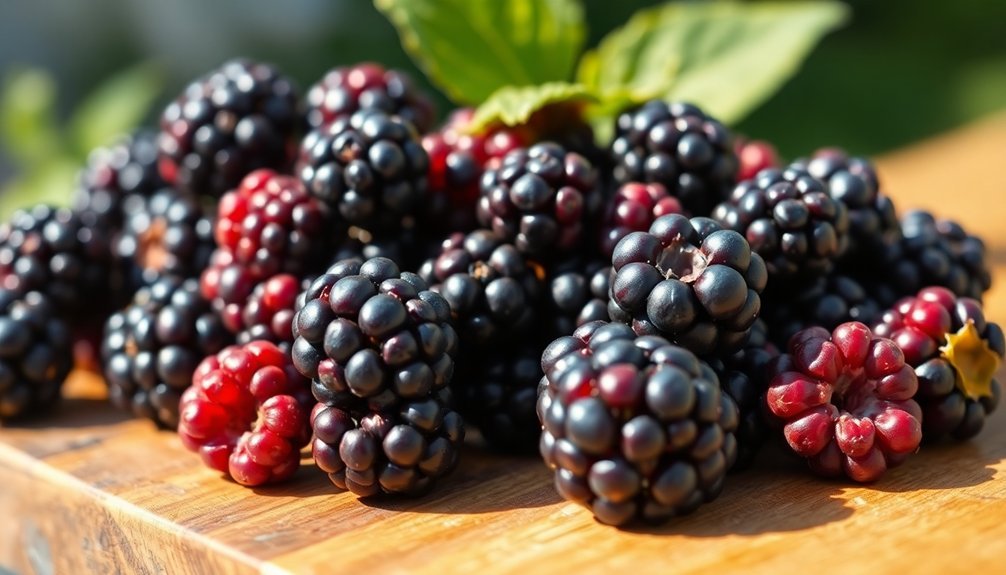
Berry-picking perfection starts with selecting the right blackberries for your small-batch jam. You'll want fresh or slightly underripe berries for maximum pectin content and balanced sweetness.
When picking wild blackberries, choose ones at waist height or above to avoid ground contamination, and look for uniform drupelets that come off the stem easily.
Wild blackberries are your best choice since they contain more natural pectin than store-bought varieties. If you're using farmed blackberries, you'll likely need to add pectin to achieve the right consistency. The jam can be made with powdered or liquid pectin, depending on your preference for texture.
Don't use overripe berries, as they'll be too sweet and lack the necessary pectin for proper setting.
Before starting your jam, clean your blackberries thoroughly. For wild berries, soak them in salted water to remove any bugs or debris, then rinse well and dry completely.
If you're using store-bought berries, a simple rinse will suffice. Remove any damaged berries and weigh your fruit to guarantee accurate proportions.
Remember that berries that might be too tart for eating fresh are often perfect for jam-making, as they'll provide the ideal balance of flavor and pectin content.
Master the Sugar Ratio
Finding the perfect sugar ratio is essential for successful blackberry jam. You'll need to decide between traditional equal-parts ratios or lower sugar options, depending on your taste preferences. Equal parts sugar and fruit will give you a quick set and higher yield, while using less sugar (1:3 or 1:4 ratio) emphasizes the natural blackberry flavor. Alternative sweeteners like honey or maple syrup can provide unique flavor profiles when used at two-thirds the quantity of regular sugar.
Your choice of sugar ratio affects both consistency and cooking time. High-sugar jams set faster and require less cooking, while low-sugar versions need more time on the stove. Don't worry about safety – both options are perfectly fine for canning, as blackberries provide natural acidity.
| Sugar Ratio | Characteristics | Cooking Time |
|---|---|---|
| 1:1 (High) | Quick set, candy-like taste | Shorter |
| 1:3 (Medium) | Balanced flavor, good set | Moderate |
| 1:4 (Low) | Bold berry taste, more seeds | Longer |
You can adjust these ratios to find your perfect balance. Remember to add lemon juice regardless of your sugar choice – it enhances the natural pectin and balances flavors. For consistent results, use temperature checks or plate tests to determine when your jam has reached its set point.
Watch Your Temperature

To achieve perfect jam consistency, maintaining precise temperature control throughout the cooking process is essential.
You'll want to aim for 103-106°C (217-222°F), with 105°C (220°F) being the ideal setting point for your blackberry jam.
Use an instant-read digital thermometer for accuracy, as leave-in probes can give misleading readings due to the jam's thick consistency.
Sterilized jars are crucial for proper storage and preservation of your finished jam.
Before taking a temperature reading, stir your jam thoroughly to eliminate hot and cold spots, which can vary by up to 10°F.
Place the thermometer probe in the center of the mixture, moving it slightly for the most accurate reading.
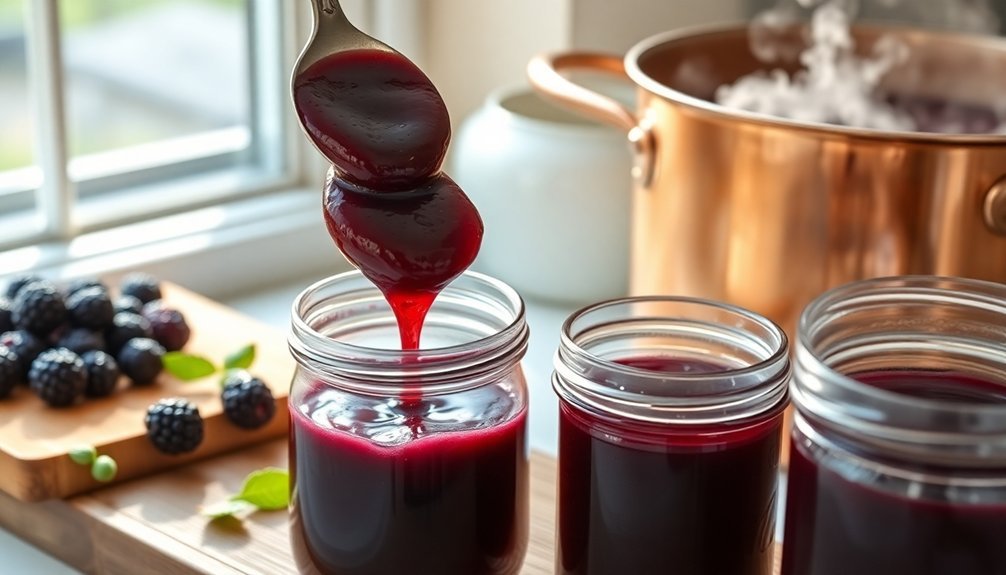
Once you've reached the target temperature, perform a wrinkle test to confirm the setting point.
Drop a small amount of jam on a cold plate, let it cool for 30 seconds, then push it with your finger.
If it wrinkles softly, you've achieved the right consistency.
Don't forget to adjust your target temperature based on your altitude, as this affects the boiling point.
If you overcook your jam beyond the ideal range, you'll risk breaking down the pectin and losing its ability to set properly.
Test the Set Properly
Once you've monitored your temperature carefully, determining the proper set becomes your next challenge. You'll want to master two primary testing methods: the plate test and the flake test, each offering reliable indicators of your jam's readiness.
For the plate test, place several small saucers in your freezer before starting. When you think your jam's ready, drop a spoonful onto a chilled plate and return it to the freezer for one minute. Run your finger through the jam – if it wrinkles and doesn't flow back together, you've achieved the right set.
| Test Method | What to Look For | Time Required |
|---|---|---|
| Plate Test | Wrinkled surface that holds shape | 1 minute |
| Flake Test | Drops form flakes that don't run | Immediate |
| Spoon Test | Thick, even coating on back | Immediate |
The flake test offers a quicker alternative: let jam drop from your spoon – it should form distinct flakes that hold their shape. Don't hesitate to combine testing methods for accuracy, and remember to check frequently as you cook. If your jam hasn't set, continue boiling for 15-30 second intervals, retesting between each round. Be careful not to overcook, as this can result in overly thick or burnt jam.
Sterilize Like a Pro
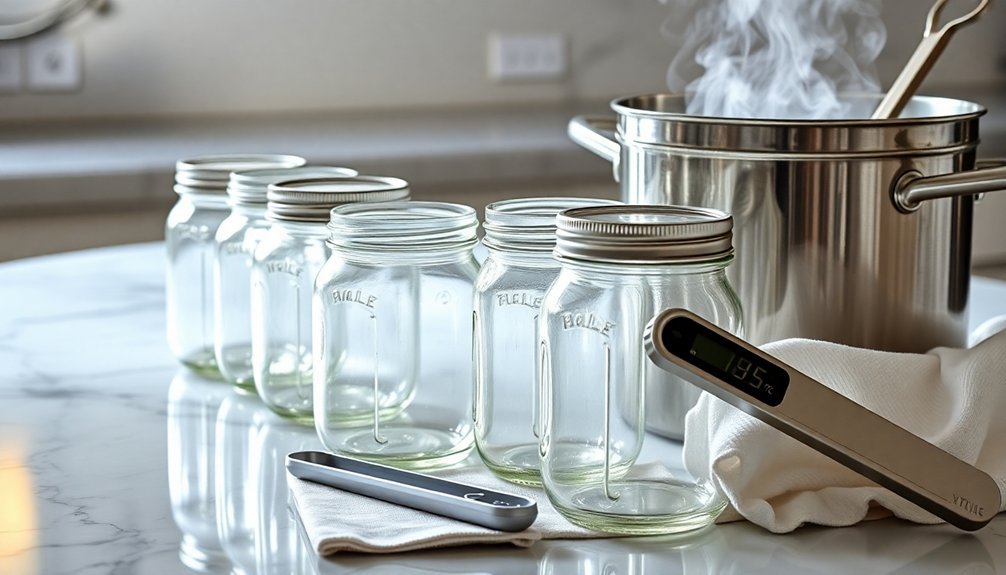
Proper sterilization serves as the foundation for safe, long-lasting preserves. When making your small-batch blackberry jam, you'll need to verify your jars are completely sterile before filling them with your precious preserves.
You've got several effective methods at your disposal, each with its own advantages.
- The oven method's particularly reliable – heat to 275°F, place jars on newspaper-lined shelves, and sterilize for 20 minutes. Just remember to use oven mitts when handling the hot jars.
- Your dishwasher can do double duty if it has a high-temperature setting. Time the cycle to finish when your jam's ready, and fill the jars while they're still hot.
- The traditional boiling water method remains foolproof: submerge clean jars for 10 minutes in boiling water, and don't forget to boil lids separately.
- For quick small batches, the microwave method works well – 30-45 seconds for wet, clean jars. However, don't use this method for Kilner-style jars or metal lids.
Whichever method you choose, always fill hot jars with hot jam to prevent thermal shock and verify proper sealing.
Frequently Asked Questions
How Long Will Homemade Blackberry Jam Last Once Opened?
Once you've opened your homemade blackberry jam, it'll last 3-4 weeks in the refrigerator. You'll need to store it properly and always use clean utensils. Watch for any signs of spoilage during storage.
Can I Substitute Artificial Sweeteners for Sugar in Blackberry Jam?
Yes, you can use artificial sweeteners, but you'll need special pectin designed for sugar-free recipes. Use Pomona's or Ball's modified pectin, as regular pectin won't set properly without sugar's thickening properties.
Why Did My Jam Develop Mold Even in Sealed Jars?
Your jam's mold likely developed from improper sealing, insufficient heat processing, or incorrect storage conditions. You'll want to guarantee you're using new lids, processing jars completely, and storing them in a cool, dark place.
Can I Double the Recipe While Maintaining the Same Cooking Time?
You can't maintain the same cooking time when doubling a jam recipe. You'll need to extend the boiling time by 5-15 minutes since larger volumes require longer cooking to reach proper setting consistency.
What Causes Blackberry Jam to Turn Brown After Several Months?
Your blackberry jam turns brown mainly due to oxidation, enzymatic reactions, and light exposure. You'll notice this when enzymes interact with oxygen, creating brown pigments. Proper storage in dark places helps prevent discoloration.
In Summary
With these five essential tips, you'll create delicious small-batch blackberry jam every time. Perfect berries, precise sugar measurements, and careful temperature control guarantee the right consistency and flavor. Don't skip testing for the set point or proper jar sterilization – these steps assure safe, shelf-stable results. Once you've mastered these basics, you're ready to preserve summer's sweetness in every jar.


Leave a Reply