You'll find success with natural ice storage by following three key methods. First, pack your ice blocks with layers of sawdust between them, using at least 24 inches of sawdust insulation against outer walls to maintain cold temperatures. Second, harvest ice blocks during winter when they're at least one foot thick, cutting them into manageable 2x2x2 foot sections for ideal stacking. Third, design your ice storage with proper drainage and ventilation, including a slanted floor and strategic air circulation gaps around the blocks. These traditional techniques have preserved food for generations, and there's much more to discover about this sustainable preservation approach.
Sawdust Insulation Layer Techniques
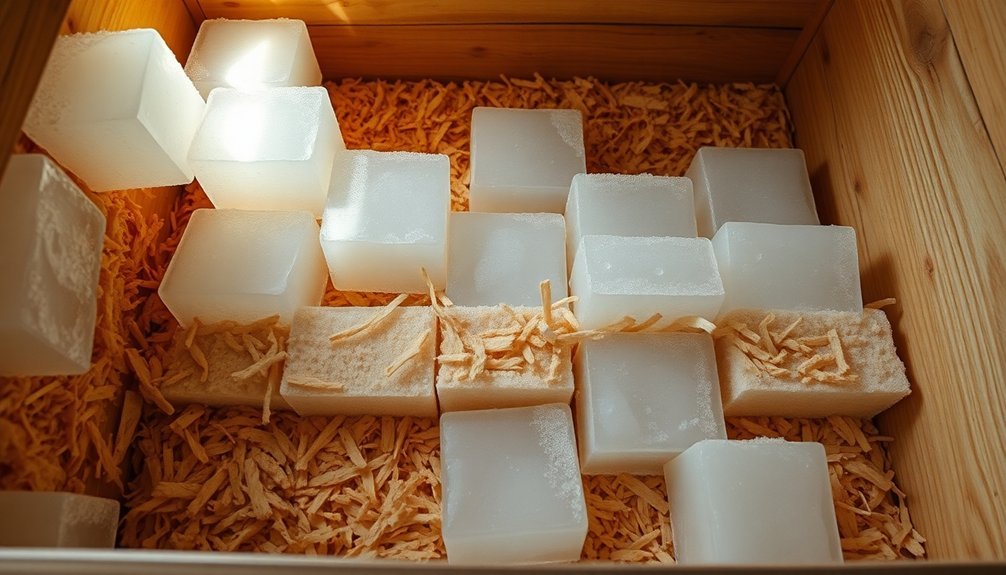
Through innovative engineering, sawdust tiles have emerged as an effective insulation solution for ice storage. You'll find these tiles, typically measuring 20x10x3.5cm, provide exceptional thermal resistance due to sawdust's low conductivity of 0.075 W/mK.
When you're building your ice storage system, you can achieve the same insulation as 600mm of brick with just 60mm of sawdust tiles. Rapid cooling is essential for maintaining consistent temperatures throughout the storage space.
To enhance the insulation effectiveness, you'll need to address potential settling issues. Mix the sawdust with clay before creating the tiles, and facilitate proper ventilation with holes at the top and bottom of wall cavities.
You'll want to avoid any obstacles that could block airflow and compromise the insulation's performance.
You can install these lightweight tiles, with densities between 330-360 kg/m³, by sandwiching them between modular bricks. For best results, increase the tile thickness to reduce heat loss considerably.
Since sawdust tiles are more cost-effective than conventional insulation materials and readily available from waste materials, you're making both an economical and environmentally conscious choice while maintaining excellent thermal performance for your ice storage system.
Winter Ice Block Harvesting
While sawdust insulation helps preserve ice year-round, the success of any ice storage system begins with proper winter harvesting techniques.
You'll need to wait until the ice is at least a foot thick on lakes or ponds, and you should clear away snow to guarantee even freezing. The safety of ice thickness must be carefully checked before beginning any harvest operations. You'll want to mark your harvesting area using a horse-drawn ice marker that cuts initial lines several inches deep.
Next, you'll use a specialized ice plow to cut deep grooves about two-thirds through the ice thickness. You'll complete the cuts using long hand saws, typically six feet in length, to create uniform blocks measuring 22 by 22 inches or 2 by 6 feet.
To move the blocks, you'll need to cut a channel through the ice where you can float them toward your loading area.
You'll need essential tools including ice hooks, sharp-hooked tongs, and pike poles to maneuver the blocks. If you have access to a steam-powered conveyor, you can use it to lift blocks from the water.
Otherwise, you'll rely on pulleys and ropes to load the ice onto horse-drawn wagons for transport to your storage facility.
Natural Ice House Design
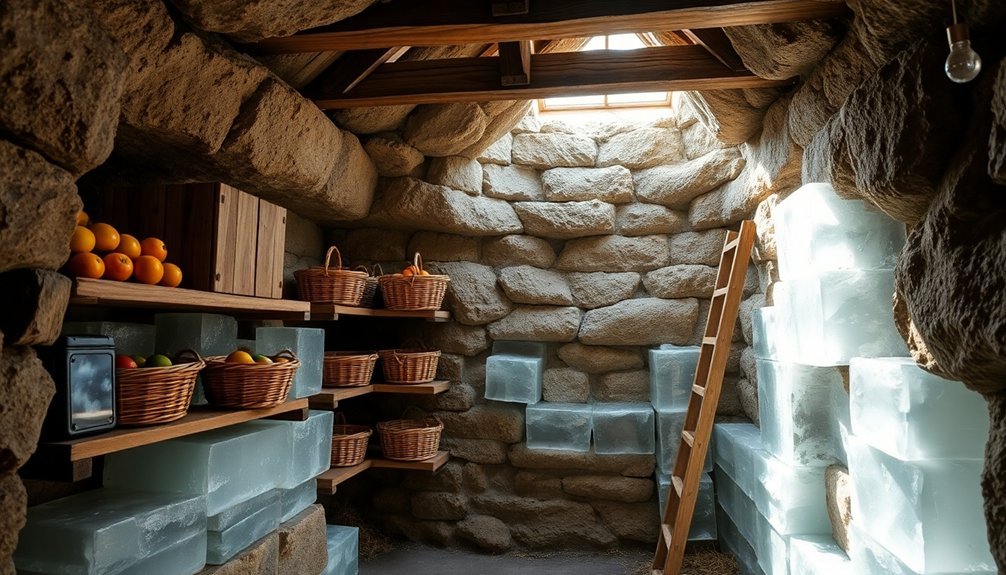
A successful ice house starts with proper foundation and framework construction. You'll need footings 6-12 inches thick that extend below the frost line, with a slanted concrete or plank floor leading to a drain. Build your framework using 2x4s to create inner and outer walls, ensuring proper insulation space between them. The average family needs 500 to 700 cubic feet of ice storage annually for proper food preservation.
Fill the wall cavities with insulation materials based on availability and effectiveness. You'll need at least 12 inches of space for synthetic materials like styrofoam, or up to 3 feet for natural materials like straw.
| Material Type | Wall Thickness | Insulation Value |
|---|---|---|
| Styrofoam | 12 inches | High |
| Rock Wool | 12 inches | Medium-High |
| Sawdust | 24 inches | Medium |
| Straw | 36 inches | Medium-Low |
When stacking ice blocks, keep them 8-12 inches from walls and pack sawdust between each layer. For traditional designs, use 2x2x2 foot blocks; modern designs can accommodate smaller sizes. Consider planting shade trees around your ice house to reduce summer temperatures by up to 20 degrees. Remember to maintain proper air circulation between the insulation and roof, and install a trapped drain to keep warm air out.
Frequently Asked Questions
How Long Can Food Items Remain Safe When Stored Directly on Ice?
You'll need to monitor food temperatures closely when storing items on ice. Your perishables will stay safe for up to 4 hours if they maintain temperatures below 40°F, but check regularly.
Can Different Types of Foods Be Stored Together in Ice Storage?
You shouldn't store different foods together on ice. Keep raw meats separate from produce and ready-to-eat items to prevent cross-contamination. It's best to use separate containers or divided ice storage areas.
What's the Best Way to Prevent Freezer Burn During Long-Term Ice Storage?
You'll prevent freezer burn by using airtight containers or vacuum sealing, removing excess air, wrapping food in multiple layers, maintaining 0°F consistently, and avoiding frequent temperature changes by keeping the door closed.
Should Food Be Wrapped Before Placing It on Ice for Display?
Yes, you'll need to wrap your food before displaying it on ice. It's crucial to use tight-fitting plastic wrap or aluminum foil to prevent cross-contamination and maintain food safety during display.
How Often Should Ice Be Replaced When Used for Food Storage?
You'll need to replace ice in food storage daily, or as soon as it starts melting. Don't wait until it's completely melted. Monitor temperatures regularly and add fresh ice to maintain proper cooling.
In Summary
You'll find these historical ice storage methods surprisingly relevant for modern off-grid living. Whether you're layering sawdust between ice blocks, harvesting winter ice from local ponds, or designing your own ice house, these techniques can help preserve food without electricity. By combining all three methods, you'll create an efficient natural cooling system that's both sustainable and cost-effective. Put these time-tested practices to work in your own food preservation efforts.


Leave a Reply