
For successful home meat curing, you'll need to follow precise salt-to-meat ratios: use 3-4% salt by meat weight for standard cuts, and add Cure #1 at a rate of 1 ounce per 25 pounds of meat (or 1 teaspoon per 5 pounds). When brining, mix 2 tablespoons of salt per quart of water and use 1 quart of brine for every 4-6 pounds of meat. Your curing time depends on thickness – allow 7 days per inch for dry curing and 3.5-4 days per pound for wet curing. Understanding these essential ratios marks just the beginning of your journey toward mastering the art of meat preservation.
Understanding Basic Meat Curing Math
The precision of meat curing hinges on understanding essential mathematical ratios. When you're working with Cure #1, you'll need to remember that it contains 6.25% sodium nitrite and 93.75% salt, a combination that guarantees even distribution throughout your meat.
You'll need to follow specific measurements: use 1 ounce of Cure #1 for every 25 pounds of meat, or 1 level teaspoon for every 5 pounds. Improper measurements can lead to serious foodborne illnesses including botulism.
For wet brining, you'll want to use 1 quart of brine for every 4-6 pounds of meat. To calculate nitrite PPM, you can use this formula: (PPM Sodium Nitrite × Weight of Meat in Grams) ÷ (.0625) ÷ 1,000,000 = Cure #1 in grams.
For salt content, aim for 2-3% of your meat's weight in standard curing, or 3% for equilibrium curing.
You'll know your dry-cured meats are ready when they've lost 35-40% of their original weight. Remember that thicker cuts need more time, and you shouldn't stack meat slabs during curing, as this can lead to uneven results.
Essential Salt Curing Equipment
You'll need essential salt curing tools including quality kitchen scales, curing containers, and specialized equipment like curing chamber components.
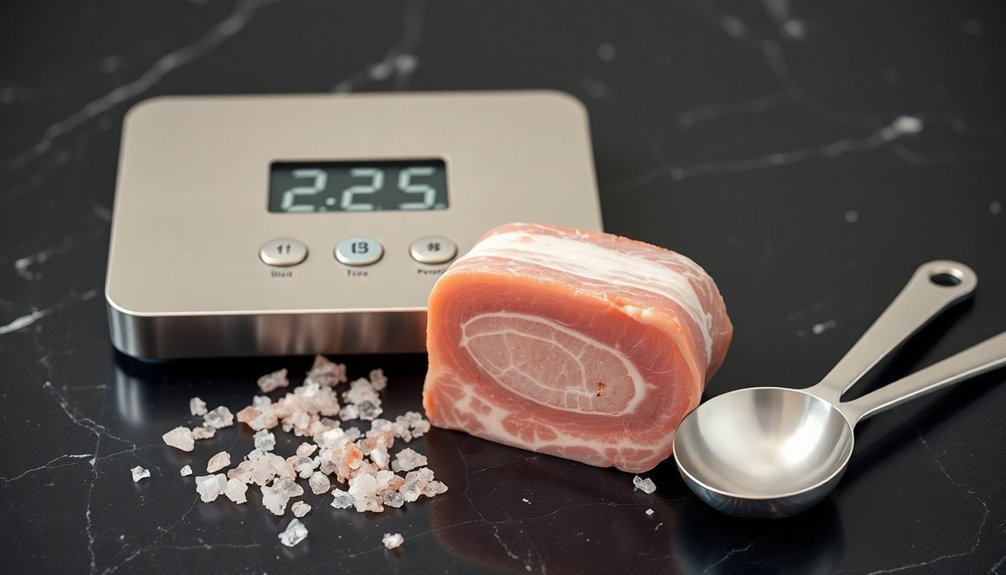
The most important piece of equipment is a precise digital scale that measures in both grams and ounces, ensuring accurate salt-to-meat ratios for safe curing.
Your digital scale must have at least 0.1-gram accuracy and should be regularly calibrated to maintain measurement precision.
A frost-free refrigerator provides optimal conditions for controlling humidity levels during the curing process.
Basic Curing Tools Needed
Successful meat curing at home depends on having the right tools for the job. You'll need essential equipment to measure, mix, and monitor your curing process while maintaining proper food safety standards.
| Tool Type | Essential Items | Purpose |
|---|---|---|
| Storage | Food-grade containers, plastic bags | Holding meat during cure |
| Safety | Gloves, aprons, goggles | Personal protection |
| Measurement | Thermometer, scales | Monitor temp and ingredients |
| Application | Meat pump, vacuum sealer | Brine injection, air removal |
| Preparation | Knives, cutting boards | Meat preparation |
You'll need non-corrosive containers and food-grade plastic bags to store your meat during the curing process. A reliable thermometer is vital for maintaining the proper temperature range of 36°F to 40°F in your refrigerator. Don't forget your meat pump or injector for brine solutions, and a vacuum sealer if you're using the equilibrium curing method. Keep your workspace clean with proper sanitization tools, and always use protective gear when handling curing agents. For precise measurements, you'll need accurate scales to maintain proper salt-to-meat ratios. Store your curing salts, including Prague Powder and other pre-mixed curing blends, in clearly labeled containers to prevent accidents. Using dry or wet curing methods will determine which specific tools you'll need most frequently from your equipment collection.
Digital Scale Requirements
Among all curing tools, digital scales deserve special attention as the cornerstone of safe and effective meat curing. You'll need a scale with at least 0.1-gram precision to guarantee consistent results, though 1-gram increments can work if you're willing to adjust your curing times and quantities.
Digital scales offer significant advantages over analog models, particularly in their precision and ease of use. Choose a stainless steel scale for durability and easy cleaning – it's vital for maintaining proper sanitation.
For home curing, you'll find that bench or countertop scales work well, while pocket scales can suffice for smaller batches if they meet the precision requirements.
Your scale's accuracy is essential when working with curing salts and maintaining proper salt-to-meat ratios. Remember that 1 teaspoon of cure weighs approximately 5.46 grams, and standard dry curing typically requires 2% salt by weight of meat.
You'll get more consistent results using weight measurements rather than volume measurements, as salt density can vary. Don't forget to calibrate your scale regularly to maintain its accuracy over time, guaranteeing your curing process remains reliable and safe.
Dry Curing Salt Measurements
You'll need to follow precise salt percentages when dry curing meat, typically using 3-4% of the meat's total weight for standard cuts and 6-10% for whole hams.
Your meat will absorb roughly 1/8 inch of cure per day under ideal conditions (32°-40°F), making it essential to calculate curing duration based on the meat's thickness.
When using Prague Powder #1, stick to the standard ratio of 1 teaspoon per 5 pounds of meat to guarantee safe and effective curing.
Basic Salt Percentage Rules
Understanding dry curing salt measurements starts with mastering the basic ratios. When you're working with Prague Powder #1, you'll need 1 level teaspoon per 5 pounds of meat, or 1 ounce per 25 pounds. For precise measurements, aim for 0.25% of the meat's weight in cure, which translates to 0.04 ounces per pound of meat.
The percentages you'll use depend on what you're curing. For bacon, you'll want 0.19% cure (120 ppm), while comminuted meats require 0.25% cure (156 ppm). If you're pumping or immersing meat, increase to 0.32% cure (200 ppm). Larger cuts that will dry for extended periods need 0.60% cure (347.4 ppm).
To calculate the exact amount of cure needed, use this formula: multiply your desired PPM by the meat's weight in grams, divide by 0.0625, then divide by 1,000,000. For example, if you're curing 1000 grams of meat at 0.25%, you'll need 2.5 grams of cure.
Daily Salt Absorption Guide
When planning your meat curing schedule, it's essential to account for salt's natural absorption rate through proteins. You'll need to understand that salt penetrates approximately 1/4 inch per day from each side of the meat during dry-brining, meaning a one-inch thick cut requires about a week for complete absorption.
For thicker cuts, you'll want to extend your curing time accordingly. A two-inch thick piece will need roughly two weeks, while cuts three inches or thicker may require three weeks or more. If you're working with particularly thick cuts, you might need to take into account injecting the meat with a 200 ppm brine solution to guarantee proper curing throughout.
You'll need to maintain consistent care during the curing process. Turn your meat daily and drain any accumulated liquids to ensure even absorption.
Every three days, you should perform an overhaul by reapplying your dry rub in batches. Keep your curing meat refrigerated and monitor it regularly.
Remember that absorption rates can vary based on meat density, so you may need to adjust your timing slightly depending on the specific cut you're working with.
Proper Brine Solution Calculations
Creating precise brine solutions requires careful measurement and calculation to achieve the right salt-to-liquid ratios for safe meat curing. You'll need to start by determining whether you want a standard, moderate, or strong brine based on your meat's weight and desired curing time.
| Brine Type | Salt per Quart | Brining Time |
|---|---|---|
| Standard | 2 tbsp (30g) | 1 hr/pound |
| Moderate | 3 tbsp (45g) | 1 hr/pound |
| Strong | 4-5 tbsp (60-75g) | 30 min/pound |
To calculate your total brine volume, use the 40-50% rule: multiply your meat's weight by 0.4 to determine how many pounds of brine you'll need. For example, if you're curing a 10-pound pork shoulder, you'll need 4 pounds (about 2 gallons) of brine solution. When measuring salt, convert tablespoons to grams for better accuracy – one tablespoon of table salt equals approximately 15 grams. You'll want to fully dissolve all salt and other ingredients in water before chilling your brine. For larger cuts, consider using injection methods alongside submersion to guarantee even distribution of the cure throughout the meat.
Nitrite Safety Levels
While precise brine calculations are necessary for curing meat, proper nitrite levels remain the cornerstone of safe meat preservation.
You'll need to stay within the maximum safe daily intake of 0.1 mg per kg of body weight, which is why regulatory limits exist for different meat products.
For wet-cured bacon, you can't exceed 120 ppm of sodium nitrite, while dry-cured bacon allows up to 200 ppm. If you're making frankfurters or cured sausages, stick to 156 ppm. When working with dry-cured products like country hams, you can use up to 625 ppm.
When measuring cure for home use, you'll want to use 1 oz of cure per 25 lbs of meat, or 1 level teaspoon for 5 lbs.
It's essential to know that only 10-20% of the original nitrite remains after processing, as it converts to nitric oxide.
You'll need to calculate your nitrite levels at the input stage using this formula: (PPM Sodium Nitrite) × (Weight of Meat in Grams) ÷ (.0625) ÷ 1,000,000 = Cure #1 in grams.
Always use accurate scales and follow commercial cure mix instructions precisely.
Weighing and Measuring Your Meat
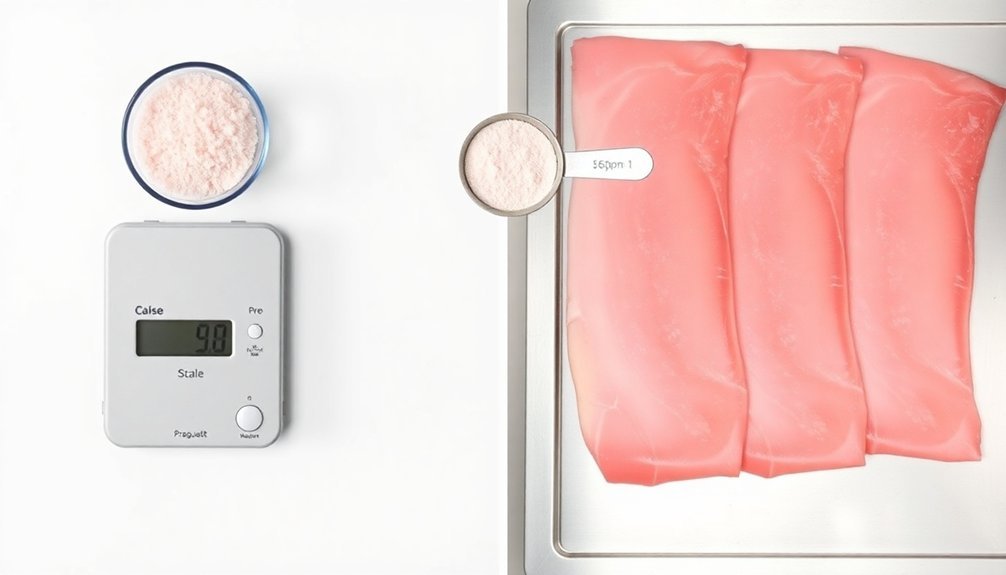
You'll need a digital scale that measures to at least 0.1 grams to guarantee precise measurements for your meat curing projects.
Before weighing your meat, remove any bones and trim excess fat to get an accurate muscle weight for your calculations.
Record the total trimmed weight immediately, as this number will serve as your base for determining all cure and salt ratios.
Digital Scale For Precision
To achieve consistent results in meat curing, a reliable digital scale stands as your most vital tool for precision and safety. When selecting a scale, you'll need to focus on both accuracy and resolution. While high resolution lets you measure in smaller increments, it's more important that your scale consistently displays measurements close to the true weight of your ingredients.
For home curing, you'll want a scale that measures to at least 0.1 grams, especially when working with small quantities of cure and spices. The tare function is essential – it lets you subtract the weight of your container, ensuring you're only measuring the ingredients you need.
Look for a scale with calibration options to maintain accuracy over time. When measuring salt and cure for your meat, precision becomes critical for safety. You'll need to maintain specific ratios, typically 3% salt to meat and 0.25% cure to meat for EQ curing.
Even if your scale isn't the most precise, you can still cure safely by adjusting your cure times and amounts accordingly. Remember, accuracy matters more than resolution when it comes to consistent results.
Proper Muscle Weight Calculation
Accurate meat weight serves as the cornerstone of successful curing calculations. To get precise measurements, you'll need to trim your meat first, removing any unwanted fat or connective tissue.
Once trimmed, weigh your meat using metric measurements, preferably in grams, as this provides the most consistent and accurate basis for your calculations.
If you're working with bone-in cuts, you'll need to account for the bone weight when using cure calculators. Record both your initial and final weights to track moisture loss during the curing process. This documentation helps you understand how your meat behaves during curing and allows you to adjust future recipes accordingly.
When you're measuring your meat, make sure you're using a clean, calibrated scale that can handle the weight of your cut. You'll want to place a container on the scale, tare it to zero, and then add your meat.
Remember that precise weight measurements directly impact the amount of salt and curing salt you'll use. A mere 100-gram difference in meat weight can greatly affect your cure calculations, potentially impacting both safety and flavor in your final product.
Temperature Control During Curing

You'll notice that your curing chamber behaves differently when it's empty versus when it's full of meat, so you'll need to make adjustments accordingly.
If you're using a converted refrigerator or custom chamber, make certain it's well-ventilated and equipped with proper temperature control systems.
Remember that consistent temperature is essential – fluctuations can compromise the safety and quality of your cured meats.
When combined with proper humidity control (60-70%), maintaining the right temperature will help you achieve professional-quality results in your home curing projects.
Curing Duration By Meat Type
Determining the right curing duration is critical for safely preserving different types of meat. You'll need to calculate curing time based on either thickness or weight, depending on whether you're using a dry or wet curing method.
For dry curing, follow the rule of 7 days per inch of thickness. If you're curing a 5-inch thick ham, you'll need 35 days. For belly meat that's 2 inches thick, plan on 14 days.
When wet curing, use either 3½ to 4 days per pound or 11 days per inch of thickness. A 15-pound ham in brine could take up to 60 days to cure properly.
You'll know your meat is fully cured when it's lost 35-40% of its initial weight. Smaller cuts like duck breast will cure in 4-5 weeks, while larger cuts like hams require several months.
If you're using the equilibrium curing method, apply 3% salt by weight and monitor for 5 days in your refrigerator. Remember to maintain temperatures between 32-40°F throughout the process to prevent spoilage, and if you're wet curing, change your brine solution weekly.
Adjusting Ratios for Different Cuts

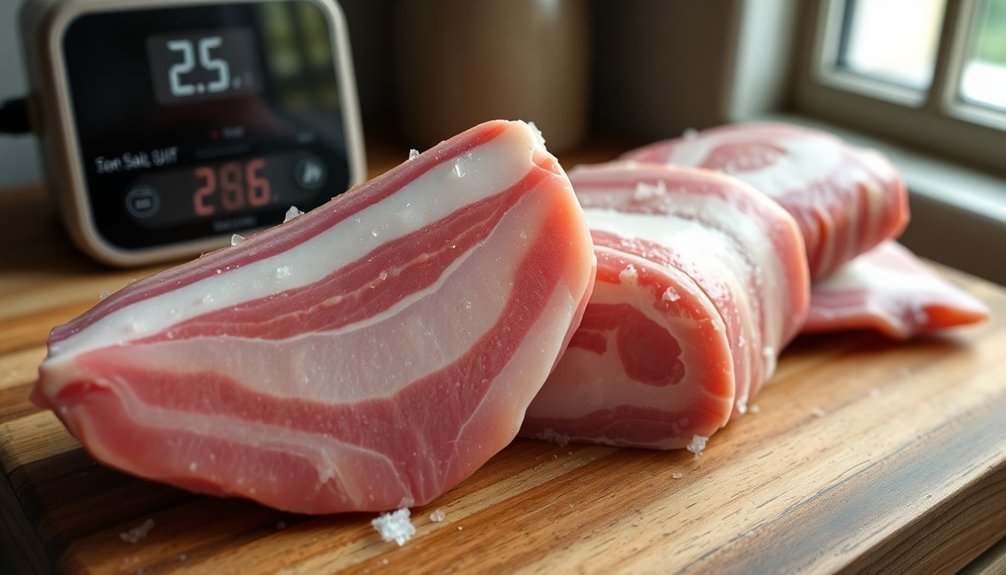
Safe meat curing hinges on precise salt-to-meat ratios that vary considerably between different cuts. You'll need to adjust your measurements based on whether you're curing bacon, ham, or other cuts, as each requires specific proportions for ideal results and safety.
For hams, you'll want to use about 10 pounds of salt per 100 pounds of meat, aiming for a 4-5% salt content in your finished product. You'll need to increase both the salt amount and curing time for larger cuts.
When curing bacon, you'll use less nitrite than with hams – stick to 120 ppm for wet-cured bacon and up to 200 ppm for dry-cured versions.
If you're working with country hams, you can use up to 625 ppm of sodium nitrite due to their extended curing periods, while standard hams shouldn't exceed 156 ppm.
Remember to factor in additional ingredients like sugar for hams, which helps balance the salt's intensity. For all cuts, you'll need to carefully calculate your nitrite and nitrate combinations to stay within safe limits, ensuring proper preservation without exceeding recommended maximums.
Common Salt Curing Mistakes
Even with the right salt-to-meat ratios, home curers often make several mistakes that can compromise their results.
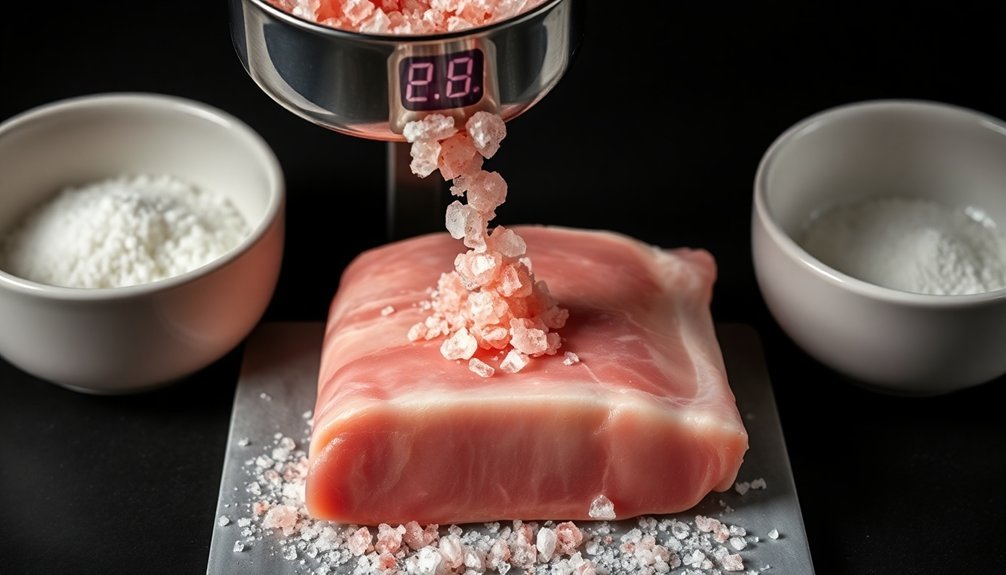
One of the most significant errors is improper salt application, where you're not thoroughly rubbing the salt into all surfaces or failing to pack it into exposed areas and joints. You'll need to pay special attention to areas near bones and guarantee complete coverage to prevent bacterial growth.
Using the wrong type of salt can derail your curing process. Don't use table salt with anti-caking agents or iodine – these additives interfere with proper curing.
You'll want to use the specific curing salt called for in your recipe, whether it's Cure #1 or Cure #2, as each serves a different purpose.
Temperature and humidity control are equally important. You'll need to maintain specific conditions: 38-40°F in your salting room, 50°F with 80% humidity during equalization, and 83-85°F with 65-68% humidity in aging rooms.
Don't rush the timing – insufficient curing time leads to spoilage risks, while excessive curing produces overly salty meat. You must monitor these conditions consistently throughout the entire process to achieve proper results.
Storage After Curing Completion
Once your meat has completed the curing process, proper storage becomes critical for maintaining its quality and safety.
You'll need to store your cured meats in cool, dry places with temperatures between 15 to 20°C (59-68°F). Your cellar or a cool corner of your house can serve as ideal locations, but you must avoid areas near direct heat sources or damp spaces.
Wrap your cured meats properly using deli paper or airtight containers to prevent air exposure. If you're storing sliced meats, place them in your refrigerator's vegetable drawer. For whole pieces, hang them upside down to reduce humidity and guarantee good air circulation.
You'll want to use vacuum-sealed packaging for the longest shelf life, which can extend up to four to six months.
Monitor your stored meats regularly for any signs of spoilage. Check for color changes, foul odors, or mold growth. When slicing your meat, discard the first cut to avoid consuming oxidized portions.
Remember to rewrap and reseal after each use, and change wrapping materials periodically to prevent moisture buildup. Keep raw products separate from ready-to-eat items to maintain food safety standards.
Frequently Asked Questions
Can I Reuse Leftover Curing Brine for a Second Batch of Meat?
No, you shouldn't reuse leftover brine. It's unsafe due to bacterial growth risks and reduced effectiveness. Even if you boil it, the brine can harbor dangerous bacteria and won't cure your meat properly.
How Do Altitude Changes Affect Meat Curing Ratios and Timing?
You won't need to change your salt-to-meat ratios at different altitudes, but you'll notice longer curing times due to lower temperatures and humidity. Just adjust your cooking temperatures since water boils at lower temperatures.
What's the Best Way to Salvage Over-Cured Meat?
You can salvage over-cured meat by soaking it in cold water for several hours, changing the water periodically. If it's still too salty, try cooking it in a stew with potatoes to absorb excess salt.
Does Meat Curing Affect the Final Cooking Time of the Product?
Yes, curing will affect your meat's cooking time. You'll find dry-cured meats often cook faster since they've lost moisture, while wet-cured meats may need standard cooking times due to their retained moisture content.
Can I Substitute Kosher or Sea Salt for Curing Salt?
You shouldn't substitute regular salts for curing salt, as they lack sodium nitrite needed to prevent botulism. If you're curing meat, you'll need proper curing salt to guarantee food safety and preservation.
In Summary
You'll find that successful meat curing comes down to precise measurements and patience. Remember to always measure your salt and nitrite carefully, stick to tested ratios, and give your meat the full time it needs to cure properly. Don't rush the process or skip safety steps. When you nail these basics, you'll be rewarded with perfectly preserved, flavorful meats that you can safely enjoy.


Leave a Reply