
To salt cure your vegetables for long-term storage, start by selecting firm, unblemished produce at peak ripeness. You'll need pickling salt or additive-free sea salt, avoiding table salt which can affect fermentation. Create a 2-5% salt brine solution by combining 2 tablespoons of salt per 4 cups of filtered water, or use dry salting for shredded vegetables. Pack your produce tightly in clean, non-metallic containers and guarantee they're fully submerged using ceramic or glass weights. Store in a cool, dark place during fermentation, then refrigerate once complete. These time-tested preservation techniques offer just the beginning of your journey into flavorful, long-lasting vegetables.
Selecting Quality Vegetables
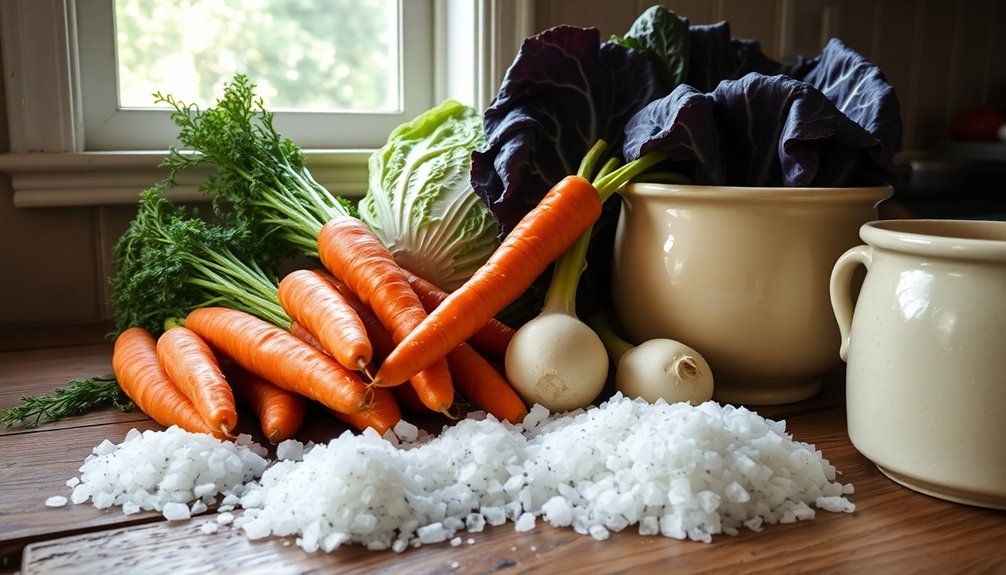
When selecting vegetables for salt curing, you'll need to start with produce that's at its peak condition. Look for vegetables that feel crisp and firm to the touch, avoiding any with soft spots, blemishes, or signs of decay. It's best to choose mature vegetables that are slightly underripe, as they'll hold up better during the curing process.
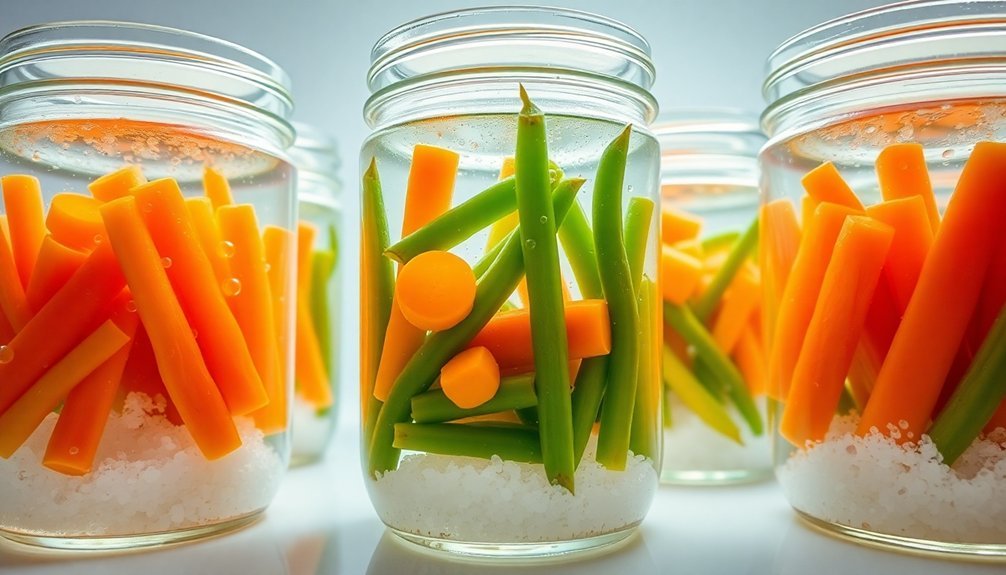
For successful salt curing, you'll want to focus on vegetables that respond well to the process. Cabbage, carrots, and celery are excellent choices when finely chopped or shredded. You can also use green beans, okra, and lima beans, though you'll need to steam-blanch these before curing. Root vegetables like turnips and rutabagas make good candidates as well. Only use pickling or kosher salt for the best results.
Before you begin the curing process, inspect your chosen vegetables carefully for any signs of mold or bacterial growth. You'll need to store them in a clean, sanitized environment using nonmetallic containers like glass jars or food-grade plastic vessels.
As you prepare your vegetables, remove any stems or unwanted parts, and weigh them accurately to guarantee you'll use the proper amount of salt for preservation.
Understanding Salt Types
Selecting the right salt is essential for successful vegetable curing. You'll want to avoid table salt, as its iodine and anticaking agents can interfere with fermentation and affect the flavor of your preserved vegetables. Instead, opt for pickling salt, which is free from additives and creates a clear, consistent brine perfect for lacto-fermentation. Pink curing salts should never be used for vegetable preservation, as they are specifically formulated for meat curing.
While sea salt and Himalayan pink salt can be used for curing, they offer different mineral profiles and flavor characteristics. Pickling salt remains the most reliable choice for consistent results.
| Salt Type | Best Uses | Key Features |
|---|---|---|
| Pickling Salt | Lacto-fermentation, Brining | Additive-free, Clear brine |
| Sea Salt | General curing, Seasoning | Mineral-rich, Variable purity |
| Himalayan Pink | Fermentation, Finishing | Unique flavor, Additive-free |
| Table Salt | Not recommended | Contains iodine, Avoid for curing |
| Black Salt | Spicy pickles | Strong flavor profile |
The salt you choose plays multiple roles in preservation: controlling moisture through osmosis, creating an inhospitable environment for harmful bacteria, and contributing to the final flavor profile. For best results, always use pure, additive-free salt in your vegetable curing projects.
Salt Concentrations Matter
The precision of salt concentrations in your fermentation projects can make or break the final results. While lower salt levels (1-2%) speed up fermentation, they also increase your risk of spoilage. Higher concentrations (3-10%) slow the process but better preserve your vegetables' crunch and firmness.
You'll need to match salt levels to your specific vegetables. Most vegetables like cabbage, garlic, and broccoli do well with 2% salt, while cucumbers, squash, and hot peppers need 3-4%. For specialty items like olives and umeboshi plums, you'll want to use up to 10% salt concentration. Natural sea salt and pink Himalayan salt are excellent choices for fermentation since they're free of additives that can interfere with the process.
Salt's role goes beyond just preservation – it's vital for controlling the microbial environment. It creates conditions that favor beneficial lactobacilli while inhibiting unwanted bacteria and molds.
If you're tempted to reduce salt levels, remember that salt-free ferments often fail without additional lactic acid bacteria.
When you're planning your next fermentation project, don't guess at salt amounts. The right concentration will help maintain texture, develop proper flavors, and guarantee your vegetables ferment safely.
You can adjust within recommended ranges based on your taste preferences, but always stay within safe limits for your chosen vegetables.
Dry Salting Methods
Dry salting stands as one of the simplest and most effective methods for fermenting vegetables at home. You'll need to start with finely chopped or grated vegetables, as their increased surface area allows for better salt penetration. Water-rich vegetables like cabbage and carrots work best for this technique, while whole or less juicy vegetables aren't ideal candidates.
To dry salt your vegetables, sprinkle salt directly onto your finely chopped produce and let them sit for 10-15 minutes. During this time, the salt will draw out moisture, creating a natural brine.
You'll want to pound the vegetables to break down their cell walls, releasing more liquid. Pack everything tightly into a Mason jar using a durable tamper, preferably made of acacia wood, ensuring the vegetables are completely submerged in their own juices.
If your vegetables aren't producing enough liquid, you can add dechlorinated water to cover them completely. This method creates an anaerobic environment that promotes beneficial lactic acid bacteria while preventing mold growth.
Once packed, store your vessel in a cool, dark place until fermentation is complete, then refrigerate for long-term storage.
Creating Perfect Brines
Crafting the perfect brine serves as the foundation for successful vegetable fermentation. You'll need to use kosher or sea salt without additives, combined with filtered water to avoid chlorine interference.
Mix 2 tablespoons of salt for every 4 cups of water, or follow the simple ratio of 1 teaspoon per cup of water.
To create your brine, stir the salt vigorously into room-temperature water until it's completely dissolved. If you're opting for quick pickling, you can use equal parts vinegar and water, bringing the mixture to a low boil before turning off the heat.
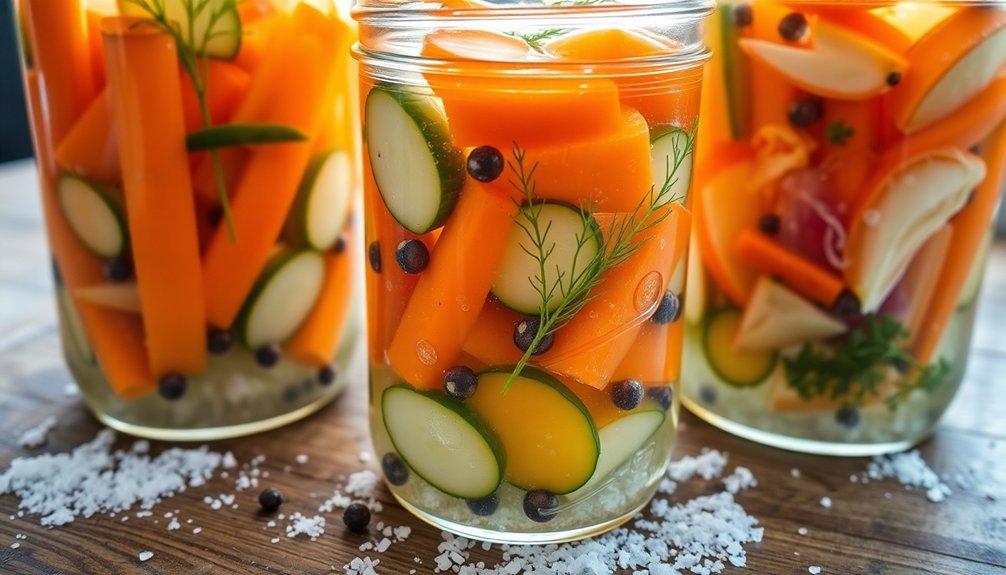
Add optional seasonings like cumin seeds, peppercorns, or garlic cloves to enhance flavor.
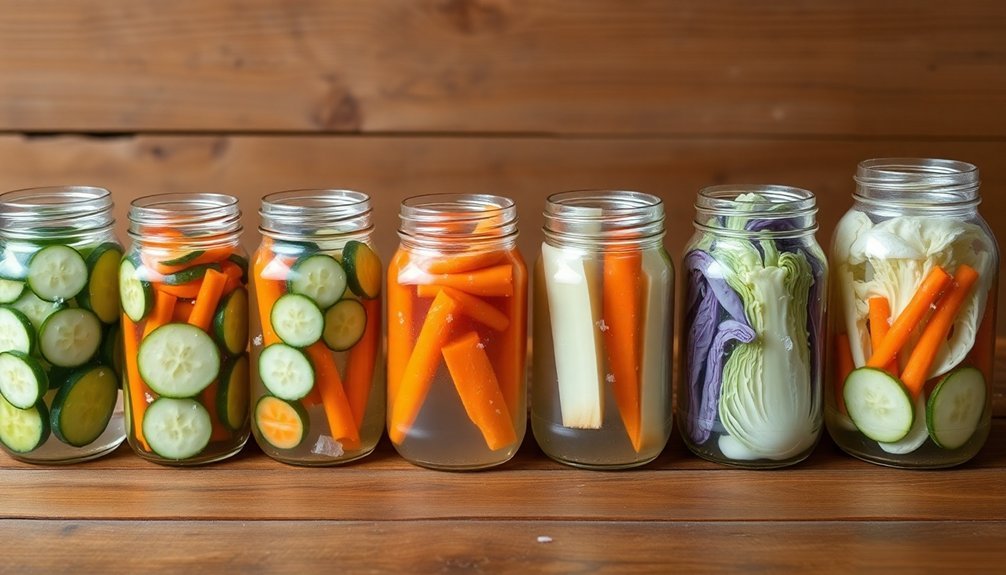
When packing your vegetables, arrange them vertically in clean jars, leaving an inch of headspace. Layer your spices first, then add vegetables tightly to prevent floating.
Pour the brine over until everything's fully submerged. Use valved lids or slightly loosened regular lids to allow gas release during fermentation.
Let your vegetables ferment at room temperature for 3-6 days, tasting periodically until they reach your desired sourness. Once satisfied, refrigerate to slow fermentation.
Preparing Your Containers
Now that you've mastered brine-making, proper container selection and preparation will determine your fermentation success.
You'll need to choose containers that won't react with the salt and vegetables during fermentation. Your best options include glazed pottery crocks, food-grade plastic containers, glass jars, or nonreactive wooden vessels.
Before you begin, thoroughly sterilize all your containers and equipment to prevent contamination. Ascertain you've selected a container size that matches your batch – you don't want excess air space that could lead to spoilage.
Wide-mouth containers will make it easier to pack and retrieve your vegetables.
You'll want to store your containers in a cool, dark place where temperatures stay between 20-22°C. Don't place them in direct sunlight, as this can encourage unwanted bacterial growth.
Keep your storage area dry and check your containers regularly for any signs of spoilage.
When cleaning your vegetables, use sanitized utensils and mixing bowls. Rinse the produce thoroughly to remove dirt and debris.
Weighing Down Your Vegetables
You'll need reliable weights to keep your vegetables fully submerged in the brine during fermentation, with ceramic or glass weights being the safest traditional options.
If you don't have specialized fermentation weights, you can create DIY solutions using a small food-grade plastic bag filled with extra brine or a boiled cabbage leaf pressed on top of your vegetables.
Whatever method you choose, make certain your vegetables stay 1-2 inches below the brine's surface to prevent spoilage and maintain an oxygen-free environment for proper fermentation.
Traditional Weights and Methods
The art of weighing down vegetables is essential for successful fermentation. You'll need to keep your vegetables submerged beneath the brine to prevent oxygen exposure and guarantee proper preservation. Specialized fermentation weights, like Pickle Pebbles, offer a reliable solution for both standard and wide-mouth jars, providing consistent pressure to keep vegetables safely below the surface.
If you don't have dedicated weights, you can use large vegetable pieces as natural alternatives. Cabbage leaves work exceptionally well as a cover, while strips of zucchini or carrot can create a protective mat over your fermenting vegetables. For smaller batches, these vegetable covers often provide sufficient pressure to maintain submersion.
You'll find that small ceramic or glass dishes, such as mini jelly jars or ramekins, make effective weights when partially filled with water. You can combine these with other methods for additional pressure.
For larger batches, try using a plate inside a wide bowl, adding weight on top to press down the vegetables. Remember to transfer your fermented vegetables to storage jars once the process is complete, handling carefully to maintain the integrity of your ferment.
DIY Fermentation Weight Solutions
Several practical household items can serve as effective fermentation weights when specialized equipment isn't available. One of the most versatile solutions is using a Ziplock bag filled with brine that matches your fermentation recipe. If the bag happens to leak, it won't dilute your ferment since it contains the same salt concentration.
You'll find that marbles or clean rocks placed in a sealed bag create an excellent weight that can conform to any jar shape. Make sure they're thoroughly cleaned before use to prevent contamination.
For larger fermentation vessels, you can use a water-filled jar as a weight, which provides consistent pressure to keep vegetables submerged.
If you're looking for a reusable, plastic-free option, ceramic pie weights enclosed in a bag work remarkably well. They're easy to clean, affordable, and won't introduce unwanted substances into your ferment. You can adjust the amount of weights to match your vessel's size, ensuring proper submersion of the vegetables.
Each of these DIY methods is effective and easily adaptable to different container sizes, making them practical alternatives to commercial fermentation weights.
Preventing Floating Vegetables
Successful vegetable fermentation depends on keeping your produce fully submerged beneath the brine's surface. When vegetables float above the brine, they're exposed to air, creating perfect conditions for harmful bacteria, yeasts, and molds to thrive.
You'll need to use weights to prevent this from happening and maintain the anaerobic environment essential for proper fermentation. Choose clean, sterile weights specifically designed for fermentation, or use alternatives like ceramic plates or food-grade stones.
Whatever you select, make certain it's heavy enough to keep all vegetables completely submerged. Don't use metal weights, as they can react with the acidic environment and salt.
Before adding weights, make sure you've properly prepared your vegetables. Steam-blanch them if necessary, and pat them completely dry to remove excess moisture that could interfere with the curing process. Select only fresh, mature vegetables without blemishes for the best results.
Always use sterile glass or ceramic containers for your fermentation projects. These materials won't react with the salt or acidic environment, and they'll maintain an airtight seal to prevent contamination and guarantee successful preservation.
Signs of Successful Fermentation
When fermenting vegetables, you'll want to watch for clear signs that indicate your batch is progressing properly. Look for bubbles forming in the brine or on the vegetable surfaces – this shows that lactic acid bacteria are actively working.
While consistent bubbling is a positive indicator, don't worry if you see less activity, as some ferments proceed more slowly than others.
You'll notice your vegetables developing a pleasantly sour, tangy aroma as fermentation progresses. If you detect any foul or rotten smells, discard the batch immediately.
The brine may become slightly cloudy, and vegetables might undergo subtle color changes, such as cabbage turning a lighter shade of green or yellow – these are normal developments.
Taste your ferment daily to monitor its progress. You're looking for a tangy, acidic flavor and a texture that remains pleasantly crisp or tender, depending on your preference.
Keep in mind that larger vegetables typically take longer to develop full flavor compared to chopped pieces. Watch carefully for any signs of mold or unusual color changes, which indicate spoilage and mean you'll need to start fresh.
Preventing Spoilage
Getting your salt ratio right is vital when fermenting vegetables since too little won't prevent harmful bacteria, while too much can halt the fermentation process entirely.
You'll need to carefully measure your salt according to proven recipes, typically using 2-3% salt by vegetable weight for successful preservation.
While maintaining proper salt levels is essential, you must also keep your vegetables completely submerged beneath the brine to prevent exposure to oxygen and ward off unwanted mold growth.
Proper Salt Ratios Matter
The precise measurement of salt stands as the cornerstone of vegetable fermentation, with ideal ratios ranging from 2% to 5% concentration.
You'll need to adjust your salt levels based on the specific vegetables you're working with – use 2% for basic vegetables like carrots and cabbage, while cucumbers and summer squash require 3% for best results.
Don't eyeball your measurements; always use a digital scale for accuracy. For example, if you're fermenting 500 grams of mixed vegetables and water, you'll need 12.5 grams of salt to achieve a 2.5% concentration.
Choose pickling or kosher salt rather than table salt or sea salt, as these may contain additives that interfere with preservation.
Remember that salt concentration directly affects your fermentation speed and preservation quality. Higher concentrations (3-5%) slow down fermentation but improve preservation, while lower amounts (1-2%) speed up the process but increase spoilage risk.
Never go below 1% salt concentration, as this invites harmful bacteria and mold growth. Conversely, using more than 5% salt can stop fermentation completely.
You'll need to maintain proper salt levels throughout fermentation as vegetables release water into the brine.
Keep Everything Below Brine
Once you've measured your salt correctly, keeping your vegetables submerged under brine becomes your next priority. Exposure to air leads to spoilage, so you'll need to guarantee everything stays below the surface of your brine solution. The brine creates an environment where beneficial bacteria thrive while harmful microorganisms can't survive, making it crucial for successful preservation.
To keep your vegetables properly submerged:
- Use fermentation weights, large cabbage leaves, or food-safe objects to weigh down vegetables.
- Choose non-reactive containers like glass jars, glazed pottery crocks, or food-grade plastic vessels.
- Check brine levels daily and top off if needed to maintain complete coverage.
- Sterilize all equipment before use to prevent contamination.
You'll want to store your containers in a cool, dark place during the fermentation process, as temperature affects how quickly your vegetables cure.
After fermentation is complete, move your containers to the refrigerator to slow down the process and maintain ideal texture.
Remember to regularly inspect for any signs of spoilage, such as off odors or mold, and remove affected portions immediately.
Long-Term Storage Tips
Properly storing your salt-cured vegetables will guarantee they remain safe and flavorful for months to come. Once your vegetables have completed their initial curing process, transfer them to airtight containers and store them in your refrigerator. The cold temperature will greatly slow down the fermentation process, helping maintain the ideal texture and flavor profile.
You'll need to check your stored vegetables regularly for any signs of spoilage or mold growth. If you notice any discoloration or off-putting odors, discard those portions immediately.
For vegetables that were heavily salted during the curing process, you might want to adjust the salt levels before consuming them. Simply rinse or soak them briefly in fresh water to achieve your desired taste.
Remember to keep your stored vegetables completely submerged in their brine to prevent exposure to oxygen, which can lead to spoilage. If you're using a dry-salt method, make sure the vegetables remain packed with enough salt to continue drawing out moisture and preventing microbial growth.
Frequently Asked Questions
Can I Reuse the Brine From a Previous Batch of Fermented Vegetables?
Yes, you can reuse brine from fermented vegetables to start new batches. Just add 1/2 cup of the old brine to your next quart jar. Make sure it's fresh and stored properly in the fridge.
What Should I Do if White Film Appears During Fermentation?
When you spot white film, remove it immediately, guarantee your vegetables stay submerged in brine, and check your salt concentration. If it persists, transfer to a clean container with fresh brine solution.
Is It Safe to Eat Vegetables That Float to the Surface?
You shouldn't eat vegetables that float to the surface during fermentation. They're exposed to air, which can lead to harmful bacteria growth and spoilage. Always keep your vegetables fully submerged in the brine.
How Do Seasonal Temperature Changes Affect Fermentation Time and Salt Ratios?
You'll need to adjust your salt ratios and fermentation times with seasonal changes. Use more salt and expect faster fermentation in warm weather, while cooler temperatures require less salt but longer fermentation periods.
Can I Mix Different Vegetables in the Same Fermentation Container?
Yes, you can mix different vegetables, but you'll need to choose ones with similar water content and fermentation rates. Make sure they're cut uniformly and fully submerged in brine for successful results.
In Summary
Salt-curing your vegetables isn't just an ancient preservation method – it's a practical way to store your garden's bounty. You'll find that with the right salt concentration, proper weighing techniques, and careful monitoring, you're able to preserve vegetables for months. Remember to check for signs of successful fermentation and maintain proper storage conditions. When done correctly, you'll enjoy flavorful, probiotic-rich vegetables long after harvest season ends.


Leave a Reply