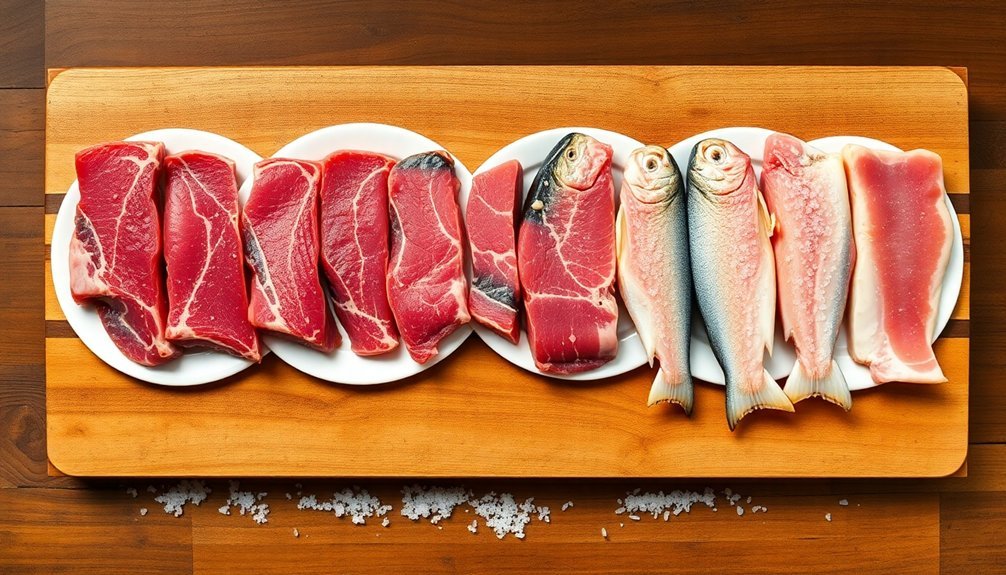
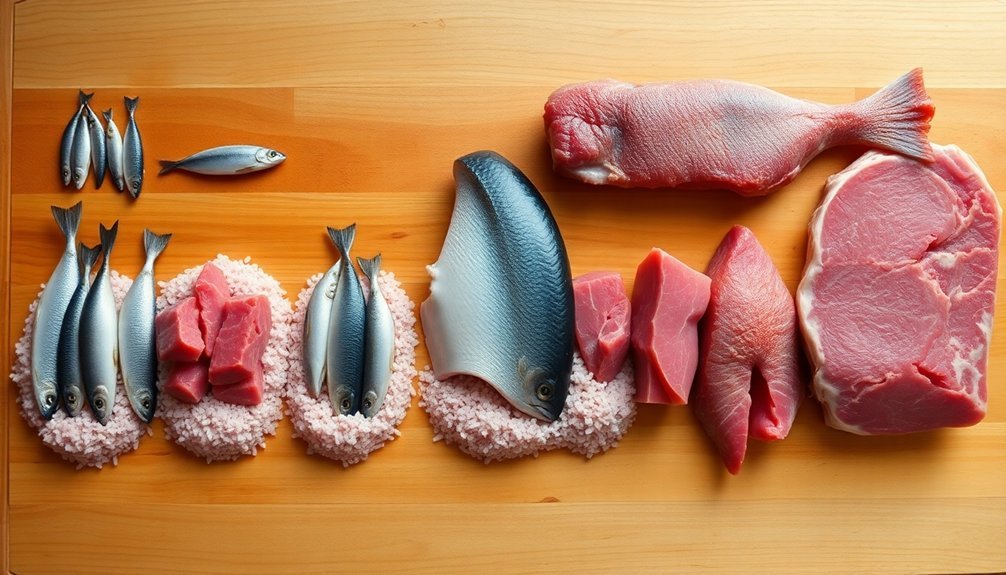
You'll need to follow specific time guidelines when salt curing meats and fish. For meats, calculate 7 days of curing per inch of thickness, plus a 14-day equalization period. Fish curing times vary based on your chosen method: light cure takes 2-4 hours, standard cure needs 24-48 hours, pickle salting requires 2-14 days, and dry salting spans 3-7 days. For proper curing, maintain temperatures between 32-40°F (0-4°C) and humidity levels of 65-80%. Keep track of salt concentration, aiming for 2-3%. Understanding the full process and monitoring techniques will guarantee your curing success.
Basic Meat Curing Time Guidelines
In accordance with traditional meat curing practices, the time required to properly cure meat depends primarily on its thickness. You'll need to calculate seven days of curing time for each inch of meat thickness, measuring from the thickest part. For instance, if you're curing a 5-inch thick ham, you'll need to cure it for 35 days, while a 2-inch thick pork belly requires 14 days.
During the curing process, you must maintain temperatures between 32° and 40°F (0-4°C). You'll want to store your meat in a refrigerated environment that's cool enough to prevent bacterial growth but warm enough for the cure to work effectively. After the initial curing period, a cure equalization period of 14 days is necessary for even distribution throughout the meat. Make sure you're protecting the meat from air exposure to prevent unwanted drying or contamination.
You can choose between dry curing, where you'll rub the cure mixture directly onto the meat's surface, or immersion curing, where you'll submerge the meat in a brine solution. If you're using a brine method, you'll need to change the solution every seven days.
For faster results, you might consider injection methods, though these require special equipment and expertise.
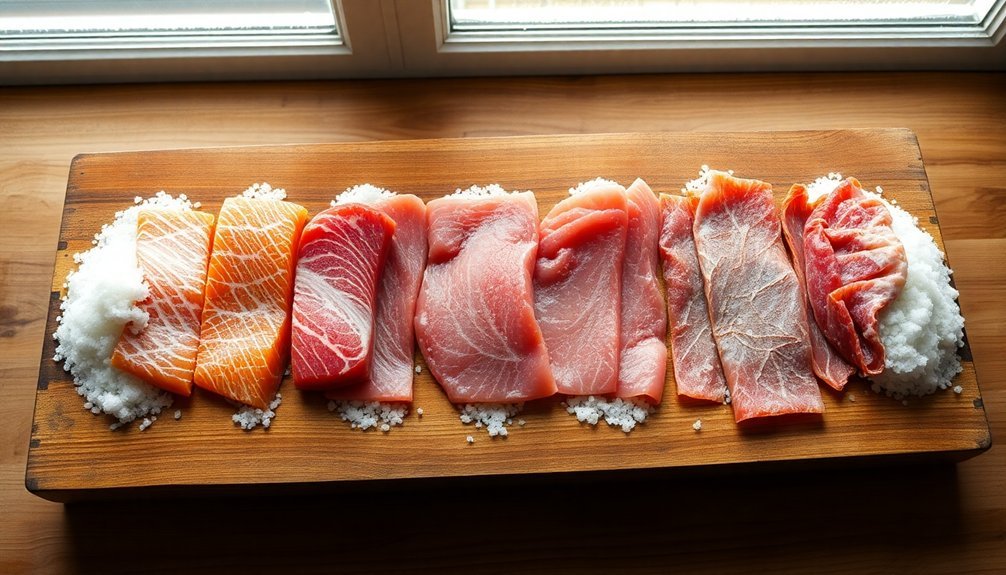
Fish Salt Curing Duration Chart
While meat curing requires lengthy periods, fish salt curing follows different timing rules due to its more delicate nature. You'll find that fatty fish like salmon and mackerel are excellent choices, as their rich texture holds up well during the curing process. The salt mixture penetrates the fish through osmosis, transforming both its texture and preservative qualities.
Your curing duration will depend on your desired outcome and the thickness of your fillets. For a light cure with fresh taste, you'll want to stick to 2-4 hours, while deeper flavors require 24-48 hours. Don't forget that temperature and humidity will affect your timing – warmer, drier conditions speed up the process.
| Fish Curing Method | Duration Range |
|---|---|
| Light Cure | 2-4 hours |
| Standard Cure | 24-48 hours |
| Pickle Salting | 2-14 days |
| Dry Salting | 3-7 days |
| Klippfisk Style | 7-14 days |
For optimal outcomes, you'll need to monitor the curing process carefully to prevent over-curing. Once cured, proper drying and storage are essential. If you've followed the process correctly, your cured fish can last several months when stored in a cool, dry place, with klippfisk varieties lasting up to 2 years at 2-4°C.
Temperature Control During Curing
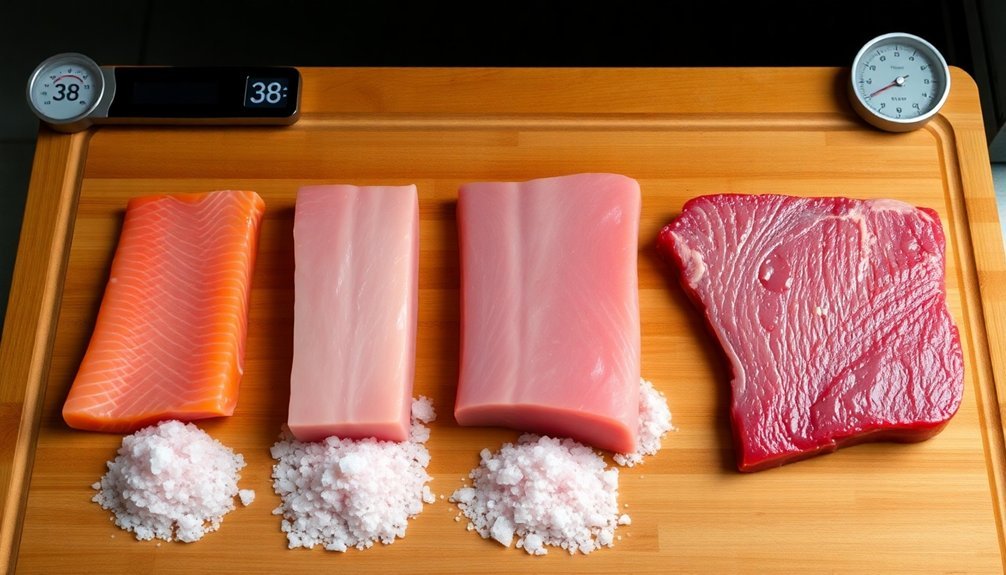
Temperature control stands as the cornerstone of successful meat and fish curing, requiring careful monitoring between 50-60°F (10-15°C) for dry curing and below 41°F (5°C) to prevent decomposition.
You'll need to maintain temperatures between 38-40°F (3-4°C) in controlled environments to guarantee proper salt penetration while preventing spoilage and bacterial growth. Bacteria can multiply rapidly in the temperature danger zone between 40°F and 140°F.
The relationship between temperature and humidity plays a vital role in your curing success. Keep humidity levels between 65-80% while maintaining proper temperature control to achieve ideal results.
You'll find that incorrect temperatures can lead to uneven curing, hot spots, and potential food safety risks.
- Your meat hanging in a temperature-controlled room with condensation-free walls
- Digital thermometer displays showing a steady 39°F (4°C)
- Glistening salt crystals slowly penetrating the meat's surface
- Clean, sanitized stainless steel racks holding your curing meats
- Hygrometer reading displaying ideal 70% humidity
Monitor your curing environment consistently, as temperature fluctuations can compromise both safety and quality.
You'll want to check readings at least twice daily to guarantee your cure stays within safe ranges and produces the desired results.
Salt Types and Calculations
To calculate your curing salt amounts accurately, you'll need to measure based on meat weight.
Use a standard ratio of 0.25% pink curing salt to meat weight, and follow the 156 ppm guideline for products like ham.
You must be precise with these measurements, as curing salts are highly concentrated.
Don't substitute one type of curing salt for another, as they're designed for specific curing methods and durations.
Preparing Meats for Curing
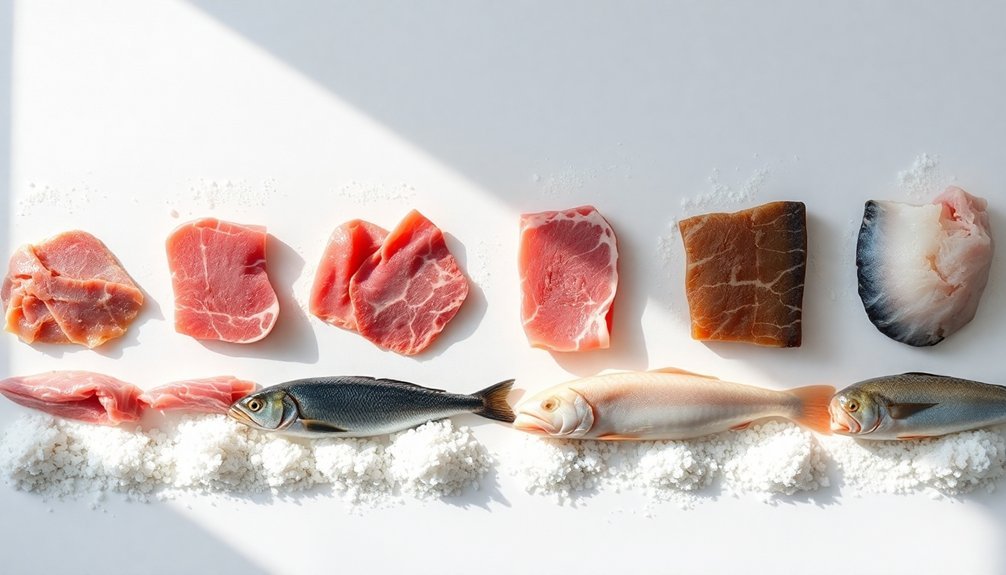
Before you begin the curing process, you'll need to properly clean your meat and trim away any unwanted fat or gristle.
You must then measure the thickness of your meat cuts accurately, as this measurement directly impacts your curing duration at roughly 7 days per inch.
Finally, weigh your prepared cuts to calculate the precise amount of curing mixture you'll need, ensuring complete and even coverage during the curing process.
Clean and Trim First
Proper preparation sets the stage for successful meat curing. You'll want to start by thoroughly cleaning your meat, removing any visible bloodstains, contaminants, or debris.
Using a sharp knife, trim away excess fat, skin, and connective tissue to guarantee even curing throughout the cut. Remember to remove any silver skin or membranes that could prevent the cure from penetrating properly.
Before applying your cure, you'll need to pat the meat dry with paper towels and chill it to 38-40°F. Score thicker cuts and make small incisions in dense areas to help the cure distribute more evenly. You can use a meat mallet to break down muscle fibers for better absorption.
- A clean stainless steel blade gliding through fresh meat, revealing bright red flesh beneath
- Paper towels wicking away surface moisture from the meat's surface
- A meat mallet creating a rhythmic pattern of gentle indentations
- Sharp knife scores creating precise, shallow channels across the meat's surface
- Trimmed fat and silver skin forming neat piles on the cutting board
Store your prepared meat in a non-corrosive container, label it with the date, and maintain a consistent temperature between 36-40°F throughout the curing process.
Measure Meat Thickness
With your meat properly cleaned and trimmed, accurate thickness measurements become your next key step.
You'll need to measure the thickest part of your meat using a ruler or caliper, as this measurement determines your total curing time. Don't estimate or guess – precise measurements are essential for achieving proper preservation.
For dry curing, you'll typically need to allow 7 days per inch of meat thickness. If you're working with a 5-inch thick ham, for instance, you'll need to cure it for 35 days.
Alternatively, you can follow the guideline of 1 day per 1/4 inch plus two extra days for safety. If you're using a brine cure, plan for 11 days per inch or 3 1/2 to 4 days per pound.
You'll want to maintain consistent measurement methods across your cuts to guarantee uniform curing results.
Remember that temperature conditions, curing method, and additional ingredients like sugar or nitrates will influence your total curing time.
Keep your measurements documented – they'll help you calculate not only your curing duration but also your clearing time when you're ready to soak the meat to remove excess salt.
Weigh for Cure Amounts
Accurate weight measurements serve as the foundation for calculating your cure amounts. You'll need to carefully weigh your meat or fish before determining the salt and curing agent quantities.
For every 100 pounds of meat, you'll want to use 8 pounds of salt, 3 pounds of sugar, 2 ounces of sodium nitrate, and ½ ounce of sodium nitrite. Remember that your final cured product shouldn't weigh more than 10% above the fresh meat's weight.
When measuring salt for fish, use 1 cup of coarse sea salt or kosher salt per quart of water if you're making a brine solution. Don't use table salt, as its additives can affect the flavor. For ideal results, you'll want to achieve a 2-3% salt concentration in your final product.
- Place your clean, trimmed meat on a calibrated scale
- Record the weight in pounds to calculate proper cure ratios
- Measure salt and curing agents separately using precise kitchen scales
- Keep a log of weights and measurements for consistency
- Double-check your calculations before applying the cure to avoid over-salting
Fish Preparation Steps
Before you begin salt curing your fish, you'll need to clean it thoroughly by scaling, gutting, and removing the head according to standard fish preparation methods.
You'll want to select a coarse, non-iodized salt for the curing process, as iodized salt can impart unwanted flavors and discoloration to your fish.
The cleaned fish should be patted completely dry with paper towels to guarantee the salt can effectively draw out moisture during the curing process.
Initial Cleaning Process
The initial cleaning process forms the foundation for successful fish curing. You'll need to start by thoroughly rinsing your fish under cold running water to remove any surface debris. When handling the fish, make sure it's properly chilled to maintain its quality and prevent bacterial growth.
Using a fish scaler or the back of a knife, remove all scales by working from the tail toward the head in firm, short strokes.
Make a clean cut behind the gills to remove the head, then slice along the belly to remove all innards. It's essential to rinse the cavity thoroughly to eliminate any blood, which can lead to off-flavors in your cured product.
After cleaning, pat the fish completely dry with paper towels to prepare it for ideal salt absorption.
- Fresh fish glistening under cold water as you rinse away debris
- Silvery scales flying off as you scrape from tail to head
- Clean, precise cut revealing the pink flesh as you remove the head
- Careful removal of dark red innards leaving a clean cavity
- Pristine white paper towels absorbing excess moisture from the cleaned fish
Salt Selection Guidelines
With your fish now cleaned and dried, selecting the right salt becomes your next priority. You'll want to choose either coarse sea salt or kosher salt for their purity and slow-dissolving properties. These options don't contain additives or iodine that could taint your fish's flavor during the curing process.
| Salt Type | Best Uses | Key Benefits |
|---|---|---|
| Coarse Sea Salt | Dry Curing | Slow dissolution, pure flavor |
| Kosher Salt | All-Purpose Curing | Even distribution, no additives |
| Medium Grain Salt | Brine Solutions | Balanced penetration rate |
| Mixed Grain Sizes | Complex Curing | Ideal moisture control |
When applying salt, you'll need to take grain size carefully as it affects moisture extraction rates. Larger grains draw moisture out more slowly, protecting against "salt burn," while smaller grains speed up the process but require closer monitoring. You can combine different grain sizes to achieve ideal results. Don't use table salt, as its anti-caking agents and iodine will compromise your final product. For dry curing, you'll need enough salt to create ½-inch thick layers both below and above your fish, ensuring complete coverage for proper preservation.
Large Cut Curing Specifics
Successfully curing large cuts of meat requires precise timing calculations and careful attention to the meat's composition. When you're working with large cuts, calculate 7 days per inch of thickness, or alternatively, 11 days per inch through the center of the cut.
For hams and picnics in brine, you'll need 3.5 to 4 days per pound of meat, with larger pieces like a 15-pound ham taking up to 60 days using the immersion method.
The meat's structure greatly impacts curing time. You'll notice the solution penetrates faster through lean areas while moving slower near bones and skin. While you might be tempted to remove the fat layer to speed up curing, don't – it's vital for smoking and moisture retention during cooking.
- Dark, marbled meat glistening with a thin layer of protective fat
- Clear brine solution slowly seeping into the meat's dense fibers
- White salt crystals gradually dissolving into the meat's surface
- Perfectly arranged cuts in the curing container, smaller pieces resting on top
- Meat pieces being carefully overturned on days three and ten
To guarantee uniform curing, you'll need to overhaul (rearrange) the meats during the process, typically on the third and tenth days of curing.
Monitoring the Curing Process
During the curing process, careful monitoring of key parameters secures your meat's safety and quality. You'll need to track salt concentration, temperature, humidity, and pH levels throughout the curing period to guarantee success.
| Parameter | Target Range | Monitoring Method |
|---|---|---|
| Salt Concentration | 2-3% | Salimeter reading × 26.4% |
| Temperature | 40-70°F | Thermometer in curing chamber |
| Humidity | 65-80% | Hygrometer measurements |
Maintain your curing chamber between 50-60°F with consistent humidity levels. You'll want to use a salimeter to check brine strength, confirming it's measured at 60°F for accuracy. Keep in mind that sugar and phosphates can affect your readings. Monitor pH levels closely, keeping them below 5.3 to prevent pathogen growth. You should track weight loss, aiming for 30-40% reduction in the final product.
Regular visual inspections are essential. Check for any off odors, sliminess, or unwanted mold growth. While white mold is generally harmless and can be brushed off, discard any meat showing signs of spoilage. Track your progress by maintaining detailed records of all measurements, including weight loss percentages and pH readings throughout the curing process.
Storage and Air Circulation
Proper storage and air circulation will make or break your salt-curing success. You'll need to maintain a consistent temperature between 2-4°C (36-39°F) in a dark, clean environment that's protected from pests.
Keep humidity levels controlled to prevent excess moisture or drying, and make certain your storage space is well-ventilated with proper air movement.
Don't underestimate the importance of air circulation during the curing process. You'll want to use fans or natural airflow to prevent stagnant air pockets, which can lead to uneven curing and potential spoilage.
Your climate-controlled environment should promote consistent drying throughout the meat, especially during the critical drying phase.
- Picture a cool, dark cellar with gentle air currents moving steadily around hanging meat
- Imagine spotless stainless steel racks with perfectly spaced cuts allowing air to flow freely
- Visualize small fans creating a gentle, continuous breeze throughout the space
- Think of thermometers and humidity gauges monitoring conditions 24/7
- See yourself checking each piece of meat regularly, making sure of even exposure to circulating air
Remember to monitor your setup daily, adjusting ventilation and temperature as needed to maintain prime curing conditions.
Frequently Asked Questions
Can I Reuse the Salt Mixture for Curing Multiple Batches?
You shouldn't reuse salt curing mixtures since they're contaminated after first use. It's unsafe due to bacterial growth and cross-contamination risks. Always use fresh mixtures to guarantee food safety and quality results.
What Signs Indicate That Meat or Fish Has Been Over-Cured?
You'll know your meat is over-cured if it's excessively dry, hard, or leathery. Watch for unusual dark colors, cracking surfaces, strong ammonia smells, or unpleasant odors that aren't typically salty or smoky.
How Long Can Cured Meats and Fish Be Safely Stored?
You can store properly cured meats and fish for several weeks to months when kept at 32°-40°F. You'll need to keep them in airtight containers and check regularly for any signs of spoilage.
Should I Remove the Skin Before Curing Fish?
You can cure fish with or without skin. Leaving it on helps retain moisture and protects the flesh, but removing it allows better cure penetration. Consider your recipe and the fish type when deciding.
Can I Cure Frozen Meat, or Must It Be Completely Thawed?
You'll need to completely thaw your meat before curing. Don't attempt to cure frozen meat, as it won't allow proper salt penetration. Thaw it in the refrigerator first for best results and food safety.
In Summary
You'll find that successful salt curing depends on following precise timing and measurements for each type of meat or fish. Whether you're working with a small fish fillet or a large prosciutto, remember to maintain proper temperature control and use the right salt ratios. Keep monitoring the process regularly and guarantee good air circulation. When done correctly, you'll achieve perfectly preserved, flavorful results.


Leave a Reply