To successfully salt-cure wild game, you'll need to start with quality meat that's been properly hung and processed. Keep your workspace below 41°F and maintain strict sanitation practices with clean tools and surfaces. Mix your curing agents precisely, following the 8-3-2-1 formula and using 1 oz of Cure #1 per 25 lbs of meat. Control your curing environment's temperature between 36-40°F with 83% humidity, and monitor the meat daily for even curing. Package your finished product in vacuum-sealed bags or butcher paper, storing below 41°F. For ideal results, track weight loss and test water activity levels throughout the process. These fundamentals will set you up for mastering the art of game preservation.
Selecting Quality Wild Game Meat
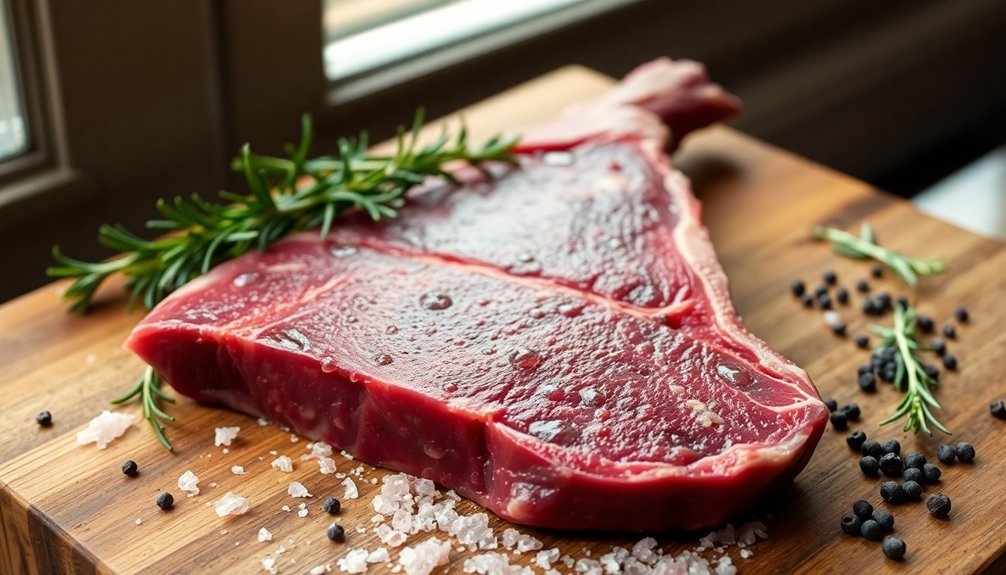
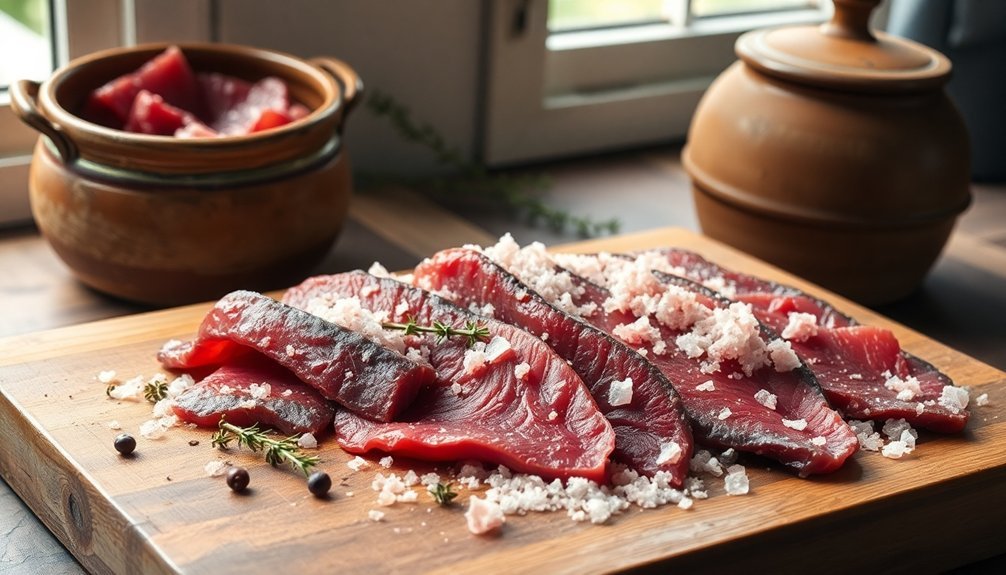
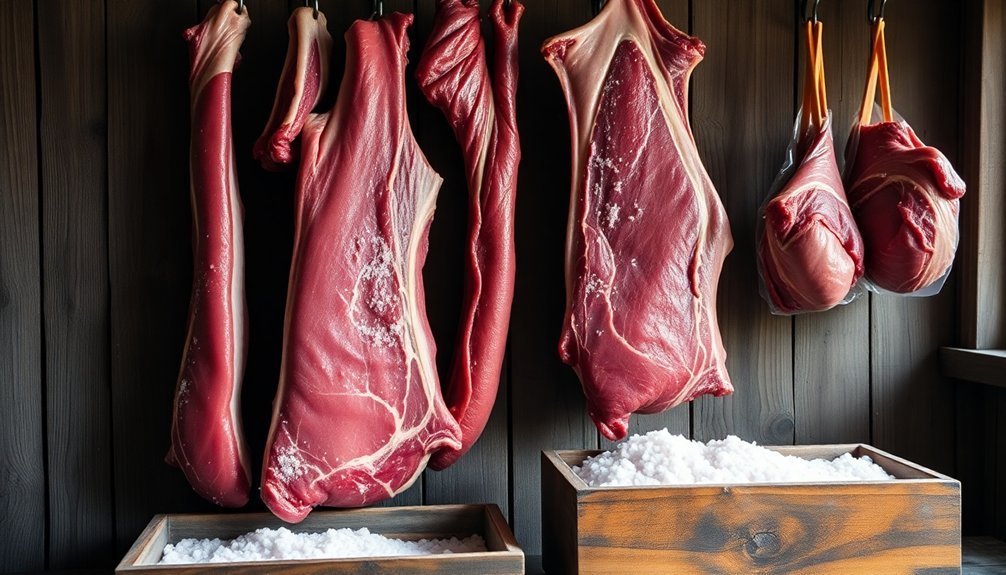
Every successful salt-curing project starts with selecting the right quality of wild game meat.
You'll need to understand that game meat's availability varies by season, so it's crucial to plan your curing projects accordingly. If you're working with local shops, you can often special-order cuts like joints, mince, or stewing steak during specific hunting seasons. Local butcher shops often provide fresher options than larger retailers.
Before selecting your meat, confirm it's been properly hung and matured for at least 40 degree/days. The maturation process happens faster in warmer temperatures and slower in cooler ones, directly affecting the meat's quality.
You'll want to verify that your game meat has passed through a proper processing plant to guarantee hygiene standards are met, especially for wild boar, which requires specific testing for trichinosis.
While the USDA doesn't require mandatory inspection for wild game, you should seek meat that's undergone voluntary field inspections for animal health and sanitation.
When choosing between fresh or frozen game, don't hesitate to use frozen options – they're often just as good for curing purposes.
Remember that proper handling and selection of quality meat will greatly impact your final cured product.
Proper Temperature and Humidity Control
Setting up your cold room for salt-curing wild game starts with a reliable thermometer and hygrometer to track both temperature and humidity levels consistently.
You'll need to maintain temperatures between 36-40°F (2-5°C) while keeping humidity around 83% for ideal curing conditions. These temperatures are crucial since bacterial growth accelerates in the danger zone above 40°F.
A small fan for air circulation and adjustable vents will help you control these essential parameters, preventing moisture buildup that could lead to spoilage.
Cold Room Setup Essentials
Maintaining control over your cold room's temperature and humidity stands as the cornerstone of successful wild game curing. You'll need to keep your curing space between 36-40°F (2-5°C) to guarantee proper sodium nitrite activation and prevent bacterial growth.
Don't let temperatures drop below freezing, as this will halt the curing process entirely.
Set up your cold room in a clean, well-ventilated area free from any strong odors like gas, oil, or paint that could affect the meat's flavor. Consider adding food-grade containers made of stainless steel or stone for optimal safety during the curing process.
You'll want to install reliable temperature monitoring equipment to maintain consistent conditions throughout the curing process.
Place your meat in sealed bags or covered containers to control humidity and prevent excessive drying.
Remember that temperatures above 50°F (10°C) create dangerous conditions for bacterial growth, while anything below 36°F (2°C) will slow down the curing process.
While commercial producers might use special chemicals for lower-temperature curing, stick to the recommended range for home curing.
Monitor your meat regularly for any signs of spoilage, and guarantee your cold room maintains steady temperatures without fluctuations that could compromise the curing process.
Humidity Monitoring Made Simple
Along with temperature control, proper humidity monitoring forms the second pillar of successful wild game curing. You'll need to maintain humidity levels around 70% to prevent case hardening and guarantee even curing throughout your meat. This high initial humidity is particularly vital when you first introduce fresh meat to your curing chamber.
Your curing environment must stay between 50-60°F (10-15°C), as temperatures outside this range can either halt the process or promote spoilage. Don't attempt curing in uncontrolled spaces like closets or garages, where conditions fluctuate unpredictably. Instead, set up a controlled environment and monitor it for several days before introducing your meat.
You'll notice the humidity levels spike when you first add fresh meat – that's normal. Watch for these levels to gradually return to your target range over the next few days. Keep tracking both temperature and humidity consistently throughout the curing process.
If you're fortunate enough to have access to a natural cave or cellar, you might find these environments maintain ideal conditions naturally. However, you'll still need to verify the conditions regularly to guarantee food safety and consistent results.
Salt and Curing Agent Ratios

When curing wild game, you'll need to start with the basic ratio of 1 ounce of Cure #1 for every 25 pounds of meat, or 1 level teaspoon per 5 pounds for proper preservation.
For safe dry curing, follow the 8-3-2-1 formula (8 parts salt, 3 parts sugar, 2 parts sodium nitrate, 1 part sodium nitrite) and use 1 ounce of this mixture per pound of meat.
You must never exceed these recommended ratios, as proper curing agent amounts are critical for both food safety and preventing nitrite toxicity.
Basic Salt Percentages Required
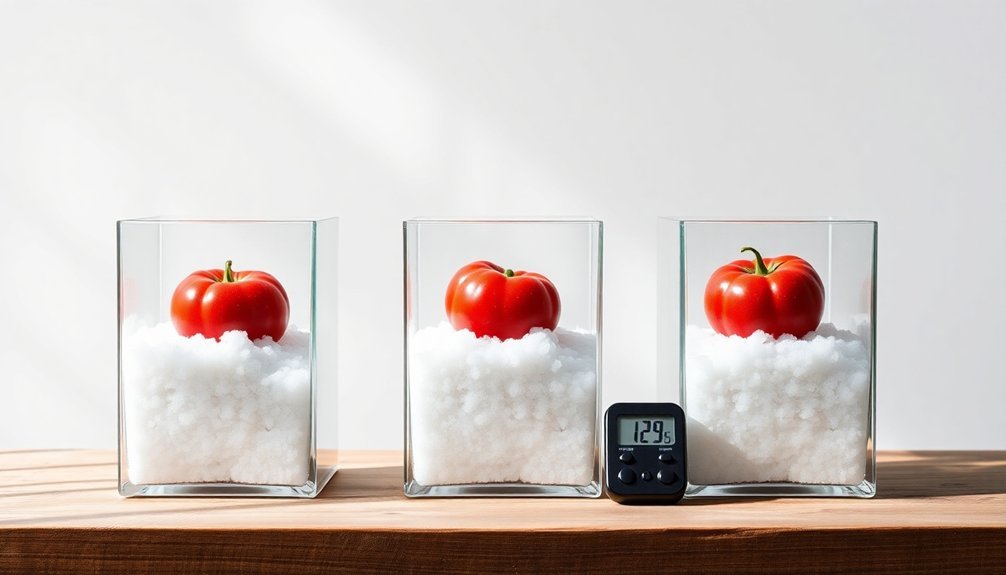
Success in salt-curing wild game starts with understanding the correct salt and curing agent ratios. When you're dry curing your wild game, you'll need to maintain a salt concentration between 2-3% of the meat's weight. For equilibrium curing, stick to 2% of the total meat weight to achieve consistent results.
You'll need to pay careful attention to your curing agent measurements. For most wild game cuts, use sodium nitrite at 0.25% of the meat's weight, which equals 156 ppm as permitted by USDA standards. If you're curing bacon-style cuts, reduce this to 0.19%. For larger cuts that require immersion or pumping, increase to 0.32%. When working with substantial pieces that need extended drying times, you can go up to 0.60%.
Remember that salt concentration requirements may vary based on your curing method and desired outcome. While 2-3% is standard, you might need up to 20% salt concentration to effectively eliminate unwanted bacteria in certain situations.
Always measure precisely and calculate your ratios carefully – this guarantees both safety and quality in your final product.
Curing Salt Safety Guidelines
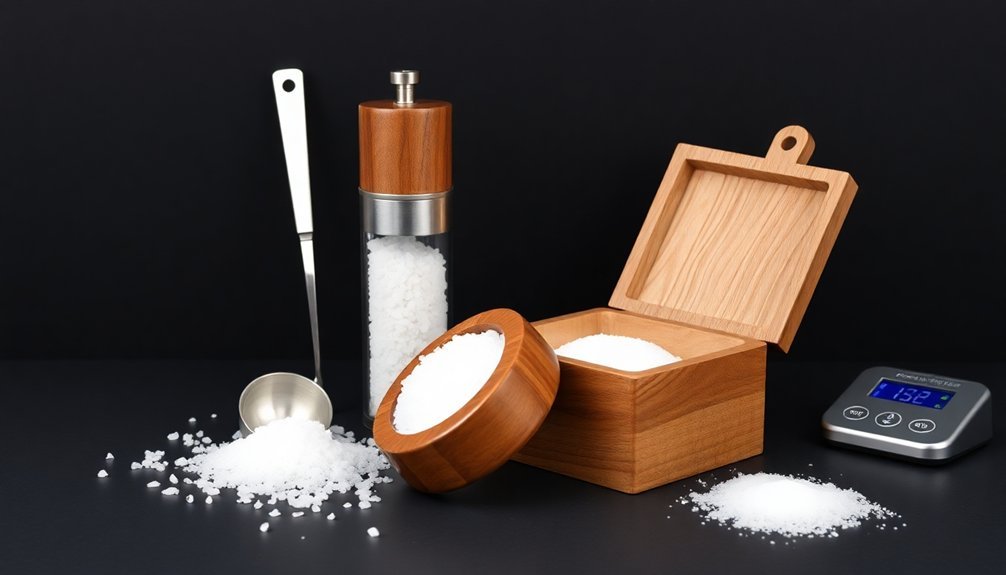
Safe handling of curing salts stands as one of the most vital aspects of wild game preservation. When using curing agents, you'll need to be extremely precise with measurements, as nitrites can be toxic if used incorrectly. A gram scale is essential for accurate measurements – remember that just 1 gram of sodium nitrite can be lethal for an adult.
Always follow these vital safety guidelines when curing wild game:
- Store curing agents in their original containers and never substitute regular salt (NaCl) for curing salts, or vice versa.
- Use exactly 1 level teaspoon of Cure #1 per 5 pounds of meat – no more, no less.
- Keep meat temperatures between 36-40°F throughout the entire curing process.
- Turn your curing meat daily in the refrigerator to guarantee even distribution.
- Never exceed recommended cure concentrations of 156 ppm sodium nitrite for ground meats.
For additional safety, use pre-mixed curing products like Morton® Tender Quick® or Insta Cure instead of pure nitrites. These mixtures provide better control and reduced risk of accidental overdosing.
Remember to maintain strict temperature control and avoid keeping meats in the danger zone (40-140°F) during the curing process.
Safe Handling and Sanitation
Proper handling and sanitation practices form the foundation of successful wild game curing. You'll need to maintain a clean workspace below 41°F (5°C) and use sanitized equipment to prevent contamination. Before starting, verify your hands are clean and you're wearing gloves to minimize bacterial transfer.
Handle your wild game meat with care, and keep it refrigerated whenever you're not actively working with it. Remove any visible blood, debris, or damaged areas before beginning the curing process. Don't let the meat sit at room temperature for extended periods, as this promotes bacterial growth.
| Safety Measure | Action Required |
|---|---|
| Workspace Temp | Keep below 41°F |
| Surface Care | Sanitize all contact surfaces |
| Tool Hygiene | Clean before and after use |
| Storage | Use airtight containers |
| Meat Handling | Wear gloves, work quickly |
Store your curing meat in airtight containers or vacuum-sealed bags to maintain proper humidity levels and prevent cross-contamination. You'll want to rotate the meat periodically for even curing. Keep monitoring your refrigerator's temperature throughout the process, confirming it stays within the safe range to protect your wild game from spoilage.
Monitoring the Curing Progress
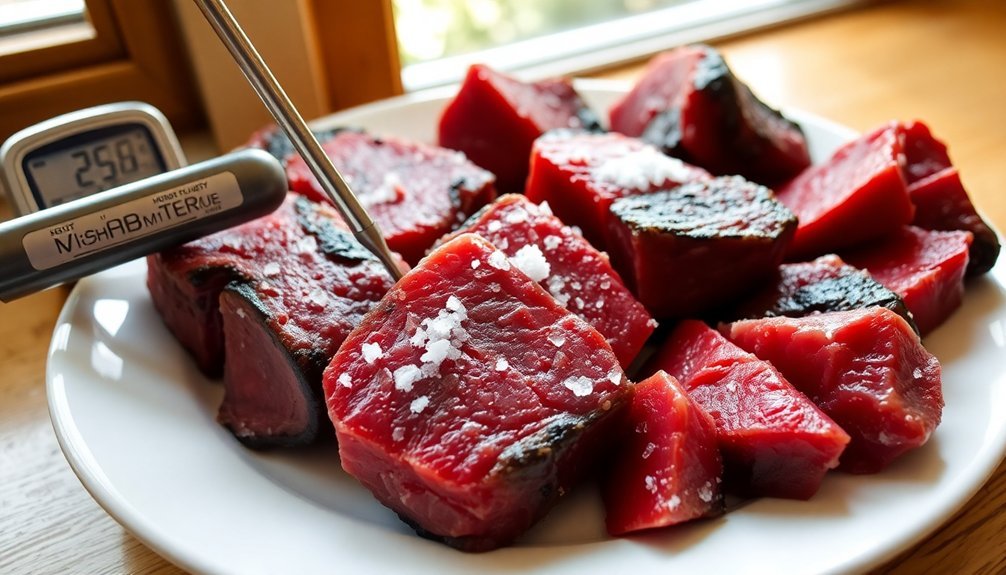
Your wild game's curing progress requires careful monitoring through multiple checkpoints to guarantee both safety and quality.
Keep the temperature consistently below 40°F throughout the process while ensuring it's warm enough for salt penetration. You'll need to maintain at least 2.6% salt concentration for proper curing, with precise measurements of curing salts at 0.25%.
Track moisture loss by weighing your meat regularly, as this indicates how effectively the cure is working. The process relies on salt drawing out moisture to create an environment where bacteria can't thrive.
You'll want to monitor water activity levels closely, as they're vital for food safety.
Here are essential monitoring steps for your wild game cure:
- Check meat temperature twice daily using a reliable thermometer
- Turn and inspect all surfaces of the meat daily for even cure distribution
- Watch for any unusual mold growth or off-putting odors
- Monitor weight loss to track moisture reduction
- Test firmness by gently pressing the meat's surface
Remember to document your observations throughout the process.
If you notice any concerning changes in color, texture, or smell, address them immediately to prevent spoilage.
Storing Your Cured Game
Well-preserved cured game requires careful attention to storage conditions and packaging methods. You'll need to maintain temperatures below 41°F (5°C) to prevent spoilage and bacterial growth.
After curing, store your game in noncorrosive containers made of wood, crockery, stainless steel, or plastic. Before final storage, you'll want to clear excess salt by soaking the meat in cold water (<40°F) for 30 minutes to 2 hours.
After clearing, thoroughly drain and pat the meat dry to prevent moisture-related issues. Package your cured game in butcher paper, freezer bags, or vacuum-sealed bags, making sure to label each package with the date and contents.
For long-term storage, keep your cured game in the freezer at 0°F or below. You shouldn't store seasoned or cured game for more than four months, while fresh frozen game can last up to eight months.
Always check your local regulations regarding wild game storage before the next hunting season. Remember to maintain a clean, dry storage environment and use proper packaging materials that match your chosen storage method to guarantee the best quality and safety of your cured game.
Testing for Doneness and Safety
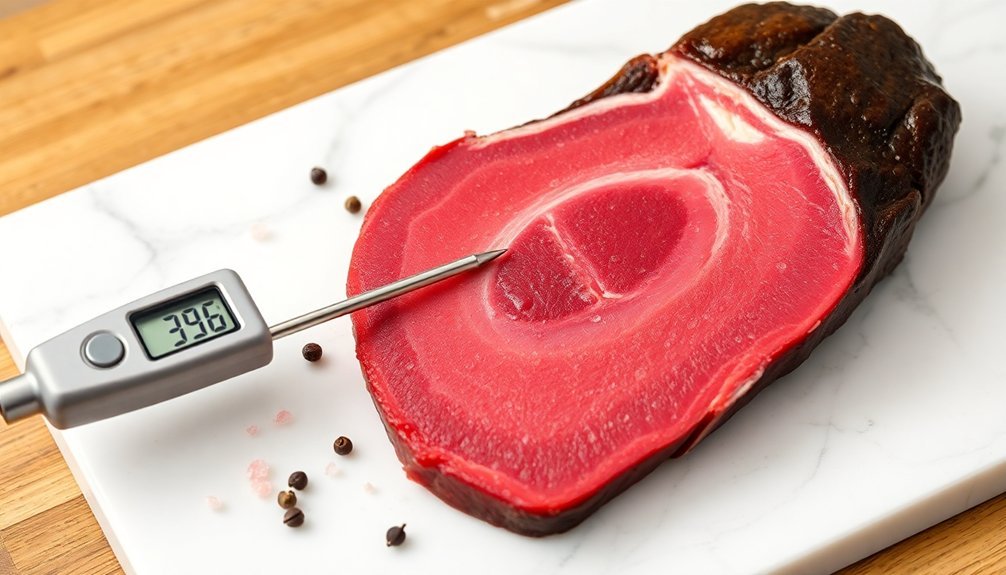
Safety checkpoints during the curing process are essential to confirm your wild game is properly preserved and safe to consume.
You'll need to monitor several critical factors, including temperature control, pH levels, and proper salt concentration throughout the entire process.
Keep your curing environment below 41°F (5°C) to prevent bacterial growth, and regularly check the meat's pH levels to confirm proper acidification.
You can verify your cured game's doneness through these key indicators:
- Color development – look for a stable red color throughout the meat
- Texture – the meat should have the desired firmness and consistency
- Salt equilibrium – confirm salt has penetrated completely (roughly 7 days per inch of thickness)
- pH measurement – verify appropriate acidity levels
- Visual inspection – check for any signs of spoilage or abnormal coloring
Don't forget to rinse your cured meat thoroughly to remove excess salt crystals, especially if you're planning to smoke it afterward.
If you're using nitrites, carefully measure the recommended amounts to prevent excessive levels while confirming protection against botulism.
Frequently Asked Questions
Can Different Types of Salt Affect the Flavor of Wild Game?
Yes, different salts impact your game's flavor uniquely. You'll find sea salt adds minerals and complexity, table salt provides basic seasoning, and curing salt brings distinct pink color and flavoring to your meat.
How Long Can Properly Cured Wild Game Meat Last in Storage?
You'll find your properly cured wild game can last up to two weeks in the fridge, several months when frozen, and even up to a year if it's heavily cured and vacuum-sealed at 0°F (-18°C).
What Game Meats Are Most Suitable for First-Time Salt-Curing Attempts?
For your first salt-curing attempt, you'll want to start with smaller cuts like rabbit pieces, duck breasts, or thin venison steaks. These cure faster and are more manageable than larger, thicker game cuts.
Does Freezing Wild Game Before Curing Affect the Final Results?
While you can freeze wild game before curing, it may toughen the meat and alter its texture. If you do freeze it, guarantee proper packaging to prevent freezer burn and maintain quality during the process.
Can Traditional Family Curing Recipes Be Safely Adapted for Wild Game?
You can adapt family recipes for wild game, but you'll need to modify salt ratios and include modern curing salts. Don't rely solely on traditional methods – always incorporate current safety standards.
In Summary
Salt-curing wild game takes patience and attention to detail, but you'll find the results worth your effort. By following proper safety protocols, maintaining ideal conditions, and using the right salt ratios, you're creating a time-tested preservation method that enhances flavor and texture. Remember to trust your senses – look for proper firmness, color, and aroma to guarantee your cured game is ready for enjoyment.
Leave a Reply