Salt curing meat requires careful attention to temperature, humidity, and sanitation to guarantee safe preservation. You'll need to maintain temperatures between 50-60°F and humidity levels of 65-80% throughout the process. Start with high-quality fresh meat and use non-corrosive containers for curing. The salt concentration should be at least 3.5% by weight, and you'll want to monitor for proper moisture removal until the meat loses 30-40% of its weight. Proper storage below 64°F and regular inspection for spoilage are essential for safety. Understanding the detailed science and techniques behind salt curing will help you master this traditional preservation method.
The Science Behind Salt Curing
Three key scientific principles make salt curing an effective method of meat preservation.
First, salt creates an inhospitable environment for harmful bacteria by drawing moisture out of the meat through osmosis. When you apply salt to meat, it dissolves in the surface moisture and begins migrating inward, while water from inside the meat moves outward until they reach equilibrium. Ancient civilizations have successfully used this preservation technique for thousands of years.
Second, salt molecules bind with water molecules, making the water unavailable to bacteria even though it remains in the meat. This reduction in water activity (Aw) prevents bacterial growth and spoilage, while also breaking down proteins to create a firmer, more flavorful product.
Salt additionally slows down oxidation, which helps prevent fats from turning rancid.
Third, the addition of nitrates and nitrites plays an essential role in food safety. These compounds, whether from traditional curing salts or natural sources like celery salt, are vital for preventing the growth of Clostridium botulinum, the bacterium responsible for botulism.
They'll also enhance the meat's color and flavor while providing an additional layer of preservation alongside the salt's primary effects.
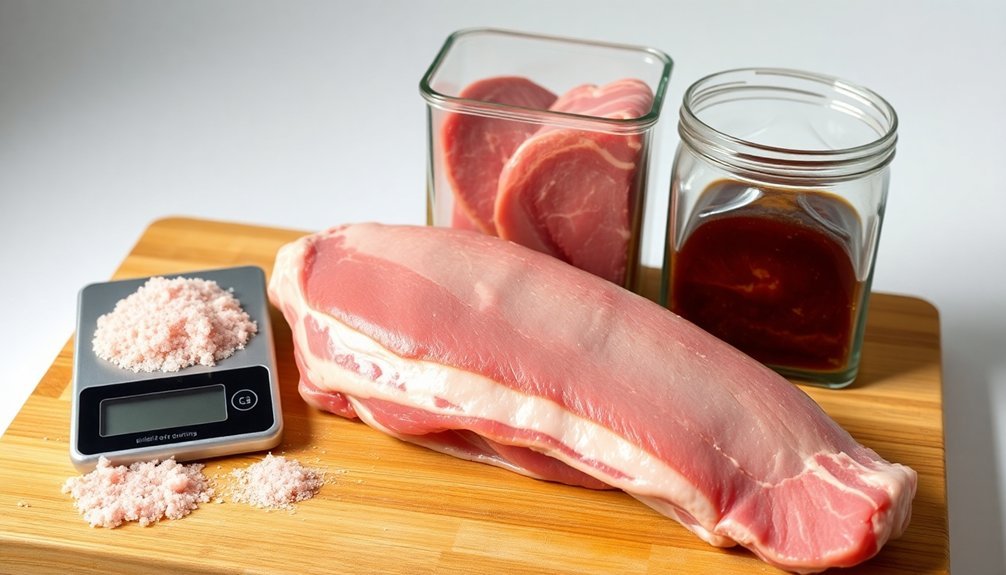
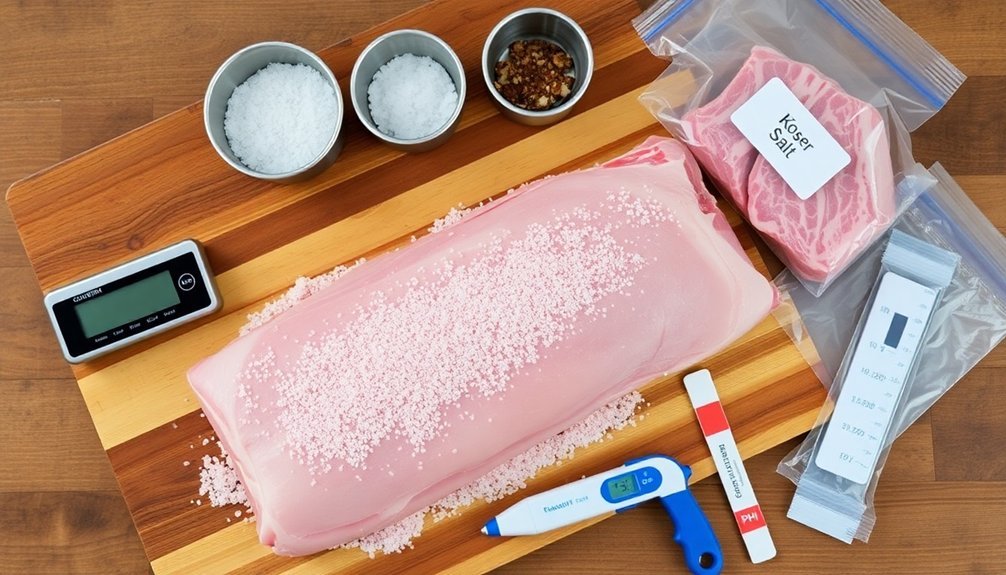
Essential Tools and Materials
Success in meat curing depends heavily on having the right tools and materials at your disposal.
You'll need non-corrosive containers made of plastic or glass to hold your meat and salt, along with a vacuum sealer to guarantee even curing by removing air. A salometer will help you measure brine strength, while a meat pump is essential for injecting brine solution effectively. Wet curing methods require complete submersion of meat in brine solution.
For your curing materials, use pure salt without anti-caking agents and appropriate curing salts containing nitrates and nitrites. You can enhance flavor with sugar and spices, and you'll need food storage bags for the refrigeration process.
Don't forget to maintain temperatures between 36°F and 40°F with a reliable thermometer.
Your workspace should include clean surfaces, gloves, and non-lint producing towels. You'll need accurate scales to measure ingredients precisely, and proper storage equipment like hooks or shelves for the drying phase.
Keep a filtration system handy if you plan to reuse cure solutions. Label everything clearly with dates and times, and make sure you've got weights to keep meat submerged in brine when necessary.
Clean water should always be available for rinsing and adjusting salt levels.
Selecting Quality Raw Meat
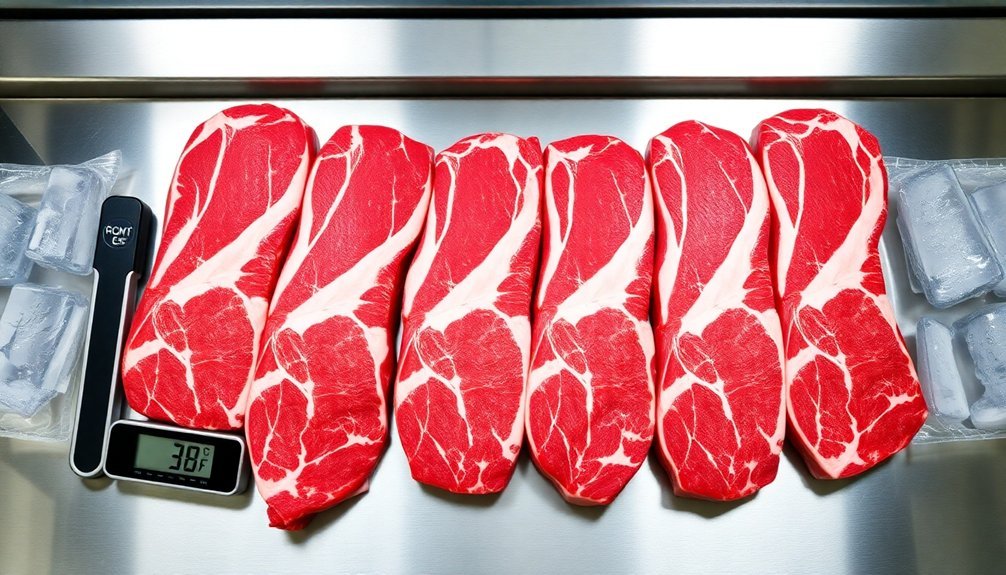
Before purchasing, verify that the meat has been stored at proper temperatures (32-35°F) and handled with clean equipment. Using dedicated equipment and areas for handling raw meat will help maintain proper sanitation standards during the curing process.
Traditional Salt Curing Methods
The salt box method stands as one of the oldest forms of meat preservation, where you'll coat your meat completely in salt and store it in a cool area for at least five days.
If you're looking for more precision, you can try the equilibrium curing technique, which uses exact salt-to-meat weight ratios for consistent results.
Both methods effectively preserve meat by drawing out moisture and creating an environment that prevents bacterial growth, though the equilibrium method offers more control over the final product's salt content.
Dry Salt Box Method
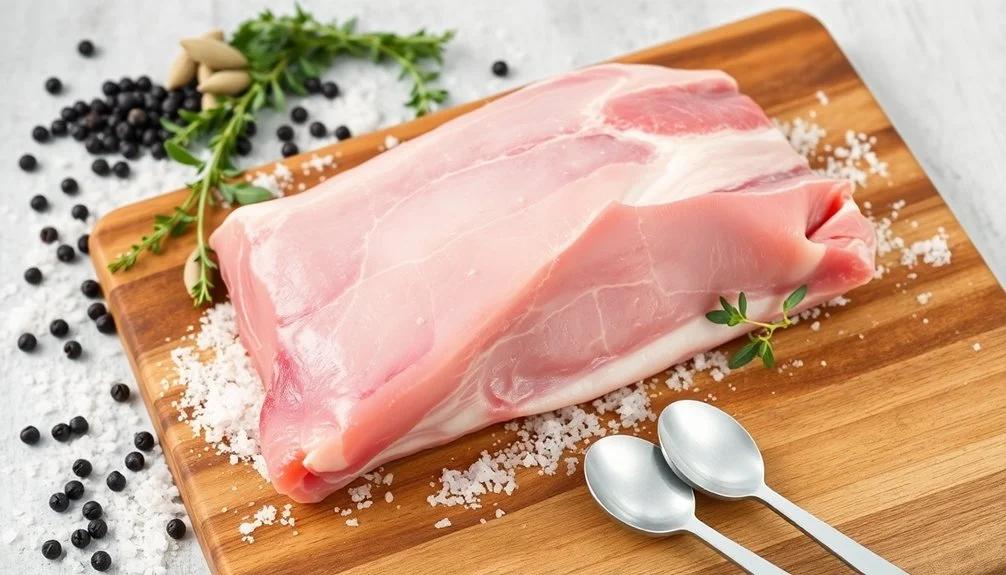
Throughout history, dry salt box curing has served as one of humanity's most reliable meat preservation methods. When you're ready to begin, you'll need coarse, pure salt without any anti-caking agents and a suitable container for the curing process.
Make sure you're working in a clean, sanitized environment to prevent contamination.
To cure your meat using the salt box method, you'll layer it in a pan with salt, ensuring complete coverage on all surfaces. You'll need to use more than 2.6% of the meat's weight in salt, paying special attention to thicker cuts that require additional coverage.
Apply firm pressure to help extract liquids during the process.
- You'll feel a deep connection to your ancestors as you practice this time-honored preservation technique
- You'll experience pride in creating your own preserved meats from scratch
- You'll gain confidence as you master this essential survival skill
- You'll enjoy the satisfaction of knowing exactly what's in your food
Store your curing meat at 32°F-40°F, rotating it every other day for even preservation. The process takes five days to two weeks, depending on thickness.
Once cured, rinse off excess salt, pat dry, and hang in a cool, dark place until it loses 30% of its original weight.
Equilibrium Curing Technique
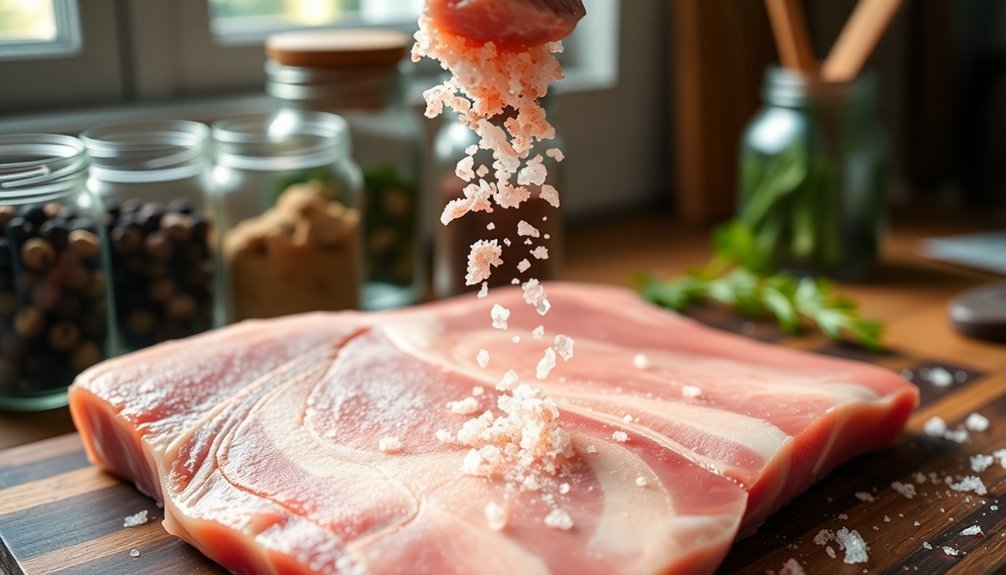
Moving beyond traditional salt box methods, modern equilibrium curing brings scientific precision to meat preservation. You'll need to calculate exactly 2.5% to 3.5% of your meat's weight in salt, guaranteeing perfect preservation without over-salting. This method gives you complete control over the final product's flavor and salt content.
| Step | Time | Action |
|---|---|---|
| Initial Prep | Day 1 | Weigh meat, calculate salt, apply cure evenly |
| Curing | 5-7 Days | Refrigerate, flip every 3-5 days |
| Final Phase | 1-2 Days | Rinse, dry, begin aging process |
To begin, weigh your meat and apply the calculated amount of salt thoroughly. You can add celery seed and black pepper for additional flavor. Place the meat in a sealed bag, removing as much air as possible. During the curing process, you'll need to refrigerate the meat and flip it regularly to guarantee even exposure to the brine that forms.
After about five days, check that all salt has been absorbed. Once curing is complete, rinse the meat thoroughly and pat it dry. For the final step, hang your meat in a cool, dark place for aging. The duration will depend on your desired end product.
Temperature and Humidity Control
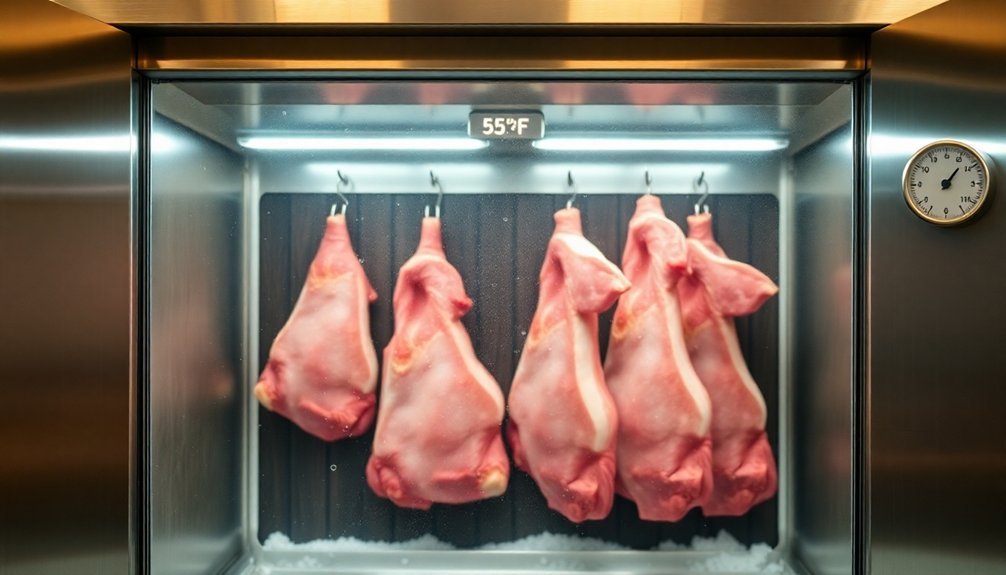
Maintaining precise temperature and humidity levels stands at the core of successful meat preservation. You'll need to keep your curing temperature between 50°F and 60°F, while guaranteeing relative humidity stays within 65-80%. For initial salting, start at a cooler 38-39°F, then gradually increase the temperature as the process continues.
A mini-fridge can serve as your curing chamber, offering the control you need over both temperature and humidity. Place a saturated salt solution inside to maintain humidity at around 70%.
Don't let your meat hang in uncontrolled environments, as temperatures above 60°F encourage bacterial growth, while those below 50°F slow down the vital drying process.
- Your carefully crafted charcuterie could be ruined in hours if temperature spikes occur
- Each piece of meat you cure represents weeks of patient waiting and monitoring
- The satisfaction of achieving perfect texture depends on your precise humidity control
- Your reputation as a skilled preserver hinges on maintaining these essential parameters
Monitor your setup regularly and avoid temperature fluctuations. If you're not using a dedicated chamber, seal your containers with plastic wrap to maintain consistent humidity levels.
Keep your curing area clean and draft-free to guarantee best results.
Monitoring the Curing Process
Success in meat curing hinges on vigilant monitoring throughout the process.
You'll need to maintain proper salt concentration by using a salimeter to measure brine levels, ensuring they're at least 3.5% by weight to prevent dangerous pathogens like Clostridium botulinum. When taking readings, multiply the salimeter measurement by 26.4% to determine the actual salt percentage, and remember that sugar and phosphates can affect accuracy.
Track your meat's weight loss regularly, as it should decrease by 30-40% from its initial weight during dry curing. This reduction indicates proper moisture removal and effective curing.
You'll want to keep detailed records of all weights throughout the process.
Inspect your curing meats frequently for any signs of spoilage, including off odors, sliminess, or unwanted mold growth. While white mold is acceptable and can be brushed off, discard any meat showing signs of harmful bacteria immediately.
Check for salt scabbing and adjust as needed.
Maintain strict sanitation by cleaning all equipment thoroughly, washing hands frequently, and using dedicated tools for curing.
Keep your curing area separate from other food items to prevent cross-contamination.
Common Problems and Solutions
You'll need to watch for several critical issues when preserving meat, including mold development, salt scabbing on the surface, and maintaining proper temperature control throughout the process.
Salt scabbing often occurs when humidity levels aren't properly regulated, while mold can develop if there's inadequate air circulation or excessive moisture in your curing environment.
Temperature fluctuations can disrupt the curing process and compromise food safety, so you'll want to maintain consistent temperatures within the recommended 35°F-38°F range.
Preventing Mold Growth Issues
Mold growth presents one of the biggest challenges in meat preservation, but you can effectively manage it through several proven methods. You'll need to decide between using traditional mold cultures like Bactoferm Mold 600, which contains beneficial Penicillium nalgiovense, or preventing mold growth altogether through environmental control and inhibitors.
If you're pursuing traditional curing methods, applying mold culture promotes desirable white mold growth that enhances flavor development and slows the drying process. Alternatively, you can use potassium sorbate as a mold inhibitor, though it's not a natural solution.
Environmental control remains essential either way – maintain humidity levels around 74% during salting, but keep general environment between 30-50% humidity during aging.
- Your carefully crafted prosciutto can be ruined in days by unwanted mold
- Each inspection of properly developing white mold brings satisfaction
- There's deep pride in mastering traditional preservation techniques
- The anxiety of checking your curing meat disappears with proper control methods
Remember to monitor your meat regularly, confirm proper ventilation, and maintain consistent environmental conditions throughout the curing process. Using pure salt without additives and following precise curing procedures will greatly reduce your risk of problematic mold growth.
Salt Scabbing Troubleshooting Tips
The battle against salt scabbing requires vigilant monitoring and precise control during meat curing. You'll need to watch for crystalline patches forming on your meat's surface, which indicate salt accumulation. These patches not only affect appearance but can make your meat unpleasantly salty and develop a hard, crusty texture.
To prevent salt scabbing, maintain a precise salt concentration of around 20% and guarantee you're applying it evenly across the meat's surface. You'll want to use pure salt without anti-caking agents and keep your meat in a controlled environment.
When you spot early signs of scabbing, take immediate action by gently wiping the surface with a damp cloth or soaking the meat for an hour to dissolve excess salt.
If you're dealing with severe salt scabbing, you've got several remediation options. You can trim affected areas, re-cure the meat with a controlled amount of salt, or extend the aging period to balance salt distribution.
Don't forget to turn your meat regularly and monitor weight loss throughout the curing process. By maintaining consistent techniques and proper environmental conditions, you'll considerably reduce the risk of salt scabbing in future batches.
Temperature Control Challenges
Maintaining precise temperature control ranks among the most essential challenges in meat curing. You'll need to keep temperatures between 50-55°F (10-13°C) for best results, as higher temperatures can lead to spoilage while freezing temperatures will slow down the process considerably.
When you're curing in hot or humid environments, you'll face additional hurdles that require careful monitoring and adjustment. To overcome these challenges, you'll want to invest in a reliable curing chamber or modify a wine fridge to create a controlled environment.
It's vital to maintain consistent temperatures, as fluctuations can result in uneven salt absorption and potentially ruin your meat. Don't forget to monitor humidity levels around 65% to prevent excessive drying.
- Your carefully prepared meat could spoil within hours if temperatures rise above 60°F
- Months of patience and effort could be wasted due to poor temperature control
- The risk of foodborne illness increases dramatically with improper temperature management
- Your reputation as a meat curer could suffer from inconsistent results due to temperature fluctuations
Using supplemental equipment like saturated salt solutions or humidifiers can help you maintain ideal conditions, especially when working in challenging environments.
Proper Storage Techniques
Once you've successfully cured your meat, proper storage becomes essential for maintaining its quality and safety.
You'll need to keep your cured meats in a cool environment, ideally below 64°F (18°C), as warmer temperatures encourage bacterial growth. For long-term preservation, it's best to use refrigerated storage.
You should always seal your cured meats properly using plastic, wax, or vacuum-sealing methods to prevent oxygen exposure and decomposition. If you're using containers, cover them with plastic wrap to maintain proper humidity levels and prevent excessive drying.
While most cured meats require refrigeration, certain products like thoroughly dried prosciutto can be stored at room temperature.
If you're using a cold room, maintain temperatures between 2-4°C for products like ham and bacon. You'll also need to monitor your stored meats regularly for any signs of spoilage or contamination.
Keep your storage area clean and consistent in temperature. If you notice salt scabbing or excessive saltiness, you can adjust this by soaking the meat.
For the best results, combine refrigeration with proper sealing techniques, especially for long-term storage.
Safe Consumption Guidelines
Safe storage practices set the foundation for proper consumption, but you'll need to know more about handling cured meats safely before eating them. Start by purchasing from licensed shops and checking package integrity, labels, and expiration dates.
When preparing cured meats, remove colored strings and cook or steam thoroughly to guarantee safety, especially for products requiring cooking.
You'll need to monitor thawing carefully to prevent temperature abuse and bacterial growth. For country-cured hams, soak them in refrigerated water to reduce salt levels before consumption.
Don't forget to inspect your cured meats regularly for signs of spoilage, such as mold, off-putting smells, or unusual coloring.
- Your health is at stake – excessive nitrates and nitrites can cause serious health issues, particularly for newborns and those with specific conditions.
- Your heart matters – high salt content in cured meats can lead to cardiovascular problems.
- Your family's safety depends on proper handling – just 1g of sodium nitrite can be lethal.
- Your investment deserves care – improper handling can lead to waste and potential foodborne illness.
Keep your consumption moderate as part of a balanced diet to avoid health risks associated with high salt and nitrite intake.
Frequently Asked Questions
Can I Reuse Salt From Previous Curing Processes?
You shouldn't reuse salt from previous curing processes. It can contain harmful bacteria, degraded nitrites, and meat residues. Using fresh curing salt is essential for your safety and guarantees proper preservation.
What Happens if My Meat Freezes During the Curing Process?
If your meat freezes during curing, you'll likely see reduced quality and compromised texture. It'll disrupt the curing process and may cause moisture issues. You should check carefully for spoilage before continuing or consuming.
How Do Different Cuts From the Same Animal Affect Curing Time?
You'll find thicker cuts like hams take longer than thin cuts like belly. Fat content matters too – fattier cuts need more time since salt penetrates fat slowly. Bone-in cuts require extra attention.
Is It Normal for White Mold to Appear During Drying?
Yes, it's normal and often desirable to see white powdery mold during drying. You'll want this type of mold, as it helps protect your meat and develop flavor, especially if you're using proper cultures.
Can I Cure Meat in Vacuum-Sealed Bags Without Refrigeration?
No, you can't safely cure meat in vacuum-sealed bags without refrigeration. You'll need temperatures between 36-40°F to prevent dangerous bacterial growth. Without proper cooling, your meat will spoil and become unsafe to eat.
In Summary
You've now learned the fundamentals of safe salt curing. Remember to maintain proper temperature control, select high-quality meats, and follow strict hygiene practices throughout the process. Don't rush the curing time, and always monitor for signs of spoilage. When done correctly, you'll create delicious preserved meats that can last for months. Store your cured products appropriately, and you'll enjoy the rewards of this time-tested preservation method.


Leave a Reply