Traditional salt box fish preservation follows three key stages to guarantee long-lasting results. You'll start with initial salting, where you thoroughly clean the fish and rub it with coarse sea salt, making cuts to help the salt penetrate deeply. Next comes the salt maturation process, lasting 4-6 weeks, during which the salt draws out moisture and creates a protective brine. Finally, you'll move to the drying stage, where you'll rinse the fish and hang it in a well-ventilated area until fully cured. Understanding each stage's specific requirements will help you master this time-tested preservation method.
Initial Salting
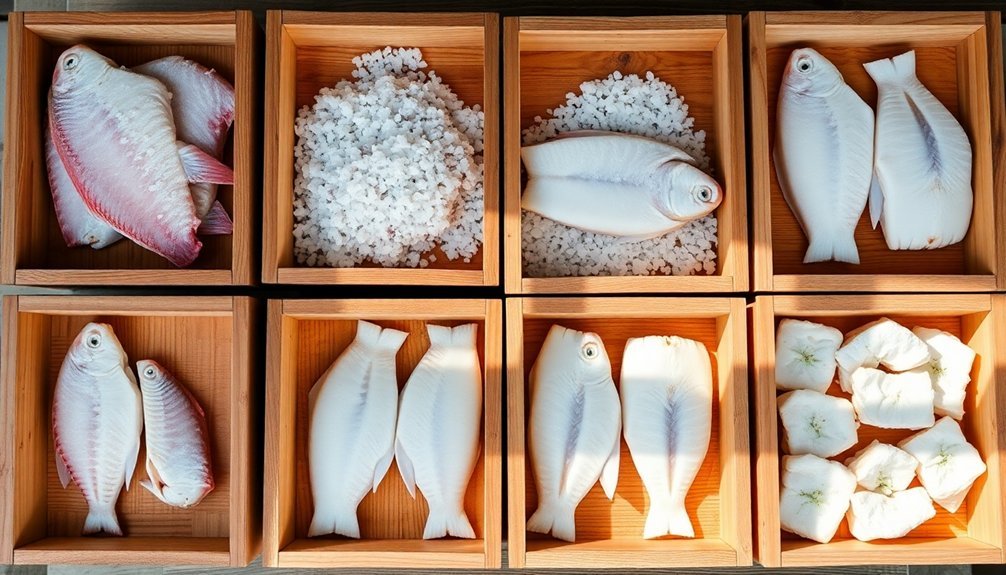
The initial salting stage forms the foundation of successful salt box fish preservation. You'll need to start with fresh, high-quality fish that you've cleaned thoroughly, removing all blood and slime. You can prepare your fish as fillets, pieces, or whole fish, making strategic slashes in the flesh to help the salt penetrate effectively. This process helps extract water from fish, reducing microbial growth and spoilage.
When applying salt, use approximately one tablespoon for every 3/4-pound of fish. You'll want to rub the food-grade salt thoroughly into the flesh, paying special attention to any cuts you've made.
Place your fish in a suitable container like a basket, box, or crock that allows proper brine drainage. Layer your fish systematically, alternating between fish and generous amounts of salt. If you're working with large fish, position the bone side against the container wall. For smaller fish, arrange them with their heads touching the container sides.
You'll need to maintain specific environmental conditions during this process. Keep the temperature below 8°C in a well-ventilated area, and avoid direct sunlight to prevent discoloration.
Your container should be moisture-tight but allow for proper drainage, and you'll want to keep the surrounding area moist to maintain lower temperatures through evaporation.
Salt Maturation Process
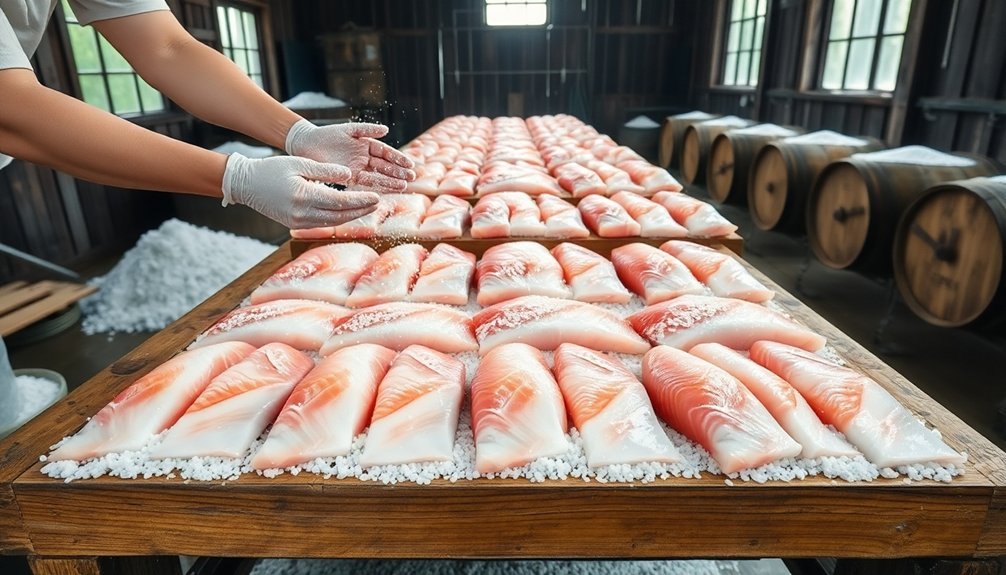
After completing the initial salting, your fish enters an essential maturation phase where salt penetrates deep into the flesh while drawing out moisture.
Using coarse sea salt yields superior results for fish preservation. During this process, you'll notice the formation of brine as water is extracted from the fish muscle, creating an environment that inhibits bacterial growth and alters protein structures. The salt concentration also reduces enzyme activity, contributing to preservation while enhancing flavor and texture.
You'll need to monitor the layered fish regularly, ensuring proper brine drainage and maintaining ideal temperature conditions.
After 4-6 weeks of maturation, your fish should contain approximately 17-18% salt and 57-58% water. Store your fish in a cool, dry place, avoiding hot and humid conditions that could compromise preservation.
Check periodically for any signs of spoilage and change the brine if you're storing the fish for extended periods. Keep an air space above the fish and maintain a moist cloth to help cool the container.
If you've stored your fish for a long time, you can freshen it in clean water before consumption. The success of salt maturation depends on your attention to these critical details throughout the process.
Final Drying Stage
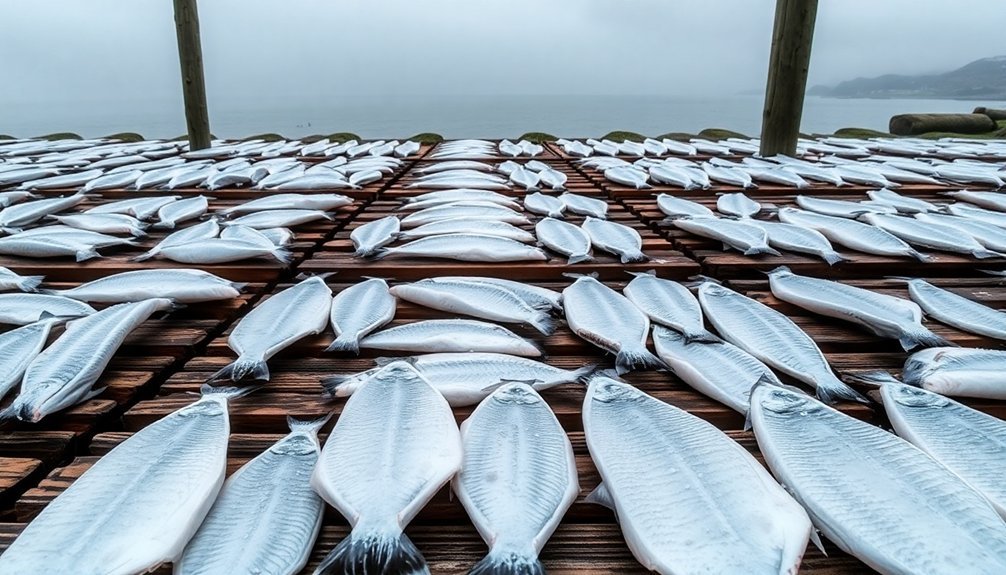
During the final drying stage, you'll need to carefully prepare your salt-cured fish by rinsing off excess salt and ensuring it's free from remaining brine. For ideal results, you may need to soak the fish in fresh water or brine solution for a few hours before patting it dry with a clean cloth. Multiple preservation techniques can enhance the final product quality.
| Drying Setup | Environment | Quality Check |
|---|---|---|
| Hang with cheesecloth | Warm, dry climate | Press flesh texture |
| Use drying racks | Good ventilation | Check water content |
| Protect from insects | Avoid direct sun | Monitor for mold |
You'll want to set up your drying area in a well-ventilated space, hanging the fish or laying it on drying racks. Keep the fish away from direct sunlight to prevent discoloration, and if needed, use a smoke smudge to ward off flies. The ideal drying environment requires warm, dry conditions with consistent temperature and humidity levels. Throughout the process, you'll need to monitor the fish's progress and adjust its position for even drying. Once complete, test the fish's thickness by pressing it between your thumb and forefinger – if no impression remains, it's ready for storage in a cool, dark place.
Frequently Asked Questions
Can Different Types of Salt Affect the Final Taste of Preserved Fish?
Yes, you'll find that different salts greatly affect your fish's final taste. Fine-grained salt penetrates evenly, while sea salt adds unique minerals, and smoked salt introduces smoky notes to your preserved fish.
How Do Seasonal Temperature Changes Impact the Salting and Preservation Process?
You'll need to adjust your salting times based on seasonal temperatures. In warmer months, you should reduce salting duration and guarantee cooler storage, while winter's natural cold helps slow the preservation process naturally.
What Signs Indicate That Salt-Preserved Fish Has Gone Bad?
You'll know your salt-preserved fish has spoiled if you notice a slimy texture, strong ammonia smell, dull discoloration, or mushy spots. Always check for unusual odors and visible signs of decay.
Is It Possible to Reduce Saltiness While Maintaining Preservation Qualities?
Yes, you can reduce saltiness while maintaining preservation. Just soak your fish in fresh water, changing it periodically, but don't overdo it. You'll need enough salt to prevent bacterial growth and maintain shelf life.
Why Do Some Regions Prefer Specific Fish Species for Salt Preservation?
You'll find regions choose specific fish based on local availability, historical traditions, and fat content compatibility. Your local fish species are often best adapted to the area's preservation methods and climate conditions.
In Summary
You've learned the three critical stages of preserving fish using the traditional salt box method. By following the initial salting, allowing proper salt maturation, and completing the final drying process, you'll create properly preserved fish that'll last for months. While it's a time-consuming process, your attention to each stage guarantees you'll achieve the authentic flavor and texture of traditionally preserved fish.


Leave a Reply