
You'll find sage has been a powerful food preservative for over 4,000 years, prized by ancient Romans, Greeks, and Egyptians. This versatile herb contains natural antimicrobial compounds like thujone and camphor that fight harmful bacteria including E. coli and Salmonella. You can use sage alongside salt for meat preservation or dry it using traditional methods like sun-drying and controlled heat. For best results, harvest sage leaves in the morning after the dew dries but before flowering. Modern storage solutions include freezing whole leaves or creating sage-infused olive oil cubes. The ancient wisdom behind this remarkable spice holds many more preservation secrets.
Origins of Sage Preservation

Throughout ancient history, sage played a pivotal role in food preservation across various civilizations. You'll find that both Romans and Greeks were among the first to recognize sage's remarkable preservative properties, incorporating it into their daily food storage practices. They discovered that combining sage with other herbs and spices not only enhanced flavor but also extended the shelf life of various foods. This preservation practice coincided with society's need to store surplus food effectively.
When you look at ancient preservation methods, you'll see that sage wasn't used in isolation. The herb was strategically combined with other natural preservatives like salt, sugar, and vinegar to create more effective preservation solutions. You'll notice this particularly in their meat preservation techniques, where sage was often rubbed onto meats alongside salt to create powerful curing mixtures.
The ancients also discovered sage's effectiveness in fermentation processes, where they'd add it to various foods to prevent spoilage.
In pickling and brining, you'll find that sage was a common ingredient, adding both antimicrobial properties to the preservation process. The herb's versatility meant you could use it to preserve everything from meats and vegetables to fruits when combined with honey.
Traditional Drying Methods
Traditional sage drying methods split into two main approaches: you'll find the gentle process of shade drying, which preserves more essential oils, and the faster technique of sun drying, which can speed up the preservation process.
You can dry sage indoors by hanging bundles upside down in a well-ventilated space or laying leaves on drying racks, while outdoor drying requires protection from insects and careful monitoring of weather conditions. For best results, harvest and begin drying your sage in the morning after dew evaporates.
If you're working with indoor heat methods, you'll need to maintain temperatures between 95°F and 115°F to effectively dry the herbs without compromising their quality.
Sunlight Versus Shade Drying
When preserving food with sage, you'll need to choose between two time-tested drying methods: sunlight and shade. Sunlight drying works best in temperatures above 85°F with humidity below 60%, while shade drying relies more on air circulation in open-sided structures. The process helps create cost-effective preservation without requiring electricity.
If you opt for sunlight drying, you'll want to slice your produce evenly and spread it on elevated racks in a single layer. Use reflective surfaces to increase sun exposure, and cover items with bug screens.
While this method is faster, taking 2-4 days for fruits and 3-5 days for vegetables, it can destroy some vitamins at high temperatures.
Shade drying offers better preservation of nutrients and natural colors. You'll need to slice items about 1 cm thick and turn them daily.
While it takes longer than sun drying, you'll get better results with delicate items. Place your drying trays well off the ground and use water-filled pedestals to deter insects.
Both methods require your food to retain 15-20% moisture content to prevent microbial growth, but shade drying gives you more control over the preservation of essential nutrients.
Indoor Drying With Heat
Indoor heat drying offers reliable alternatives to outdoor methods, especially when weather conditions aren't ideal for preserving food with sage.
You'll find multiple approaches to indoor drying: oven drying, microwaving, and using food dehydrators or convection ovens. If you're using a regular oven, keep the door slightly ajar to allow moisture to escape. While this method takes longer than a dehydrator, it's effective for drying sage and creating herb-infused preserves like fruit leathers or meat jerkies.
For quick results, you can microwave sage between paper towels, turning every 30 seconds for up to 4 minutes. You'll need to replace the towels when they become too moist. The herbs are ready when they're crisp and break easily.
If you prefer a gentler approach, you can enhance air-drying by placing sage bundles in a warm, well-ventilated area between 68 and 90°F. Keep them away from direct sunlight to protect their essential oils.
While this method takes up to two weeks, it's energy-efficient. For faster results, consider using a food dehydrator or convection oven, as their controlled heat and airflow markedly speed up the process.
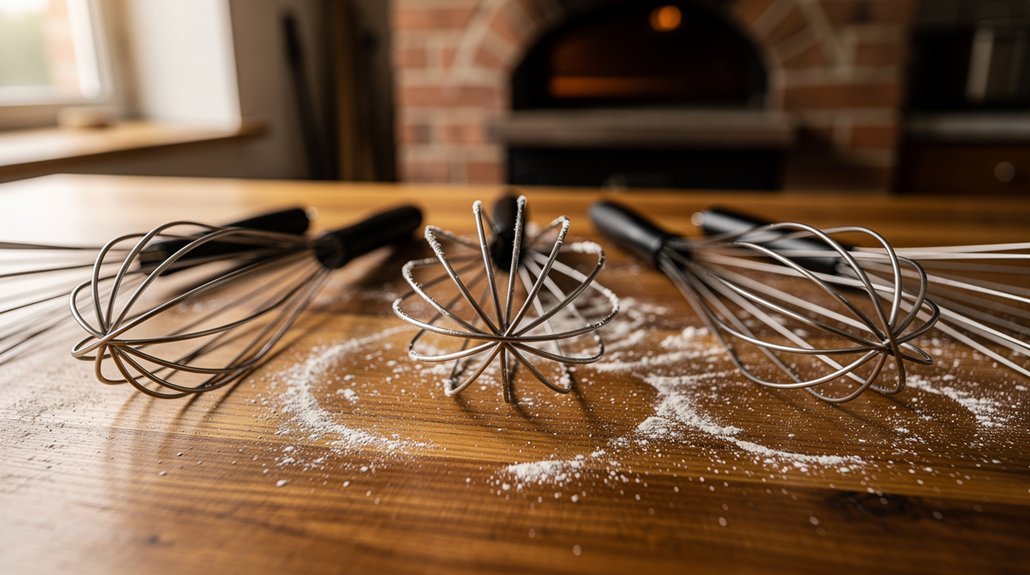
Salt Storage Techniques
When preserving food with salt, you'll want to create alternating layers of coarse salt and your ingredients, ensuring each layer is packed tightly to minimize air pockets.
You'll find that kosher or sea salt works best for this method, as their larger grains provide better moisture control and more even distribution throughout your preserved items.
Your salt-preserved foods need consistently cool temperatures between 32-40°F and humidity levels below 70% for best long-term storage, making a dedicated curing chamber or refrigerator an ideal storage solution.
Layering With Coarse Salt
The ancient art of salt layering remains one of the most effective methods for preserving food. You'll need high-quality, non-iodized salt like kosher or sea salt to begin the process. Before you start, verify your work surface and equipment are thoroughly sanitized, and cut your food into manageable pieces for even preservation.
To properly layer with coarse salt, you'll start by placing a generous salt base in your container. Add your food items in a single layer, then cover them completely with salt. Continue this layering process until you've used all your ingredients, and consider adding weights to keep everything properly submerged.
Essential steps for successful salt layering:
- Maintain storage temperatures between 32-40°F (0-4°C) with humidity below 70%
- Monitor for signs of spoilage throughout the curing process
- Use a salt-to-food ratio that guarantees complete coverage
- Allow adequate time for the salt to draw out moisture through osmosis
You'll know your preservation is successful when the food becomes firmer and develops a more concentrated flavor.
When stored properly, your salt-preserved foods can last for months or even years, making this ancient technique just as valuable today as it was centuries ago.
Proper Salt Storage Conditions
Successful salt preservation starts with proper storage of your salt supply. You'll need to store your salt in a cool, dry location away from your kitchen, where steam and moisture can compromise its quality. Choose a dark, remote area with stable temperatures, and make certain it's protected from direct sunlight.
For storage containers, you'll want to use airtight vessels that prevent moisture from getting in. Quart-size canning jars with plastic lids or 5-pound plastic containers work well for this purpose. Don't use oxygen absorbers, as they're unnecessary for salt storage.
When you're packaging salt, make sure your containers are completely clean and free from any residue. If you're storing salt long-term, it's best to buy in bulk and repackage into smaller containers for easier management.
Pure salt has an indefinite shelf life when stored correctly, but remember that iodized salt has a shorter shelf life due to its additives. Since salt is hygroscopic and can absorb both moisture and odors, you'll need to keep it away from strong-smelling foods and check regularly for signs of clumping.
Store your containers in multiple smaller units rather than one large container for practical handling.
Microbial Properties of Sage
Numerous scientific studies have confirmed sage's powerful antimicrobial properties against both bacteria and fungi. You'll find that sage essential oils and extracts effectively combat common food-borne pathogens like E. coli, Salmonella, and Staphylococcus aureus.
The herb's potency isn't limited to bacteria – it's equally effective against problematic fungi, particularly Candida species.
The secret behind sage's antimicrobial power lies in its active compounds:
- Thujone, which serves as the primary antibacterial agent
- Camphor, contributing to both antifungal and antibacterial properties
- 1,8-cineole, enhancing the overall antimicrobial effectiveness
- Carvacrol, working synergistically with other compounds for broad-spectrum activity
When you're looking to preserve food naturally, sage can be a powerful ally. Its extracts can inhibit microbial growth in various food products, including meat, fish, dairy, and vegetables.
What's particularly impressive is sage's ability to eliminate multi-drug resistant bacteria at specific concentrations – for instance, it can inhibit S. aureus at 18.75 mg/mL and E. coli at 26.56 mg/mL, making it a valuable natural preservative option.
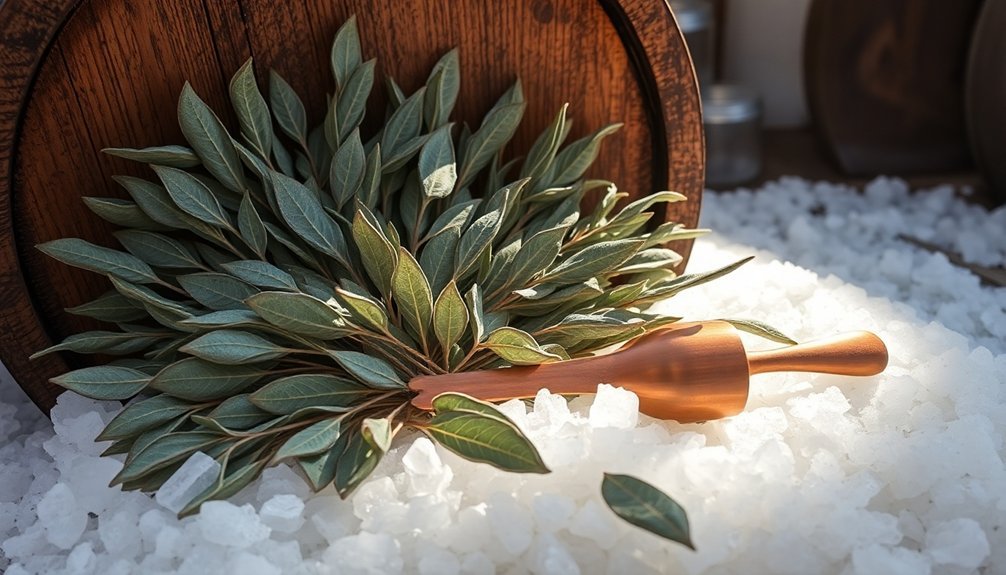
Harvesting for Optimal Preservation

Proper harvesting techniques can make or break your sage preservation efforts.
You'll want to collect your sage leaves in the morning once the dew has dried, but before the day's heat sets in. The best time is before the plant flowers, as flowering can diminish the herb's flavor and aromatic properties.
For the cleanest cuts, you'll need sharp scissors, pruners, or a knife. Cut stems about four to five inches long, focusing on new, green growth while avoiding woody portions.
If you're dealing with perennial sage, don't remove more than one-third of the plant. For annuals, you can harvest the entire plant just before flowering occurs.
Once you've harvested your sage, immediately rinse the leaves in cold water and pat them dry.
You'll need to act quickly to preserve the herb's potency – either prepare it for drying by bundling stems together, or get ready to freeze it.
If you're planning short-term storage, wrap fresh leaves in paper towels and refrigerate them.
Don't forget to label your containers with the harvest date to track freshness.
Historical Preservation Practices
You'll find roots of sage preservation in Middle Eastern cultures, where the herb was dried alongside other foods in the sun and wind to extend its shelf life.
The Romans later expanded these methods by introducing still houses, which let them dry sage and other herbs in regions with limited sunlight.
Medieval Europeans further refined the still house concept by adding controlled heat sources and improved ventilation, making sage preservation more reliable year-round.
Early Middle Eastern Methods
Middle Eastern civilizations set out to master food preservation as far back as 12,000 B.C., developing techniques that would shape human history. They discovered that reducing moisture through sun-drying could prevent food spoilage, while salting and fermentation created entirely new food products that would last for months.
You'll find that these ancient methods weren't just about survival – they revolutionized trade and enabled the growth of permanent settlements.
The ingenuity of Middle Eastern preservationists didn't stop there. They created specialized storage solutions using clay pots and amphorae, often sealed with wax and natural resins to maintain freshness. When sunlight wasn't sufficient, they'd build "still houses" to dry foods using fire, demonstrating their adaptability to environmental challenges.
Here are the four primary preservation methods that defined early Middle Eastern food storage:
- Sun-drying fruits, vegetables, fish, and meat using natural wind and solar exposure
- Salt-curing meats and fish, often combined with smoking techniques
- Fermentation of various foods to create nutritious, long-lasting products
- Storage in sealed clay containers, utilizing cool, dark spaces to maintain ideal conditions
Roman Preservation Innovations
The Romans transformed food preservation into a sophisticated system that revolutionized their empire's ability to feed its vast population. You'll find their most significant contribution was the development of large-scale storage and preservation networks that combined multiple techniques to maintain food supplies throughout the year.
When you examine their methods, you'll notice they mastered the art of preservation through salting, smoking, and pickling. They'd store their preserved meats, fish, and vegetables in amphorae and barrels, while using extensive warehouse systems and cellars for bulk storage.
You'll see how they created innovative cooling systems by transporting ice and snow from mountains to their cellars, particularly for wealthy families who demanded fresh foods year-round.
The Romans also pioneered large-scale fish farming in artificial ponds, which you'd find both in coastal and inland areas. They'd dry fruits and vegetables systematically, and they were especially skilled at preserving exotic imports from distant provinces.
Their preservation techniques were so effective that they could transport delicacies like oysters and specialty hams across the empire while maintaining their quality through a combination of salting, cooling, and careful storage practices.
Medieval Still House Evolution
While Roman preservation methods laid the groundwork for organized food storage, medieval society developed a sophisticated hub of preservation activities known as the still room.
You'll find that these specialized spaces, managed by the lady of the house, served as multifunctional workshops where preservation techniques merged with pharmaceutical and household production.
In the still room, you'd discover various preservation methods being practiced simultaneously, from traditional salting and drying to more complex processes like distillation.
The space typically featured specialized equipment, including non-reactive bowls, stainless steel pans, and distillation apparatus, alongside dedicated stove rooms with slatted shelves for drying herbs and produce.
Key innovations that emerged from medieval still rooms include:
- Integration of preservation with medicine-making and household manufacturing
- Development of complex recipes combining multiple preservation techniques
- Systematic documentation of preservation methods in manuscript collections
- Training systems for passing knowledge to the next generation
As literacy rates increased and printing became widespread, still room knowledge spread beyond castle walls.
However, the rise of commercial manufacturing gradually reduced the still room's significance, though many of its preservation techniques remain relevant today.
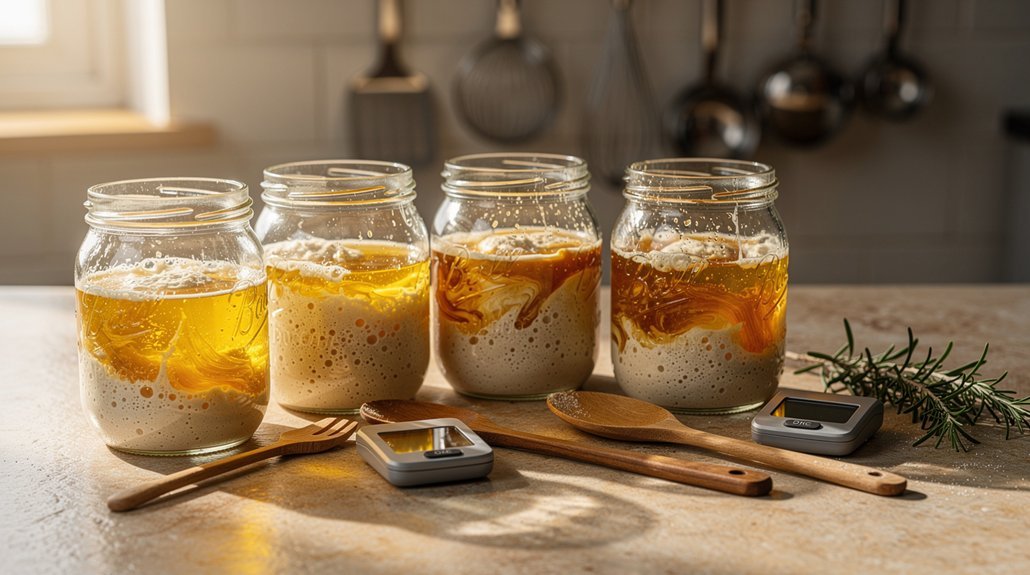
Modern Storage Solutions

Modern storage solutions have revolutionized how we preserve and protect our food supplies. You'll find that mylar bags paired with oxygen absorbers are now vital for storing dehydrated and freeze-dried foods, offering protection against moisture and contamination for decades. These modern materials have transformed long-term food preservation, making it more reliable than ever.
| Storage Method | Best For | Shelf Life |
|---|---|---|
| Mylar + O2 Absorbers | Dried goods, grains | 20-30 years |
| Canning Jars | High/low acid foods | 1-5 years |
| Decorative Containers | Daily use items | 3-6 months |
You'll want to choose your storage containers based on your preservation method. If you're canning, you'll need properly sterilized glass jars with secure seals. For everyday storage, functional containers that are microwave and dishwasher safe offer convenience and practicality. When storing dehydrated or freeze-dried foods, don't skip the oxygen absorbers in your mylar bags – they're essential for maintaining food quality. Remember that each storage solution serves a specific purpose, and matching the right container to your preservation method will greatly impact your food's longevity.
Culinary Applications Through Time
Beyond storage methods, sage's culinary journey spans thousands of years, making it a cornerstone of both preservation and flavor enhancement across civilizations.
You'll find its roots deeply embedded in ancient Egyptian, Greek, and Roman cultures, where it served both practical and ceremonial purposes. The Romans particularly valued sage, elevating it to one of their most essential herbs for both cooking and medicine.
In traditional cuisine, you'll discover sage's versatility across multiple preparation methods. You can blend it into butter for a rich, aromatic spread, or add it to boiling broths for depth of flavor. It's particularly effective when paired with poultry, pork, and game meats.
Here are sage's most significant historical culinary applications:
- Roman meat preservation techniques utilizing sage's natural antimicrobial properties
- Traditional European poultry seasoning, especially with turkey and chicken
- Mediterranean-style infused oils and butter preparations
- Ancient medicinal wine and spirit infusions for digestive health
Today, you'll still find sage enhancing dishes worldwide, from Yugoslav kitchens to Chinese culinary traditions, proving its enduring value in global gastronomy.
Its ability to complement everything from roasted vegetables to seared meats makes it an invaluable addition to your culinary arsenal.
Cultural Significance and Uses

Throughout history, sage has held profound cultural significance, particularly within Native American traditions where it's revered as both a medicinal and spiritual herb.
You'll find its sacred use deeply embedded in ceremonies like the Lakota Sun Dance, where it's crafted into bracelets, and in Cheyenne rituals including the Standing Against Thunder ceremonies.
The practice of smudging isn't simply about burning sage – it's a sacred spiritual ritual that requires specific protocols.
When you examine traditional harvesting methods, you'll notice stark differences from commercial practices. Native Americans hand-pick sage with prayer and thanksgiving, while commercial harvesting often employs aggressive methods using pruning shears or hacksaws.
You should know that sage's significance extends beyond Native American cultures.
In ancient Rome and Greece, people valued it for both culinary and health purposes, while Chinese traders would exchange four pounds of their prized tea for just one pound of French sage.
Despite its widespread appreciation, the plant faces challenges today from illegal harvesting, with significant seizures occurring in places like California's North Etiwanda Preserve, where authorities confiscated over 400 pounds of illegally harvested sage in 2018.
Climate Effects on Preservation
Climate change poses significant challenges to traditional food preservation methods, including those using sage. As temperatures rise and weather patterns become more unpredictable, you'll find that traditional preservation techniques may become less effective. The changing climate conditions can affect both the potency of sage as a preservative and the overall food safety of preserved items.
When preserving food with sage in today's changing climate, you'll need to take into account these critical factors:
- Higher temperatures can accelerate bacterial growth, potentially overwhelming sage's natural antimicrobial properties.
- Increased humidity levels may reduce the effectiveness of sage's drying and preservation capabilities.
- Changes in atmospheric CO2 can alter sage's chemical composition, potentially affecting its preservative qualities.
- Extreme weather events can disrupt proper storage conditions, compromising sage-preserved foods.
You'll need to adapt your preservation techniques as climate change continues to impact food safety. Modern preservation methods, combined with traditional sage techniques, may offer better protection against climate-related challenges.
Consider using temperature-controlled storage when possible, as this can help maintain sage's preservative properties despite external climate fluctuations. Remember that proper monitoring and storage become increasingly important as environmental conditions become less predictable.
Year Round Storage Methods

Storing sage year-round calls for different preservation methods depending on your timeframe and needs. For short-term storage, you'll want to keep fresh sage in your refrigerator, where it'll last up to five days when stored in a sealed container or plastic bag.
Keep it away from strong-smelling foods to prevent odor absorption.
If you're looking for long-term storage, freezing offers excellent results. You can freeze whole leaves in freezer bags, or create sage-infused olive oil cubes by pureeing the herb with oil and freezing in ice cube trays.
Make sure to label and date your frozen sage for easy tracking.
Drying presents another reliable preservation method. You can hang sage stems upside down in a dark place or dry the leaves in your oven at its lowest setting for about an hour.
Once dried, store the sage in an airtight container. You'll find that dried sage has a more concentrated flavor, making it perfect for stuffing, pork dishes, and poultry.
While less common, you might also consider preserving sage in olive oil without freezing, or experimenting with pickling for unique flavor profiles.
Frequently Asked Questions
Can Sage Be Preserved in Honey, and How Long Will It Last?
You can preserve sage in honey by infusing fresh or dried herbs in raw honey for 2-4 weeks. When properly stored in an airtight container at 64-75°F, your sage-infused honey will last up to two years.
Does Preserved Sage Maintain Its Medicinal Properties Over Time?
Yes, you'll find that properly preserved sage maintains its medicinal properties for up to a year. When stored correctly, it retains its antioxidants, cognitive benefits, and health-supporting compounds with minimal degradation.
Can Sage Be Preserved Through Freeze-Drying at Home?
Yes, you can freeze-dry sage at home if you've got a freeze dryer. You'll need to properly prepare the leaves, monitor the drying process, and store them correctly in vacuum-sealed containers.
Are There Any Toxic Reactions When Preserving Sage With Different Metals?
You'll want to avoid storing sage in reactive metals like aluminum or copper, as they can cause toxic reactions. Instead, use glass, ceramic, or stainless steel containers for safe preservation.
How Do Different Sage Varieties Respond to Various Preservation Methods?
You'll find that garden sage dries well, while purple sage keeps its color when frozen. Greek sage maintains flavor best when refrigerated, and white sage's hardy leaves are ideal for long-term drying.
In Summary
You'll find sage preservation remains relevant even in modern times. Whether you're drying herbs in bundles, combining them with salt, or incorporating them into your favorite dishes, this ancient spice method has stood the test of time. Your knowledge of sage's antimicrobial properties and traditional storage techniques can help you preserve food naturally, just as our ancestors did centuries ago.

Leave a Reply