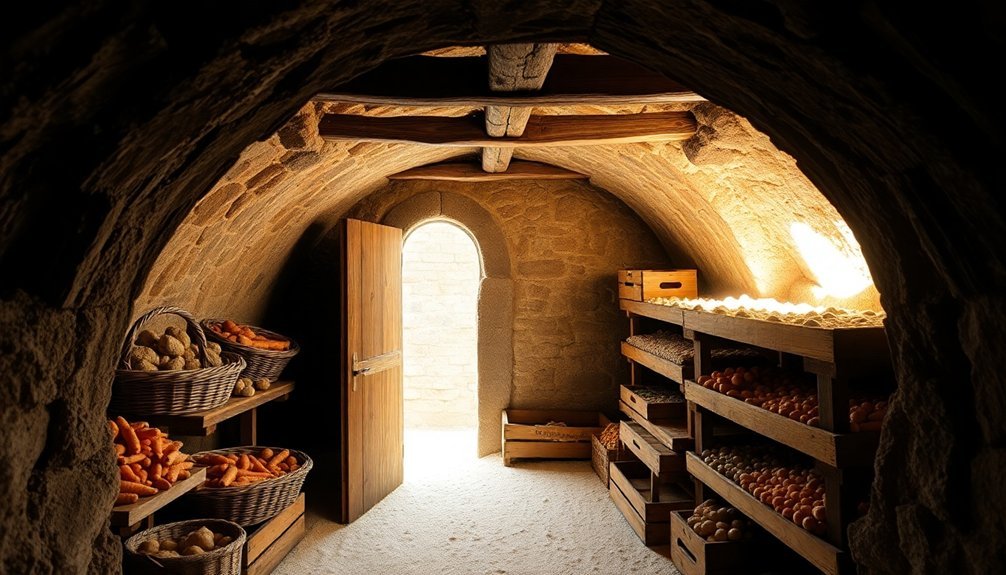
You can store root vegetables underground using seven effective methods. Build a traditional root cellar with proper insulation and ventilation, create an earth clamp with straw and soil layers, or use direct ground storage with protective mulch. Consider digging storage pits lined with gravel for drainage, or try simple backyard trenches 6-10 inches deep. For smaller harvests, bury containers filled with damp sand, or implement seasonal protection by covering crops with thick layers of straw and organic materials. Each method offers unique benefits for keeping your vegetables fresh through winter, and there's much more to discover about these time-tested preservation techniques.
Traditional Root Cellar Construction
For centuries, root cellars have provided an efficient way to store vegetables throughout the year. If you're planning to build one, you'll need to take into account both location and basic construction requirements to guarantee ideal storage conditions.
You'll want to start by selecting an ideal location, preferably underground or into the side of a hill for natural insulation. A space of 4 feet by 6 feet will serve most families well, and you can position it under your kitchen floor, in the basement, or in your garage for convenient access. The temperature should be maintained at 32-40 degrees Fahrenheit for optimal food preservation.
For construction, you'll need to begin with poured concrete footers to prevent structural shifting. The walls can be built using concrete, cinder blocks, or even alternative materials like earthbags or old tires.
You'll want to include a dirt floor to help maintain proper humidity levels. During construction, don't forget to incorporate proper insulation – you can use rigid foam between walls during the build, or add straw bales and insulating blankets later.
Remember to install both intake and outlet vents for proper air circulation, positioning the intake vents low and the outlet vents high for ideal airflow.
Earth Clamp Storage Methods
You'll need to start your earth clamp by creating a firm, well-draining foundation using straw and sand layers to keep your root vegetables dry throughout storage.
Consider adding a shallow drainage ditch around the perimeter to protect against water accumulation during wet weather.
Building sturdy clamp walls requires careful layering of vegetables between straw or leaves, stacking larger items at the bottom and working upward to form a stable structure no higher than a meter.
To shield your stored vegetables from harsh winter conditions, you'll cover the entire mound with thick layers of straw and soil, leaving a ventilation chimney at the top to release excess heat.
Preparing The Ground Layer
Successfully preparing the ground layer stands as the vital first step in earth clamp storage. You'll need to select a location that's well-drained and protected from extreme weather conditions to prevent your vegetables from becoming waterlogged. Choose an area that's naturally elevated or has good drainage, avoiding any spots where water tends to collect or flooding occurs.
Once you've selected your site, you'll want to lay down your first insulating layer. Start by spreading a thick bed of straw or dry leaves directly on the ground. This base layer serves two significant purposes: it prevents direct contact between your vegetables and the soil while providing essential insulation from ground moisture. Creating parallel drainage trenches on either side of your chosen site will help manage excess water effectively.
Make sure you're using enough material to create a substantial barrier – about 4-6 inches of compressed straw or leaves should do the job.
You'll need to take into account the size of your vegetable harvest when determining how large to make this ground layer. Remember, it's better to create a longer rather than wider clamp to maintain proper temperature control.
The ground layer should be slightly larger than your planned vegetable storage area to guarantee adequate coverage and insulation.
Building Effective Clamp Walls
After establishing a solid ground layer, constructing the clamp walls requires careful attention to both drainage and insulation. You'll need to dig two parallel trenches approximately 15-20 feet long, raising the soil between them to create an elevated platform for your vegetables. This elevation is essential as it prevents groundwater from seeping in and protects against frost damage.
As you build up the walls, you'll need to create alternating layers of straw or leaves and vegetables. Start with a protective base layer of straw, then add your root vegetables, making sure they're slightly dry but not completely dehydrated. Cover each vegetable layer thoroughly with straw before adding the next layer.
You'll want to maintain a pyramid-shaped cross-section that rises about one meter high. Your clamp walls should include a small vent at the top for minimal air circulation. The decomposing straw within the walls will generate enough warmth to protect against freezing, but in colder regions, you may need to add extra layers of insulation.
Remember to make your walls thick enough to maintain warmth but not so massive that they cause vegetable rot.
Protecting From Winter Elements
During harsh winter months, protecting root vegetables in earth clamps requires a multi-layered defense system against freezing temperatures and excess moisture. You'll need to create a well-insulated environment using organic materials like straw or leaves to maintain temperatures around 40°F (4°C).
Start by laying down a protective base layer of straw on the ground before placing your vegetables. As you stack the produce, alternate between layers of vegetables and insulating materials. This layering technique helps prevent direct contact between the vegetables while maintaining proper airflow.
Cover the entire stack with a thick layer of straw or leaves, followed by a soil layer for additional protection. You'll want to guarantee proper drainage and ventilation to prevent moisture buildup and rot.
Consider using baskets or crates within your clamp to make retrieval easier and allow for regular inspections. For extra protection against winter elements, you can add a waterproof tarp over the soil layer.
If you're in an exceptionally cold region, supplement your insulation with materials like old rugs or styrofoam boxes to maintain consistent temperatures just above freezing.
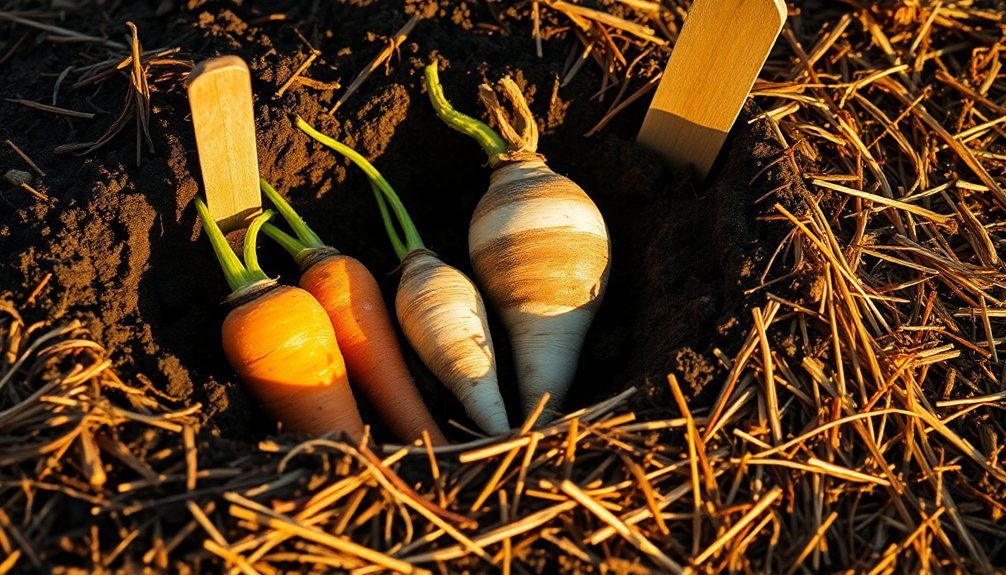
Direct Ground Storage
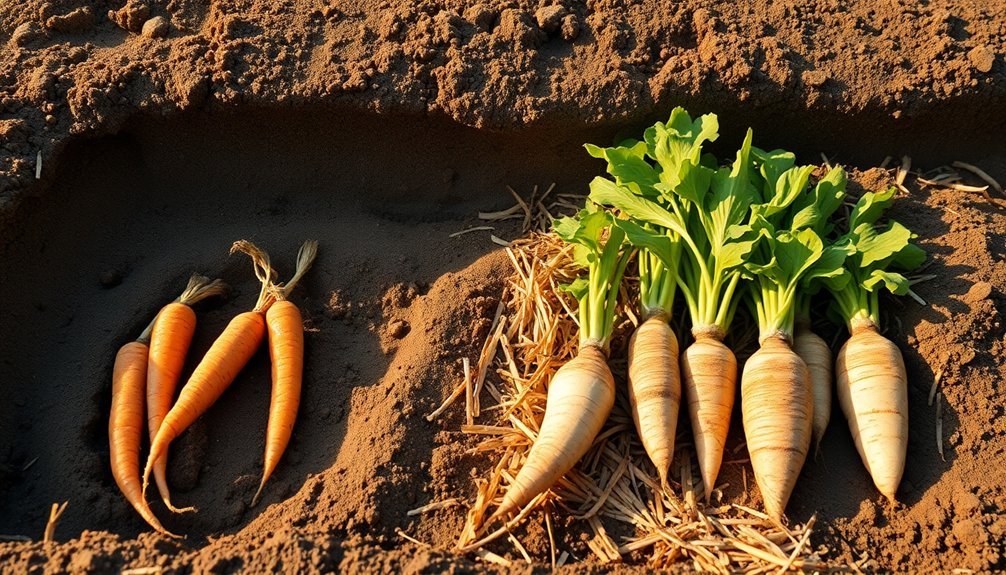
In the ground, root vegetables can remain viable throughout winter if you provide proper protection and maintain suitable conditions. You'll need to assess your local climate first – if you experience mild winters without solid ground freeze, you can safely store your vegetables underground with proper insulation.
| Storage Method | Requirements | Benefits |
|---|---|---|
| Straw Covering | 6-12" layer | Temperature stability |
| Soil Layer | Well-drained | Natural preservation |
| Raised Beds | Good drainage | Rodent protection |
To implement direct ground storage, start by checking your vegetables for damage – use any damaged ones immediately. Add a thick layer of straw or leaves (6-12 inches) directly over your vegetable rows. This insulation helps maintain stable soil temperatures and protects against frost damage. If rodents are a concern in your area, consider using metal bins or raised boxes.
You'll need to monitor your stored vegetables regularly. Check for signs of rot, adjust moisture levels as needed, and guarantee proper ventilation to prevent ethylene gas buildup. If temperatures drop severely, you may need to add extra insulation. Remember that waterlogged soil can lead to rotting, so proper drainage is essential for successful underground storage.
Building Underground Storage Pits
While direct ground storage works well for smaller harvests, building a dedicated underground storage pit offers a more structured and reliable solution for larger quantities of root vegetables.
You'll need to dig a pit 1-2 meters deep, using durable materials like stone, concrete, or wood for the walls. The surrounding earth acts as natural insulation, helping maintain ideal temperatures between 32-40°F.
To guarantee successful storage, you'll want to create proper drainage and ventilation systems. Install closable exhaust pipes or windows to regulate temperature and humidity, and protect the structure with wire mesh to keep rodents out.
Layer your vegetables carefully on a bed of sand, straw, or leaves, then cover them with additional leaves and soil to maintain the required 95% humidity level.
You'll need to monitor your storage pit regularly. Check for rotting vegetables, maintain moisture levels by watering when necessary, and adjust ventilation based on seasonal changes.
Use cloth or jute sacks to protect against pests and diseases, and don't forget to inspect the pit's structural integrity periodically to prevent collapse and guarantee your vegetables stay fresh throughout the storage period.
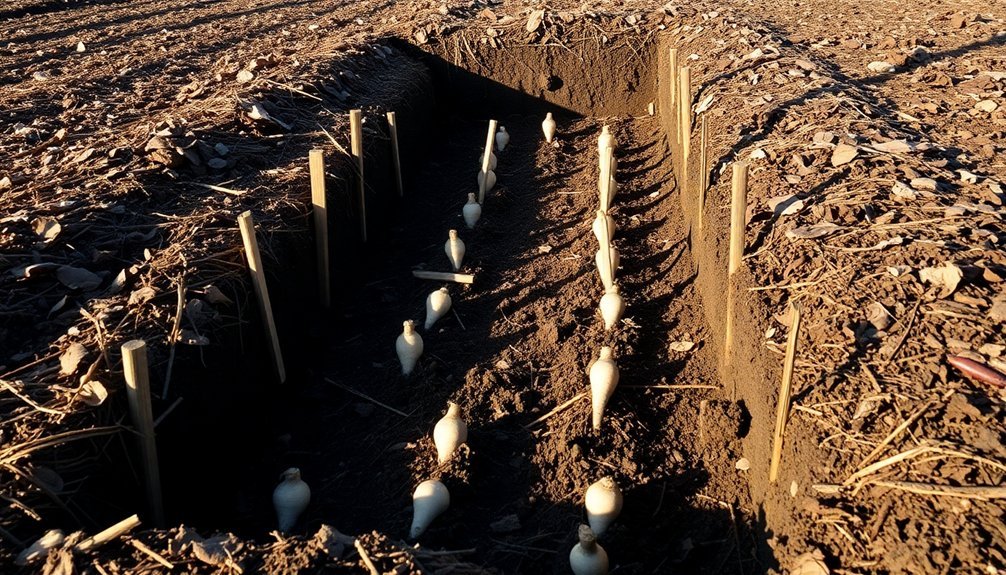
Backyard Trench Storage Systems
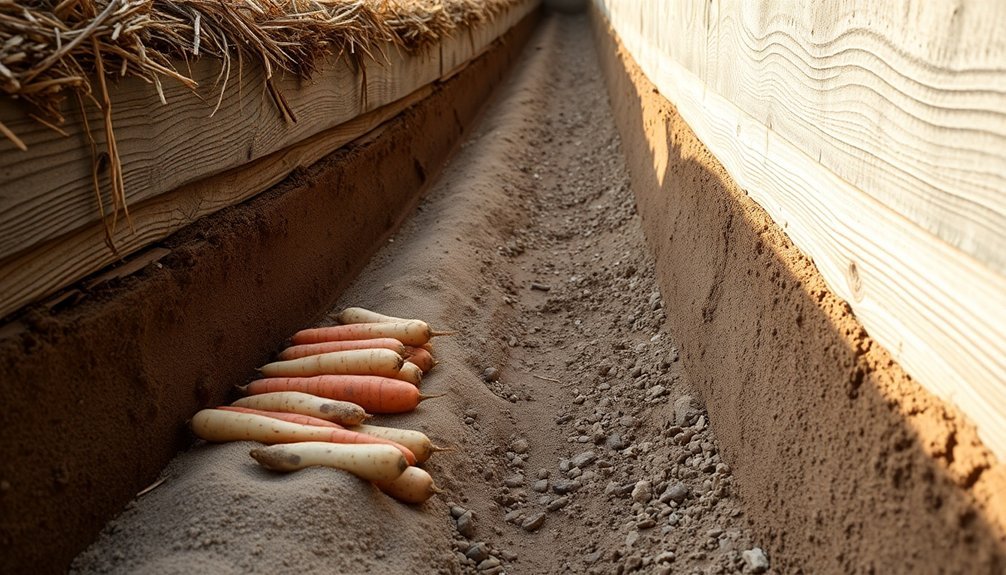
Backyard trench storage systems offer a simpler alternative to full-scale underground storage pits.
You'll need to dig a trench 6 to 10 inches deep and 18 to 24 inches wide, ensuring good drainage or adding gravel and sand at the bottom if necessary. Mark the ends with stakes so you can find the trench after snowfall.
When storing your root vegetables, cut their tops down to about 1 inch and place them close together in the trench, making sure they don't touch each other to prevent decay.
Create a protective layer by adding straw or leaves around the vegetables. You'll want to establish horizontal ventilation tunnels if you're covering the trench with soil.
Cover everything with a thick layer of straw or leaves, then add 6 to 10 inches of compacted soil on top. If you're using a straw chimney for ventilation, secure it with rocks or boards and shield it from rain.
You can add organic blankets or extra soil layers in colder climates. When it's time to harvest, simply dig down into the marked area, take what you need, and carefully re-cover the trench.
Container and Sand Storage
Several effective container options exist for storing root vegetables when an underground trench isn't practical. You'll need to select a well-ventilated container, like wooden crates, cardboard boxes, or plastic bins with open lids. Metal containers offer extra protection against rodents, while ensuring proper airflow prevents unwanted rot.
| Storage Item | Best Practice |
|---|---|
| Containers | Use wooden, cardboard, or ventilated plastic; leave lids partially open |
| Packing Material | Keep sand, sawdust, or vermiculite slightly damp but not wet |
| Temperature | Maintain 32-40°F in a dark, cool environment |
| Humidity | Aim for 95% humidity with good air circulation |
When packing your vegetables, start by adding a layer of damp sand or alternative material at the container's bottom. Place your root vegetables in a single layer, ensuring they don't touch each other. Continue alternating layers of vegetables and packing material until your container is about two-thirds full. You'll want to store these containers in an unheated cellar, basement, or garage where temperatures remain consistently cool. Remember to check periodically for any signs of rot and remove affected vegetables promptly.
Seasonal Root Protection Techniques
Protection of root vegetables during harsh seasons requires strategic in-ground storage techniques.
You'll need to start by selecting well-drained soil and covering it with a 15cm layer of straw, cardboard, or bracken. If drainage is a concern, dig a trench around your storage area to prevent waterlogging.
Wait for the ground to cool before adding insulation materials. You'll want to apply a substantial layer – about 30cm for beetroot – of hay, straw, or similar organic materials. Secure everything with netting or horticultural fleece to protect against wind and frost damage.
Don't use this method if you're dealing with rodent problems in your area.
Different root vegetables have specific needs. You can leave hardy vegetables like salsify and scorzonera in the ground until March, while beetroot needs that thick 30cm straw covering.
Swedes and turnips can stay in the soil but might need indoor storage in colder regions. Remember to remove top growth to prevent rotting.
Monitor your stored vegetables regularly. Keep the area well-ventilated and check for signs of rot or damage monthly.
You'll want to maintain consistent cool temperatures without letting the vegetables freeze, and remove any affected roots promptly.
Frequently Asked Questions
How Long Can Root Vegetables Stay Fresh in Underground Storage?
You'll find most root vegetables stay fresh for 3-8 months underground, with potatoes lasting longest at 8 months, while carrots and parsnips keep for 6 months, and beets last about 4 months.
What's the Minimum Depth Needed for Underground Vegetable Storage?
You'll need to dig at least 36-48 inches below the frost line for minimum storage depth. If you're in a warmer climate, consider going deeper to maintain cool temperatures for your vegetables.
Can Multiple Types of Root Vegetables Be Stored Together Underground?
Yes, you can store different root vegetables together underground, but you'll need to separate them to prevent cross-contamination and flavor transfer. Keep potatoes, onions, garlic, and ginger stored separately for best results.
Which Root Vegetables Are Not Suitable for Underground Storage?
You shouldn't store potatoes, carrots, beets, turnips, and celeriac underground as they're sensitive to freezing, waterlogged soil, and rodent damage. They'll do better in controlled indoor storage conditions instead.
How Do You Monitor Humidity Levels in Underground Storage Systems?
You'll need a hygrometer to measure humidity levels regularly. Add water pans if it's too dry, and use proper ventilation to control moisture. Check often and adjust using moisture-absorbing materials like sawdust when needed.
In Summary
You'll find these time-tested storage methods invaluable for preserving your root vegetables throughout the winter months. Whether you've built a traditional root cellar or opted for simpler in-ground solutions, proper temperature and humidity control remain essential. Remember to check your stored vegetables regularly and remove any that show signs of spoilage. With these techniques, you're well-equipped to maintain fresh, flavorful produce long after harvest.


Leave a Reply