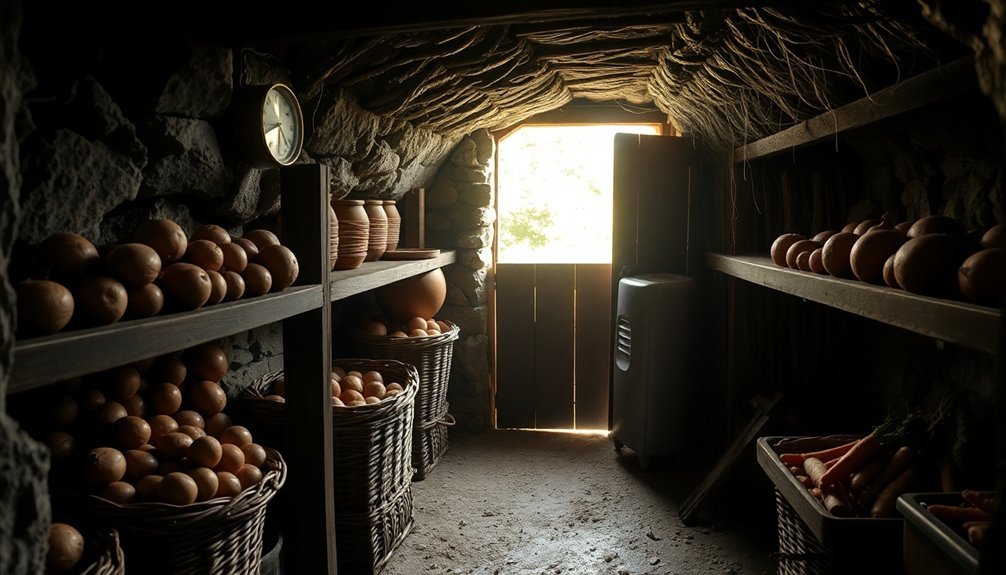
To manage root cellar moisture effectively, you'll need to maintain 85-95% relative humidity through simple solutions. Install two vents – one low for intake and one high for exhaust – to create natural airflow. Use dirt floors or gravel over packed earth for ideal moisture retention, and place shallow water pans to boost humidity when needed. Keep produce on elevated shelves with 2-4 inch gaps from walls, and monitor conditions with a hygrometer. Check your storage 2-3 times weekly for spoilage, and rotate items regularly. These foundational steps will set you up for deeper moisture management success.
Natural Humidity Control Methods
In your root cellar, effective humidity control starts with choosing the right floor materials. Natural dirt floors serve as an excellent foundation, as they retain moisture better than concrete or stone alternatives.
You'll find that spreading gravel over packed earth creates an ideal moisture-management system, allowing you to maintain proper humidity levels while preventing waterlogging. The ideal relative humidity range should stay between 85-95% for optimal produce storage.
To boost humidity naturally, you can sprinkle water directly onto the gravel floor. This method works particularly well during fall storage when your produce needs extra moisture.
For targeted humidity control, place pans of water on the floor, which will gradually evaporate and increase air moisture. If you're storing vegetables, consider packing them in damp sawdust, sand, or moss to reduce surface evaporation and maintain consistent moisture levels.
Don't forget to pair these natural moisture methods with proper ventilation. While you want to maintain humidity, you'll need air circulation to prevent condensation and remove unwanted odors.
Using adjustable vents or small fans helps you strike the right balance between moisture retention and air movement, ensuring your stored produce stays fresh longer.
The Perfect Moisture Balance
You'll need to maintain humidity levels between 80-95% in your root cellar for ideal vegetable storage, which you can monitor using a simple hygrometer.
To achieve this perfect balance, start by installing proper ventilation with both floor and ceiling vents, while using water-filled pans or damp burlap bags to add moisture when needed. Dirt floors naturally maintain higher humidity levels compared to concrete or stone surfaces.
If you notice excess moisture forming, add moisture-absorbing materials like charcoal or rice, and guarantee good air circulation between storage containers to prevent water from collecting in any one area.
Optimizing Humidity Controls
Maintaining the perfect moisture balance in your root cellar requires careful attention to humidity levels between 85-95%.
You'll need a hygrometer to monitor conditions consistently, as levels below 85% can cause vegetables to wither while those above 95% promote unwanted mold growth.
Install a dirt floor with gravel overlay to help maintain natural moisture while keeping your feet dry during storage activities. Root cellars traditionally built into hillsides or underground provide natural insulation for optimal storage conditions.
To enhance your humidity controls, implement these essential practices:
- Place damp burlap bags or water-filled pans strategically around your root cellar, especially during drier fall months.
- Pack vegetables in moisture-retaining materials like damp sawdust, sand, or moss to reduce surface evaporation.
- Install proper ventilation systems to distribute humidity evenly and remove ethylene gas.
- Monitor and adjust conditions regularly using both a thermometer and hygrometer.
You'll need to make seasonal adjustments to maintain ideal moisture levels.
Keep air circulating between storage containers and remove any spoiled produce promptly to prevent contamination.
Battling Excess Water
Root cellars' biggest enemy is excess water, which can quickly transform an ideal storage environment into a moldy, produce-ruining disaster.
You'll need to identify and address multiple moisture sources to maintain the perfect balance for your stored goods.
Start by tackling wall and floor issues. Apply waterproof coatings like DryLok to your walls and install plastic sheeting over gravel floors. If you're dealing with exterior drainage problems, consider installing French drains along the underground walls.
Don't forget to properly insulate and backfill around your root cellar to prevent moisture infiltration.
To combat condensation, you'll want to install two vents – one high and one low – creating natural airflow that helps manage moisture levels.
Keep your cellar's temperature steady between 32-40°F to minimize condensation formation. If humidity becomes problematic, don't hesitate to use a dehumidifier.
Monitor your space regularly using thermometers and hygrometers. When you spot standing water, address it immediately.
You can also place moisture-absorbing materials like charcoal or rice throughout your cellar.
Remember to organize your produce with adequate spacing between items to guarantee proper air circulation and prevent moisture buildup in any one area.
Ventilation System Design

For ideal storage conditions, a well-designed ventilation system forms the backbone of any successful root cellar. You'll need two essential vents: an inlet vent near the floor for cool air intake and an outlet vent near the ceiling for warm air escape.
Place these 3-4 inch diameter vents on opposite walls to maximize air circulation and guarantee efficient removal of warm, humid air. Your ventilation system will help regulate temperature, manage ethylene gas, and control moisture levels.
To maintain optimal conditions, you'll want to seal your vents during winter using packed cloth, expanding foam, or rubber gaskets. During summer, keep them open to promote proper air flow.
- Install the intake vent as low as possible to draw in cool air from outside
- Position the outlet vent high on the opposite wall to allow warm air and ethylene gas to escape
- Make certain both vents are properly sealed when closed to prevent unwanted air infiltration
- Check vents regularly for blockages or debris that could impair their function
This setup will extend your produce's shelf life, prevent mold growth, and maintain ideal humidity levels while preserving the flavor of your stored fruits and vegetables.
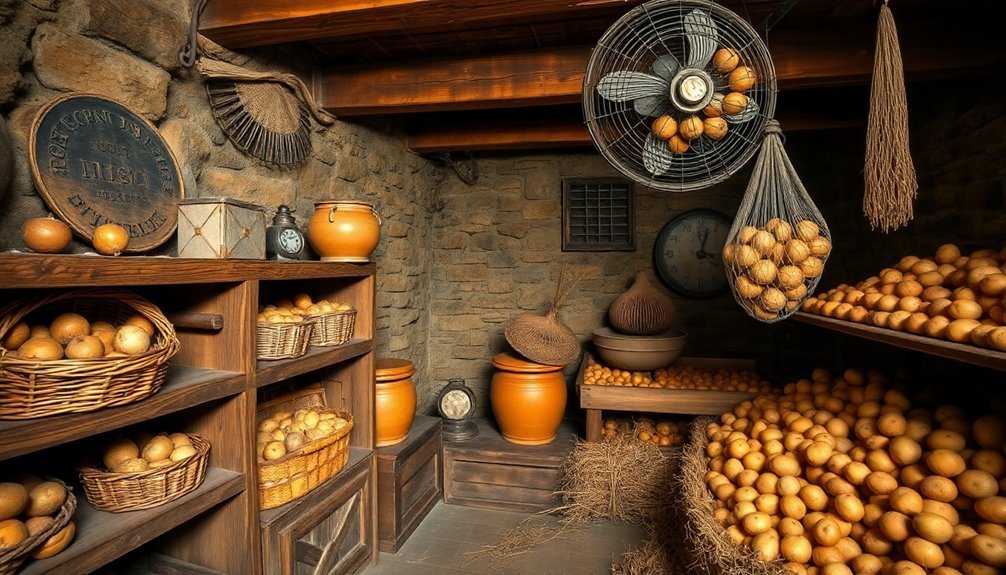
Shelving and Storage Setup
You'll need to maintain proper airflow by leaving a 4-inch gap between your shelving units and the walls, which prevents moisture from getting trapped and damaging your stored produce.
Your storage setup should include multiple levels to take advantage of natural temperature zones, with cooler-loving produce placed lower and warmer-preferring items stored higher.
When installing bins and drawers, make certain they're spaced apart enough to allow air circulation between units, preventing humid air from becoming stagnant and potentially causing spoilage.
Airflow Between Storage Units
Between your storage units, proper airflow is essential for maintaining the health of stored produce.
You'll want to position your shelves, bins, and containers in a way that allows air to freely circulate throughout the entire storage space. Make sure you're leaving adequate gaps between the walls and shelving units to create natural pathways for air movement, which helps prevent moisture buildup and mold growth.
When setting up your storage units, consider these critical airflow requirements:
- Elevate your storage crates at least 3-4 inches off the floor to allow cool air to flow underneath, creating better circulation throughout the entire unit.
- Space your shelving units several inches away from walls to create vertical air channels that work with your ventilation system.
- Use ventilated containers or bins with small holes or gaps to maintain proper air movement around individual produce items.
- Position ethylene-producing foods near vents or in separate, sealed containers to prevent their gases from affecting other produce.
Remember to regularly check that nothing's blocking the natural airflow patterns between your storage units.
If you're using plastic containers, opt for ones with ventilation holes to create those essential micro-climates while still maintaining proper air circulation.
Wall Clearance Requirements
Proper wall clearance plays a direct role in maintaining healthy root cellar conditions. When installing your shelving units, you'll need to maintain a 2-inch gap between the wall and shelves to guarantee adequate air circulation. This spacing prevents moisture from becoming trapped and reduces the risk of mold growth on both your stored items and the wall surface.
Keep your shelf depth to around 16 inches to maintain ideal airflow while guaranteeing easy access to your stored produce. You'll want to use scrap wood as bracing to prevent shelf sagging and maintain stability.
When positioning your shelves, consider the natural temperature variations between floor and ceiling levels to maximize storage efficiency for different types of produce.
Don't place your shelves directly against concrete or stone walls, as these materials can transfer excess moisture to your stored items. Instead, integrate your shelf placement with your ventilation system, guaranteeing that air can flow freely around all sides of your storage units.
Remember to position your storage bins with enough space between them to allow for proper air movement, and avoid overcrowding your shelves, which can lead to moisture buildup and accelerated spoilage.
Multi-Level Temperature Zones
Root cellars naturally develop three distinct temperature zones that you can leverage for excellent produce storage. By understanding these zones and designing your shelving accordingly, you'll create favorable conditions for different types of produce.
The warmest zone sits near the ceiling, while the coldest settles at floor level, letting you arrange storage based on each crop's specific needs.
To maximize your root cellar's natural temperature gradient, set up multi-level storage that takes advantage of these varying conditions. You'll want to install adjustable shelving using rot-resistant materials like white oak or treated plywood, ensuring proper ventilation through slated designs.
- Place cold-loving root vegetables like carrots and beets in bottom-level storage bins (32-40°F zone)
- Position cool-temperature crops like potatoes and cabbage on middle shelves (40-45°F zone)
- Store shorter-term vegetables like peppers and cucumbers on upper shelves (45-50°F zone)
- Leave space between shelving units to maintain proper air circulation
Monitor your storage zones regularly with a thermometer, adjusting shelf heights and produce placement as needed throughout the season. This systematic approach helps maintain excellent storage conditions while preventing produce spoilage.
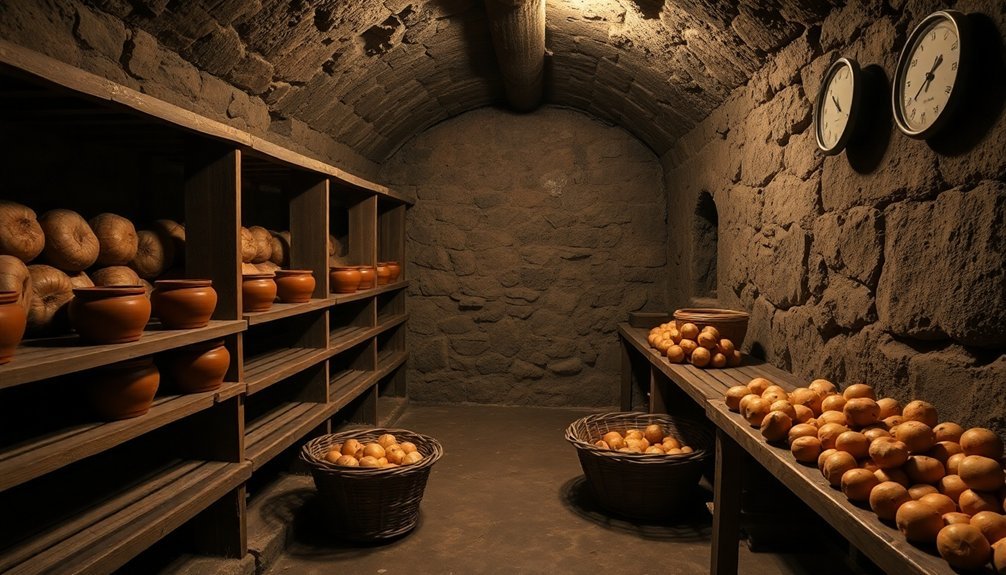
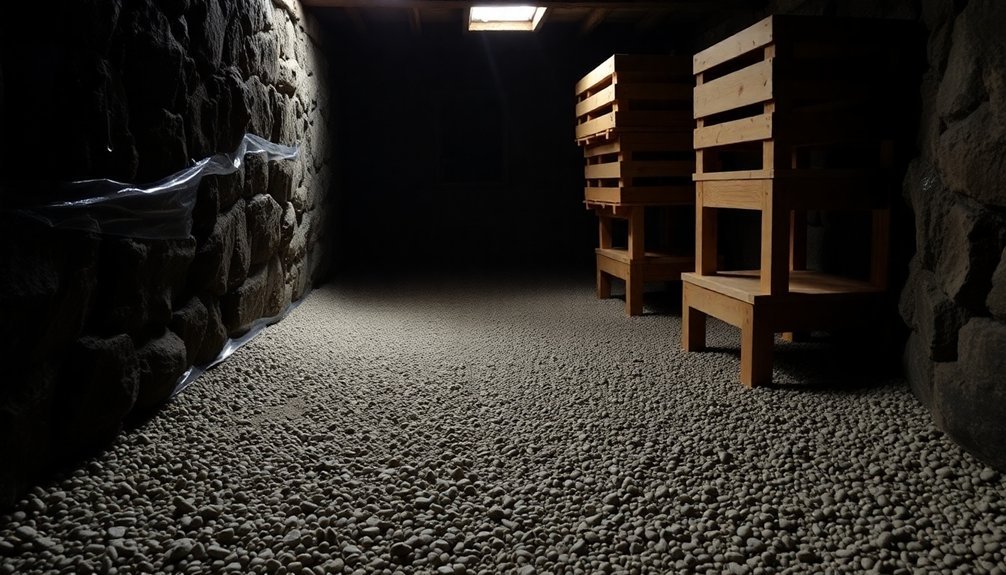
Root Cellar Floor Options
Selecting the right floor for your root cellar can greatly impact its overall performance and functionality. You'll need to take into account factors like moisture control, temperature regulation, and construction requirements when choosing between dirt, gravel, concrete, or insulated options.
If you're looking for a natural and cost-effective solution, dirt floors can help maintain higher humidity levels and benefit from the earth's natural temperature. However, you'll need to manage moisture carefully to prevent excessive dampness.
Gravel floors offer improved drainage by incorporating a 3-inch base layer and perforated drainpipe system, making them effective at preventing water from seeping upward.
For a more durable option, concrete floors provide stability and moisture resistance. You'll want to use a mix of 1 part cement, 2¼ parts sand, and 3 parts gravel for best strength.
To enhance your floor's performance, think about adding insulation and waterproofing elements. Install rigid foam boards on the exterior, apply DryLok to interior walls, and use plastic sheeting beneath the floor surface.
Don't forget to include French drains and proper rain gutters to manage groundwater and prevent moisture buildup around your cellar's exterior walls.
Seasonal Humidity Management
You'll need different moisture control strategies as seasons change, starting with spring's higher moisture levels that require dehumidifiers and proper ventilation to prevent excess dampness.
During winter, your focus should shift to maintaining adequate humidity while preventing freezing conditions, which you can achieve through careful temperature monitoring and insulation management.
Regardless of the season, you're aiming to keep humidity levels between 80-95% to protect your stored vegetables, using tools like hygrometers and adjusting ventilation as needed.
Spring Moisture Control Tips
Spring months present unique moisture challenges for root cellar management, as rising outdoor temperatures and seasonal rain can disrupt the delicate humidity balance inside.
You'll need to actively manage ventilation and moisture levels to protect your stored produce during this critical period. To maintain ideal conditions, focus on controlling airflow by opening vents and doors during cooler nighttime hours, then closing them in the morning to trap the cool air.
Use fans strategically to enhance circulation and prevent ethylene gas buildup, which can accelerate spoilage.
- Monitor humidity levels daily with a hygrometer, aiming for 80-95% relative humidity.
- Place moisture-absorbing materials like charcoal briquettes or silica gel in areas prone to excess dampness.
- Remove any spoiled produce immediately and clean affected areas with a vinegar solution.
- Adjust ventilation based on outdoor conditions, reducing airflow during wet weather.
If you notice humidity climbing too high, install a dehumidifier or increase your use of moisture-absorbing materials. Conversely, if conditions become too dry, add shallow water trays or damp wood shavings to boost humidity.
Remember to maintain proper spacing between stored items to guarantee adequate air circulation throughout your cellar.
Winter Humidity Maintenance Practices
Winter months demand careful attention to root cellar humidity levels, as cold temperatures and dry air can quickly deplete essential moisture.
You'll need to maintain proper humidity by placing large shallow pans of clean water throughout your cellar, checking them regularly to prevent stagnation and overflow.
To protect against moisture loss, inspect your cellar's insulation and seal any gaps around doors and windows.
You can add straw bales along the walls for extra insulation and use thermal blankets to shield sensitive vegetables from cold spots.
Store your root vegetables in closed containers layered with damp sand, burlap, or sphagnum moss, using rust-proof materials like crocks or sealed plastic tubs.
Proper ventilation is vital during winter.
Open vents at night to capture cool air, then close them in the morning to maintain stable conditions.
You'll want to monitor temperature and humidity levels using thermometers and hygrometers, adjusting ventilation as needed.
Keep air circulating between storage containers to prevent stagnant conditions that could lead to decay.
When you're storing vegetables, guarantee adequate spacing between containers and check them regularly for signs of spoilage.
Equipment and Tools
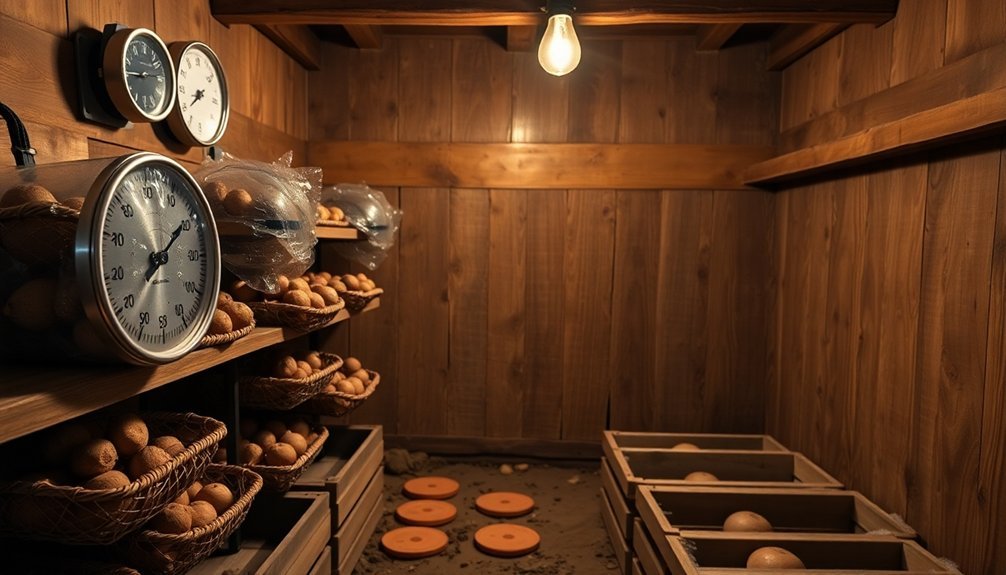
Having the right equipment and tools is essential for maintaining a successful root cellar. You'll need proper ventilation equipment, insulation materials, humidity control tools, and monitoring devices to create ideal storage conditions.
Install two strategic vents – one near the floor for cool air intake and another near the ceiling for warm air escape – to maintain consistent airflow and prevent stagnant conditions.
For effective moisture management, you'll want to track these important elements:
- Temperature levels (32-40°F) using reliable thermometers
- Humidity levels (80-95%) with hygrometers
- Air circulation patterns between stored items
- Signs of mold or decay through regular inspections
Proper insulation is vital, so use rigid foam or spray foam between walls and don't forget to waterproof exterior surfaces.
You can maintain perfect humidity by incorporating moisture-controlling materials like damp sawdust, sand, or moss. For the floor, either leave it as packed earth or add a layer of gravel to help with natural moisture retention.
Keep monitoring tools easily accessible and check readings regularly. When you notice any spoiled produce, remove it immediately to prevent contamination of other stored items.
Common Moisture Problems
Although root cellars are designed to preserve food, moisture problems can quickly undermine their effectiveness. You'll typically face two main challenges: humidity levels that are either too high or too low. Poor ventilation, inadequate insulation, and seasonal changes often contribute to these issues.
When humidity climbs too high, you're likely to encounter mold, mildew, and premature produce spoilage. Your stored vegetables might start rotting or sprouting before their time, and trapped ethylene gas can speed up the ripening process. Excess moisture can even damage your storage equipment and create temperature control problems.
Conversely, if your root cellar's humidity drops too low, you'll notice your produce shriveling and drying out. This often happens due to insufficient moisture sources, poor ventilation timing, or inadequate insulation that allows walls to heat up excessively.
To combat these issues, you'll need to actively manage your cellar's moisture levels. Start by monitoring conditions with humidity sensors, adjust your ventilation timing, and use moisture-control materials like charcoal or quicklime.
Don't forget to maintain proper insulation and consider adding moisture sources when needed.
Vegetable Storage Requirements
Successful root cellar storage depends on meeting each vegetable's specific environmental needs.
You'll need to maintain temperatures between 32-40°F (0-4°C) and relative humidity levels of 80-95% for most vegetables. However, some crops like cucurbits and onions require drier conditions to prevent mold growth.
When storing your vegetables, you'll want to follow these key requirements:
- Store root vegetables like carrots, beets, and parsnips in cool, humid conditions using moist packing materials such as sawdust, sand, or peat moss.
- Replant leafy vegetables like cabbage and kale in soil or place them on slatted shelves for proper air circulation.
- Cure potatoes in a warm environment before moving them to cold, moist storage conditions.
- Wrap strong-smelling vegetables like cabbage and turnips individually in newspaper to prevent odor transfer.
You'll need proper ventilation to maintain these conditions, so install two vents on opposite walls – one near the floor and one near the ceiling.
If you're struggling to maintain humidity, use water-filled pans or moist packing materials.
Monitor conditions regularly with a thermometer and adjust ventilation as needed.
Long-Term Maintenance Tips
Once you've set up your root cellar with proper storage conditions, regular maintenance becomes your key to preserving vegetables throughout the season. You'll need to monitor temperature and humidity levels consistently while guaranteeing proper ventilation to prevent mold growth and manage ethylene gas buildup.
Make these maintenance tasks part of your weekly routine to maximize storage life:
| Task | Frequency | Purpose |
|---|---|---|
| Check produce | 2-3x weekly | Remove spoiled items |
| Monitor humidity | Daily | Maintain 80-95% levels |
| Adjust ventilation | As needed | Control moisture/gases |
| Sanitize surfaces | Monthly | Prevent contamination |
| Rotate produce | Weekly | Guarantee air circulation |
Don't forget to maintain proper moisture levels by sprinkling the floor or using damp burlap bags when needed. You'll want to position thermometers throughout your cellar to track temperature variations and adjust ventilation accordingly. Keep ethylene-producing vegetables separate from ethylene-sensitive ones, and use baskets or bins for organization. Remember to check your cellar's exterior drainage regularly to prevent water damage, and consider applying traditional lime wash treatments to deter pests and protect your stored produce.
Frequently Asked Questions
Can Root Cellars Be Used in Areas With High Water Tables?
You can't safely build traditional root cellars in high water table areas due to flooding risks. Instead, you'll need to contemplate alternatives like converted basements, above-ground storage, or modified refrigerators for food preservation.
How Do Different Building Materials Affect Root Cellar Humidity Levels?
You'll find dirt and gravel floors naturally increase humidity, while wood construction helps regulate moisture with proper gaps. Cement and stone reduce humidity levels, but you can control this by combining different materials strategically.
What Impact Do Nearby Trees Have on Root Cellar Moisture?
Nearby trees can impact your root cellar's moisture by absorbing soil water and causing ground shrinkage. Their roots may also damage foundations, leading to unwanted moisture infiltration and disrupting your cellar's ideal humidity levels.
Should Electrical Outlets Be Installed in Root Cellars?
You'll want GFI outlets in your root cellar for lighting and pumps, but keep installations minimal. Use waterproof fixtures and follow electrical codes carefully to prevent safety hazards in the humid environment.
Can Root Cellars Be Constructed Within Existing Garage Structures?
Yes, you can convert part of your garage into a root cellar. You'll need to properly insulate the space, install ventilation, create drainage systems, and make certain the area maintains consistently cool temperatures.
In Summary
Managing your root cellar's moisture doesn't have to be complicated. You'll find success by implementing proper ventilation, using appropriate shelving, and monitoring humidity levels regularly. When you maintain the right moisture balance and follow storage guidelines for different vegetables, you're ensuring your harvest stays fresh longer. Keep these solutions in mind, check for problems regularly, and you'll enjoy your preserved produce throughout the seasons.


Leave a Reply