You'll find seven effective methods to keep your sugar fresh and clump-free during long-term storage. Start with airtight containers to prevent moisture infiltration, then add natural desiccants like rice grains or silica gel packets. Terra cotta discs work wonders for maintaining brown sugar's soft texture, while a simple bread slice can revive hardened sugar within 24 hours. Apple slices offer another moisture-control solution, but remember to replace them regularly. Implement a first-in, first-out rotation system using labeled containers, and store everything in a cool, dry place. These proven techniques can extend your sugar's shelf life up to three years.
Airtight Container Storage Solutions

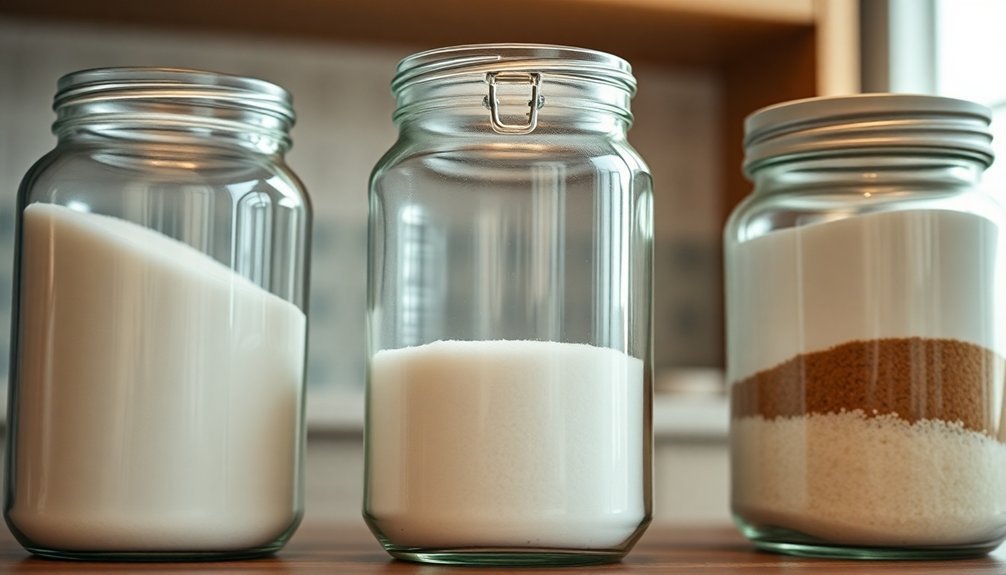
When it comes to storing sugar long-term, airtight containers aren't just a convenience – they're essential for maintaining quality and preventing waste. You'll need to choose containers that completely seal out air and moisture while protecting your sugar from unwanted pests and environmental factors. The patented vacuum seal technology in specialized containers can extend sugar freshness up to three times longer than traditional storage methods.
You've got several effective options to evaluate. Food-grade buckets offer durability and space efficiency, making them perfect for bulk storage. If you're looking for something more versatile, canning jars provide an excellent seal and allow you to organize smaller quantities. For maximum protection, you might want to try vacuum-seal containers with specialized technology that eliminates oxygen exposure.
To get the best results, you'll want to transfer your sugar from its original packaging immediately after purchase. Store your containers in a cool, dry area, and keep them away from liquids and strong odors.
If you're storing brown sugar, think about using smaller portions in high-quality Ziploc bags to better manage moisture levels. You'll also want to check your stored sugar regularly for signs of clumping or hardening, addressing any issues quickly to maintain ideal freshness and prevent waste.
Natural Moisture Control Methods
Nature's own moisture-control solutions offer reliable ways to keep your sugar fresh and free-flowing. You'll find rice to be one of the most effective natural desiccants – simply place a small pouch of clean, dry rice grains in your sugar container to prevent clumping and hardening. This method works well for both granulated and brown sugar varieties. Using glass airtight containers provides the best protection for long-term sugar storage.
For added protection, you can incorporate aromatic spices like cinnamon and cloves into your storage routine. Place a cinnamon stick or a few whole cloves in your sugar container to ward off moisture while adding subtle fragrance. These spices also possess natural antimicrobial properties that help deter insects and maintain sugar quality over time.
If you're looking for more conventional moisture control, try using bloating paper or silica gel packets. These materials effectively absorb excess moisture and help maintain your sugar's texture.
Remember to check and replace them periodically to guarantee continued effectiveness. When using silica gel packets, position them carefully to avoid direct contact with the sugar while still allowing them to trap unwanted moisture.
Terra Cotta Disc Technique
Through the ages, terra cotta discs have proven to be a reliable solution for maintaining brown sugar's soft, pliable texture. This simple yet effective method harnesses terra cotta's natural moisture-absorbing properties to keep your sugar at the perfect consistency for months.
To use a terra cotta disc, you'll need to soak it in water for 15 minutes, then pat it dry to remove excess moisture. Place the disc directly in your container of brown sugar, whether it's in the original packaging or an airtight container. The disc will gradually release moisture, preventing your sugar from hardening. At just fifteen dollars, these discs are an affordable investment for any home baker.
You'll want to store your sugar container in a cool, dry place, away from strong odors and never in the refrigerator. If your sugar does become hard, don't worry – simply re-soak the disc and try again. The disc typically softens hardened sugar within eight hours.
What's particularly convenient about this method is its versatility – you can also use it for dried fruits, marshmallows, and even to keep baked goods fresh.
When the disc loses effectiveness, just soak it again, and it's ready for another round of moisture control.
Bread Slice Sugar Preservation
For generations, home bakers have turned to a simple yet effective solution for reviving hardened brown sugar – the bread slice method. When your brown sugar becomes hard as a rock, you'll find this technique remarkably straightforward: place a slice of fresh bread in an airtight container with your sugar and wait about 24 hours. The moisture from the bread gradually transfers to the sugar, softening it back to its original texture.
You'll get the best results by following these key steps:
- Use an airtight container or resealable bag to maintain proper humidity.
- Store your container in a cool, dry place away from direct sunlight.
- Check your sugar's consistency after 24 hours and remove the dried bread slice.
If you don't have bread on hand, you can substitute it with apple slices or marshmallows. These alternatives work just as effectively at reintroducing moisture to your hardened sugar.
Don't worry about the bread becoming moldy – it'll simply dry out as it transfers its moisture to the sugar. This method isn't just a temporary fix; it's a practical solution that can help you maintain your brown sugar's texture for weeks when properly stored.
Rice Grain Storage Method
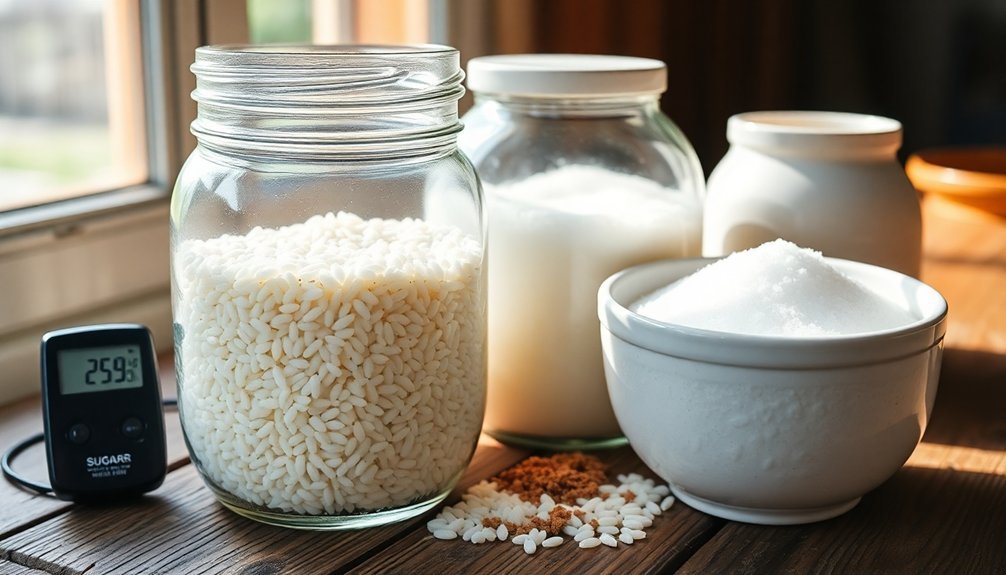
Proper rice storage begins with understanding moisture control. You'll need to maintain grain moisture at 14% or less for consumption and 12% or less for seed storage.
Temperature control is equally vital – every 5°C increase can cut your seed's life in half, so keep your storage area cool and dry.
You've got several storage options to choose from. You can use bags (40-80 kg capacity) made from jute or woven plastic, bulk storage for larger quantities, or hermetic containers like IRRI Superbags.
Hermetic storage is particularly effective as it maintains consistent moisture levels and controls pests naturally.
When storing different types of rice, you'll need to take into account their unique characteristics. White rice can last indefinitely with proper storage, but brown rice is trickier due to its oil-rich bran layer.
You'll get about six months from brown rice in ideal conditions, but only two weeks in tropical environments. If you're storing brown rice, keep it in your refrigerator or freezer to extend its shelf life.
For long-term storage, keeping rice in its paddy form offers the best protection, as the husk naturally guards against insects and quality deterioration.
Apple Slice Moisture Management
When using apples to soften your brown sugar, you'll want to replace the slices every 24-48 hours to maintain ideal moisture transfer and prevent spoilage.
You'll get the best results by placing 2-3 thin apple slices for every 2 cups of sugar, arranging them evenly throughout the container rather than clustering them in one spot.
For consistent moisture distribution, you should position the apple slices on top of the sugar rather than burying them, which lets you easily monitor their freshness and remove them before they become overly dry or begin to deteriorate.
Apple Freshness Time Limits
Managing moisture levels in apple slices can dramatically affect their storage life, with proper techniques extending freshness from just a few days to several months.
You'll find that proper storage methods can prevent your apple slices from becoming dried out, shriveled, or moldy. When you're storing cut apples, maintaining the right moisture balance is essential, especially if you're using them to keep other foods fresh.
For ideal freshness, you'll want to follow these key time limits:
- 3-5 days – refrigerated apple slices in cold water with lemon juice
- 4-6 weeks – whole apples in standard refrigeration
- 8 months – properly frozen apple slices
You can extend these timeframes by using controlled-atmosphere storage techniques and chemical treatments like 1-MCP, which can preserve apples for up to 12 months.
If you're using apple slices to maintain moisture in other foods, keep humidity levels below 50% to prevent mold growth. For the best results, always check for visible indicators of freshness – your apples should feel firm, have bright skin, and maintain a pleasant, fruity aroma.
Once you notice bruising, soft spots, or discoloration, it's time to discard them.
Proper Placement Techniques
Through careful placement techniques, you'll maximize the moisture-balancing effects of apple slices in your storage containers. Place your apple slices strategically within airtight containers, ensuring they don't make direct contact with your baked goods to prevent unwanted flavor transfer. Position the slices to allow even moisture distribution throughout the container while maintaining proper air circulation.
Select containers that are non-reactive and large enough to prevent overcrowding. You'll want to use containers with tight-fitting lids to maintain a controlled environment, but make sure they haven't previously held strong-smelling foods that could taint your items.
Store your containers in cool, dry areas away from concrete walls and direct sunlight, keeping humidity levels below 50%. Check your apple slices daily for signs of deterioration or mold, replacing them as needed.
If you don't have apples available, you can use alternatives like white bread slices or rice wrapped in coffee filters for moisture management. Don't use oxygen absorbers, as they can negatively impact the storage environment.
Monitor your stored items regularly and adjust your moisture management method based on how well your goods are maintaining their desired texture.
Sugar-to-Apple Ratio Guidelines
Proper sugar-to-apple ratios guarantee effective moisture transfer for your stored sugar. You'll need to carefully measure your apple slices to guarantee superior moisture distribution without oversaturating the sugar. For standard home storage containers, use 3-4 fresh apple slices placed directly on top of the hardened sugar.
When preparing your apple slices, remember these essential ratios:
- For every 2 cups of hardened sugar, use 1 medium-sized apple slice
- For 4-cup containers, place 2-3 apple slices evenly across the surface
- For larger storage bins (6+ cups), distribute 3-4 slices, maintaining even spacing
You'll want to remove the apple core completely before slicing to prevent any unwanted flavors from transferring to your sugar.
Position the slices flat on the sugar's surface, and don't overlap them, as this could create uneven moisture distribution. After 24 hours, check your sugar's consistency. If it hasn't fully softened, you can add one more slice and check again after another day.
Once the sugar's restored, remove and discard the dried apple slices promptly to prevent mold growth.
Sugar Container Rotation System
A well-organized container rotation system helps preserve your sugar's quality and prevents waste. To implement an effective rotation system, you'll need to label each container with the date of storage and organize them so that older stock remains easily accessible for immediate use.
Set up your storage area with a first-in, first-out (FIFO) system by placing newer containers behind or beneath older ones. You'll want to rotate your sugar stores monthly, ensuring that older sugar gets used before newer supplies.
Consider using clear, stackable containers that allow you to quickly identify sugar levels and conditions. Label your containers clearly with permanent markers or adhesive labels, including both the storage date and expected use-by date.
You can simplify this process by creating designated storage bins or shelving units specifically for different sugar types and ages. When you're storing sugar, break it down into smaller portions to minimize air exposure each time you open a container.
Don't forget to check your containers monthly for any signs of moisture or clumping. If you notice either issue, transfer the sugar to a new, dry container and add a moisture absorber to maintain quality.
Frequently Asked Questions
Can I Store Different Types of Sugar Together in the Same Container?
You shouldn't store different sugars together, as their varying moisture levels can cause clumping and texture changes. Keep each type in its own airtight container to maintain quality and prevent moisture transfer.
How Often Should I Check Stored Sugar for Quality and Moisture Issues?
You should check your stored sugar every 2-3 weeks. Look for clumps, hardening, or changes in texture. Don't forget to inspect the container for moisture and guarantee it's still sealing properly.
Does Artificial Sweetener Require the Same Storage Methods as Regular Sugar?
You'll need stricter storage methods for artificial sweeteners than regular sugar. Keep them in airtight containers away from heat and light, and store below 25°C to prevent degradation of their sweetening properties.
Will Storing Sugar Near Strong-Smelling Foods Affect Its Taste and Quality?
Yes, your sugar will absorb strong odors from nearby foods, even through plastic packaging. This can alter its taste and quality considerably. You'll want to store it away from aromatic items to maintain freshness.
Can Vacuum-Sealed Sugar Packets Be Stored Longer Than Loose Sugar?
You won't get longer storage from vacuum-sealing sugar packets compared to loose sugar. As long as you keep either type in an airtight container in a dry place, they'll both last indefinitely.
In Summary
You've now learned seven effective methods to keep your sugar fresh and clump-free at home. Whether you're using airtight containers, terra cotta discs, or natural moisture control techniques, you'll find these solutions easy to implement. Don't forget to rotate your sugar containers and check regularly for any signs of moisture. With these methods, you'll maintain perfect sugar consistency for all your baking and cooking needs.


Leave a Reply