To keep your root cellar dry and mold-free, you'll need to focus on proper ventilation and moisture control. Install vents at the top and bottom of your cellar to create consistent airflow, and use a hygrometer to monitor humidity levels between 85-95%. Address any water seepage issues by applying waterproof coatings like DryLok to your walls and ensuring proper drainage around the foundation. Organize storage with wooden crates and shelving, maintaining gaps for air circulation, and remove any spoiled items promptly. Regular maintenance, including checking for cracks and cleaning gutters, will protect your harvest, but there's much more to maintaining the perfect root cellar environment.
Understanding Root Cellar Moisture Balance
To maintain ideal moisture balance, guarantee proper ventilation through strategically placed vents near the top and bottom of your cellar.
You'll want to monitor conditions regularly with a hygrometer and make adjustments as needed.
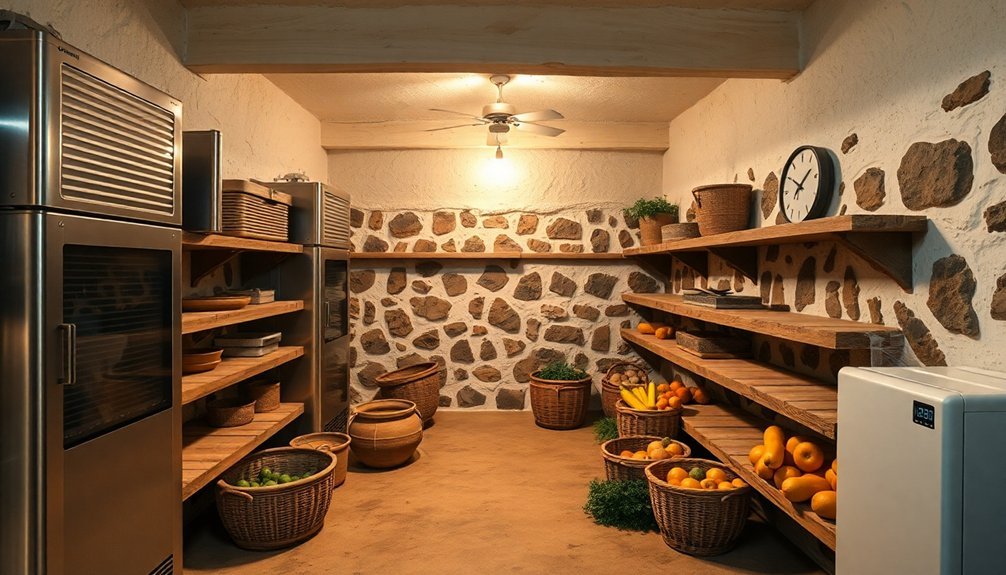
Keep your storage organized with wooden crates and shelving that allow air circulation, and maintain gaps between shelves and walls. Regular cleaning and inspection will help prevent the growth of harmful mold that can spoil your stored produce.
Remember to avoid opening the cellar unnecessarily, as this can disrupt the carefully maintained moisture balance.
Common Sources of Dampness
Your root cellar's dampness often starts with ground water seeping through foundation walls and floors, especially during rainy seasons or in areas with high water tables.
Condensation can build up inside when warm air meets cool surfaces, creating a persistent moisture problem that's hard to control. Underground spaces are especially vulnerable to moisture due to their cooler temperatures attracting humidity.
Poor drainage systems, including clogged gutters and improper grading around your root cellar, will make these moisture issues worse by allowing water to collect near the foundation.
Ground Water Seepage
Ground water seeping into your root cellar can quickly turn a dry storage space into a damp, unusable environment. Several factors contribute to this problem, including heavy rainfall overwhelming drainage systems, poor grading around your foundation, and a high water table exerting pressure against your cellar walls.
You'll find that water typically enters through foundation cracks, porous building materials, and gaps around pipes. The basement floor itself can allow moisture to pass through when there's significant groundwater pressure. DryLok coating on interior walls can provide an effective moisture barrier.
If you don't address these issues promptly, you'll face serious consequences like mold growth, wood rot, and spoiled vegetables.
To protect your root cellar, you'll need to implement effective prevention measures. Start by ensuring proper grading around your foundation, with soil sloping away from the house.
Install French drains to divert water away from your cellar, and apply waterproof coatings to exterior walls. Don't forget to seal any visible cracks or gaps in the walls and floors.
For additional protection, consider installing vapor barriers on interior surfaces. These steps will help maintain the dry environment necessary for proper food storage and preservation.
Condensation Buildup Inside
Condensation frequently accumulates in root cellars when warm, moisture-laden air meets cooler surfaces, creating a persistent dampness problem.
You'll notice this issue intensifies when warm air enters through poorly sealed doors or panels, especially during frequent opening and closing of your cellar entrance.
Poor ventilation is often the primary culprit behind condensation buildup. When you don't have proper air circulation, moisture becomes trapped, leading to water droplets forming on walls, ceilings, and even your stored produce.
This stagnant environment also traps ethylene gas from fruits and vegetables, accelerating their deterioration.
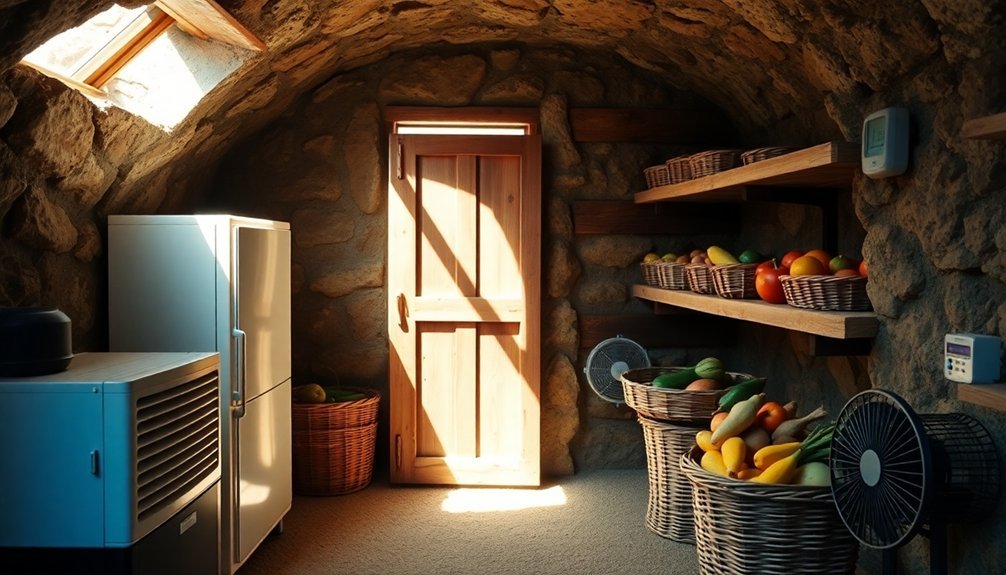
To combat condensation, you'll need to address several factors. First, verify your vents aren't blocked and are correctly positioned for ideal airflow.
You can install small fans to keep air moving and eliminate temperature variations that create cold spots.
Don't forget to monitor humidity levels with a gauge – while root cellars need 80-95% humidity for some produce, excess moisture leads to mold growth and rusting.
Consider using moisture-absorbing materials like hay or sawdust, and store your vegetables in wooden crates to help manage humidity levels.
Poor Drainage Systems
While controlling indoor moisture is crucial, many root cellar dampness issues actually originate from outside the structure. If you haven't installed proper drainage systems, you'll likely face persistent moisture problems that can compromise your stored produce.
Your cellar's exterior needs a 6-inch layer of gravel to redirect water away from the walls. Make certain you've laid perforated drainage pipes at a slight slope, covered with gravel, and extended them to daylight to prevent water from pooling. You'll want to use black perforated pipes and cement them properly into place to guarantee effective drainage.
Don't make the mistake of backfilling with soil alone. Instead, use a combination of gravel and soil, and consider adding sheets of tin to separate the two materials. This layered approach greatly improves drainage around your cellar walls.
You'll also need to manage rainwater effectively. Install gutters on your topside structure and confirm the ground slopes away from the cellar. During construction, use temporary roofing to keep rainwater out.
Remember to check your drainage systems regularly and replenish gravel layers as needed to maintain ideal moisture control.
Essential Waterproofing Methods
You'll need to seal your root cellar's interior walls with specialized waterproof coatings like DryLok and concrete sealers to create an effective moisture barrier.
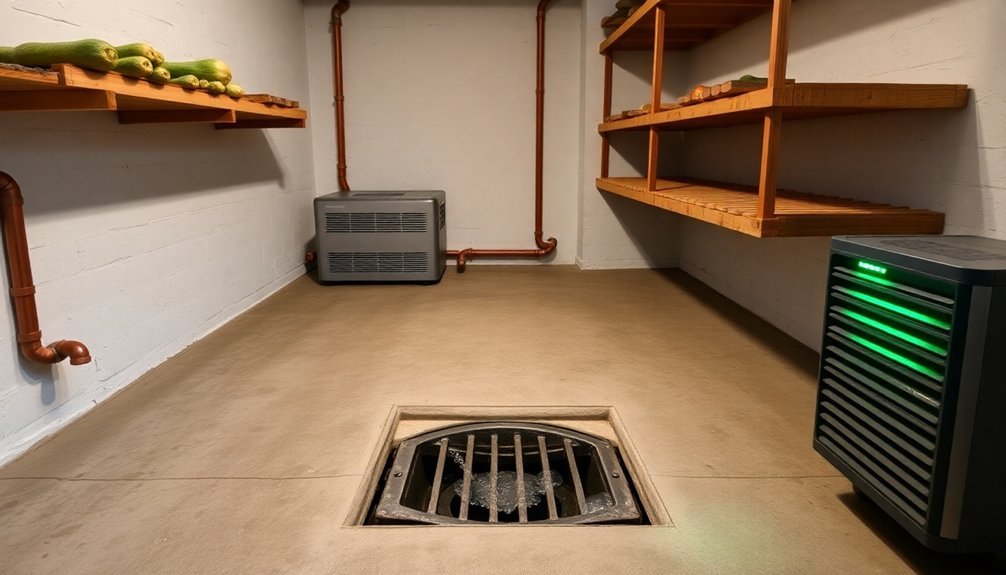
Installing a proper drainage system requires careful planning, starting with an interior French drain positioned along the walls' base and connecting to a reliable sump pump for water removal.
These systems work together to manage water infiltration while maintaining the ideal humidity levels needed for produce storage.
Interior Wall Sealants Required
Keeping interior walls properly sealed stands as the cornerstone of root cellar waterproofing.
You'll need to start by thoroughly cleaning all wall surfaces, removing dirt, grease, and any loose material that could compromise the sealant's effectiveness. Before applying any products, repair all cracks and holes using hydraulic cement to create a solid foundation.
You'll want to select a high-quality waterproof coating specifically designed for masonry or concrete walls, such as DryLok or Flex Seal. These products must be compatible with your wall material and able to withstand the high humidity levels typical in root cellars.
When applying the sealant, use a roller or brush to guarantee even coverage, and always apply at least two coats. Don't rush the process – let each coat dry completely before adding the next layer.
Remember to work in temperatures above 50℉ for best results, and never thin or dilute the waterproofing products.
For added protection, use oil-based primers on bare surfaces to prevent water stains. If you're dealing with particularly challenging areas, consider applying sheet membranes using specialized adhesives or fasteners for maximum protection.
Drainage System Installation Steps
Installing a proper drainage system marks the first critical step in protecting your root cellar from water damage. Begin by digging a trench that's deep enough for your drainage system, maintaining constant grading measurements to guarantee the correct slope of at least 1/8 inch per foot.
While smaller drainage issues need only a 5-6 inch wide trench, larger problems require wider excavation. Keep some of the excavated dirt for later refilling.
Line your trench with landscape fabric, extending it beyond the tubing ends to prevent soil infiltration. Place a perforated pipe at the bottom, covered with a filter sock to block soil particles. Connect the pipe sections carefully, overlapping the fabric socks at the joints.
Add a layer of gravel over the pipe, then wrap the landscape fabric around it to create a secure barrier. Complete the installation by covering the system with topsoil and sod to match the surrounding area.
Install a drain cover at the pipe's outlet and create a rock bed to prevent erosion. Don't forget to improve ventilation using fans and dehumidifiers to control moisture levels inside your root cellar during and after installation.
Smart Ventilation Systems
A proper ventilation system serves as the foundation of any successful root cellar, relying on a dual-vent configuration to create essential airflow.
You'll need at least one intake vent near the ground and one outlet vent close to the ceiling to harness natural convection. This setup allows cold air to enter from below while pushing warmer air out through the top.
Install 4-inch diameter ductwork and protect your vents with wire screens to keep pests out. You can enhance this basic setup by adding battery-powered fans to boost air circulation and create negative pressure.
During summer months, keep your vents open and consider using multiple vents for larger cellars. At night, maximize cooling by opening vents to draw in the coolest air possible.
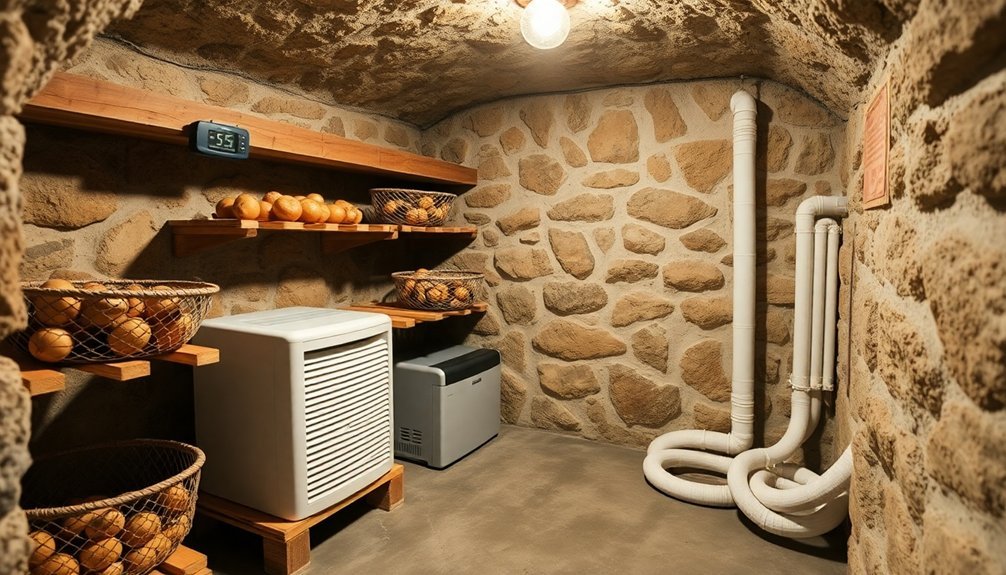
Monitor your cellar's conditions with a hygrometer and adjust ventilation to maintain temperatures between 40 and 50 degrees. Don't let temperatures drop below 32 degrees, as this can damage your stored produce.
Remember to check vents regularly for blockages and seal them tightly during winter. If you notice persistent dampness, consider using a dehumidifier, but be careful not to over-dry the space.
Proper Drainage Solutions
While proper ventilation controls airflow, effective drainage prevents moisture from compromising your root cellar's integrity. You'll need both exterior and interior drainage systems working together to keep your storage space dry and functional.
Start with exterior protection by installing a French drain along the base of your underground walls, complemented by rain gutters on the topside structure. Create a 6-inch gravel layer around the cellar's exterior, including over the arch. Place a perforated drainpipe on the gravel, ensuring it slopes away from the structure for proper water redirection.
For interior protection, apply DryLok or similar waterproof coating to your walls. Use dirt or gravel flooring with a slight slope, and cover it with plastic sheeting to prevent ground moisture from seeping upward. Install drainage trenches lined with repurposed tin sheets, covered with gravel and dirt.
Don't forget to build a solid foundation with an 18-inch wide, 8-inch deep concrete footer. Use limestone walls or blocks with waterproofing compound, and position them below the frost line. Install pipe connections for drainage emergencies, and protect drain openings with wire mesh to keep pests out.
Humidity Control Best Practices
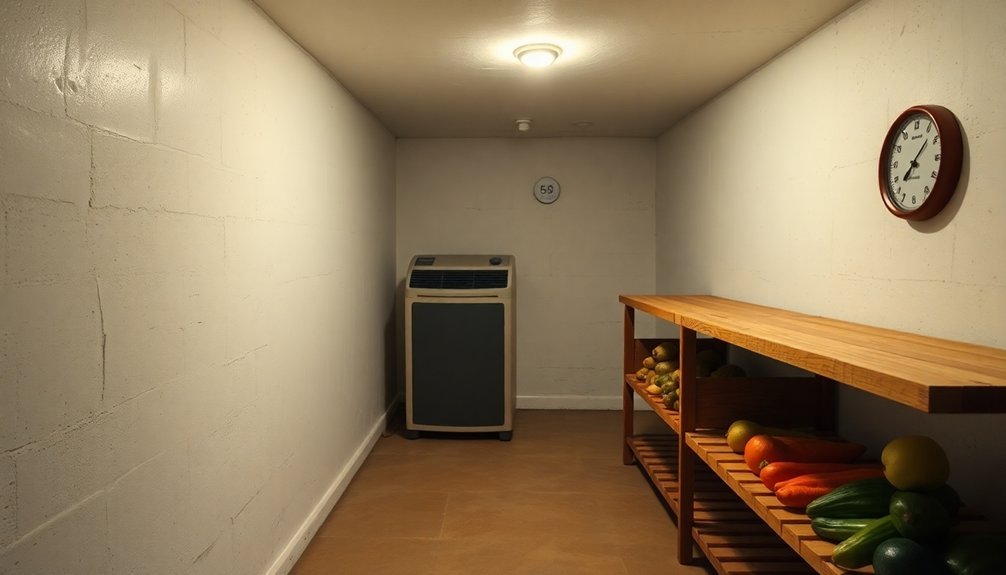
Root cellars require precise humidity control to preserve your stored produce effectively. You'll need to maintain humidity levels between 85-95% to prevent moisture loss while avoiding conditions that promote mold growth. Installing a hygrometer is essential to monitor these levels accurately and make necessary adjustments.
To regulate humidity, you can place containers of water throughout your cellar to increase moisture levels naturally, or use moisture-absorbing materials like charcoal when levels get too high. It's vital to install proper ventilation systems, including vents or fans, to maintain consistent airflow and prevent stagnant, overly humid conditions that can lead to rot.
You'll want to use natural materials like dirt or gravel flooring to help regulate humidity naturally, but make sure to cover them with plastic sheeting to prevent excess ground moisture from seeping in.
Don't forget to check your stored produce regularly and remove any spoiled items immediately to prevent contamination. If you're dealing with particularly humid conditions, you can install a dehumidifier to maintain ideal levels.
Remember to keep your cellar dark and cool, as exposure to sunlight can create unwanted temperature fluctuations that affect humidity balance.
Regular Maintenance Tasks
Through consistent maintenance, you'll keep your root cellar in ideal condition for long-term food storage. Inspect your cellar regularly for signs of pests, mold, or damage, and seal any cracks or holes you find with caulk.
Monitor stored produce carefully, removing any items showing signs of spoilage or pest activity, and check for rodent evidence like droppings or gnaw marks.
Keep your storage space clean and organized by removing food scraps and storing items off the floor using shelves or pallets. Use airtight containers for produce and grains to minimize attractive food odors, and maintain a clutter-free environment that allows for easy inspection.
Check your ventilation system regularly, adjusting it to maintain proper temperature and humidity levels. Ascertain there's a 2-inch gap between shelves and walls, and consider using solar-powered fans to improve airflow without depending on electricity.
Implement a rotation system for your stored produce using the "first in, first out" principle. Store food in easily accessible bins or baskets, and check items frequently for freshness.
Plan your storage layout based on different produce storage life spans to minimize waste and maximize efficiency.
Natural Mold Prevention Techniques
One of the most effective ways to safeguard your root cellar from mold is to maintain proper ventilation and humidity control.
You'll need to strike a delicate balance, keeping humidity high enough (80-95%) to prevent vegetable dehydration while ensuring adequate air circulation to prevent mold growth.
Install vents or fans to regulate airflow and use wooden crates that allow air to circulate between stored items. You can place charcoal or rice in strategic locations to absorb excess moisture when needed. During spring months, you might need to run a dehumidifier to manage moisture levels effectively.
For natural mold prevention, consider applying a lime wash to your walls, as this traditional method helps deter both mold and pests.
You'll want to keep your storage area clean by promptly removing any spoiled produce and regularly sanitizing surfaces. If you're working with a concrete or wooden floor, place water pans strategically to maintain proper humidity, but don't let water pool anywhere.
Make sure you've installed proper drainage systems, including gutters and waterproof coatings on walls, to prevent unwanted moisture from seeping in.
Regular monitoring of temperature and humidity levels will help you catch potential mold issues before they develop.
Choosing Storage Container Materials
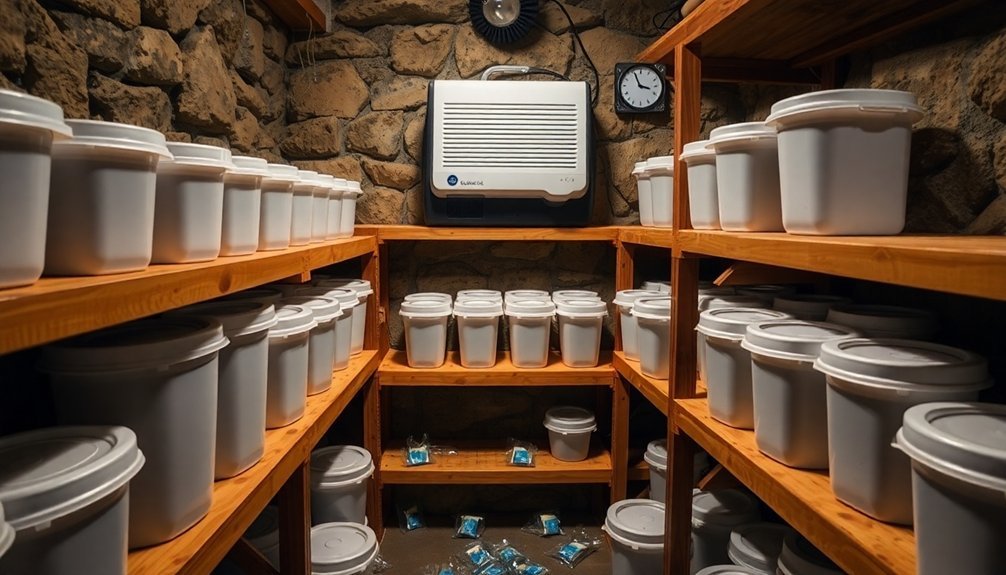
Selecting the right storage containers for your root cellar can make the difference between preserved produce and spoiled vegetables.
You'll want to choose materials that resist moisture and prevent mold growth while maintaining proper airflow.
Cedar is an excellent choice for wooden containers, as it naturally resists moisture and mold.
Don't use chemically treated wood, as it can contaminate your stored produce.
If you're considering plastic options, Rubbermaid tubs work well when you drill small ventilation holes for air circulation.
While metal containers can be effective, they must have proper coating to prevent rust that could compromise your storage.
For cost-effective storage, consider using earthbags filled with soil and organic material.
You can enhance any container's effectiveness by adding proper insulation materials like damp peat moss or cedar shavings.
When using plastic containers, line them with moisture-absorbing materials such as charcoal or rice to help control humidity levels.
Remember to organize your containers in a way that allows air to flow between them.
Use wooden crates or mesh bags for items that need more ventilation, and always make certain your containers are clean and properly labeled for easy produce tracking.
Frequently Asked Questions
How Do I Store Root Vegetables if My Cellar Freezes in Winter?
You'll need to store your root vegetables in alternative locations that stay above freezing. Try unheated rooms, insulated basements, garages, or closets where temperatures remain between 32°F – 40°F for ideal storage.
Can I Use a Dehumidifier in My Root Cellar Without Affecting Vegetables?
You can use a dehumidifier sparingly, but don't overdo it. Monitor humidity with a hygrometer to maintain 85-95% levels. Too dry conditions will harm your vegetables, so only use it when absolutely necessary.
What's the Ideal Distance Between Storage Bins for Proper Air Circulation?
You'll want to space your storage bins 2-3 inches apart to guarantee adequate airflow. Place them 1-3 inches from walls, and stack them with small gaps between layers to maintain proper air circulation.
Should I Wash Vegetables Before Storing Them in the Root Cellar?
Don't wash your vegetables before storing them. You'll remove their natural protective layer and increase moisture, which leads to rot. Instead, gently brush off excess dirt and save washing until you're ready to use them.
How Often Should I Replace the Gravel Floor in My Root Cellar?
You don't need to replace your root cellar's gravel floor on a set schedule. Just monitor it regularly and replace when you notice poor drainage, excessive moisture retention, or mold growth affecting its performance.
In Summary
Don't let moisture and mold ruin your carefully stored produce. By waterproofing your root cellar, installing proper ventilation, maintaining good drainage, and choosing the right storage containers, you'll create an ideal environment for long-term food storage. Keep up with regular maintenance checks and natural mold prevention methods. With these practices in place, you'll enjoy fresh, well-preserved produce throughout the year.


Leave a Reply