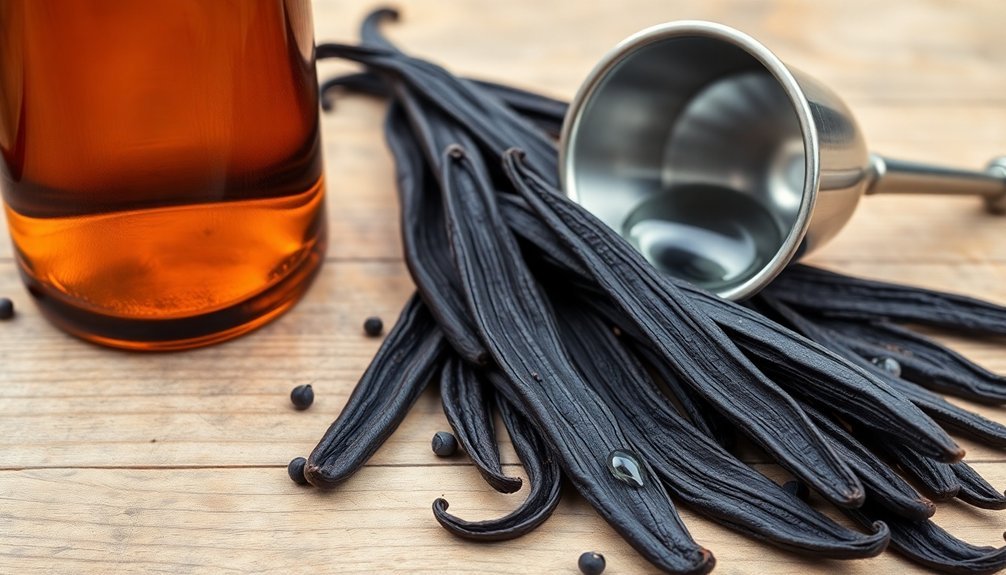
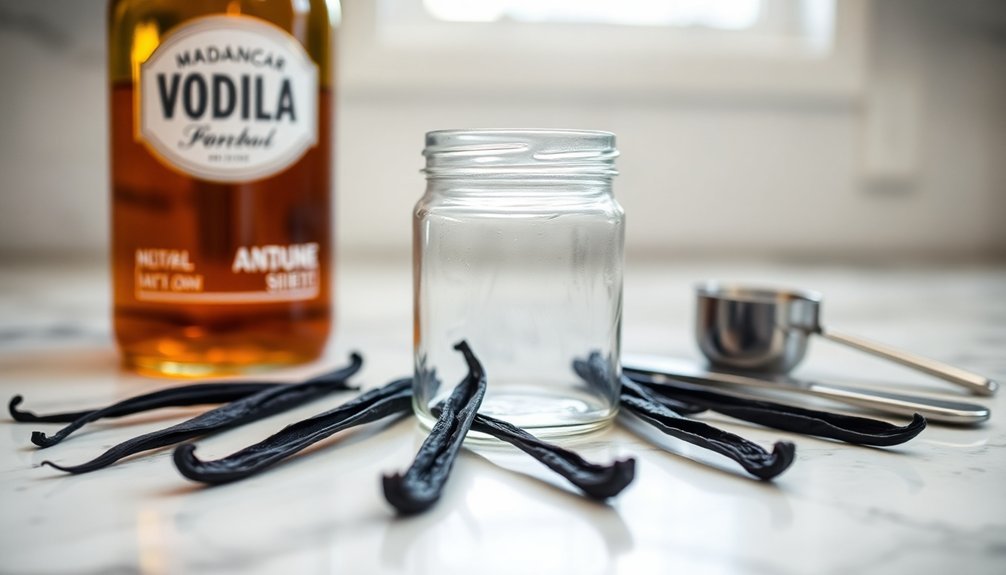
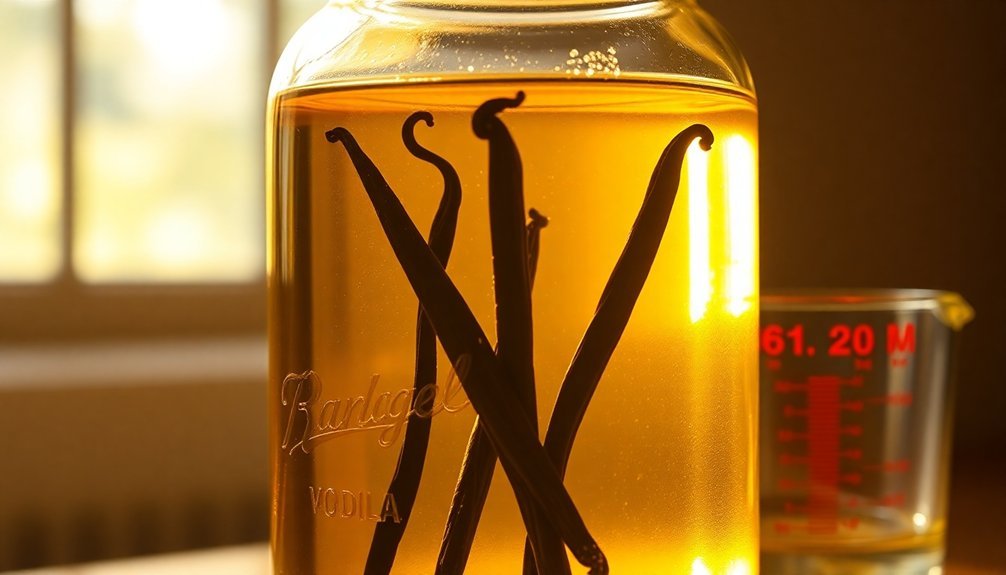
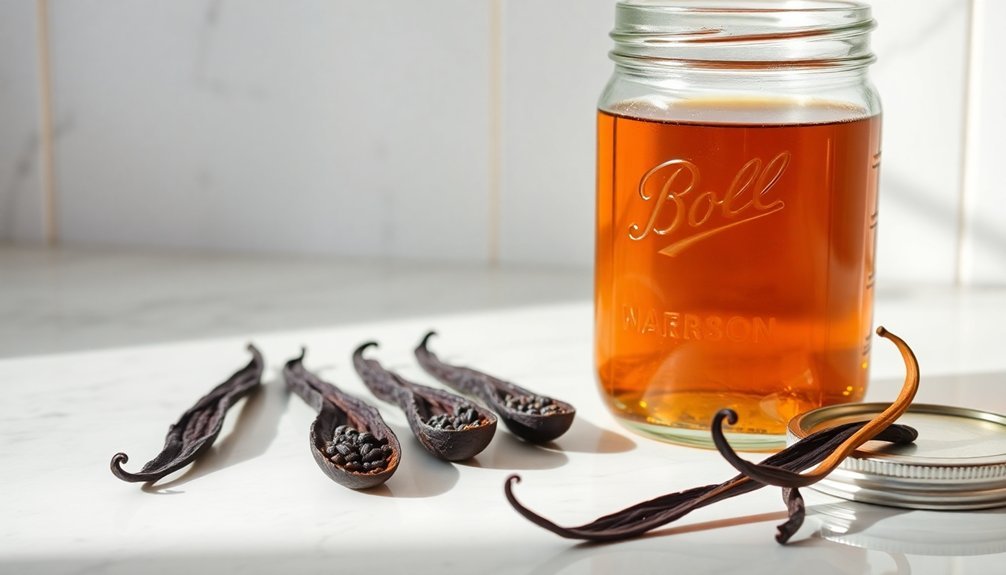
To make vanilla extract, you'll need store-bought vanilla beans and 80-proof vodka. Split 4-6 whole vanilla beans lengthwise with a sharp knife, then place them in a clean glass jar. Pour 8 ounces of vodka over the beans, ensuring they're completely submerged. Seal the jar tightly and store it in a cool, dark place. Shake the mixture weekly and let it age for at least 4 months, though 6 months will yield better results. Double the beans for stronger extract or use different alcohols like bourbon or rum for unique flavor profiles. The steps below will help you craft the perfect homemade extract.
Required Tools and Equipment
For making vanilla extract, you'll need two main categories of equipment: tools for preparing the vanilla beans and containers for storing the mixture.
To prepare the vanilla beans, gather a sharp knife for splitting them lengthwise and a sturdy cutting board to provide a stable surface. You'll also need scissors if you plan to cut the beans into smaller pieces, plus a spoon or spatula for handling them. A measuring scale guarantees you'll use the right amount of beans in your extract. The quality of your final extract depends heavily on using properly cured beans from reputable sources.
For storage, select glass jars with tight-fitting lids to hold the beans and alcohol during the aging process. Dark glass bottles work best as they protect the extract from light exposure. You'll want smaller bottles for decanting the finished extract, all equipped with swing-top lids or airtight seals to prevent contamination.
Don't forget the equipment needed for mixing and filtering. You'll need a container you can shake, a spoon for occasional stirring, and a fine-mesh strainer or cheesecloth if you plan to filter the extract.
A funnel helps transfer the liquid to smaller bottles without spills. Keep labels and markers handy to track dates and ingredients throughout the process.
Selecting Your Vanilla Beans
Three key factors determine the quality of your vanilla beans: moisture content, physical condition, and origin. You'll want beans with 25-35% moisture content that feel soft and flexible to the touch. High-quality beans will show oils extending from them in vacuum-sealed packaging and display a glossy sheen on their surface.
When examining physical characteristics, look for Grade A beans that measure at least 8 inches long. They should be plump, uniform in color, and free from molds, splits, or cracks. Avoid stiff or damaged beans, as these won't produce the best extract. Grade B beans are actually more potent and better suited for making extracts despite their less appealing appearance.
The origin of your beans will influence their flavor profile. Madagascar Bourbon vanilla beans are your best choice for a classic, rich, and creamy vanilla taste. If you're seeking something different, consider Tahitian beans for their fruity and floral notes, or explore Ugandan or Ecuadorian varieties for their unique characteristics.
Choose beans from reputable brands like SloFood Group that prioritize ethical sourcing. This guarantees you're not only getting high-quality beans but also supporting sustainable farming practices and fair trade standards.
Choosing the Right Alcohol
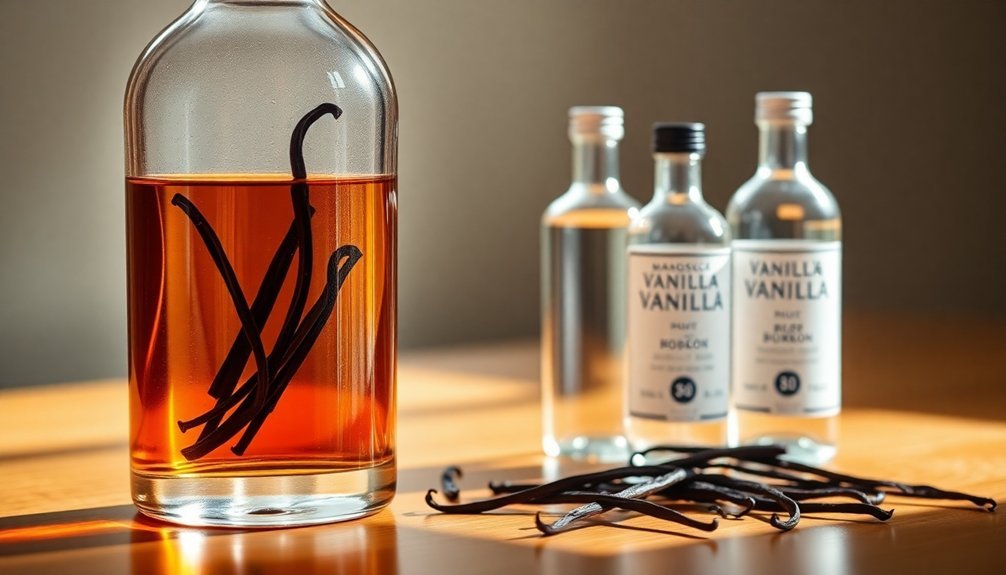
The foundation of great vanilla extract lies in selecting the right alcohol base. Vodka stands out as the most popular choice due to its neutral profile, allowing your vanilla beans' flavor to take center stage. You'll want to use 80-proof vodka (40% alcohol), though any vodka above 70 proof meets FDA standards for pure extract.
Brandy offers richness from its fruity undertones, making it another excellent choice.
Don't worry about buying expensive brands – cheaper options work just fine.
If you're looking to experiment, try white rum for a smoother, sweeter profile that's perfect for desserts and ice creams. Dark or spiced rum will add richer undertones, while bourbon introduces appealing smoky notes that create a more complex extract.
Whatever alcohol you choose, verify it's at least 80 proof for effective extraction. If you're using anything stronger than 100 proof, you'll need to dilute it with distilled water.
Avoid flavored alcohols as they'll interfere with the pure vanilla taste. While premium brands aren't necessary, stick to unflavored, quality spirits for the best results.
Preparing the Storage Container
You'll need a glass container that's large enough to fully submerge your vanilla beans while leaving room for the alcohol to circulate.
Before use, thoroughly wash your jar with hot, soapy water and sanitize it in boiling water for 10 minutes to guarantee it's free from any contaminants.
Make sure your container has an airtight seal, such as a screw-top lid or steel clamp with a rubber ring, to prevent oxidation and maintain the extract's quality.
Selecting Right Container Size
Selecting an appropriately sized container is essential for making homemade vanilla extract. You'll need to verify your container can accommodate both the vanilla beans and enough alcohol to cover them completely. For an 8-ounce bottle, you'll need 4 whole vanilla beans, while a 12-ounce bottle requires 6 whole beans. Mason jars make excellent containers for this purpose, offering convenience and various size options.
When choosing your container size, consider these key factors:
- Length of vanilla beans – If they're too long, you can fold them in half or cut them to fit properly.
- Amount of extract needed – Select a container that matches your desired yield (8-ounce or 12-ounce are common sizes).
- Bean-to-alcohol ratio – Maintain proper proportions for effective extraction (4 beans per 8 ounces).
- Headspace requirements – Leave enough room to shake the mixture effectively.
Remember to adjust your container selection based on the size and quantity of your vanilla beans. The beans must be fully submerged in alcohol throughout the infusion process, so choose a container that allows for complete coverage while maintaining appropriate proportions for the best results.
Clean and Sanitize Jars
Pristine jars serve as the foundation for creating high-quality vanilla extract. To prepare your containers, start by thoroughly washing them in hot, soapy water, making sure to rinse away all soap residue. You can also quickly dip the jars in boiling water for a swift clean. Let them air dry completely before moving to the sterilization process.
To sterilize your jars, submerge them in a large pot of water, ensuring there's at least an inch of water above their tops. Bring the water to a boil and maintain it for 10 minutes. Using tongs or a canning lifter, carefully remove the jars and let the water drain back into the pot.
Don't forget to sterilize your lids and caps in the same boiling water. Remove them with a slotted spoon and place them on a clean towel to dry. If you're using metal caps, make sure they've plastisol liners that can withstand the high temperatures.
Fill your jars while they're still warm to maintain sterility. If they cool to room temperature, you'll need to re-sterilize them. Avoid touching the insides of the jars or lids to prevent contamination before use.
Airtight Seal Requirements
When creating vanilla extract, proper airtight storage containers are essential for preserving the extract's potent flavor and preventing contamination.
You'll want to choose containers that minimize air exposure while protecting your extract from light and environmental factors. Glass containers with tight-sealing lids are your best option, particularly dark or amber-colored bottles that shield the extract from harmful light exposure.
- Select glass jars or bottles with secure, leak-proof lids that create a complete seal when closed – avoid containers with loose or damaged caps.
- Choose a container size that's appropriate for your batch – too much empty space can lead to oxidation and flavor degradation.
- Test the seal by closing the lid and turning the container upside down – there shouldn't be any leakage.
- Verify the container's mouth is wide enough to easily add and remove vanilla beans while maintaining a proper seal.
Remember to inspect your storage containers for any cracks, chips, or seal damage before use.
If you're planning to store your extract long-term, consider using vacuum-sealed containers or bottles specifically designed for extract storage.
Keep in mind that plastic containers, while usable, aren't ideal for long-term storage as they may affect the extract's flavor.
Bean to Alcohol Ratios
For a standard single-fold vanilla extract, you'll need .83 ounces of vanilla beans for every 8 ounces of alcohol, though you might want to round up to 1 ounce when using grade-A beans due to their higher moisture content.
The quality of your extract depends more on using the correct weight of beans rather than counting them, as bean sizes can vary dramatically from 1-3 large beans to 15+ smaller beans per ounce.
You can create stronger extracts by doubling or tripling the amount of vanilla beans while keeping the alcohol volume constant.
Standard Vanilla Extract Ratio
The standard ratio for making vanilla extract follows FDA guidelines of 13.35 ounces of vanilla beans per gallon of spirits, but you can simplify this to 1 ounce of beans per 8 ounces of alcohol for home use.
When measuring, you'll want to use a kitchen scale for accuracy, as volume measurements aren't as reliable. The alcohol you choose must be at least 35% ABV (70 proof), with vodka being the most popular choice due to its neutral flavor profile.
- Use 28 grams (1 ounce) of vanilla beans for every 8 ounces (1 cup) of alcohol
- Select alcohol that's at least 70 proof – vodka, rum, bourbon, or whiskey all work well
- Ascertain beans contain less than 25% moisture content, typically using grade B beans
- Double the amount of beans if you want to make double-fold extract
You can use either grade A or B vanilla beans, though the ratio accounts for the higher moisture content in grade A beans.
Remember to completely submerge your beans in the alcohol and store the mixture at room temperature away from direct sunlight.
Shake the bottle weekly and allow at least 8 weeks for full flavor development.
Quality Vs Quantity Factors
Understanding the balance between bean quality and quantity helps you make better decisions when crafting vanilla extract. While you'll need to follow the basic ratio of 1oz beans per 8oz alcohol for home extraction, the quality of your beans greatly impacts the final product. High-quality Bourbon beans with over 0.20% vanillin content and 20% moisture will give you a richer extract compared to lower-grade beans.
| Factor | Impact |
|---|---|
| Bean Grade | Grade A beans have higher moisture, leading to better extraction |
| Vanillin Content | Higher content (>0.20%) produces more complex flavors |
| Bean-to-Alcohol Ratio | More beans mean stronger extract, but quality matters more |
| Alcohol Strength | 70% concentration ideal for vanillin extraction |
You'll want to weigh your beans rather than count them, as sizes vary considerably. While you might be tempted to add more beans to compensate for lower quality, it's better to invest in fewer high-quality beans. Grade A beans with high vanillin content will provide over 300 flavor compounds, creating a more nuanced extract. If you're using grain alcohol, you'll get faster extraction, but consider that different spirits like bourbon or rum can add complementary flavors to your final product.
Adjusting For Extract Strength
Creating the perfect vanilla extract strength depends on your recipe needs and flavor preferences. You'll need to decide between single-fold and double-fold extracts, which differ markedly in their bean-to-alcohol ratios. For single-fold, you'll use about one ounce of beans per eight ounces of alcohol, while double-fold requires twice that amount.
For standard single-fold extract, use 4-6 vanilla beans per 8 ounces of alcohol. This ratio matches store-bought vanilla extract strength, making it perfect for most recipes. If you're making double-fold extract, you'll need to double the beans while keeping the alcohol amount constant. Remember, you'll only need half as much double-fold extract in your recipes.
- Single-fold ratio: 8-12 beans per 16 ounces alcohol
- Double-fold ratio: 16-24 beans per 16 ounces alcohol
- Reuse potential: 2-4 times per bean, with diminishing strength
- Steeping adjustment: Longer steeping time increases strength
You can customize your extract's strength by adjusting these ratios and steeping times. The quality of your beans matters too – fresher, higher-quality beans will produce stronger extract regardless of the ratio you choose.
Splitting and Processing Beans
Before diving into vanilla extract creation, properly splitting and processing your vanilla beans sets the foundation for success.
Start by placing your bean flat on a clean cutting board, with the curved tip facing left. If the bean feels stiff, gently massage it to increase flexibility and prevent breakage during cutting.
Position your sharp knife's tip in the center of the bean, just below the curled end. Carefully slice down the length, cutting only through the top layer. You'll want to pull the bean along the knife rather than pushing down, which helps avoid cutting too deeply. For better control, you can make two passes to guarantee a clean split that exposes the flavorful seeds inside.
Once split, hold the bean firmly and scrape the interior with your knife blade to collect the tiny seeds. Multiple passes ensure you've gathered all available seeds.
Don't discard the bean husk – it's perfect for making extract. While you won't eat the husk raw, it'll release its remaining flavors during the extraction process. Store any unused husks in an airtight container to maintain their quality and prevent drying.
Mixing and Storage Instructions
Once you've prepared your vanilla beans, proper mixing and storage techniques will determine the quality of your extract.
You'll need to combine 4-6 vanilla beans with 8 ounces of vodka in a clean glass jar, guaranteeing the beans are completely submerged. While vodka is ideal for its neutral flavor, you can also use rum, bourbon, or brandy as alternatives.
Store your extract in a cool, dark place away from direct sunlight, and keep the jar tightly sealed to maintain freshness. With proper storage, your homemade vanilla extract can last anywhere from 10 to 20 years, making it a worthwhile investment.
- Shake your jar weekly to promote even infusion and monitor the darkening color
- Check periodically to confirm the alcohol level remains above the beans
- Label your jar with the date to track aging progress
- Consider making multiple batches to maintain a continuous supply
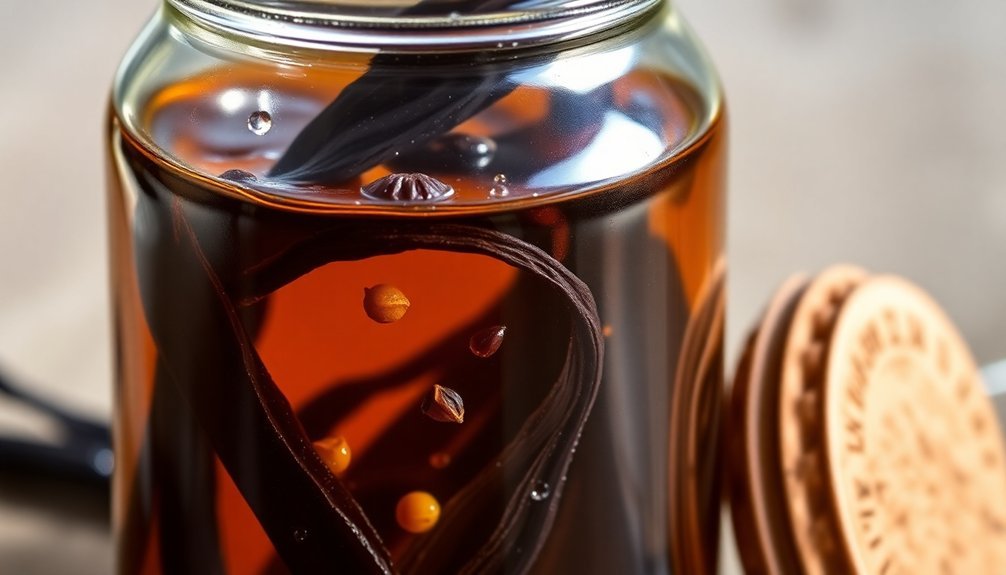
You'll know your extract is ready when it no longer smells mainly of alcohol and has developed a rich, dark color.
Remember that you can reuse the vanilla beans for subsequent batches, though the flavor may be less intense each time.
Aging and Flavor Development
Proper aging transforms your vanilla extract from a harsh alcohol mixture into a rich, complex flavoring. You'll need to age your extract for at least 4 months to achieve peak flavor, though some find it usable after 2 months. For the best results, you can continue aging up to 6 months or even a year, when the flavor development typically levels out.
Store your extract in a cool, dark place, maintaining a temperature between 60-65°F (16°C to 18°C). Keep it away from direct sunlight to preserve its quality.
During the aging process, you'll notice the harsh alcohol bite gradually mellowing out as sweet, complex vanilla notes develop. If you've used more vanilla beans (3 or more per 8 oz), you'll achieve a smoother flavor faster. With fewer beans, plan on aging closer to 6 months.
The quality of your vanilla beans directly affects the final product, so using high-quality beans will give you better results. When stored properly, your extract will maintain its flavor quality for years.
For enhanced flavor development, you might consider traditional methods like aging in oak barrels.
Monitoring and Maintenance Tips
To maintain your vanilla extract's quality, you'll need to monitor its storage conditions and perform regular inspections. Keep your extract in a cool, dark place between 60-70°F (15-21°C), away from direct sunlight and heat sources like stoves or ovens. Choose a dark glass or amber-colored bottle that's airtight to protect against light damage and oxidation.
When storing your vanilla extract, you should:
- Check the bottle's seal regularly and verify it's tightly closed after each use, washing the neck and cap before reclosing to prevent contamination.
- Inspect the extract periodically for signs of degradation, including changes in color, clarity, or unusual odors.
- Transfer the extract to smaller bottles as you use it to minimize air exposure, always using clean glass containers.
- Label your bottles with purchase dates and monitor the extract's age to track its shelf life.
Don't store your extract in the refrigerator or freezer, as temperature fluctuations and condensation can compromise its quality.
If your extract thickens due to cold temperatures, let it return to room temperature before using it. Discard the extract immediately if you notice any signs of mold or contamination.
Using Your Homemade Extract
Your homemade vanilla extract will shine in baked goods, creating richer flavors in everything from cakes to cookies.
Store your extract in a dark glass bottle away from direct sunlight to maintain its potency and prevent degradation of the flavor compounds.
When baking, you'll find that your pure homemade extract may be more concentrated than store-bought versions, so start with slightly less than what recipes call for and adjust to taste.
Baking With Pure Extract
Successfully baking with pure vanilla extract requires understanding its unique properties and effects on your recipes. When you use pure extract, you'll notice it brings out the sweetness of sugar while adding complexity to your baked goods.
It's particularly effective at reducing eggy flavors in recipes and enhancing buttery notes in your pastries. Unlike imitation vanilla, pure extract offers a richer, more nuanced flavor profile that harmonizes all ingredients.
You might find that it actually tastes less overtly vanilla-like but creates a more sophisticated end product. In some recipes, you'll notice it affects texture, particularly in cookies where it can influence spread.
- For no-bake recipes like whipped cream, always use pure extract as the flavors won't be altered by heat.
- When working with brown sugar, add pure extract to develop a deeper caramel-vanilla flavor.
- In recipes where vanilla isn't the star flavor, use it to balance and enhance other ingredients.
- For cookies and cakes, measure precisely as the extract can affect both texture and spread.
Remember that while some recipes can succeed without vanilla, its presence often makes the difference between good and exceptional baked goods.
Extract Storage Methods
Proper storage methods guarantee your homemade vanilla extract maintains its rich flavor profile for years to come.
You'll want to keep your extract in clean, airtight containers, ensuring the vanilla beans remain completely submerged in alcohol. Leave a small gap between the liquid and the bottle's top to prevent pressure buildup.
Store your extract in cool, dark places away from heat sources and direct sunlight. Your kitchen cupboards work well, as long as they're not near your stove or oven. Keep the temperature between 60-80°F, and don't refrigerate or freeze your extract, as extreme temperatures can compromise its integrity.
Avoid placing bottles near windows or in humid areas that could affect the extract's quality.
Your homemade extract will be ready to use after 3-4 months, though its flavor continues to develop over time. When stored correctly, pure vanilla extract can last indefinitely.
You'll want to perform occasional sniff tests to verify its viability. Remember to keep containers tightly sealed to prevent contamination. If you're using dark-colored bottles, you'll provide additional protection against light exposure, which helps preserve the extract's flavor and aroma.
Frequently Asked Questions
Can I Reuse the Vanilla Beans From My First Batch for Another Extract?
Yes, you can reuse vanilla beans for another batch of extract, but they'll have less flavor. For best results, combine them with fresh beans and add more alcohol to maintain the extract's potency.
Will the Extract Get Stronger if I Leave the Beans in Permanently?
Yes, your extract will continue to get stronger if you leave the beans in permanently. As long as they're submerged in alcohol, they'll keep infusing flavor and the extract will become richer over time.
Does Homemade Vanilla Extract Need to Be Refrigerated After Opening?
No, you don't need to refrigerate homemade vanilla extract after opening. In fact, you shouldn't – refrigeration can reduce its complex flavor profile. Just store it in a cool, dark place at room temperature.
Can I Mix Different Types of Vanilla Beans in One Batch?
Yes, you can mix different vanilla bean varieties in one batch. It's a great way to create complex flavor profiles. Combining Madagascar and Tahitian beans will give you rich, deep notes with floral undertones.
What Happens if Some of the Vanilla Beans Float to the Top?
If your vanilla beans float, you'll need to add more alcohol to cover them completely. You don't want exposed beans as they can develop mold. Regular shaking helps keep them submerged.
In Summary
You'll find making vanilla extract is a rewarding project that's well worth the wait. After following these steps and giving your extract proper aging time, you're ready to enjoy a high-quality product that rivals store-bought versions. Keep experimenting with different bean varieties and alcohol bases to discover your perfect blend. Don't forget to start your next batch before this one runs out!


Leave a Reply