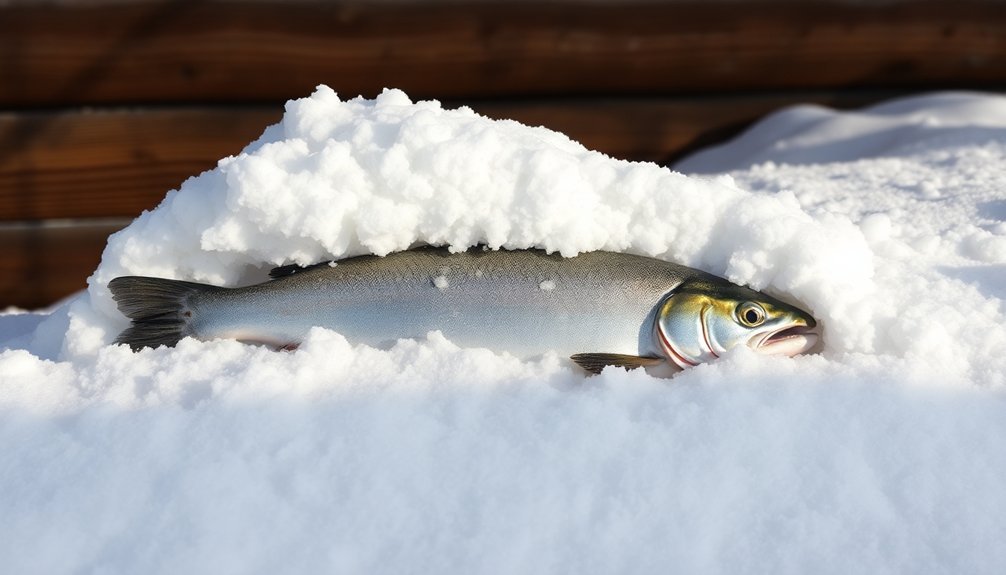
To pack fish in snow using traditional Arctic methods, you'll need to dig a snow nest on a northern slope or deep gully with thick snow coverage. Start by cleaning and patting your fish dry, then layer them with ice chips and birch branches in the snow cave. Cover the nest with tundra branches, peat, and moss for insulation, maintaining temperatures between 0-4°C. Add a protective tarpaulin or skin cover to shield against rain and sunlight. When done properly, this method can preserve your catch for up to a month or longer in cold conditions. The ancient wisdom behind these techniques holds many more secrets for successful fish storage.
Understanding Snow Storage Fundamentals
For proper insulation, you'll need to cover the layers with a combination of branches, peat, and moss.
Maintaining a temperature range of 0°C to 4°C is crucial for preserving freshness during snow storage.
Top it off with tarpaulins or old skins to protect against rain, which can considerably speed up melting.
This traditional Arctic storage method can preserve your fish for up to a month, sometimes longer in colder years.
Selecting the Perfect Storage Location
Choosing the right storage location for your fish is essential for maintaining its freshness and quality. If you're traveling through Anchorage, you'll find convenient storage options at Ted Stevens International Airport. You can use Huntleigh USA on level 1 near baggage carousel 4, or Alaska Luggage & Seafood Shipping Services on the second level.
For daily and weekly rates, you can store boxes up to 50 pounds at local seafood processors.
Don't forget your boarding pass and ID to access these facilities.
For professional processing and storage, consider local seafood processors. 10th & M Seafood, Alaska Sausage and Seafood, and J-Dock Seafood in Seward offer extensive services including cutting, cleaning, and shipping. They'll even smoke or kipper your fish if you'd like.
If you're storing fish at home, place it in the coldest part of your refrigerator, maintaining a temperature of 40°F or lower. Use a thermometer to verify the temperature.
When freezing, wrap your fish in airtight, moisture-proof bags or use plastic wrap with freezer paper. Label everything clearly and guarantee proper air circulation in your freezer.
Don't stack unfrozen fish, as this can lead to damage from large ice crystals. For best results, consider vacuum packaging to prevent freezer burn.
Essential Tools and Materials
Once you've secured your storage location, gathering the right tools and materials becomes your next priority. You'll need a combination of fishing equipment and storage tools to guarantee proper handling and preservation of your catch.
| Essential Items | Purpose | Notes |
|---|---|---|
| Ice Auger | Creating holes | Manual or powered |
| Storage Containers | Fish organization | Waterproof required |
| Multi-tool/Pliers | Tackle management | Split ring compatible |
| Line Cutters | Clean cuts | Sharp blades essential |
Your primary tools should focus on both catching and storing the fish effectively. You'll want to pack a reliable ice auger, whether it's gas-powered or manual, to create your fishing holes. Don't forget your skimmer to keep the holes clear of ice and slush throughout your fishing session.
For proper fish handling, you'll need storage containers that are both sturdy and waterproof. These will protect your catch during the packing process. Include basic tackle management tools like split ring pliers and line cutters to handle any gear adjustments. Remember to pack a hook file to maintain sharp hooks, and bring a headlamp or flashlight for visibility during early morning or late evening fishing sessions. A quality first aid kit should always be included in your gear for addressing potential injuries or emergency situations.
Snow Nest Construction Steps
You'll need to start by finding a shaded gully on a northern slope where snow accumulates deeply and naturally lasts into summer.
Once you've selected your site, begin hollowing out a cave-like structure in the packed snow, making sure the walls are thick and sturdy enough to maintain their shape.
You'll then create a layered system within the cave, using branches and tundra materials to cover the entrance while ensuring proper ventilation for long-term storage.
Site Selection and Planning
To successfully construct a snow nest for fish storage, proper site selection and planning are critical first steps.
You'll want to focus on deep gullies along northern slopes of hills and riverbanks where snow naturally accumulates. Look for narrow gullies that can protect your storage from rain, which is the primary cause of snow melting.
When choosing your site, consider regional timing variations – snow can last until mid-July on Obsk Bay's southern coast and early August on the Gedana Peninsula.
You'll need to make sure your chosen location is easily accessible for loading and unloading fish while staying away from streams or areas with unstable soil conditions.
Plan your snow nest's orientation carefully by positioning the entrance toward the coldest winter winds.
You'll need to gather insulation materials like tundra branches, peat, and moss before construction begins.
Consider how you'll manage drainage – it's crucial to design a system that allows water and condensate to flow out without compromising your stored fish.
Don't forget to plan for minimal ventilation to prevent unwanted odors while maintaining the cold temperature needed for preservation.
Layer by Layer Assembly
Building a snow nest requires careful attention to each layer's placement and composition.
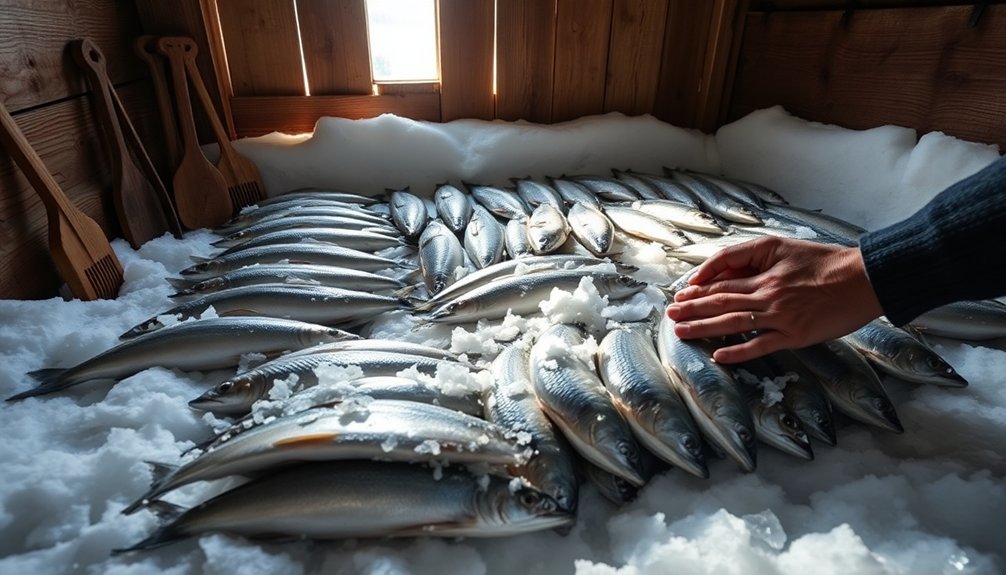
You'll start by laying slender birch branches on the ice to create a stable foundation that allows proper drainage. This base layer is essential for preventing water from pooling around your stored fish.
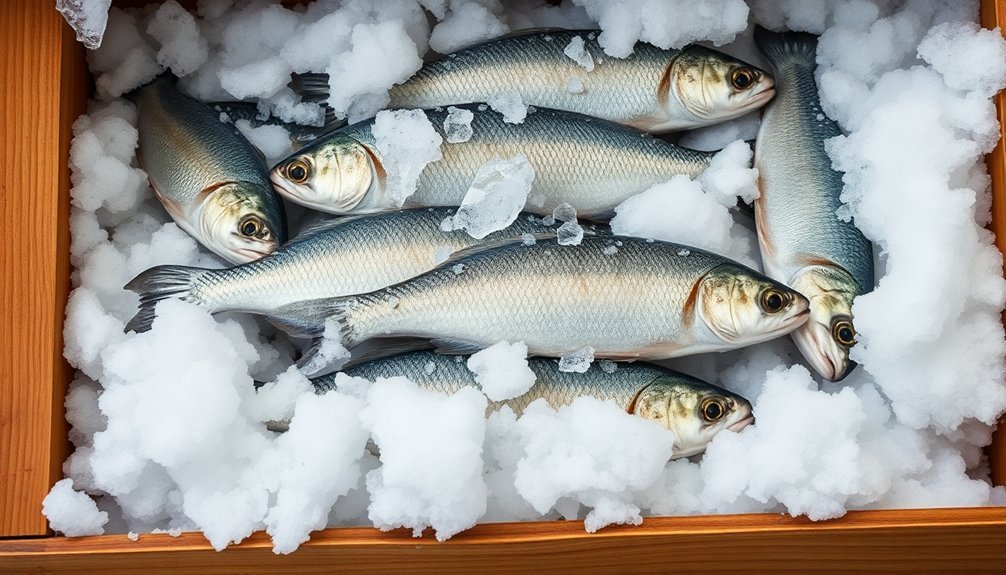
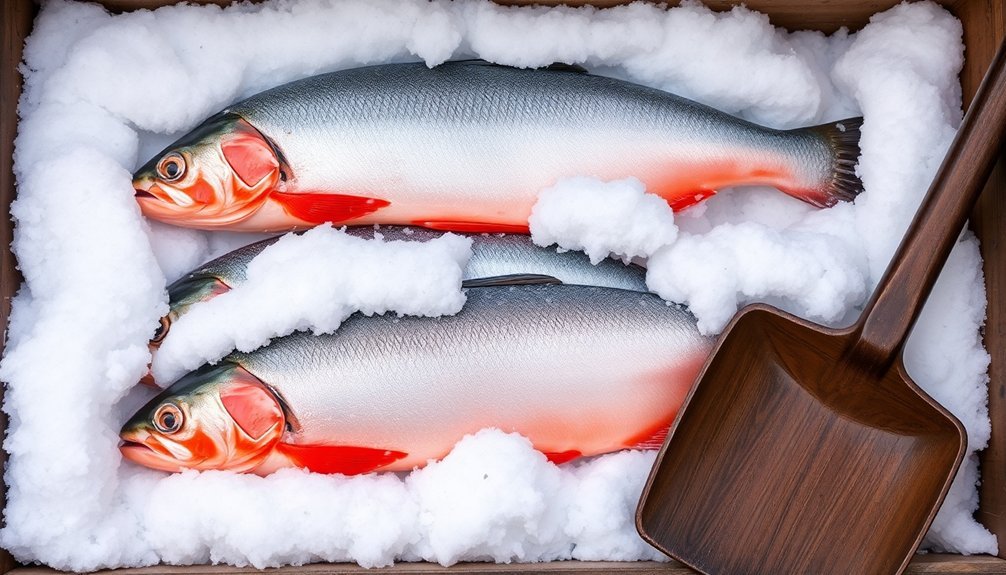
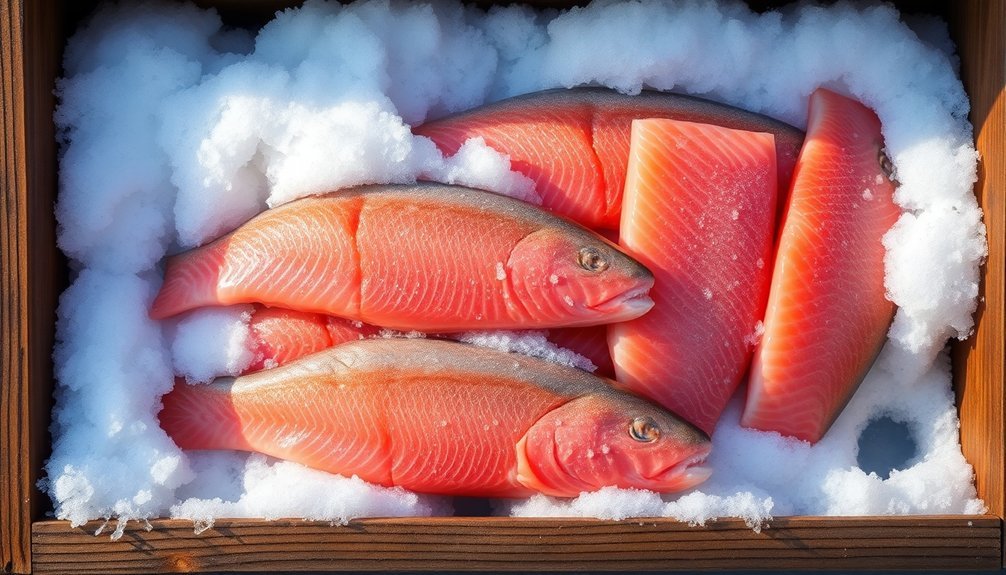
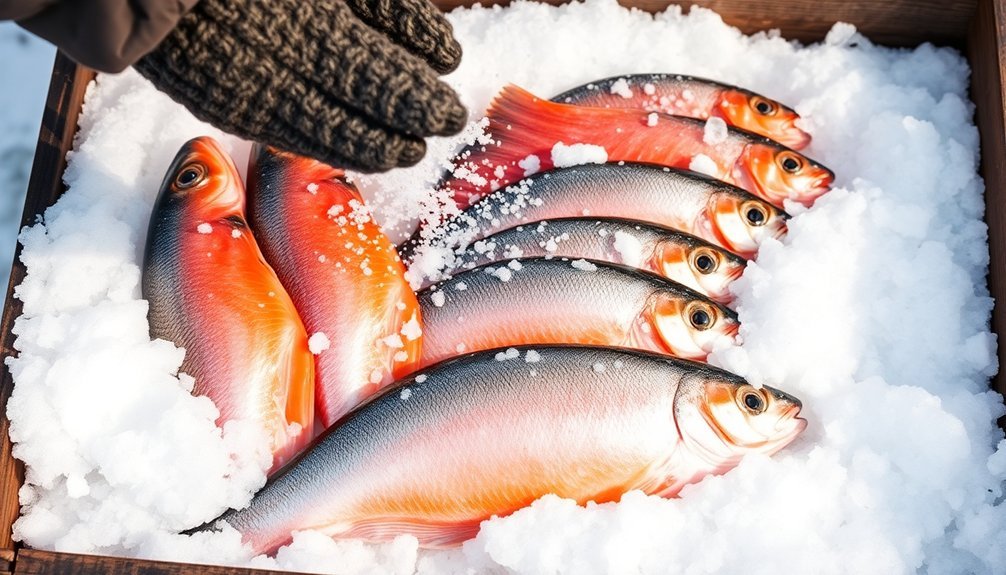
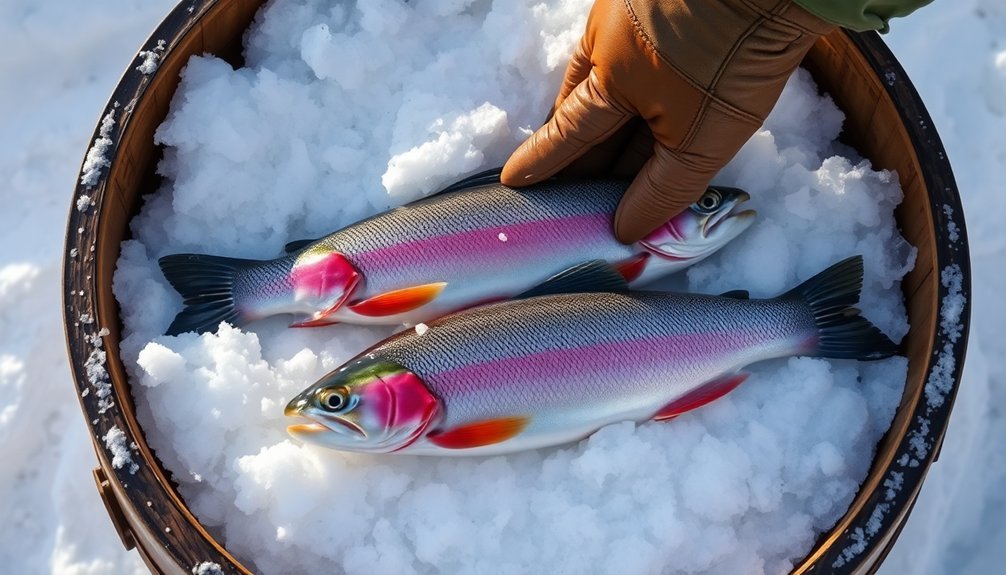
Next, you'll stack your fish in organized layers, placing ice chips between each layer to maintain consistently cold temperatures.
As you build up the layers, make sure you're filling any gaps with additional ice chips to prevent warm air pockets. Once you've arranged all your fish, you'll cover them with a protective layer of snow.
For insulation, you'll add multiple covering layers. Start with tundra branches directly over the fish, then add alternating layers of peat and moss.
The final top layer should form a pyramidal shape to direct water flow along the pit walls rather than through your fish stack.
Complete the structure by covering the turf with tarpaulins or old skins to protect against rain.
When properly constructed, your snow nest can preserve spring fish like Smelt, Chebak, and Plum perch for a month or longer, especially during colder years.
Proper Fish Preparation Methods
For successful fish storage and cooking, proper preparation is essential from the moment you catch your fish to when it hits the plate. Start by thoroughly cleaning your catch, removing any debris or blood. You'll need to debone and filet the fish carefully, paying special attention to smaller species like crappie or bluegill.
Once you've completed the initial cleaning, rinse the filets under cold water and pat them dry to remove excess moisture.
- When you're ready to freeze your catch, lay the filets flat in freezer bags without overlapping to guarantee even freezing. Remove as much air as possible using a vacuum sealer or manual method before sealing.
- Store your fish at 0°F (-18°C), and once frozen, add a thin layer of water around the filets to prevent freezer burn.
- When it's time to cook, thaw your fish in cold water only – never hot water, as this can ruin the texture.
Before cooking, pat the thawed fish dry and brush it with your chosen fat. You can then grill for 2-4 minutes per side, bake at 400°F for 8-10 minutes, or pan-sear for 1-2 minutes per side, depending on your preferred method.
Layer Stacking Techniques
When packing fish for transport, proper layer stacking makes all the difference between success and spoilage. Start with a foam cooler that has 1½-inch-thick walls, as this insulation is essential for maintaining consistent temperatures throughout the journey.
Begin your layering process by placing gel packs or dry ice at the bottom of the container. You'll want to wrap each fish individually in moisture-proof cellophane, followed by freezer-safe materials like plastic wrap or freezer bags.
Don't forget to add a secondary bag to catch potential drips. As you stack the fish, place them in neat layers, filling any gaps with lightly wadded newspaper or paper towels to prevent shifting.
Continue layering until you're near the top, then add another layer of gel packs or dry ice. You'll need to maintain temperatures at 0°F or lower for long-term storage, or below 38°F for short trips.
Remember to reinforce your container by taping all flaps and seams with 2-inch-wide tape. If you're using dry ice, don't create an airtight seal – the container needs some ventilation.
Finally, clearly label your package with "Perishable — Keep Refrigerated" and the contents.
Snow and Ice Packing
When selecting a snow storage site, you'll want to focus on northern slopes and deep gullies where snow naturally accumulates until late summer.
To begin packing, create a snow nest by digging a cave in thick snow, then stack your fish with layers of ice chips and slender birch branches to maintain consistent cold temperatures.
Cover the entire structure with tundra branches, peat, and moss, topped with tarpaulins or skins to shield against rain and sunlight, which will extend your storage time up to a month or longer.
Selecting Perfect Snow Sites
Selecting the perfect snow site for fish preservation requires careful consideration of both terrain and environmental conditions.
You'll want to focus on deep gullies along northern slopes of hills and riverbanks, where snow naturally accumulates and persists longer. These locations offer natural protection from rain and direct sunlight, which are major factors in premature snow melting.
For ideal snow storage conditions, you'll need to verify these critical elements:
- Snow depth must be substantial enough to construct a proper storage cave, ideally in areas where snow typically lasts until mid-July or early August.
- The site should have natural insulation features and be protected from rainfall, preferably with existing thick snow layers.
- The location must be easily accessible for both construction and maintenance while offering proper drainage to prevent water accumulation.
Look specifically for sites along the southern coast of Obsk Bay or the Gedana Peninsula, where snow conditions are typically ideal.
The snow at your chosen site should maintain a consistent below-freezing temperature and have the right moisture content – neither too wet nor too dry – to guarantee stable, long-term storage conditions.
Layering Fish With Ice
Mastering the layering technique is essential for proper fish preservation in snow and ice. You'll want to start by creating a thick bed of ice at the bottom of your storage container. Place your first layer of fish on top, ensuring they're in direct contact with the ice for effective cooling.
For successful preservation, you'll need to maintain proper ice-to-fish ratios. Use at least one kilogram of ice for every kilogram of fish, but if you're in a tropical climate, you'll need to increase this to two kilograms of ice per kilogram of fish. Pack ice generously around the sides and between each layer of fish.
Don't stack your layers beyond half a meter in height, as this can prevent efficient cooling. Make sure you're distributing the ice evenly throughout the container, paying special attention to the corners and sides where heat transfer occurs most rapidly.
Your container should have proper drainage to remove melted ice water, which helps maintain hygiene.
Remember to monitor and replenish the ice as needed, especially during longer storage periods. The amount you'll need depends on factors like ambient temperature, storage duration, and your container's insulation properties.
Protective Covering Techniques
Beyond proper ice layering, protective covering plays an essential role in maintaining your fish storage system.
You'll need to create multiple protective barriers to guarantee your fish stays preserved for extended periods, particularly against rain which is the primary cause of snow melting in these regions.
Start with these necessary covering layers:
- Place tundra branches directly over your fish and snow layers – they'll help maintain cold temperatures while deterring predators.
- Add a layer of peat and moss above the branches to create an insulating barrier against external elements.
- Top everything with a tarpaulin or old deerskin to provide vital rain protection.
When you're building these protective layers, make certain you're allowing for proper condensate flow out of the storage system.
If you're storing in permafrost areas, consider fumigating your fish with juniper or larch shavings before storage – this practice enhances preservation.
Your covering technique should focus on preventing direct sunlight exposure and maintaining consistent cold temperatures.
With proper protective covering, you can preserve your fish for a month or longer, especially during colder years when conditions are ideal.
Natural Insulation Materials
Preserving fish through natural insulation methods has been a time-tested practice, particularly in Arctic regions where traditional materials remain highly effective. You'll find that nature provides an array of insulation options that work together to maintain ideal storage temperatures.
| Material Type | Primary Function |
|---|---|
| Snow and Ice | Creates base insulation and maintains low temperatures |
| Moss and Turf | Provides additional protective layers and prevents melting |
| Deerskin/Tarpaulins | Serves as weather-resistant covering |
| Larch/Birch Bark | Reinforces storage structure and adds insulation |
When building your storage system, you'll want to start with a snow base, which acts as a natural insulator. Layer your fish with ice chips between each row to guarantee even cooling. Add organic materials like larch bark and birch branches to reinforce the structure while providing additional insulation. You can enhance the insulation by incorporating moss and turf layers throughout the storage area.
For the outer covering, you'll need deerskin or tarpaulins to protect against external elements and prevent premature melting. In permafrost regions, you can dig storage pits and line them with oily clay for extra insulation properties.
Weather Protection Strategies
You'll want to secure your fishing spot with a reliable rainproof snow cover that extends beyond your immediate area to shield against unexpected precipitation and wind.
When selecting a natural shelter, look for dense tree coverage or rock formations that block prevailing winds while still allowing access to prime fishing locations.
Your chosen spot should offer protection on at least three sides while maintaining a clear path to safely reach your vehicle if weather conditions worsen.
Rainproof Snow Cover Design
Implementing effective weather protection starts with choosing the right snow cover material. For ideal fish preservation, you'll want to use marine-grade Aqualon Edge vinyl-coated polyester fabric, which offers exceptional waterproofing and durability in harsh winter conditions. This material stays flexible even in extreme cold, ensuring your snow-packed fish remain properly protected from the elements.
When designing your snow cover, focus on these critical features:
- Use 8.75 oz. vinyl-coated polyester fabric that's UV-resistant and waterproof to maintain consistent temperature control for your preserved fish.
- Install secure attachment points using neodymium rare earth magnets to prevent wind from displacing your cover during storms.
- Include protective binding along the edges to reinforce durability and prevent moisture seepage.
You'll want to size your cover appropriately, ensuring it's wide enough to completely shield your snow-packed fish storage area. For most traditional storage methods, a cover measuring 69-75 inches wide provides adequate coverage.
The material's 7-year warranty against environmental damage means you won't need frequent replacements, making it a reliable choice for long-term fish preservation in harsh winter conditions.
Natural Shelter Selection
Successful fish preservation in snow requires selecting natural shelters that optimize cold retention. You'll want to focus on deep gullies along northern slopes of hills and riverbanks where snow naturally accumulates. These locations offer natural protection from direct sunlight and strong winds, helping maintain consistently cold temperatures.
When choosing your storage site, look for areas with permafrost, as they provide excellent natural refrigeration for long-term storage. You'll need to verify your chosen location is accessible for loading and unloading, preferably near transportation routes while still maintaining distance from areas with heavy traffic or disturbance.
For ideal shelter design, you should construct your storage facility with a drainage system that prevents water accumulation. Install wooden pillars and boards for reinforcement, and use larch poles for flooring to guarantee proper insulation.
Don't forget to include ventilation features, such as a window at the top of the entrance door. Make sure the entrance is designed to keep out Arctic foxes and other predators.
You'll also want to position your shelter so that it's protected from rain and excessive sun exposure, using natural terrain features to your advantage whenever possible.
Temperature Monitoring and Control
Maintaining proper temperature control throughout the packing process stands out as one of the most critical aspects of fish preservation. You'll need to chill your fish below 1°C before packing to minimize meltwater, while guaranteeing it doesn't freeze. For long-term storage, maintain temperatures at -20°F to stop bacterial growth effectively.
To achieve ideal temperature control, you'll find several reliable cooling methods:
- Use CO2 snow (dry ice) for precise temperature management during transport – it's non-toxic, odorless, and can be formed into convenient blocks or pellets.
- Apply slurry ice cooling (SIC) or combined blast and contact cooling (CBCC) for effective precooling.
- Monitor temperatures continuously using modern tracking systems to maintain an uninterrupted cold chain.
You should pack your fish in high-quality EPS boxes, which excel at maintaining low fillet temperatures. Consider using moisture-proof cellophane and fibreboard boxes to prevent dehydration.
Common Storage Challenges

Even with proper temperature control measures in place, you'll face several key storage challenges when packing fish. Heat infiltration through vessel sides and deckheads poses a constant threat, especially in tropical regions where you'll need extra ice layers for protection.
You'll also need to manage meltwater runoff, which can be particularly problematic if you don't have watertight crates or collection tanks installed.
Space management presents another significant challenge. You'll need to balance your ice requirements with available hold space while considering your trip length and expected catch. If you're working with an uninsulated hold, you'll require substantially more ice, which further restricts your storage capacity.
While insulated tubs with chilled seawater can help save space, you'll still need to carefully plan your ice distribution.
Proper stowage techniques are essential but challenging to maintain. You'll need to avoid overfilling shelves and boxes to prevent crushing damage, while ensuring complete ice coverage under, around, and on top of the fish.
If you're operating in warmer climates, you'll face increased ice melting rates, requiring more frequent monitoring and potentially additional ice-making capabilities onboard.
Fish Quality Preservation Tips
From the moment you catch your fish, proper preservation techniques become critical for maintaining quality.
You'll want to keep your catch alive as long as possible using monitored live wells or mesh baskets. Once the fish is out of water, clean it thoroughly, paying special attention to the body cavity, and chill it immediately to slow bacterial growth.
Temperature control is your primary defense against spoilage. You'll need one pound of crushed ice for every two pounds of fish, and maintaining temperatures below 40 degrees Fahrenheit will preserve your catch for up to three days.
For longer storage, freezing at temperatures below -18°C will stop bacterial growth completely.
Here are three proven preservation methods you can use alongside proper temperature control:
- Vacuum pack your fish before refrigerating or freezing to prevent oxidation and extend storage life
- Apply salt to draw out moisture and create an environment that inhibits bacterial growth
- Use Modified Atmosphere Packaging (MAP) to replace air with preservation-friendly gases like nitrogen and carbon dioxide
Traditional Storage Best Practices
Traditional storage methods have stood the test of time, combining natural elements with careful engineering to preserve fish quality.
You'll find ice cellars particularly effective when dug into northern slopes, where you should reinforce them with wooden pillars and cover the floors with larch poles. Don't forget to include a drain lined with birch and larch bark to prevent unwanted odors.
When using frozen wells or snow nests, you'll want to cover them properly with wooden boards, branches, or old deerskin. These structures can keep your fish fresh for up to a month.
For longer storage, consider building permafrost pits, where you'll need to layer your fish with larch branches and oily clay for winter preservation.
If you're working with bony fish, Arctic fish pits are your best option. Make certain you're reinforcing the walls with larch branches and coating them with oily clay.
You'll need to monitor the temperature regularly, keeping it as close to freezing as possible. Remember to position your storage facility away from direct sunlight and guarantee proper drainage to maintain ideal preservation conditions.
Frequently Asked Questions
How Does Fish Texture Change When Stored in Snow Versus Modern Freezers?
You'll notice fish stored in snow develops large ice crystals and a porous texture due to slow freezing. In modern freezers, you'll get better texture preservation through quick freezing that forms smaller, more uniform crystals.
Can Traditional Snow Storage Methods Be Adapted for Other Types of Meat?
You can adapt snow storage for various meats since it maintains ideal temperatures and humidity. You'll need to guarantee proper wrapping and rodent-proof containers. It's particularly effective for aging and preserving red meats.
What Indigenous Communities Historically Developed These Snow Storage Techniques?
You'll find these snow storage techniques were primarily developed by Arctic peoples like the Inuit, Yupik, Nenets, and Zyrian communities, who mastered using natural ice and snow for preserving their food supplies.
Does Snow-Packed Fish Develop Different Flavors Compared to Conventionally Frozen Fish?
You'll notice snow-packed fish can develop subtly different flavors compared to blast-frozen fish. The slower cooling process allows slight enzymatic changes, while maintaining moisture, but rapid freezing better preserves the original taste.
How Do Different Fish Species Respond to Traditional Snow Storage Methods?
You'll find that fatty fish like salmon spoil faster in snow storage, while leaner fish like cod keep better. White-fleshed fish typically maintain their texture longer than oily species during traditional snow storage.
In Summary
Learning traditional snow packing methods allows you to preserve fish without modern refrigeration. You'll find this technique invaluable during power outages, outdoor adventures, or when pursuing a more sustainable lifestyle. By following proper temperature control, location selection, and fish preparation steps, you're able to maintain your catch's quality for extended periods. Remember, while it's an age-old method, you're still responsible for monitoring storage conditions to guarantee food safety.


Leave a Reply