To harden potatoes for winter storage, you'll need to cure them properly after harvest. Start by letting your potatoes dry in a dark space at 45-60°F with 85-90% humidity for 7-10 days. Once cured, sort through your crop and remove any damaged tubers, as they won't store well. Place your sorted potatoes in breathable containers with good air circulation, maintaining temperatures between 32-40°F and humidity at 90-95%. Don't forget to check regularly for sprouting or soft spots. With these essential steps, you'll create ideal conditions for long-term storage, but there's more to maximizing your potato preservation success.
When to Harvest Your Potatoes
Different varieties have specific maturation periods – early varieties take 90-110 days, while mid-early to late varieties need 120-160 days.
Consider your local climate when timing your harvest.
The appearance of yellowing and drying plant tops provides a clear indication that your tubers are mature and ready for digging.
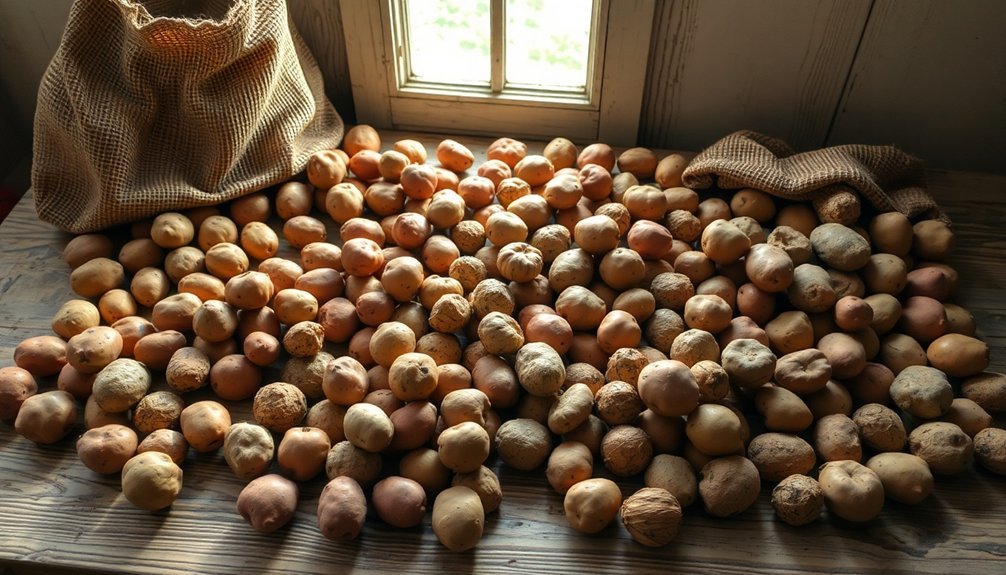
The Perfect Curing Environment
Creating the perfect curing environment is essential for preparing potatoes for long-term winter storage. You'll need to maintain temperatures between 45 and 60°F, as anything higher can reduce storage life, while temperatures below 40°F will cause your potatoes to develop an unwanted sugary taste. It's vital to keep these temperatures consistent throughout the curing process.
You'll want to maintain relative humidity between 80 and 95%, with 85-90% being ideal for skin thickening and healing. This high humidity helps repair minor cuts and bruises on your potatoes. The curing process typically takes seven to ten days for optimal results.
Make sure you're keeping your potatoes in complete darkness, as light exposure can lead to green skin formation and toxic solanine production. You can cover them with a light blanket or fabric row cover to achieve this.
Don't forget about proper airflow – lay your potatoes in a single layer rather than stacking them, which allows them to breathe properly. Leave the dirt on them to minimize skin damage, but clean and sort them before placing them in your curing space.
Handle them gently throughout the process to prevent damaging their skins.
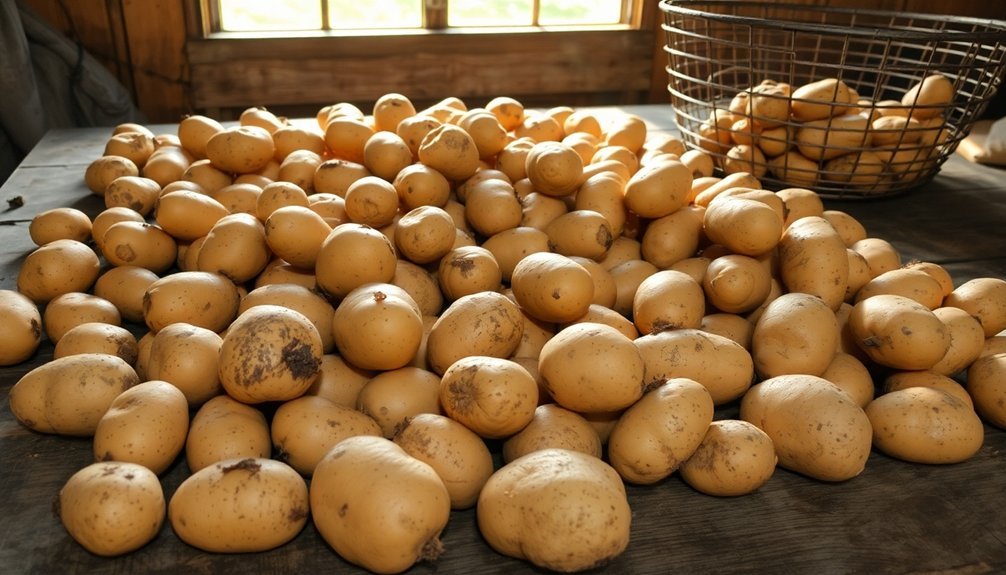
Sorting and Grading Methods
Start your sorting process by separating potatoes into uniform size categories, from small fingerlings to large baking potatoes, which helps guarantee even storage conditions and cooking times.
You'll need to carefully check each potato for cuts, bruises, soft spots, and signs of disease, setting aside any damaged ones for immediate use.
Make certain you're thorough in your inspection, paying special attention to the eyes and skin texture, as even minor blemishes can lead to spoilage during winter storage.
Select potatoes that were left in the ground until their plant tops withered for the best storage candidates.
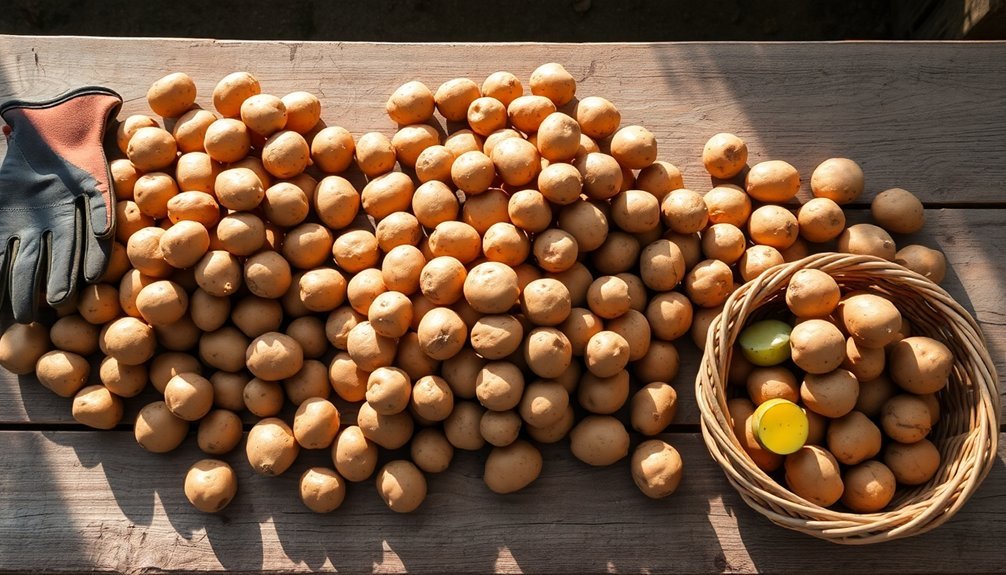
Size-Based Sorting Categories
The potato industry relies on seven primary size categories, ranging from Size A through Size H, to efficiently sort and grade potatoes for storage and distribution.
You'll find Size A potatoes are the largest, measuring 1.75 to 2.5 inches in diameter and weighing over 10 ounces – these are typically your grocery store Russets. Size B potatoes fall between 1.5 and 2.25 inches, weighing 5-10 ounces, and they're particularly popular in European markets.
When you're sorting your harvest for winter storage, you'll want to separate the smaller Size C potatoes (under 1.5 inches) from the rest, as they're often better suited for seed potatoes.
Sizes D through H represent progressively smaller categories, with diameters ranging from 1.25 inches down to just 0.25 inches. While you don't need to be as precise as commercial graders, it's helpful to sort your potatoes into at least three main groups: large (A-B), medium (C-D), and small (E-H).
This size-based organization helps you better manage your storage space and guarantees you'll use the right-sized potatoes for different cooking purposes throughout the winter months.
Defect Inspection Guidelines
Beyond sorting potatoes by size, you'll need to carefully inspect your harvest for defects to guarantee successful winter storage. When examining your potatoes, focus on identifying both external and internal defects, as they'll greatly impact storage success. You shouldn't exceed 10% total defects in your storage batch, with no more than 7% external defects and 7% internal defects.
Pay special attention to these critical inspection points:
- Check for soft rot, decay, or wet breakdown – discard any potatoes showing these signs as they'll quickly spread to others.
- Look for serious damage including deep growth cracks or severe bruising that exceeds 5% of the potato's surface.
- Examine for loose sprouts, excess dirt, or foreign materials which shouldn't exceed 2% of the total batch.
When you find defects, trim them properly using flat, curved, or scoop cuts – never use vee-cuts or boring cuts. Each potato should feel moderately firm when squeezed.
If you're storing a large harvest, consider using a systematic inspection approach, checking each potato individually while maintaining efficient processing speed. Remember, proper defect inspection now will prevent storage problems later.
Root Cellar Setup
Set up your root cellar with sturdy shelves that have 2-inch gaps between the walls to promote proper air circulation.
You'll need to maintain temperatures between 32-40°F and humidity levels of 90-95% for ideal potato storage through winter.
Control the environment by using a small fan to prevent mold growth, and sprinkle water on gravel floors when needed to maintain high humidity levels.
Building Proper Storage Shelves
Building proper storage shelves inside your root cellar requires careful attention to both structure and spacing. You'll need to construct shelves that maximize airflow while providing stable storage for your potatoes.
The ideal shelf depth shouldn't exceed 16 inches, which guarantees you can easily reach all stored items and maintains proper air circulation throughout the cellar.
When installing your shelves, maintain an essential 2-inch gap between the shelf backs and the cellar walls. This spacing allows air to flow freely and prevents moisture from becoming trapped.
Use breathable materials like wood for your shelving, and reinforce each shelf with scrap wood bracing to handle the weight of your potato harvest.
Key elements for successful storage shelf construction:
- Keep shelf depth at 16 inches maximum for optimal air circulation
- Install shelves with 2-inch wall clearance to prevent moisture buildup
- Use wooden materials and adequate bracing for stability
Remember to avoid creating shelves that are too deep, as this can lead to poor air distribution and potentially compromise your stored potatoes.
Your storage containers should also promote ventilation, so consider using open-framed shelves or wooden crates that naturally allow airflow.
Controlling Temperature and Humidity
Once your storage shelves are properly built, maintaining the right temperature and humidity becomes your next priority for successful potato storage.
You'll need to keep temperatures between 40-45°F (5-7°C) for ideal long-term storage, though you can store potatoes at 60-75°F (15-25°C) for up to six weeks during summer months.
Your storage area's humidity should stay around 95% without reaching full saturation. To prevent moisture-related issues, maintain air circulation by ensuring the air moves 15-25 times per hour.
During the first week, focus on ventilation to cool down your potatoes and reduce condensation. After that, you'll need less air exchange as the potatoes become dormant.
Keep your storage area completely dark, as light exposure leads to sprouting and green coloration that makes potatoes inedible.
Don't wash your potatoes before storage – this pulls out moisture and promotes rot. Instead, arrange them so they're not touching each other, which helps prevent disease spread.
You can use straw as insulation to maintain stable conditions. Monitor your potatoes regularly for weight loss; they should lose no more than 4% of their weight during storage.
Temperature and Humidity Control

Maintaining proper temperature and humidity levels serves as the cornerstone of successful potato storage.
You'll want to keep your storage area at 40°F (4°C) for fresh market potatoes, while processing potatoes need slightly warmer conditions at 45°F (7°C). The most critical element is maintaining consistent temperature levels, as fluctuations can trigger unwanted sprouting and reduce shelf life.
Your humidity target should be 95%, though 80-90% can work if higher levels aren't achievable. Since potatoes are 80% water, proper humidity prevents shrinkage and maintains quality. You can boost humidity by using humidifiers or placing water-filled pans near your storage area.
Key storage guidelines you'll need to follow:
- Keep temperatures below 45°F to prevent starch from converting to sugar
- Maintain relative humidity between 85-95% to prevent moisture loss
- Allow for a 5-20 day curing period at 65°F before dropping to storage temperature
Remember that balancing these conditions correctly can extend your potatoes' shelf life to 4-9 months.
If you're storing damaged tubers, you'll need to drop the temperature more quickly to prevent breakdown, while healthy potatoes benefit from a gradual cooling process.
Ventilation Requirements for Storage
Proper ventilation serves as one of the three critical pillars for successful potato storage, alongside temperature and humidity control. You'll need to guarantee your ventilation system forces air upward through your potato pile using delivery ducts installed beneath. For best results, maintain a minimum airflow rate of 1.0 cfm/cwt, though you'll need to increase this to 2-2.5 cfm/cwt for wet or damaged potatoes.
| Ventilation Component | Key Requirements |
|---|---|
| Airflow Rate | 1.0 cfm/cwt minimum, up to 2.5 cfm/cwt for wet potatoes |
| Duct System | Underfloor delivery ducts with upward flow |
| Box Stacking | Uniform height, minimal gaps between boxes |
| Space Requirements | 1m clearance at back for air circulation |
Your ventilation system should blend outside air with inside air while maintaining proper temperature and humidity levels. When stacking storage boxes, guarantee they're uniform in height and arranged with minimal gaps to promote efficient air movement. Don't overfill your storage space – leave about 1m at the back to allow air to circulate properly through pallet slots. You can choose between positive ventilation systems, passive ventilation, or space ventilation depending on your specific storage needs.
Container and Material Selection
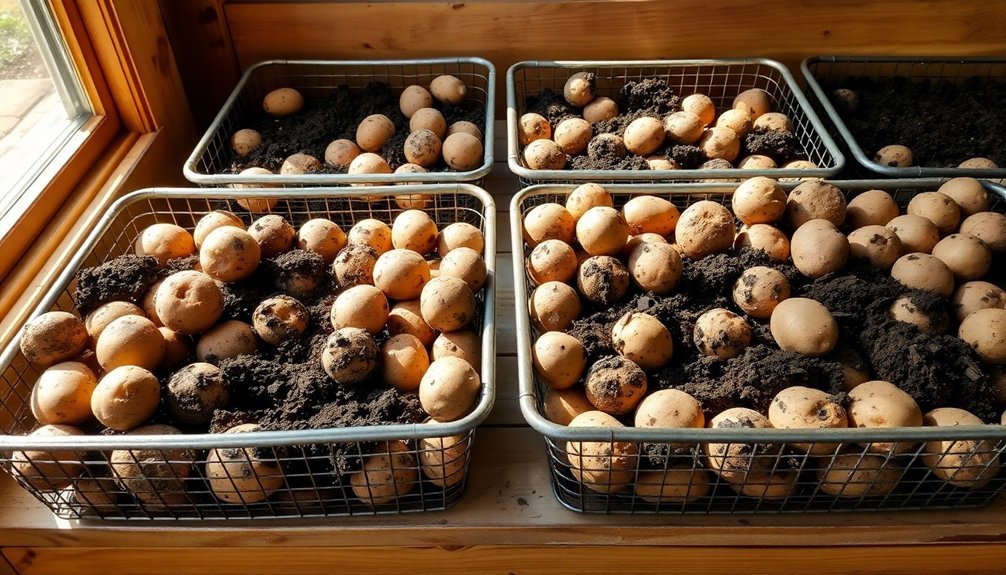
With your ventilation system in place, selecting the right storage containers becomes your next priority. You'll find several effective options, from collapsible crates that hold up to 66 pounds to specialized potato containers with UV-protective bases.
For larger harvests, consider the durability of Smartawood™ storage boxes or metal bins with burlap liners, while smaller harvests can be managed with Tupperware Potato Smart® containers.
Your choice of container material plays a vital role in maintaining ideal storage conditions. Look for these essential features in your storage solution:
- Breathable materials like burlap or woven baskets that promote proper airflow while controlling humidity
- Stackable designs with secure nesting systems to maximize your storage space
- Durable construction using weather-resistant materials like recycled plastic or Smartawood™ that won't splinter
When making your selection, consider the container's capacity and accessibility. Large-capacity bins with flip-front panels make it easy to check your potatoes regularly, while stackable designs help you utilize vertical space efficiently.
If you're environmentally conscious, opt for containers made from recycled materials or sustainable options that offer long-term durability with minimal environmental impact.
Preventing Potato Spoilage
Your potato harvest's longevity depends on preventing spoilage through careful environmental control and preparation. You'll need to maintain temperatures between 40-46°F and keep relative humidity around 95% while guaranteeing proper air circulation.
Don't store potatoes near heat sources or expose them to light, which can cause greening and toxic solanine development.
Before storage, you'll want to prepare your potatoes properly. Stop watering them in mid-August and wait for the vines to die back completely before harvesting. Clean them gently, removing soil without washing if possible, and cure them for 7-10 days in a dark, ventilated space.
Sort through your harvest carefully, removing any injured or diseased potatoes that could spread decay. You should eat damaged potatoes within a month, while storing only the healthiest ones for winter.
Keep potatoes separate from onions and garlic to prevent odor transfer. Don't peel or wash potatoes before storage, and use paper bags or perforated plastic containers to maintain humidity.
Add newspaper layers between potatoes to prevent bruising, and avoid metal containers that can cause browning. Guarantee proper ventilation to prevent ethylene gas buildup, which accelerates spoilage.
Storage Duration and Monitoring
Successful long-term potato storage requires vigilant monitoring of temperature, humidity, and environmental conditions. When properly stored at 45˚F to 50˚F with 80-90% relative humidity, your potatoes can last anywhere from 4 to 9 months.
It's vital to maintain uniform temperatures throughout your storage area and avoid freezing conditions that could damage the tubers.
Modern monitoring technology makes it easier to track storage conditions. You'll want to use wireless sensors to measure:
- Temperature variations as small as 0.5°C throughout the potato pile
- Relative humidity levels to prevent condensation and decay
- CO2 concentrations to maintain flavor and proper coloring
You'll need to check light exposure regularly, as tubers can turn green and develop toxic compounds when exposed to light.
Managing airflow is equally important for uniform drying and maintaining stable crop temperatures. Keep an eye on ethylene levels, which can trigger premature sprouting and affect your potatoes' quality.
With proper monitoring and storage conditions, you can keep your home-stored potatoes fresh for several months, potentially lasting until spring before they start to sprout.
Frequently Asked Questions
Can I Store Potatoes That Have Been Exposed to Frost?
You shouldn't store frost-damaged potatoes, as they'll likely rot during storage. If you must keep them, use them immediately after they've warmed up completely, and remove any visibly damaged or blackened tubers.
How Do I Stop Potatoes From Sprouting During Long-Term Storage?
Store your potatoes in a dark, cool place (38-42°F) with good airflow. Don't keep them in plastic bags – use paper or mesh instead. Keep them away from onions and apples to prevent early sprouting.
Should I Remove Dirt From Potatoes Before Hardening Them?
You'll want to lightly remove loose dirt before hardening potatoes, but don't wash them thoroughly. This helps air circulation while preserving the protective skin. Just brush off excess soil without damaging the surface.
Can I Use Plastic Containers Instead of Wooden Crates?
Yes, you can use plastic containers for potatoes, but make sure they have proper ventilation holes. Choose opaque containers, keep them in a cool, dark place, and don't forget to monitor humidity levels.
Why Do My Stored Potatoes Sometimes Taste Sweet?
Your potatoes taste sweet because you're likely storing them at too-cold temperatures. This triggers cold sweetening, where starch converts to sugar. Try storing them between 55-65°F instead of in your refrigerator.
In Summary
Store your potatoes properly, and you'll enjoy them throughout the winter months. When you've followed these hardening and storage steps carefully, you're setting yourself up for successful long-term preservation. Remember to check your stored potatoes weekly, maintain consistent temperature and humidity levels, and remove any spoiled ones immediately. With proper planning and monitoring, you'll have fresh potatoes ready whenever you need them.


Leave a Reply