
To make perfect malt vinegar pickled eggs, you'll need wide-mouth mason jars, fresh eggs, and basic pickling supplies. Start by hard-boiling your eggs for 10-12 minutes, then transfer them to an ice bath for easy peeling. Create your brine using malt vinegar, sugar, pickling spices, and salt, bringing it to a boil and simmering for 10 minutes. Sterilize your jars, pack the peeled eggs inside, and add any custom spices like garlic or chilies. Pour the cooled brine over the eggs, ensuring they're fully submerged. Let them pickle for at least two weeks in the refrigerator. Follow these essential storage and safety tips to access the full potential of your tangy treats.
Selecting Your Egg Pickling Equipment

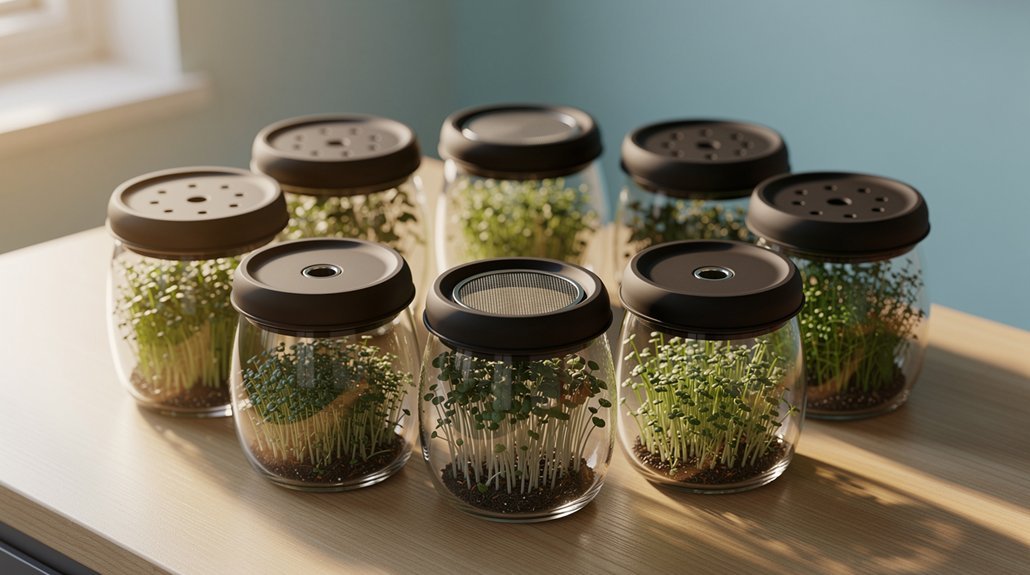
Pickling success starts with the right equipment setup. You'll need wide-mouth mason jars or canning jars as your primary containers, with quart-size jars comfortably holding 9-10 large eggs. Before use, sterilize these jars thoroughly to maintain food safety and prevent contamination. Vinegar and spices enhance the bland flavor of hard-boiled eggs significantly.
Your essential cooking equipment should include a large pot for boiling eggs and a medium saucepan with a lid for preparing the brine. Don't forget to gather a slotted spoon or skimmer for handling eggs, plus a regular spoon or ladle for pouring the hot brine.
If you prefer steaming eggs, you'll want to add a steamer basket to your toolkit. You'll need tight-fitting lids to seal your jars properly. Make sure to clean the jar rims before sealing and check the seals periodically to prevent any leakage.
For precise measurements, keep measuring cups and spoons handy. Don't overlook the basics like a cutting board for preparing vegetables and a timer to track cooking durations. For safety, you'll want gloves or a towel when handling hot equipment.
Remember to gather your pickling spices, garlic, bay leaves, and onions before starting the process.
Perfecting Hard-Boiled Eggs
The foundation of great pickled eggs lies in perfectly cooked hard-boiled eggs. Start by selecting eggs from the back of your refrigerator, as older eggs peel more easily. Place them in a single layer at the bottom of a large pot, ensuring there's enough space between each egg. You can use either brown or white eggs since they have identical nutritional value. Cover them with cold water, making sure it's about an inch above the eggs, and place a lid on the pot.
Bring the water to a boil over high heat. Once boiling, let the eggs cook for 10-12 minutes for perfectly set yolks. If you're using extra-large eggs, you'll need to add a minute or two. Keep in mind that proper timing is essential – undercooked eggs won't pickle well, while overcooked ones can develop an unappetizing green ring around the yolk.
After cooking, immediately transfer the eggs to an ice bath and let them cool for 10-14 minutes. This rapid cooling prevents that green ring and makes peeling easier.
To peel, gently tap each egg on a hard surface to create cracks all over, then roll it between your hands. Start peeling from the larger end, using running water to help separate the shell from the egg.
Creating The Malt Vinegar Brine

With perfectly cooked eggs ready to go, it's time to master your malt vinegar brine. Start by gathering your ingredients: 500ml of malt vinegar, 100g of sugar, 15g of pickling spice, and 1-2 teaspoons of salt. Distilled malt vinegar is commonly used in both homemade and store-bought versions.
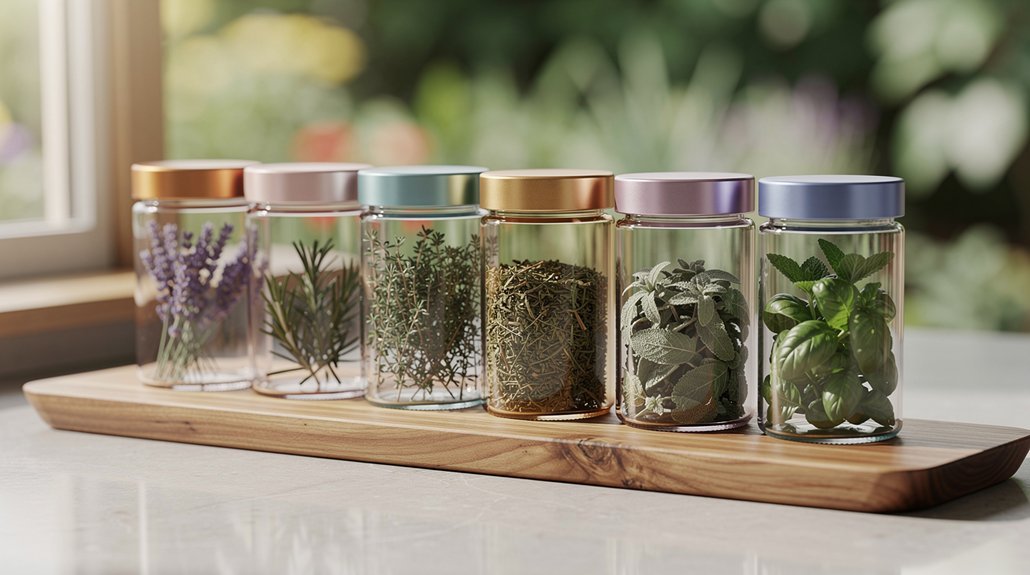
You'll also want to take into account additional spices like bay leaves, black peppercorns, or coriander seeds for extra depth.
Combine your vinegar, sugar, pickling spice, and chosen spices in a saucepan. If you'd like a milder brine, you can dilute it with water. Bring the mixture to a boil while stirring occasionally, then reduce to a simmer for 10 minutes to let the flavors meld together.
You can customize your brine by mixing malt and white vinegar, adding beet juice for color, or incorporating garlic and chilies for heat.
Fresh herbs like thyme or dill will add another layer of flavor, while a splash of balsamic vinegar creates richness.
Let your brine cool to room temperature before pouring it over your eggs. Make sure they're completely submerged, seal the jar, and refrigerate.
Your pickled eggs will keep for 3-4 months when properly stored.
Preparing Your Storage Jars
Properly sterilized jars form the foundation of safe pickled eggs. You'll need to start by sterilizing your jars using boiling water, guaranteeing all surfaces are thoroughly cleaned with soap and warm water. Pour boiling water into the jars, let them sit, then rinse and dry them in the oven on a low setting.
Select quart-sized glass canning jars that seal tightly – each can hold about twelve medium-sized eggs. When packing your eggs, place them loosely in the warm, pre-sterilized jars and completely cover them with the pickling solution.
| Storage Step | Temperature Rule | Time Limit |
|---|---|---|
| Refrigeration | Below 40°F | 3-4 months |
| Room Temp Serving | 40-140°F | 2 hours max |
| Initial Cooling | Room temp to 40°F | Until sealed |
| Post-Opening | Below 40°F | 3-4 months |
| Transport | Below 40°F | Minimize time |
You'll need to store your pickled eggs in the refrigerator at all times to prevent botulism. Label each jar with the preparation date and use them within 3-4 months for the best quality. Once opened, keep the jars refrigerated and guarantee the eggs remain fully submerged in the pickling solution.
Packing Eggs and Adding Spices

Now that your jars are sterilized and ready, it's time to focus on packing your eggs and creating a flavorful pickling solution.
Start by hard boiling your eggs, then let them cool completely before peeling off the shells. Pack the peeled eggs loosely into your 1-litre Kilner jar, ensuring you've got enough space for 8-9 eggs.
While you're preparing the eggs, bring your malt vinegar to a boil in a saucepan. You can dilute it with water if you'd prefer a milder brine.
Add your chosen pickling spices to the simmering vinegar – whole spices like mustard seeds, coriander seeds, and cloves work best. Let the mixture simmer for about 10 minutes to infuse the flavors.
You can customize your pickling solution by adding brown sugar to balance the acidity, or include extras like diced onions and garlic for depth.
If you're craving heat, toss in some sliced jalapenos. Don't forget to let the vinegar mixture cool completely before pouring it over your eggs.
Make sure the eggs are fully submerged in the pickling liquid for the best results.
Achieving Proper Pickle Timing
Time plays an essential role in transforming your eggs from simple hard-boiled to perfectly pickled delicacies. Once you've placed your peeled eggs in the sterilized jar and covered them completely with the cooled pickling liquid, you'll need to exercise patience for ideal results.
The minimum pickling duration is two weeks, which allows the vinegar solution to properly penetrate the eggs and develop their signature tangy flavor.
If you're looking for a more intense flavor profile, you can extend the pickling time up to three months. However, you'll want to monitor the eggs' texture carefully, as prolonged pickling can make them increasingly firm and potentially rubbery.
Check your eggs periodically to verify they're pickling evenly and achieving your desired taste and consistency.
Store your pickling jar in a cool, dark place throughout the process, and remember to adjust the timing based on your flavor preferences.
If you've added ingredients like beets or onions, you'll need to watch for color and flavor changes as well.
Once you've opened the jar, make sure to consume the eggs within two weeks for the best quality and food safety.
Storing Your Pickled Eggs

Safe storage of pickled eggs begins with selecting the right container and maintaining proper temperature control.
You'll need clean, sterilized glass canning jars or wide-mouth mason jars that seal tightly. Pack your peeled, hard-boiled eggs into these containers, guaranteeing they're completely covered by the pickling solution while leaving minimal headspace at the top.
Store your pickled eggs in the refrigerator at 35°F to 40°F (2°C to 4°C), keeping them away from direct sunlight and heat sources.
You'll want to maintain consistent refrigeration except when serving, and don't leave them at room temperature for more than two hours. When removing eggs from the jar, always use clean utensils to prevent bacterial contamination, and never return partially eaten eggs to the container.
Your pickled eggs will last 3-4 months when properly refrigerated, though homemade versions may have a shorter shelf life than commercial ones.
Label your jars with the preparation date and monitor them for signs of spoilage, including unusual odors, texture changes, or mold growth.
Remember to use a vinegar solution with at least 5% acidity to guarantee proper preservation throughout the storage period.
Frequently Asked Questions
Can I Reuse Leftover Pickling Liquid for a New Batch of Eggs?
You shouldn't reuse pickling liquid for new eggs. It can harbor harmful bacteria and won't provide consistent flavor. Instead, make fresh brine each time to guarantee your pickled eggs are safe and tasty.
Why Do My Pickled Eggs Sometimes Turn Slightly Grey or Discolored?
Your pickled eggs may turn grey due to the vinegar's acidity reacting with the egg whites, spices in your brine, or overcooking. You'll want to use milder vinegar and guarantee they're fully submerged.
Is It Safe to Pickle Quail or Duck Eggs Instead?
Yes, you can safely pickle both quail and duck eggs! Just guarantee you're boiling them properly – 5 minutes for quail eggs and 15 minutes for duck eggs – and follow the same safety guidelines as chicken eggs.
Can Adding Beetroot to the Jar Affect the Pickling Process?
Yes, adding beetroot will affect your pickling process. You'll notice the eggs turn pink-purple, and they'll take on beetroot's earthy flavor. It'll also make your pickling liquid thicker and slightly sweeter.
Why Do Some Eggs Float While Others Sink in the Jar?
If you notice floating eggs in your jar, they're likely spoiled. Fresh eggs sink because they're denser than liquid, while spoiled eggs float due to gases produced by bacteria inside the shell.
In Summary
You'll find these pickled eggs are worth the effort, becoming more flavorful the longer they cure. Don't rush to eat them – wait at least 2-3 weeks for the best taste and texture. Keep your jars refrigerated and consume within 3-4 months. Once you've mastered this basic recipe, you can experiment with different spice combinations to create your own signature pickled eggs.
Leave a Reply